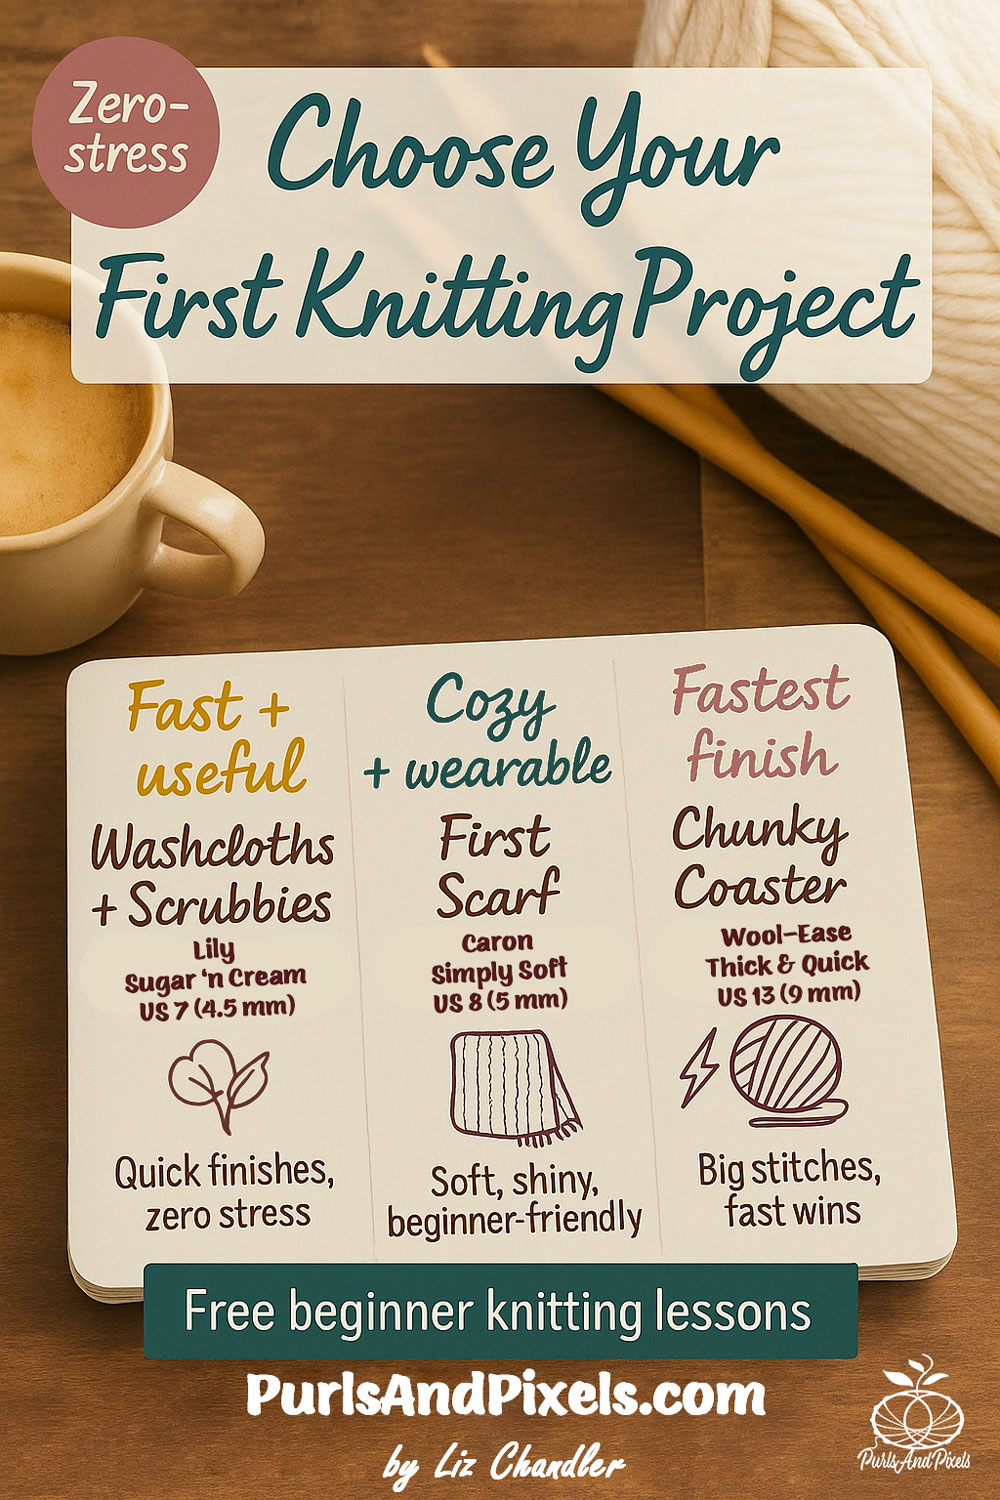
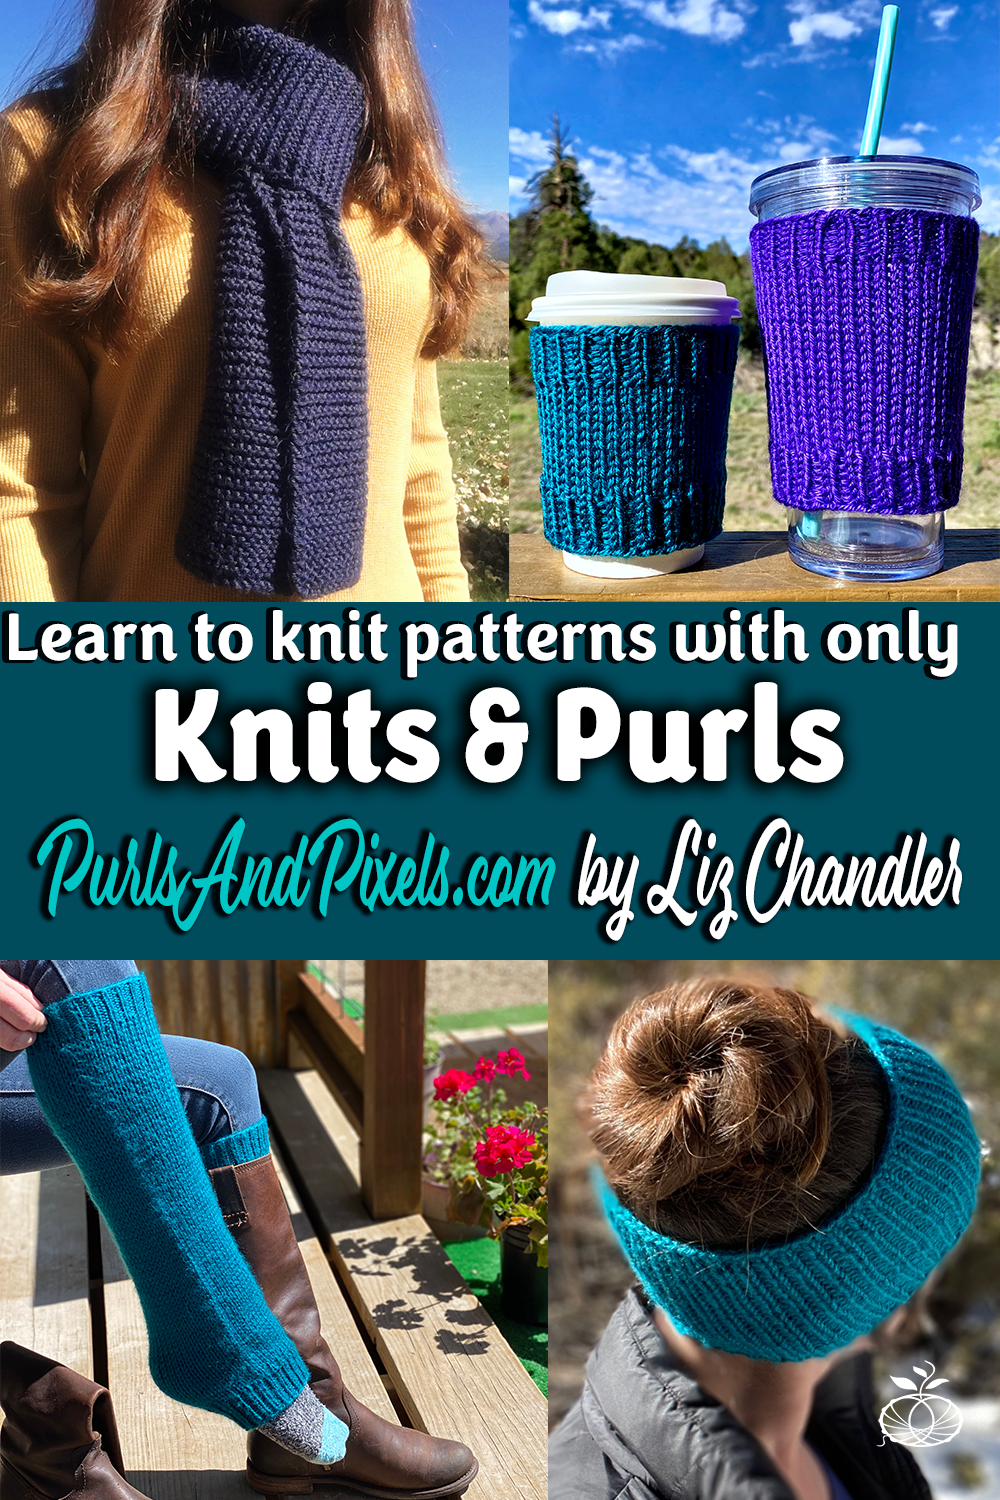
Knitting a washcloth is a beginner-friendly knitting skill that teaches steady stitches on a small, useful project. In this knitting lesson you will learn how to cast on, knit rows in the garter stitch, and bind off so you can finish a face scrubby (or scale up to a larger washcloth) using the same steps.
Knit with Liz Chandler @PurlsAndPixels 🧶
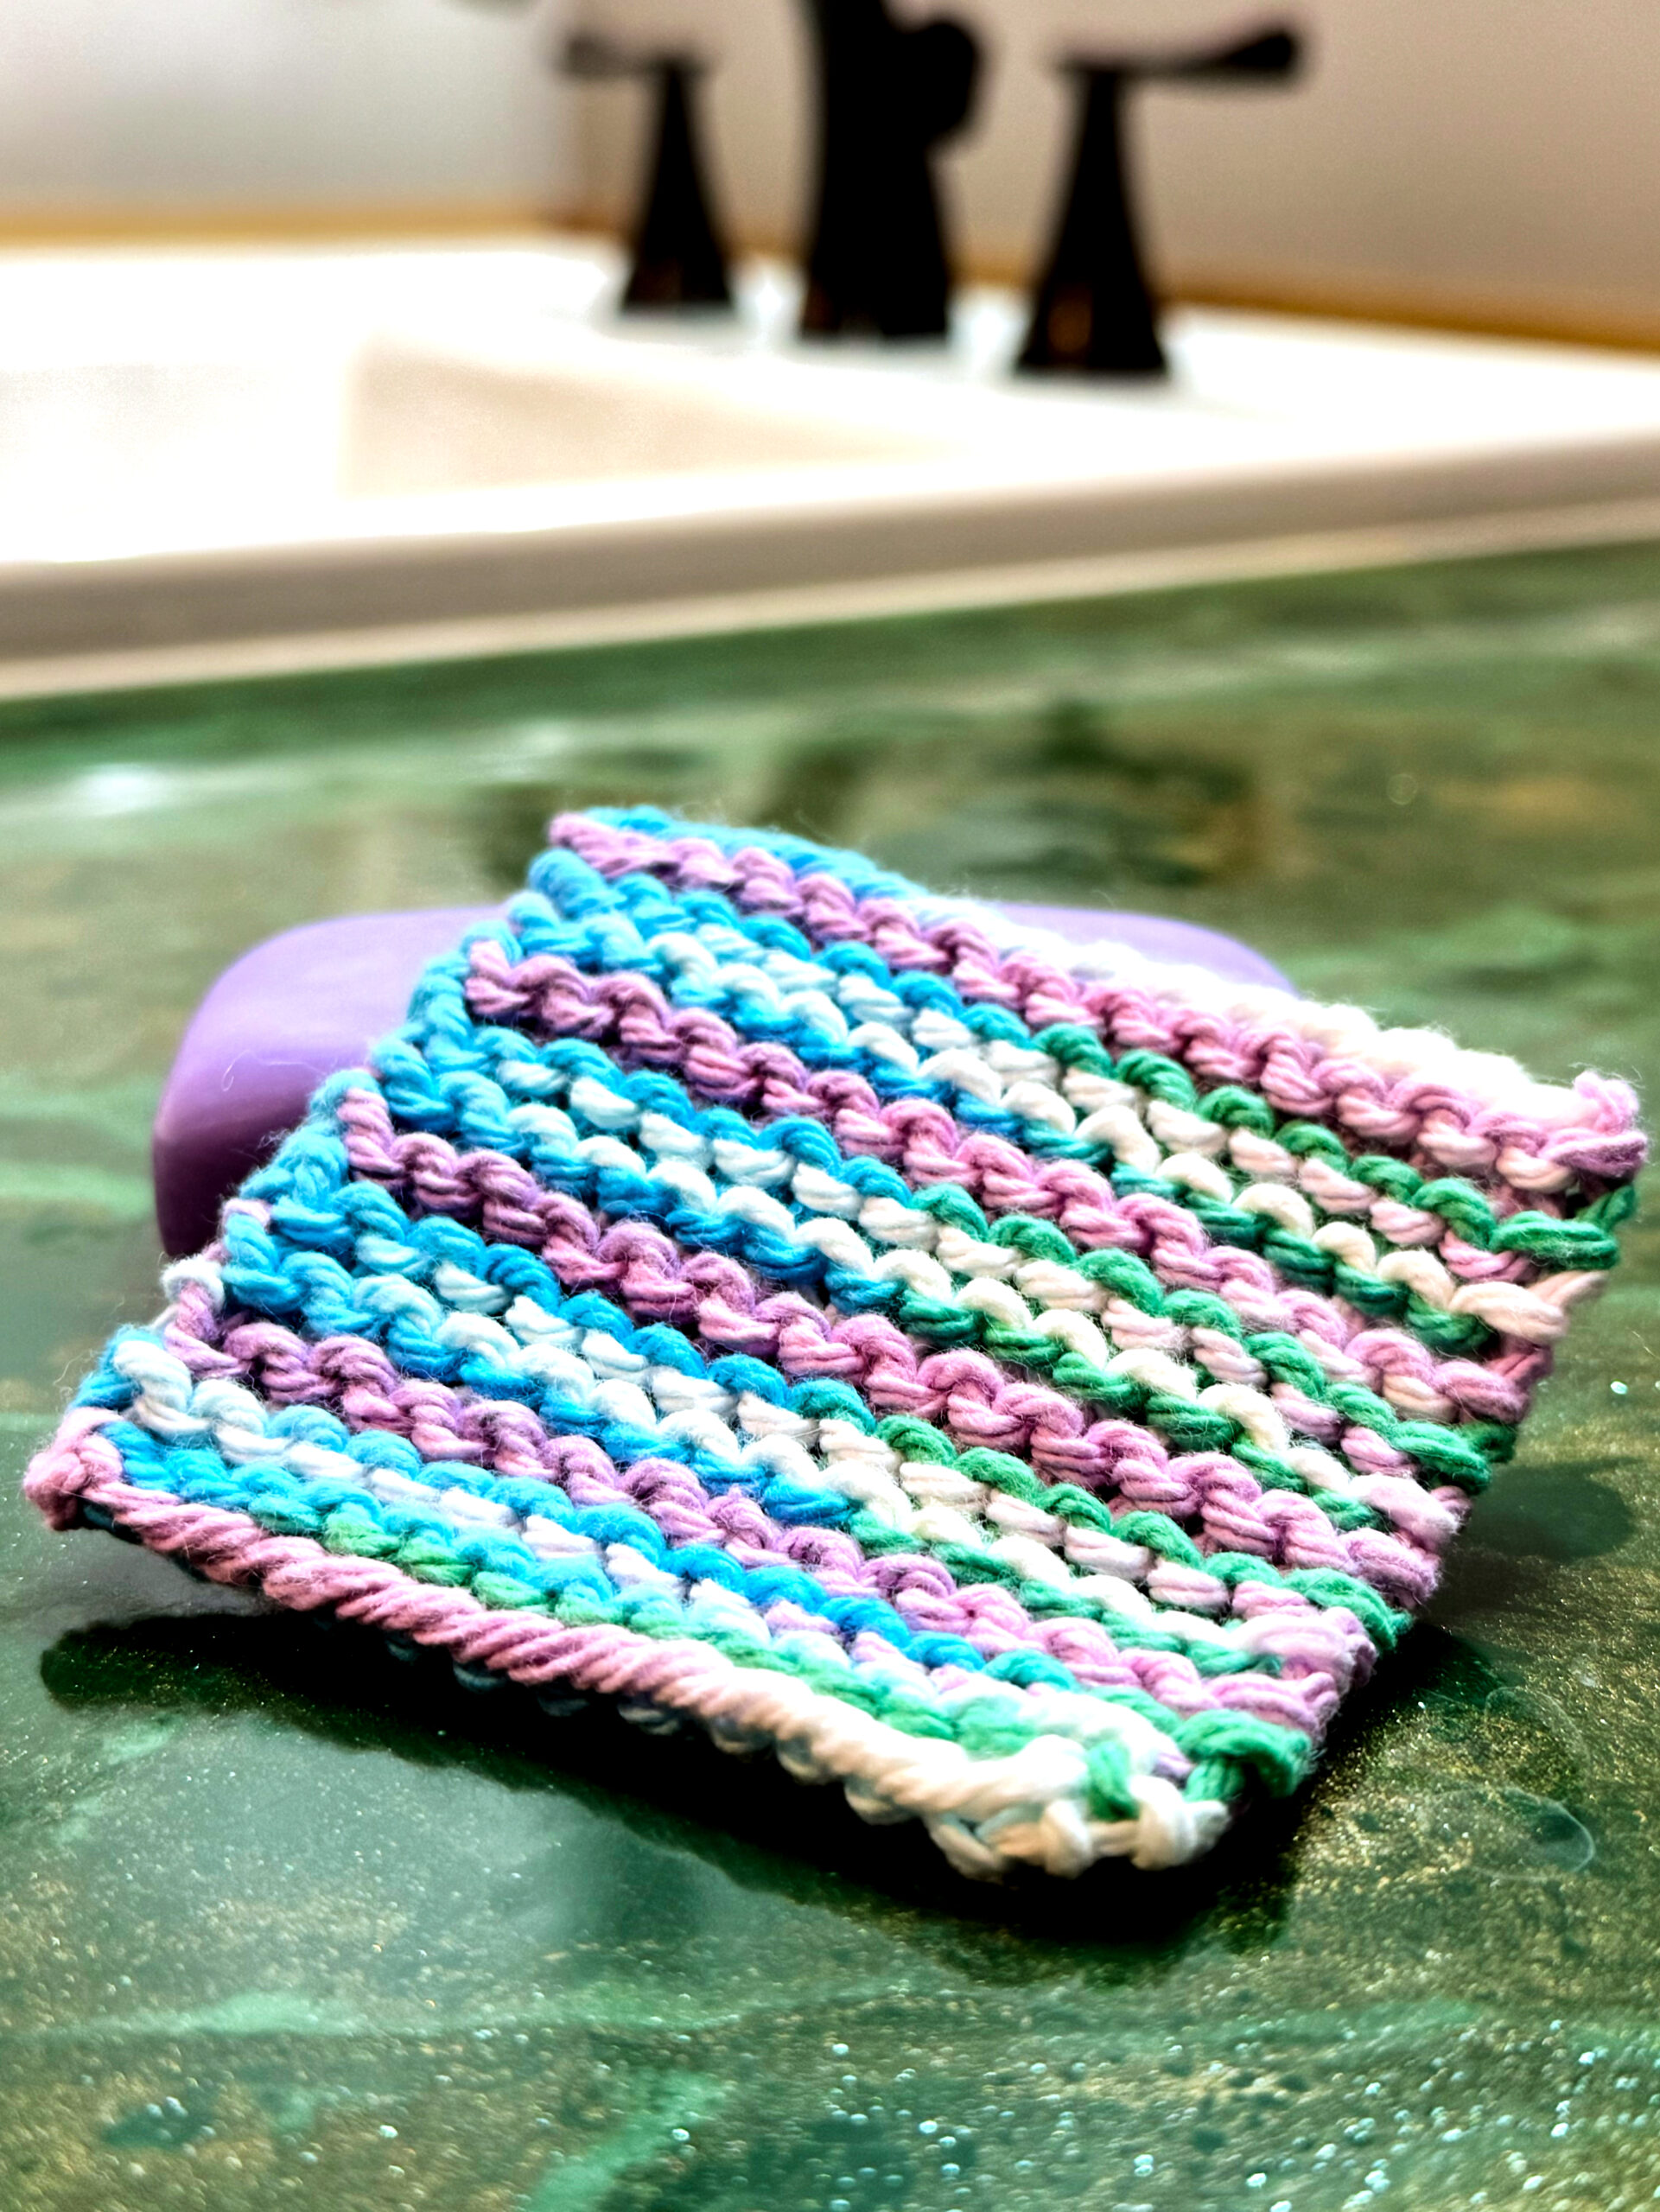
It is time to put your knitting skills together and make something useful. In this lesson, we start with a face scrubby because it is small and fast. Once you understand the process, you can use the exact same steps to make a full-sized washcloth by casting on more stitches, or knitting more rows.
Beginner Face Scrubby Pattern (open in a new tab, or print it out)
Before You Start
- Skill level: Beginner
- Time needed: One short knitting session for the scrubby; a few sessions for a full washcloth
- What to expect: Cotton can feel firmer than acrylic. Your stitches may look uneven at first; this is normal and improves with practice.
- Goal: Practice steady knit stitches and finish your first cotton project from start to finish.
Skills Used in This Lesson
If any of these skills are new, review those lessons first. Each one is quick to learn and makes this project much easier.
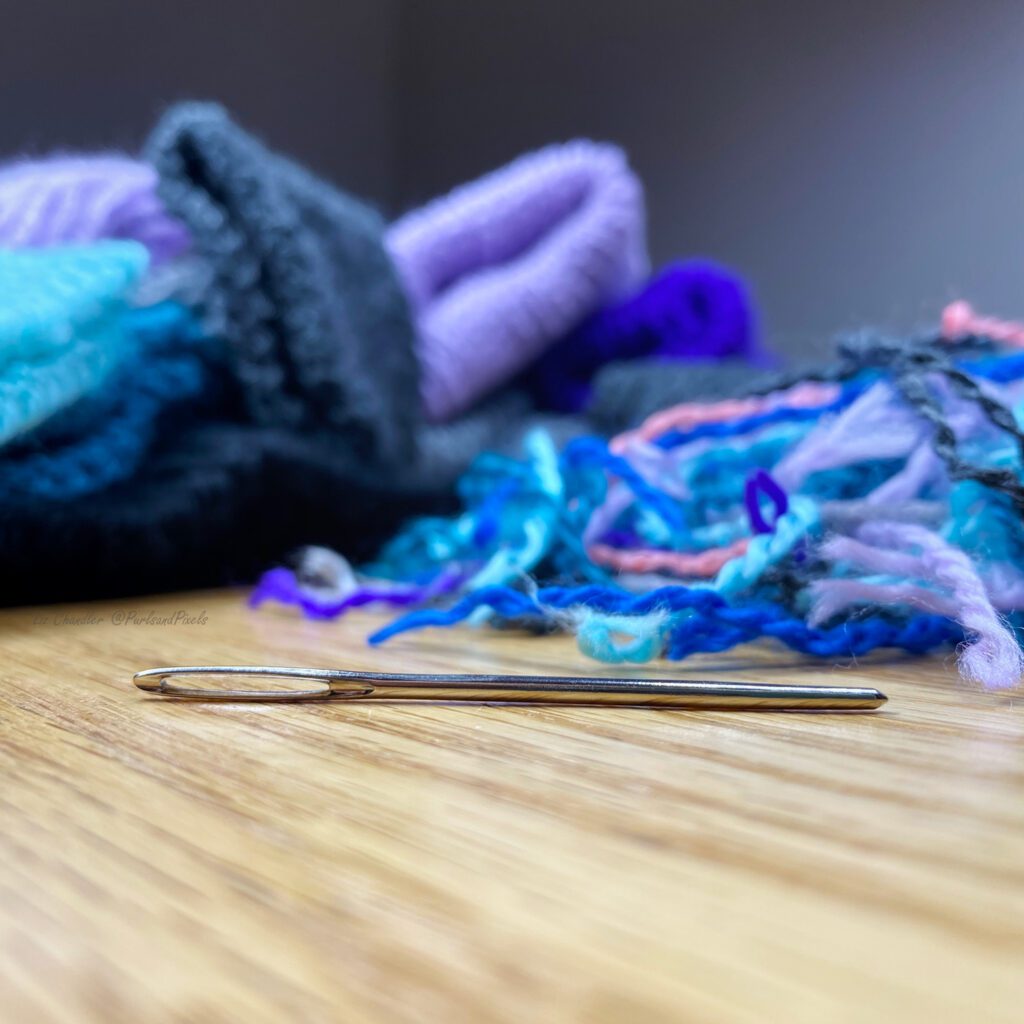
Weave in Loose Ends on Flat Knits
Materials Needed to Knit a Washcloth
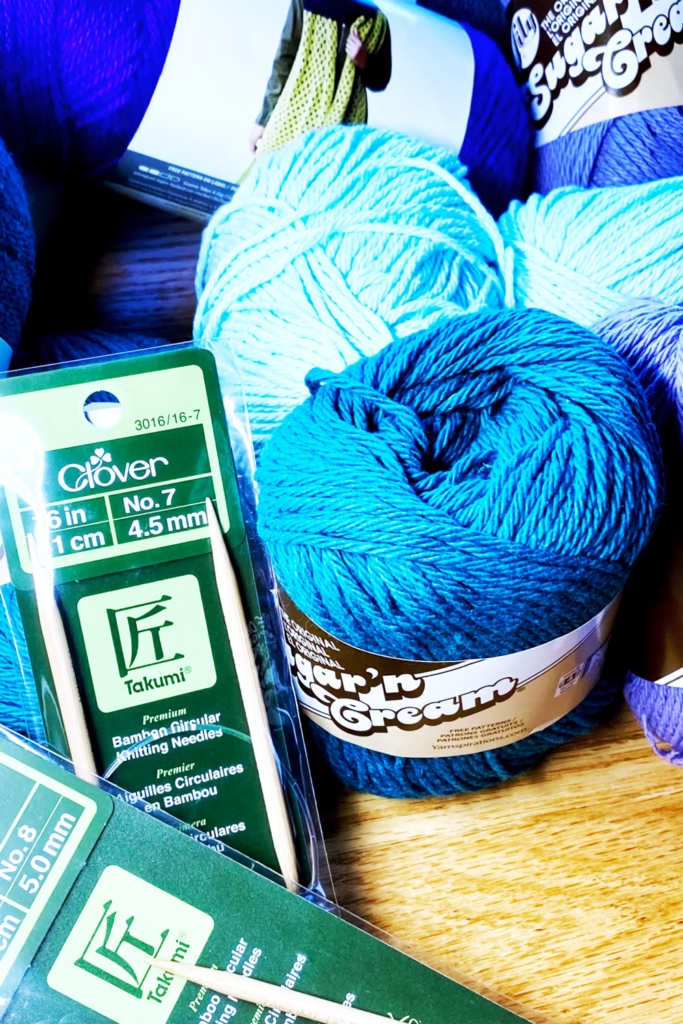
Yarn to Knit Washcloths
One ball of Lily Sugar ‘n Cream 100% Cotton Yarn in “Beach Ball Blue,” “Robins Egg,” or your favorite color.
Knitting Needles for Washcloths
Knitting Needles:
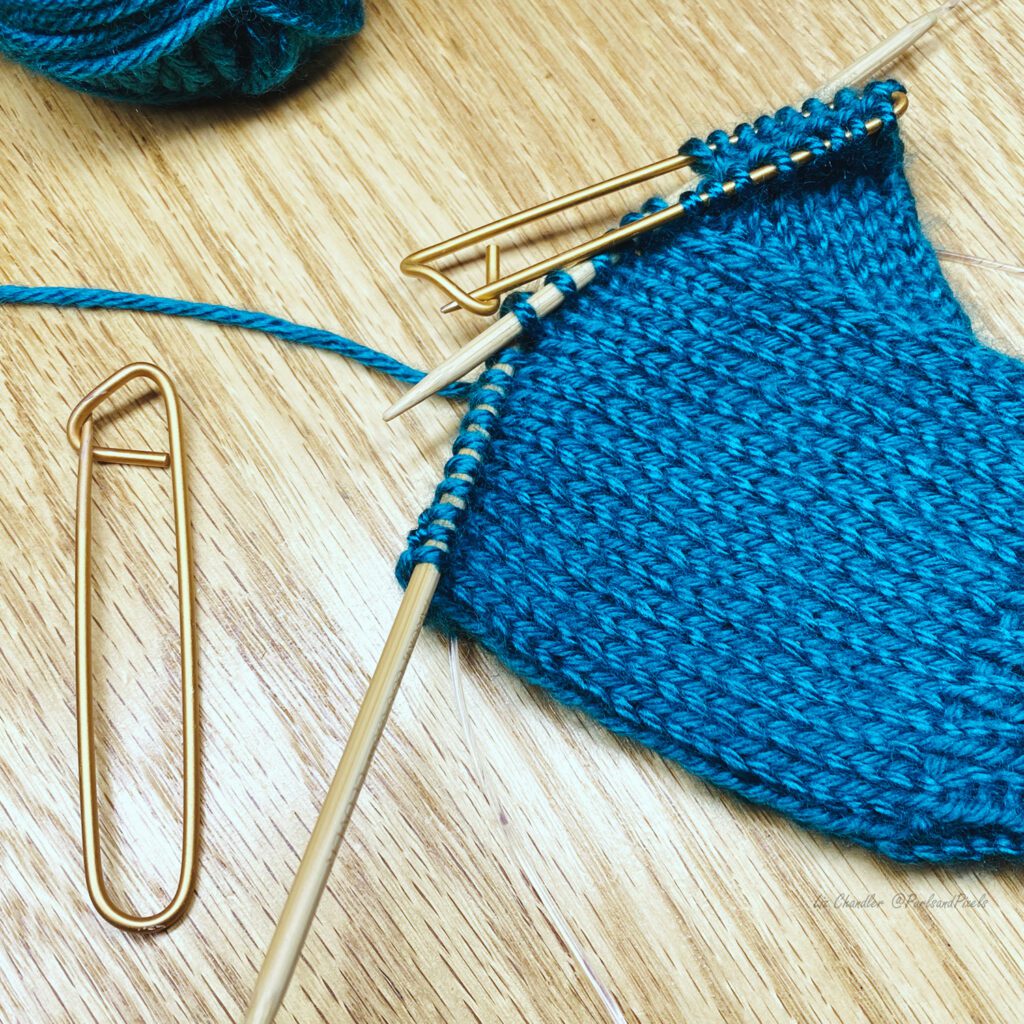
Long Circular Needles
36-inch (91 cm) long US No. 7 (4.5 mm) circular needle (or size needed to obtain gauge)
Or Straight Needles
9-inch (23 cm) long US No. 7 (4.5 mm) straight needles (or size needed to obtain gauge)
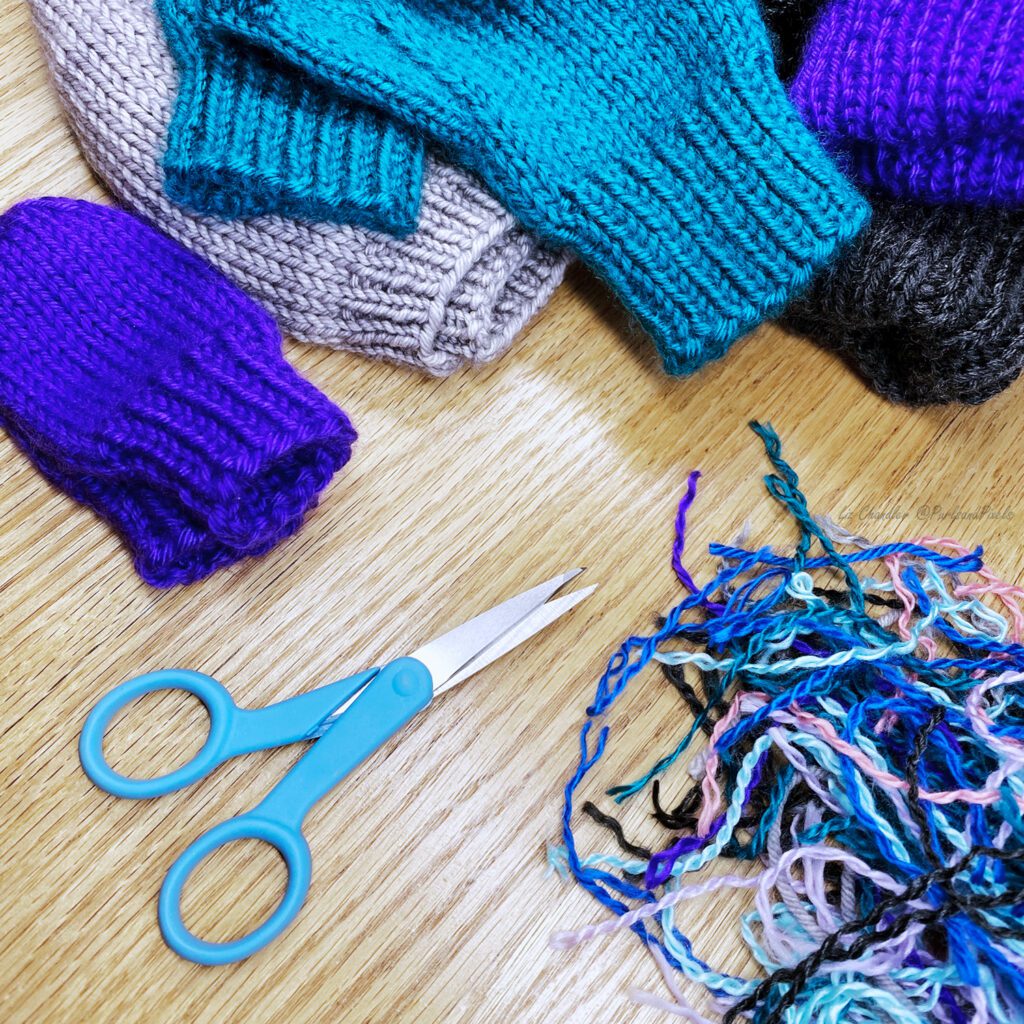
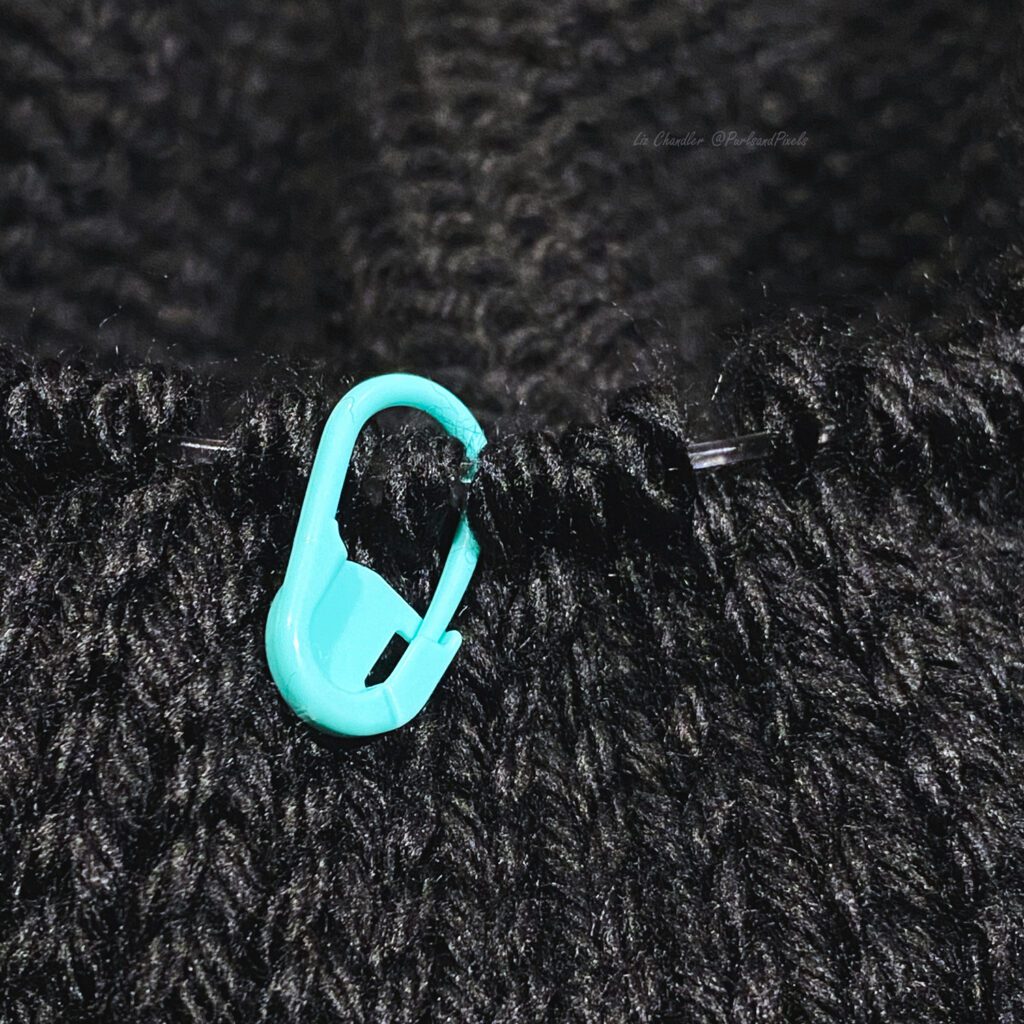
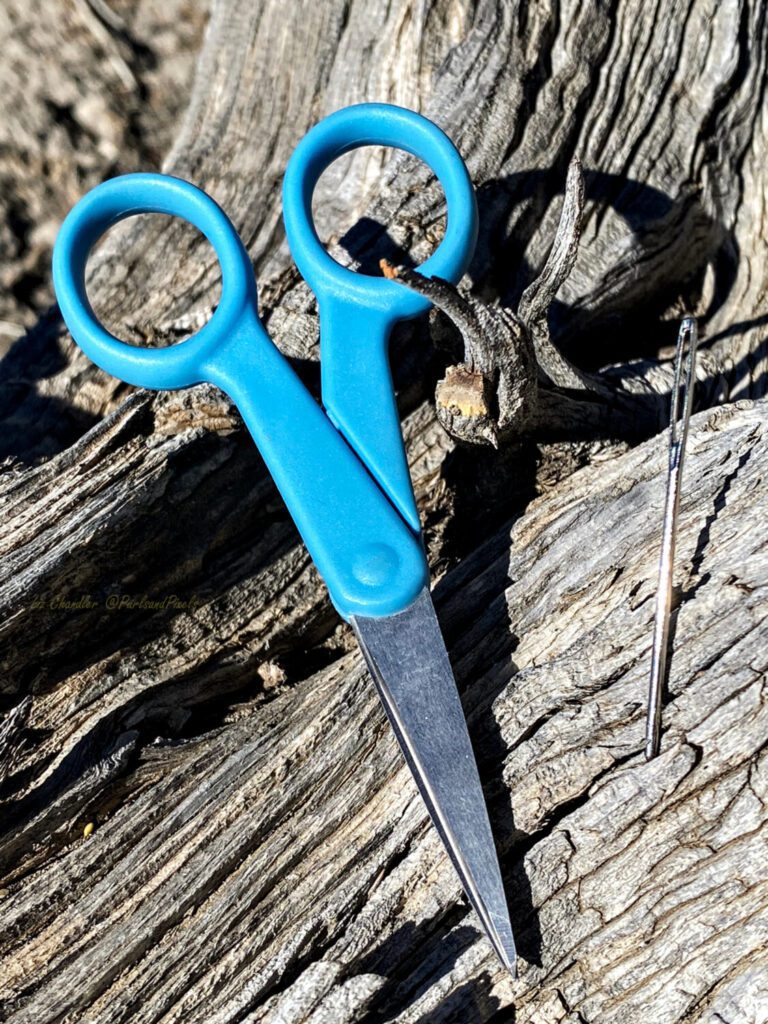
Notions to Finish Knit Washcloths
How to Knit a Washcloth
Step 1: Cast On
Cast on Row 1. This is how you add stitches to your needle to begin the washcloth. For the face scrubby, use the long-tail cast-on method to put 14 stitches on your needles.
Step 2: Turn Your Work
When you reach the end of your row, turn your work so the needle with stitches is back in your left hand and you are ready to knit the next row.
Step 3: Knit Every Row (Garter Stitch)
This washcloth uses the garter stitch, which means knitting every row. Cotton garter stitch creates a squishy, grippy texture that works well for washing.
- Row 1: Knit across all 14 stitches.
- Rows 2–27: Turn your work at the end of each row. Knit every row until your piece measures about 4 inches (10 cm) square.
- To make a larger washcloth: Cast on more stitches for a wider cloth, or knit more rows for a longer cloth. The stitch pattern stays the same.
If your stitches look uneven, continue knitting. This repetition is how your hands learn the motion. If something looks wrong, read When Something Looks Wrong in Your Knitting.
Step 4: Bind Off
When your washcloth is the size you want, bind off to secure your stitches.
Step 5: Finish Loose Ends
Use a darning needle to weave in loose ends. This secures the yarn tails and makes your washcloth ready to use.
Troubleshooting Tips
Focus on stitch count and steady tension. Most “messy” beginner fabric improves quickly with practice.
- Counting stitches: You should have 14 stitches on your needle at the end of every row.
- Tension check: Cotton should feel firm but not tight. If it is hard to insert your needle, loosen up slightly. For help, read Knitting Tension.
- Mistakes: If you want to fix a dropped stitch or a weird spot, use Fix Knitting Mistakes.
Care Instructions
- Machine wash cold
- Tumble dry low, or lay flat to dry
- Read more care tips here

You Completed a Washcloth 🎉
You just finished your first cotton washcloth. The small version is perfect for removing makeup, gentle cleansing, testing new stitches, quick gifts, and even cute drink coasters.
Continue Learning: Your Next Projects
-
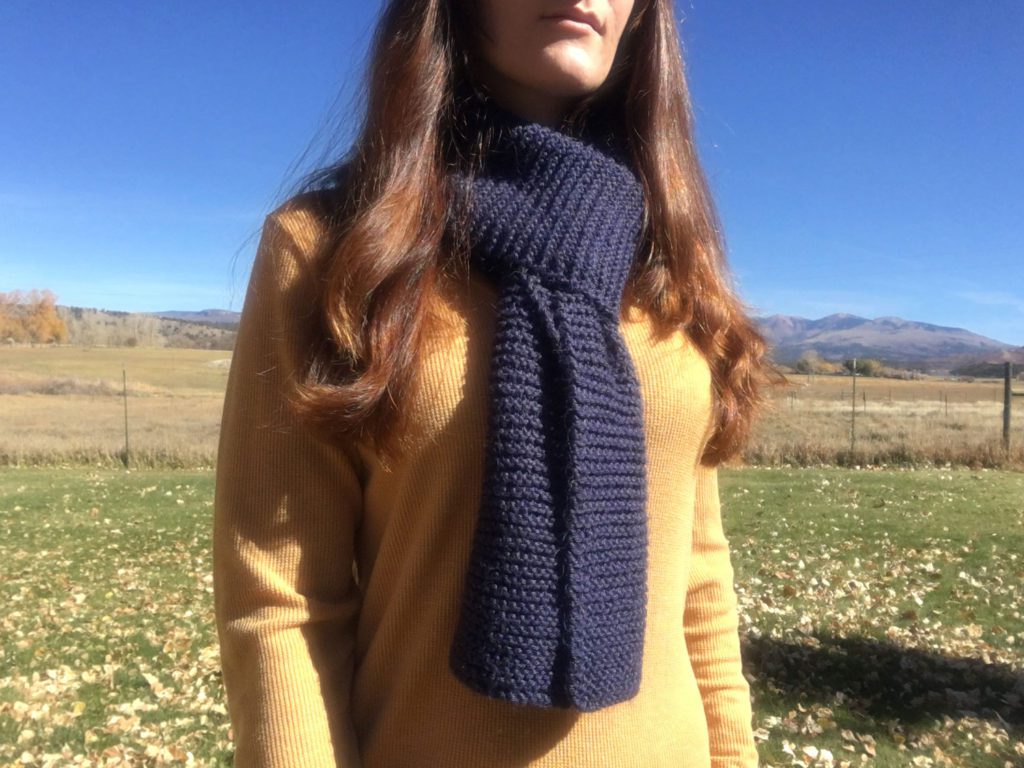
Beginner Knit Scarf
Practice the same stitch on a longer project. -
School Colors Scarf
Practice steady knitting with simple color blocks.
Want more washcloth practice using the same beginner skills? Here are two easy next steps:
- Knitted Dishcloth Patterns
More beginner cloths designed by Liz Chandler. - Simple Washcloth Knitting Pattern Collection
Convenient printable patterns for more sizes and styles.
Learn the full beginner system: You can keep learning to knit for free at PurlsAndPixels, or follow the complete structured beginner path in Liz Chandler’s Knitting Guide: Learn to Knit with Practical Patterns.
Don’t Miss a Stitch! 🧶
Want more free beginner lessons, patterns, and practical tips? Sign up for my newsletter to get updates straight to your inbox. 💌


