After picking out your yarn and knitting needles, you will have one last task: choosing knitting tools. To complete a knitting project for beginners, you will need sharp scissors and a darning needle. Later, when you start making more complex knitting projects, you may also need stitch markers and stitch holders.
Scissors

At the end of a knitting project, you will need to free your work from the ball by cutting the yarn. While there are several gadgets designed to clip yarn, scissors are the most versatile cutting tool to put in your knitting bag. “Sewing” or “precision tip” scissors work best to trim yarn, as they are small and easy to maneuver.
Be sure you choose very sharp scissors. Dull scissors tend to fray the yarn ends, making them difficult to thread through the eye of a darning needle. To help your scissors stay sharp for a long time, do not use them for anything other than snipping yarn and thread.
You can find my favorite precision tip scissors on Amazon.com at this affiliate link: Fiskars Scissor 5″ Micro Tip Fashion Berry.
Darning Needles

After you have cut your project away from the ball, you will be left with dangling yarn tails. You will weave them into your project using a darning needle. These needles look just like a sewing needle but are much larger. They have blunted tips that will not snag your yarn. Sometimes, darning needles are sometimes referred to as “tapestry needles;” however, tapestry needles usually have bent tips. Whether the manufacturer calls it a “darning needle” or a “tapestry needle,” as a beginner, you will want to choose a straight, blunted needle with an eye large enough to thread your yarn through.
You can find a set of blunt-tipped darning needles on Amazon.com at this affiliate link: Hekisn Large-Eye Blunt Needles
Stitch Markers

Many knitting patterns you read will recommend you use a “stitch marker.” This is a small clip, ring, or piece of string used to keep track of your place while knitting. Stitch markers can be slipped onto your needles to mark an endpoint, or they can be clipped onto a specific stitch to keep track of it. Common stitch markers look like plastic safety pins. You also can find a variety of decorative stitch markers, some looking like small rings, others like lever-back earrings. Try to find stitch markers that clip open and closed, as this type of marker can be removed from your work more easily.
You can find a set of stitch markers on Amazon.com at this affiliate link: Locking Stitch Markers
Stitch Holders

Though they can be similarly shaped, stitch holders are much larger than stitch markers. Stitch holders are used to slide stitches off your knitting needles so that you can work them later. This technique is especially helpful in shaping thumbs on gloves and arms on sweaters.
When a stitch holder is not available, you can sometimes substitute a piece of yarn as a stitch holder. Using a darning needle, you can slip stitches onto a bit of leftover yarn, then tie the yarn ends together to secure the stitches in place temporarily.
You can find stitch holders on Amazon.com at this affiliate link: Stitch Holders Assorted Colors
Materials for Your First Knitting Project
In most knitting patterns, you will see a “materials” section, which lists the specific tools you will need to make each project. When in doubt about what yarn or tools to get, always check your pattern for a supply list.
Tools to Knit a Face Scrubby or Scarf
If you are following my Learn to Knit Guide, you will start with a small Face Scrubby or Beginner Scarf. Both projects require the same tools. You can find knitting tools at most craft stores or on Amazon by using the affiliate links below:
Face Scrubby Knitting Pattern

Now that you have your tools, you can start knitting. Start with my Free Beginner Face Scrubby Pattern for a small first knitting project.
Scarf Knitting Pattern

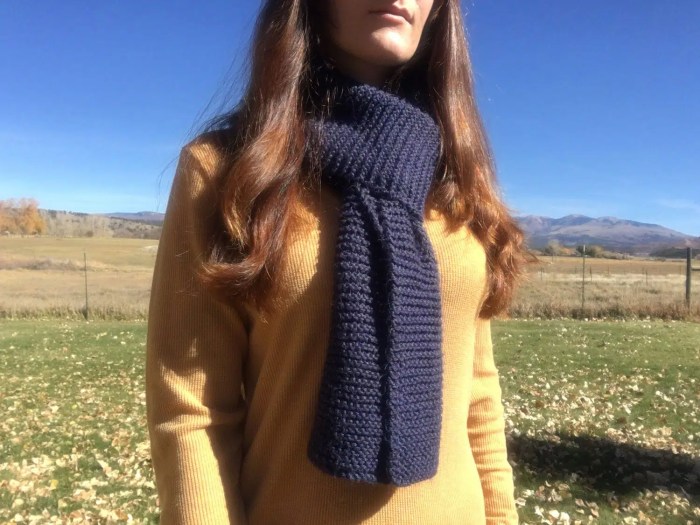
Or, to start with something a little larger, you can make my free Beginner Knit Scarf Pattern. Find it here.

Up Next

Once you’ve picked up your knitting supplies you can start learning to knit! The first step is to make a “slipknot” in your yarn. The next lesson will show you how.
Go Back to the Learn to Knit Index
