
The “Magic Loop” is a knitting method that allows you to knit small tubes in the round on long circular needles. This style is a great substitute when you don’t feel like using double point needles (DPNs).
To knit in the magic loop, you will need to choose a long circular needle. Your knitting pattern will usually suggest a needle. If one is not suggested, however, a needle with a length between 29 inches (74 cm) and 36 inches (91 cm) usually works well for this technique. When I knit in the magic loop, I usually prefer to use 36-inch long circular needles (Amazon.com Affiliate Link).
When to Knit in the Magic Loop
Any time you want to knit a tube of fabric, you can use long circular needles to do so. The Magic Loop method is a great way to make smaller tubes that will not fit around your circular needles. This makes the Magic Loop a great substitute for working on double point needles. For example, working in this method can be especially useful for making small round knits like baby-sized mittens, hats, and sweater sleeves. You may even find the magic loop helpful in rounding the tops of larger hats.
Keeping Track of Rounds/Rows in the Magic Loop
When your rows connect seamlessly, they will turn into rounds. To keep track of your patterns, you will need a way to note where the rounds begin and end.

When you are working in the magic loop, you can use a stitch marker to identify where the rows end and begin. After joining the round, clip a stitch marker to the strand connecting your first and last cast on stitches. As you work each new row/round, you will need to unclip the marker and move it up to the next loop.
Watching the yarn tail can also show you where your rounds end and begin. When you cast on your knitting, you will have a tail leftover that hangs just below the final cast on stitch. Connecting the last cast on stitch to the first cast on stitch starts the next row/round, so the tail will always be located on the side of your work where the rows begin and end. If you notice this, you can work on in the magic loop without using a stitch marker.

Below you will find both video and written guides to help you learn how to knit in the round with the Magic Loop method.
Video Guide: How to Knit in the Round on in the Magic Loop
Written Guide: How to Knit in the Round on in the Magic Loop

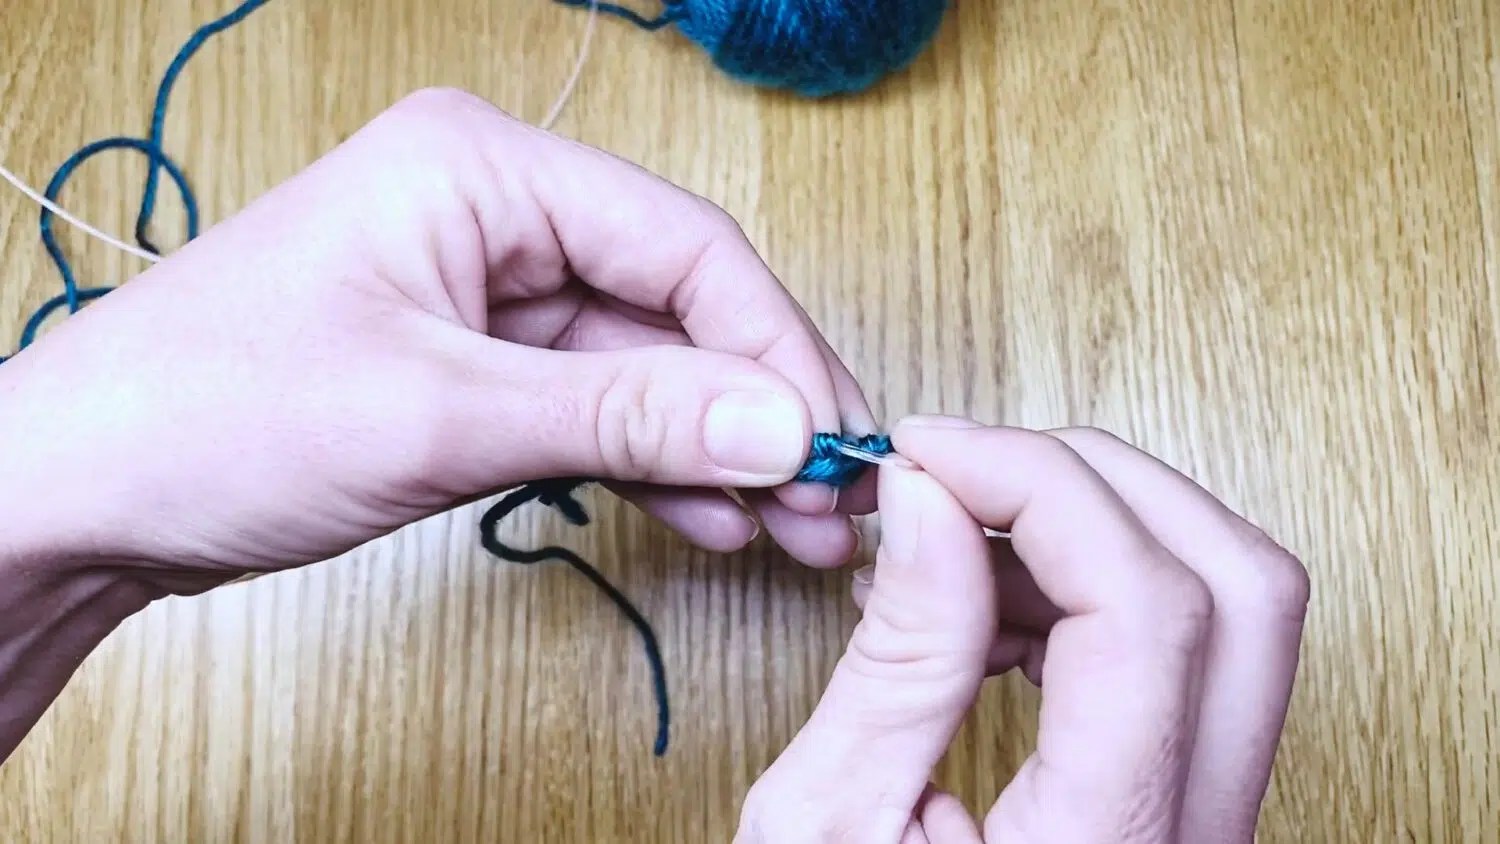
Magic Loop, Step 1:
Using one end of the circular needle held in your right hand, cast on all of the stitches called for by your pattern; here, we will use the long-tail cast on.

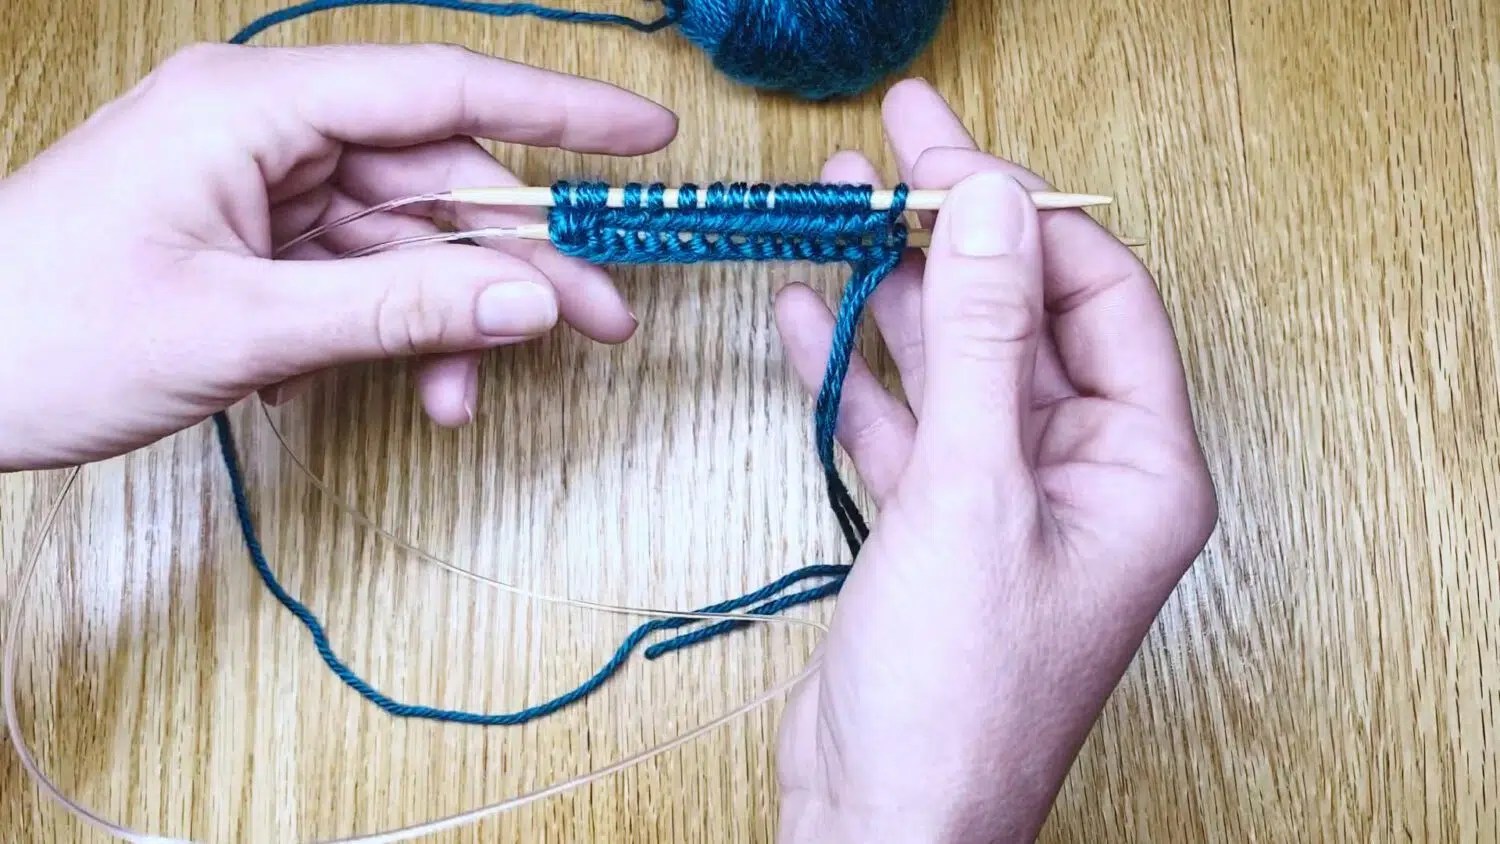
Magic Loop, Step 2:
Locate the halfway point in your cast on. For example, there are 32 total cast on stitches pictured here. The halfway point will be between the two sets of 16 stitches.

Magic Loop, Step 3:
Gently bend the cord of the circular needle at the midpoint, bringing the set of stitches on the cord behind the right-hand needle. Take care not to twist the stitches around the needle; your cast on should keep a smooth edge.
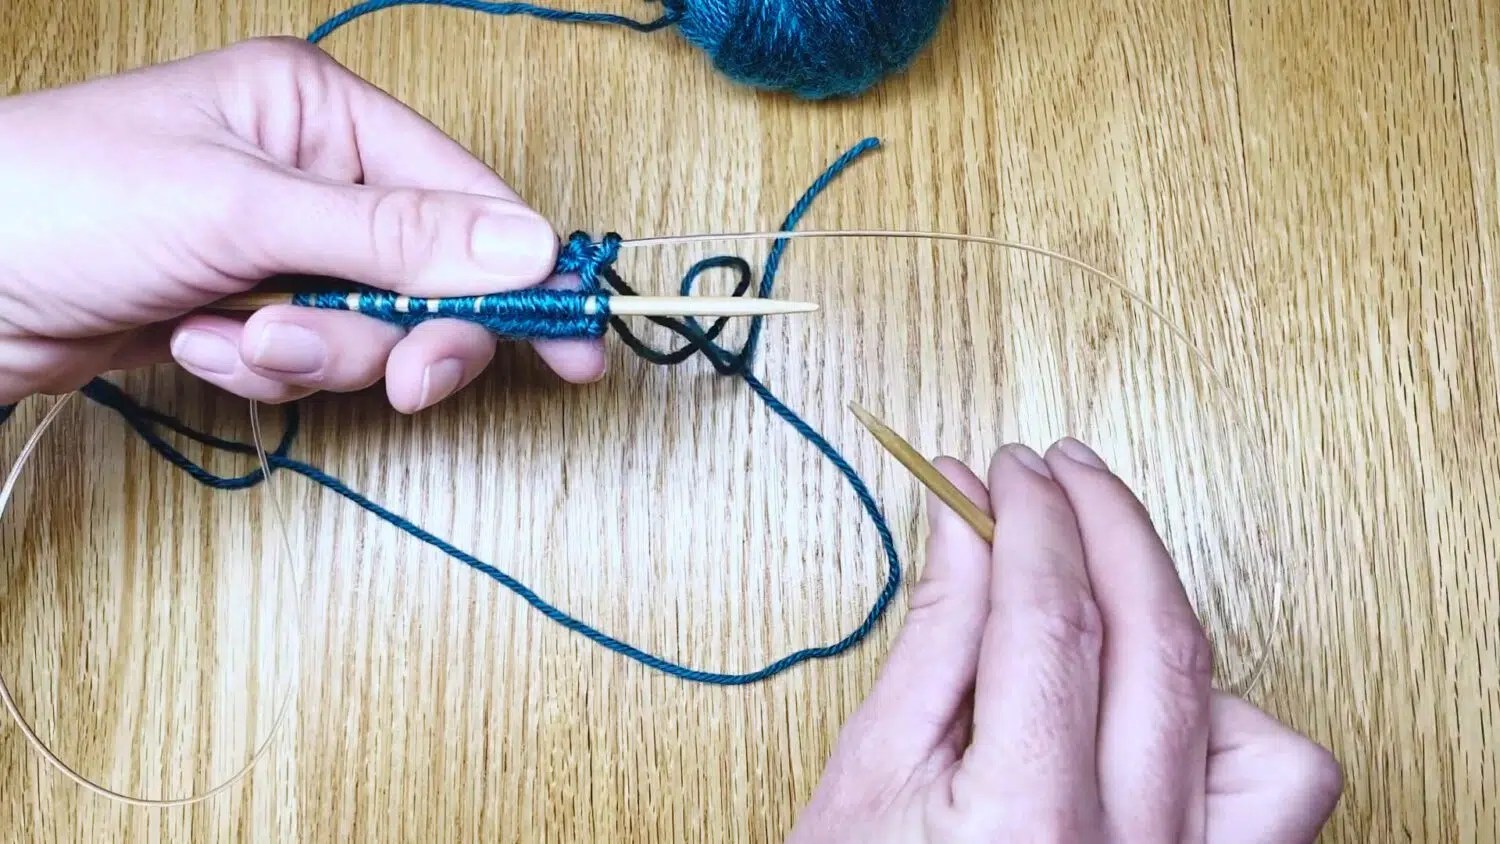
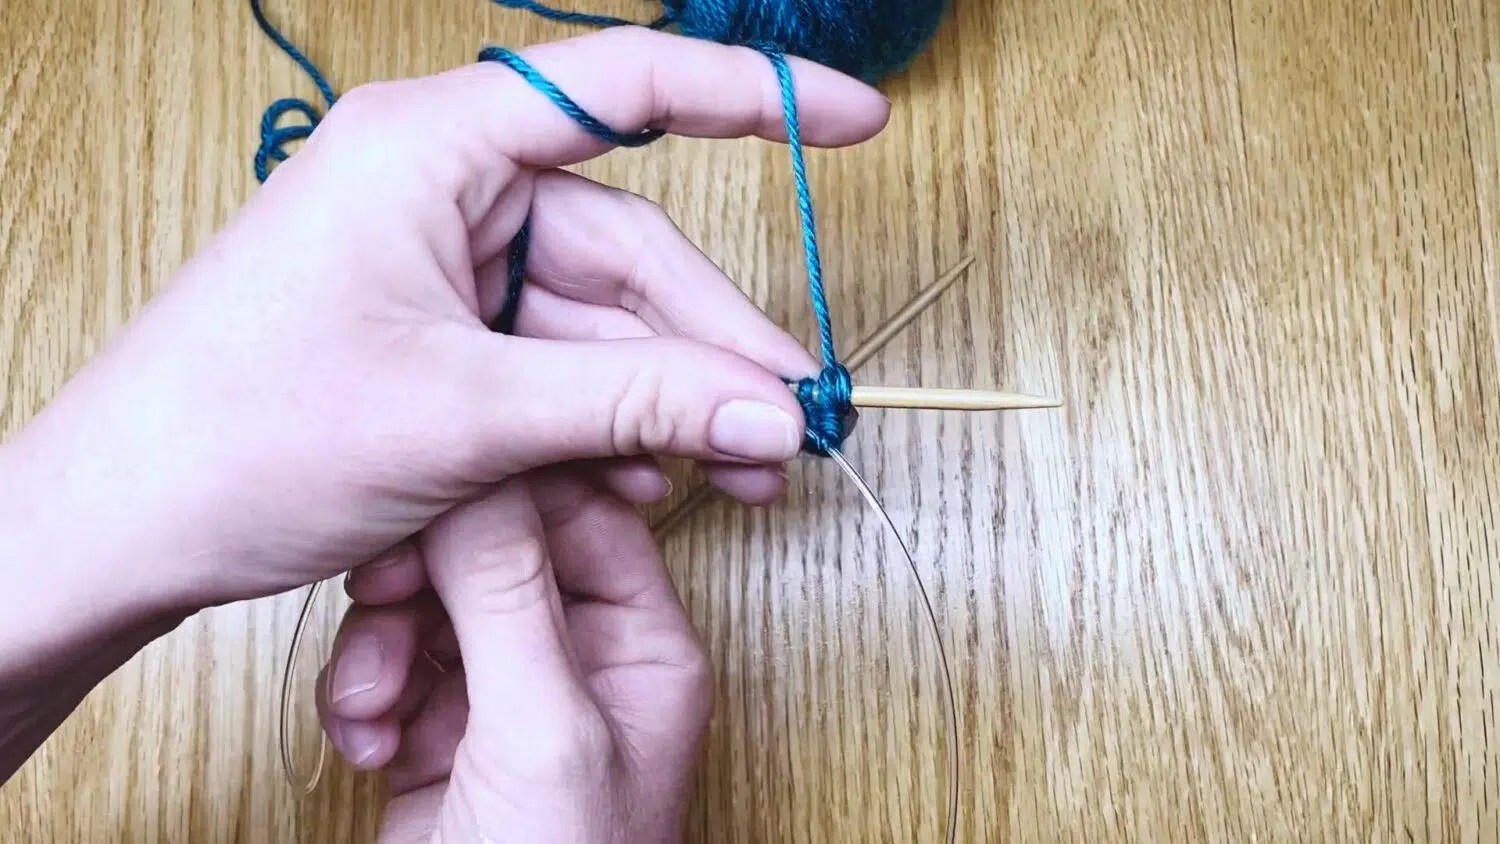
Magic Loop, Step 4:
With your right hand, pinch the section of cord located just between the two sets of stitches.

Magic Loop, Step 5:
Carefully, begin pulling the cord toward the right.

Magic Loop, Step 6:
As you pull on the cord, slide the two sets of stitches onto the two ends of the circular needle.

Magic Loop, Step 7:
Take care not to twist the cast on stitches as you move them toward the needle tips. The stitches on the needle closest to you should have a smooth edge. The stitches on the needle furthest from you should have a bumpy or purl-like edge.
Magic Loop, Step 8:
Once all the stitches have been slipped onto the needles, turn your work; do this by flipping both needle tips over, so they point toward your right.

Magic Loop, Step 9:
Grasp the front needle and the live stitches with your left hand. Pull the back needle toward your right, moving it out of the set of stiches it was holding. The stitches will now be held in place by the needle cord. Take extra care not to twist the stitches during this step.
Magic Loop, Step 10:
Bring the back needle around toward the front of your work, clasping it in your right hand and pointing the needle tips toward one another. Once again, ensure that you have not twisted your cast on stitches before moving to the next step.
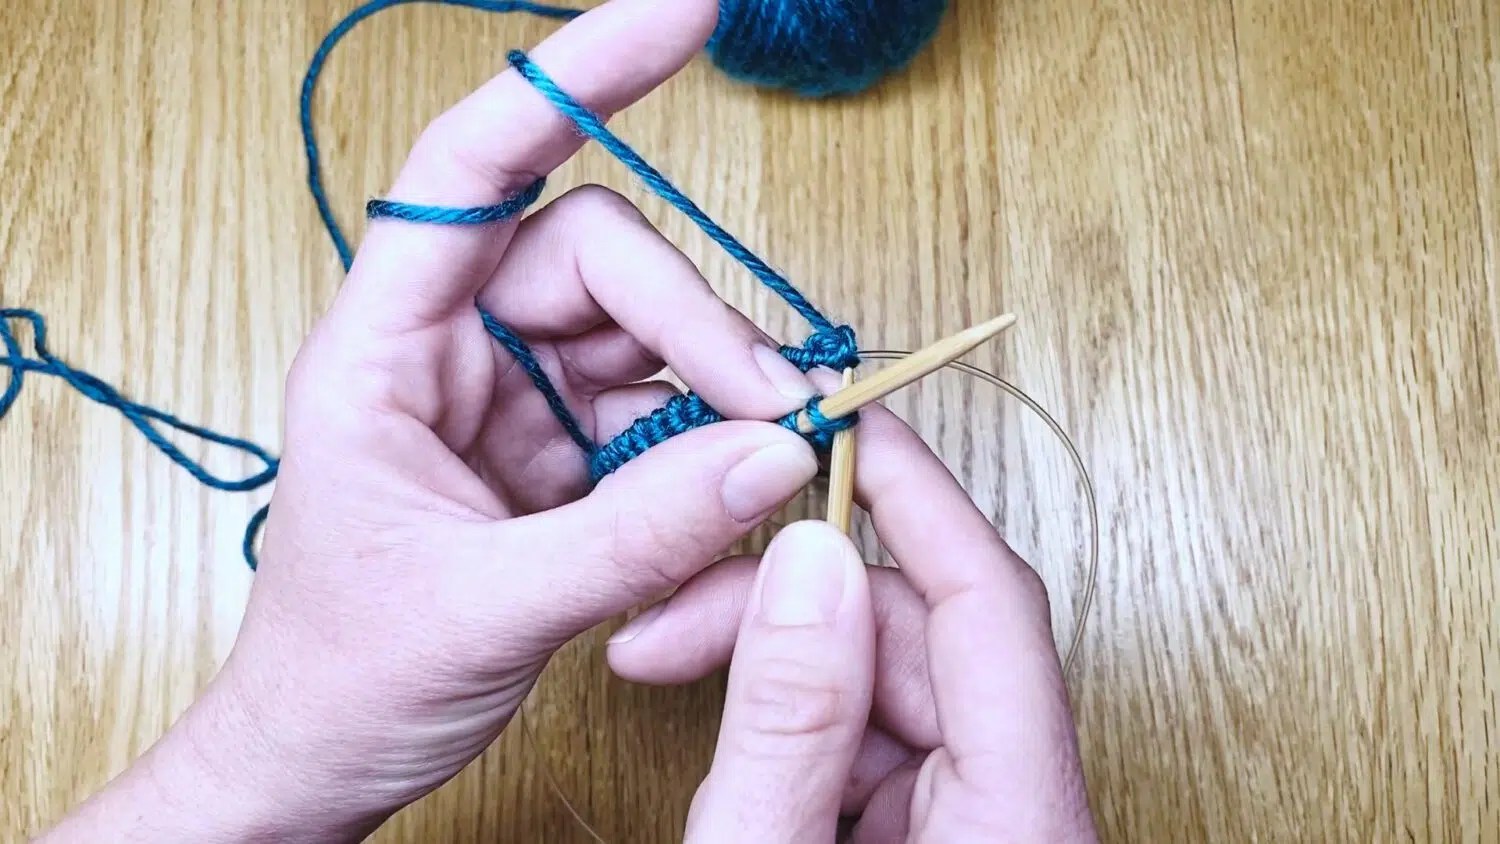
Magic Loop, Step 11:
Pick up the working yarn, which will be coming from the last live stitch on your cord, and wrap it on your hand in your desired knitting hold. Insert the right-hand needle tip into the first stitch on your left-hand needle tip (this is the slipknot / the first stitch you cast on).
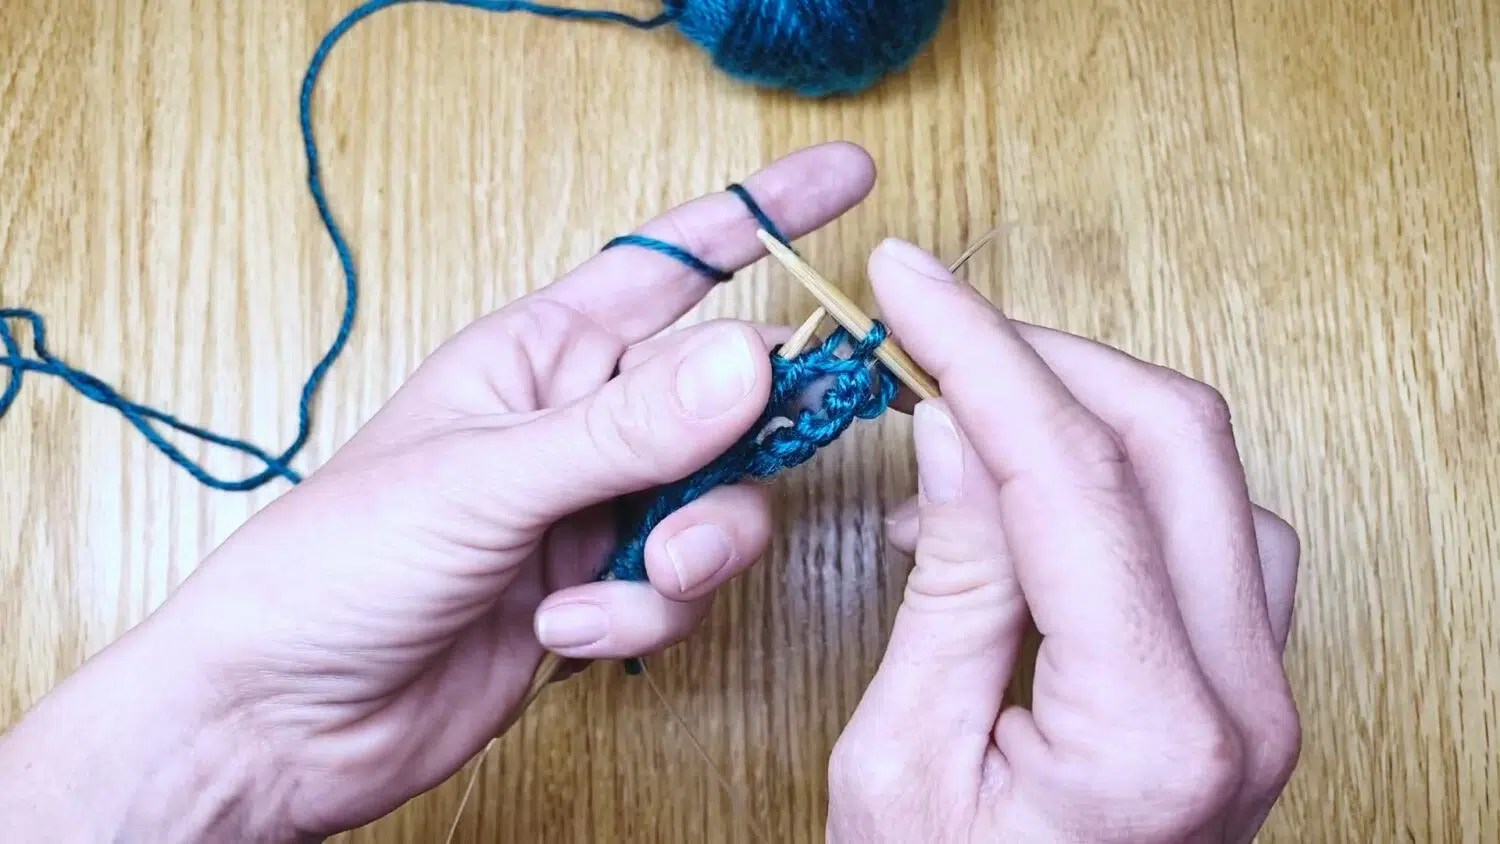
Magic Loop, Step 12:
Work the stitch as your pattern instructs. Here, the pattern calls for a knit stitch. This will join the round, connecting the two ends of the cast on. If you wish to use a stitch marker to keep track of your rounds, clip it to the strand that connects the cast-on ends at this point.

Magic Loop, Step 13:
Following your pattern, continue working stitches off the left-hand needle tip and onto the right. When you have worked all the stitches off the left needle, you have finished half of one row/round.
Magic Loop, Step 14:
Turn your work by rotating the entire project and pointing the needle tips toward the right.
Magic Loop, Step 15:
Pull the needle cord on the frontside of your work leftward to bring the front needle back into the live stitches.

Magic Loop, Step 16:
Pull the back needle toward your right, moving it out of the set of stiches it was holding.

Magic Loop, Step 17:
Bring the back needle around toward the front of your work, clasping it in your right hand and pointing the needle tips toward one another. Following your pattern, begin working the second half of your row off the left-hand needle and onto the right.
Magic Loop, Step 18:
When you have worked all the stitches off the left needle, you have finished the row/round.

Magic Loop, Step 19:
Turn your work by rotating the entire project and pointing the needle tips toward the right. Pull the needle cord on the frontside of your work leftward to bring the front needle back into the live stitches.

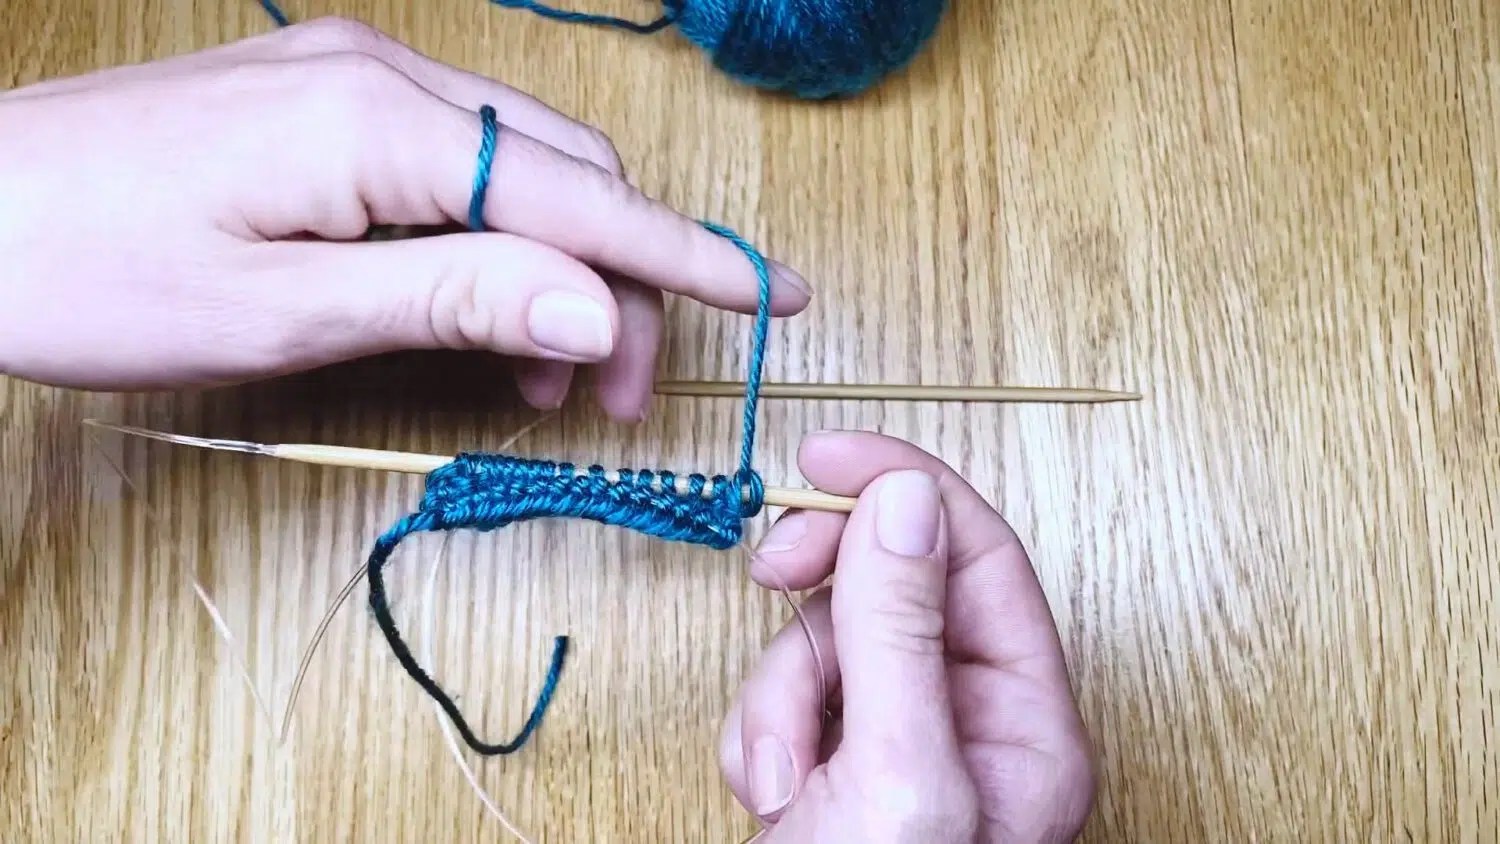
Magic Loop, Step 20:
After your cast on row, and knitting one full round, your piece will be connected by a single strand of yarn.

Magic Loop, Step 21:
Repeat steps 11 through 19 for each additional row/round in your pattern.

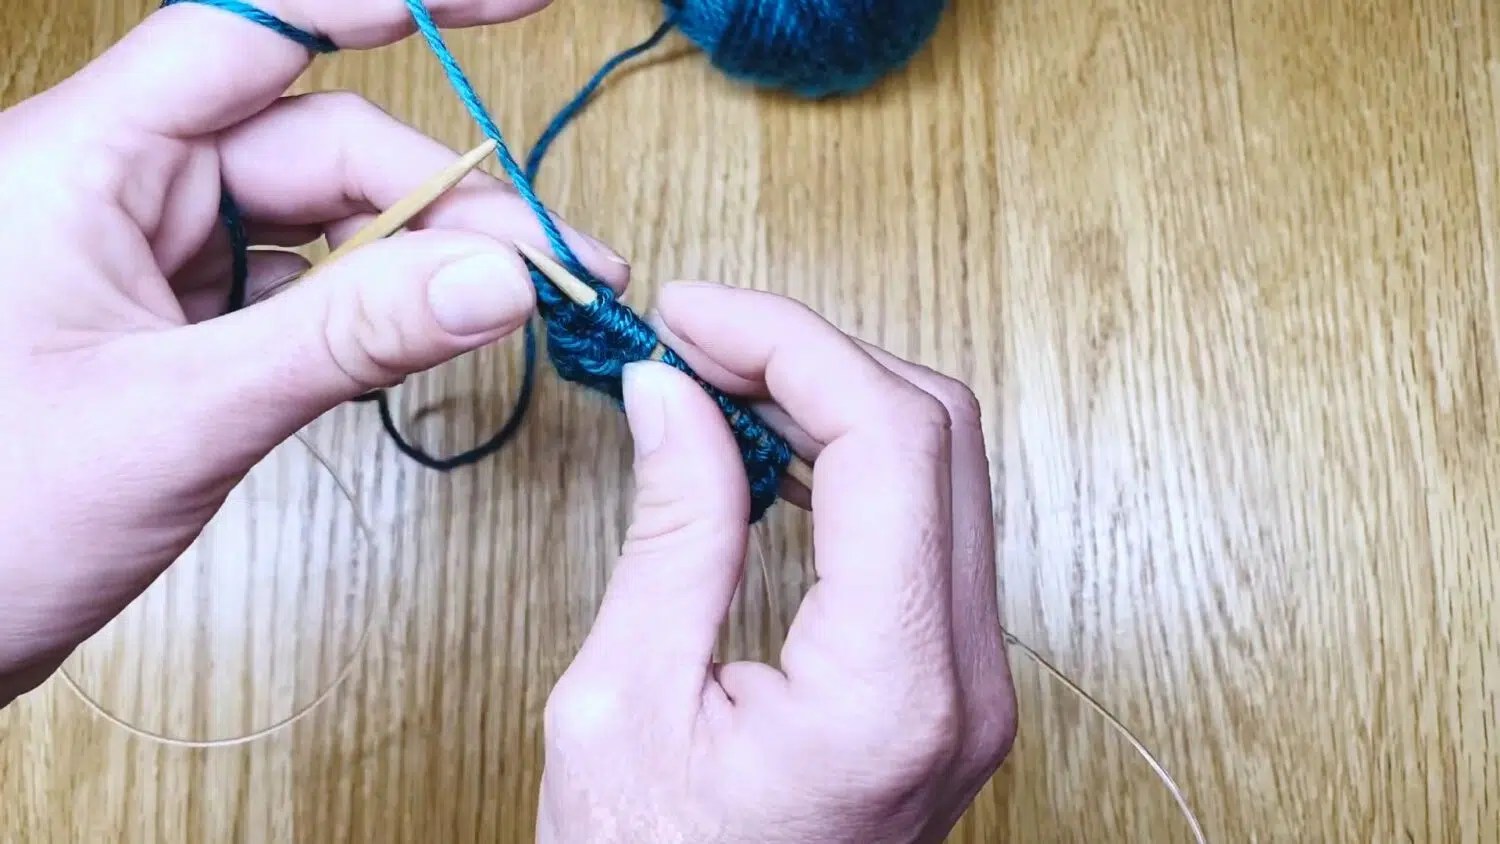
Magic Loop, Step 22:
After working several rows/rounds, your tube-shaped piece will be connected seamlessly.
The more circular rows or “rounds” that you knit in this spiral method, the more tube-like your knit will become.

Practice With My Knitting Pattern

My Beginner Knit Ear Warmer Pattern is a great place to start learning to knit in the round. The smaller sizes are especially fun to knit in the Magic Loop.

Up Next

In many of my patterns, you will be asked to switch needle sizes as you work in the round. In the next lesson, I’ll show you how to switch needle sizes when you are working in the Magic Loop.
Go Back to the Learn to Knit Index