Whether you have unraveled a project or just have some leftover yarn, by now you probably have some scraps that are in need of organization. Winding yarn into neat balls keeps your strings from becoming a hopeless tangled mess. While there are many ways to coil yarn for storage, center-pull yarn balls are the most versatile; they allow you to work directly from either end of the string.
(In the article below, I have linked to items on Amazon.com, so you can see examples of the equipment I reference. Please know all links to Amazon are affiliate links, and if you make a purchase through them, I will earn a small commission at no cost to you. Now, on to the important information.)
Center-Pull Yarn

Each ball of yarn is made of one long strand with two ends. There are a number of ways to coil the yarn so that it does not tangle. Some yarn is pre-wound into center pull balls or skeins (tube-shaped balls) by the manufacturer. When you see a string coming from the center of the ball or skein, you can probably work directly from either end.
Working from the center of a ball is often more convenient. When you work with the end on the outside of the ball, the yarn will likely roll and flop around. Yarn bowls and containers can help keep your yarn from escaping. But center-pull balls can be even more effective at reducing the movement of your ball of yarn. Pulling from outside of the ball forces it to roll. But when you pull from the center, the yarn uncoils without turning the ball.
Many yarn-makers, however, wind their yarn into “hanks” instead of center-pull balls or skeins. To make a hank, the manufacturer makes one large circle of yarn then twists it together for storage and shipping. Hanks are incredibly difficult to work from directly, so to use yarn that comes in a hank, you will need to wind it into a ball.

Machines like “yarn swifts” and “yarn winders” are available to assist you in turning yarn into a usable form. A yarn swift holds the yarn from a hank in place while you wind your ball. Then, you can use a yarn winder to turn that yarn into a “cake” which is much like a center pull ball. Or, instead of investing in fancy machines, you can use just your hands and wind hanks, leftovers, and frogged yarn into center-pull balls.
Video Guide: How to Wind a Center-Pull Yarn Ball
Written Guide: How to Wind a Center-Pull Yarn Ball
Below I’ll show you how to wind a center pull yarn ball step-by-step. I am winding the ball from a larger center-pull skein so that I can knit two items at once from the same yarn. I also wind partially used skeins into new balls for tidier storage.

Wind Yarn into a Ball, Step 1:
Drape the yarn end between your left pointer finger and thumb, laying it across your palm.

Wind Yarn into a Ball, Step 2:
Clasp the end of the yarn with your left ring and pinkie fingers, then, with your right hand, pick up the other end of the yarn just above your left pointer finger. With the strand in your right hand, begin to wrap the yarn over the top of your left pointer finger.

Wind Yarn into a Ball, Step 3:
Bring the yarn down between your pointer and middle fingers, then between your thumb and pointer finger, forming a loop around your left pointer finger.

Wind Yarn into a Ball, Step 4:
Wrap the yarn around your left thumb in a counterclockwise motion.

Wind Yarn into a Ball, Step 5:
Wind the yarn up between your left thumb and pointer finger to form a figure-eight (8) shape.

Wind Yarn into a Ball, Step 6:
Continue wrapping the yarn around your pointer finger and thumb in figure eight shapes (as in steps two thru five).

Wind Yarn into a Ball, Step 7:
When you have wrapped the yarn around your fingers in figure eights at least 20 times, you can stop and move to the next step. To make a larger ball of yarn, wrap more figure eights; when the yarn wraps reach your left thumb knuckle, move to step eight.

Wind Yarn into a Ball, Step 8:
With your right thumb and pointer finger, pinch all the strands at the center of the figure-eight shape (just between your left thumb and pointer finger).

Wind Yarn into a Ball, Step 9:
While continuing to pinch the center of the yarn figure-eight with your right hand, gently remove your left hand from the yarn loops.

Wind Yarn into a Ball, Step 10:
Continue to pinch the center of the figure-eight with your right hand.

Wind Yarn into a Ball, Step 11:
With your left hand, fold the two loops of the figure eight up, toward each other, pinching them together over your right thumb.

Wind Yarn into a Ball, Step 12:
While continuing to pinch the loops with your left hand, gently remove your right thumb. Pick up the yarn strand you have been winding with your right hand.

Wind Yarn into a Ball, Step 13:
Gently wind the strand in your right hand around the yarn you have pinched in your left hand. Be sure you do not wrap the tail end of the yarn into the ball, or you will lose your center-pull. Also, try not to wind too tightly; this can make yarn lose its stretch.

Wind Yarn into a Ball, Step 14:
Continue winding your yarn around until you have formed a ball in your desired size. Always ensure you do not wrap the center-pull end into the ball. When you are finished wrapping, clip the yarn with scissors (if necessary). Carefully tuck the end that you held with your right hand into the ball to secure it in place.

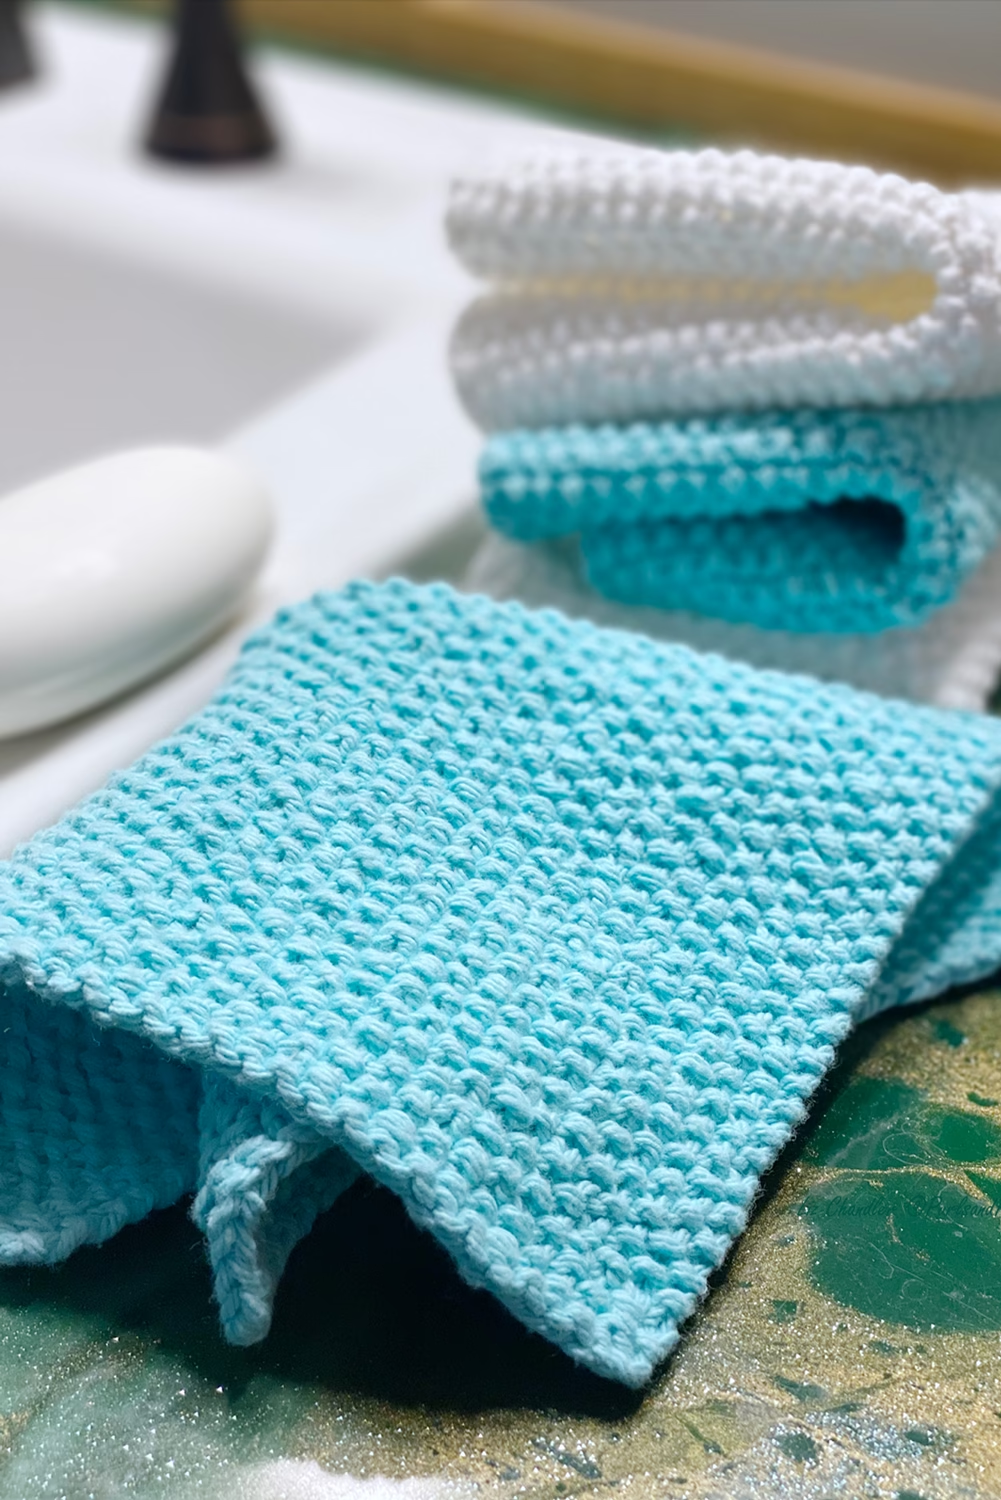
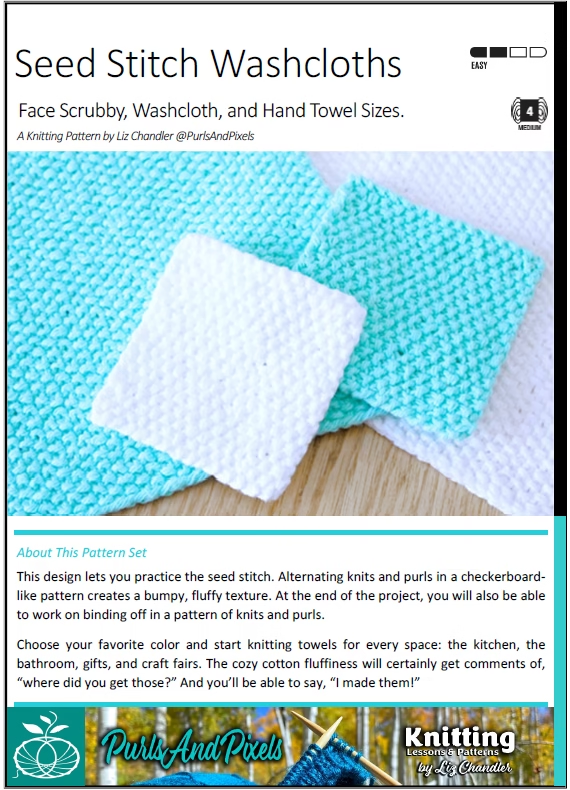
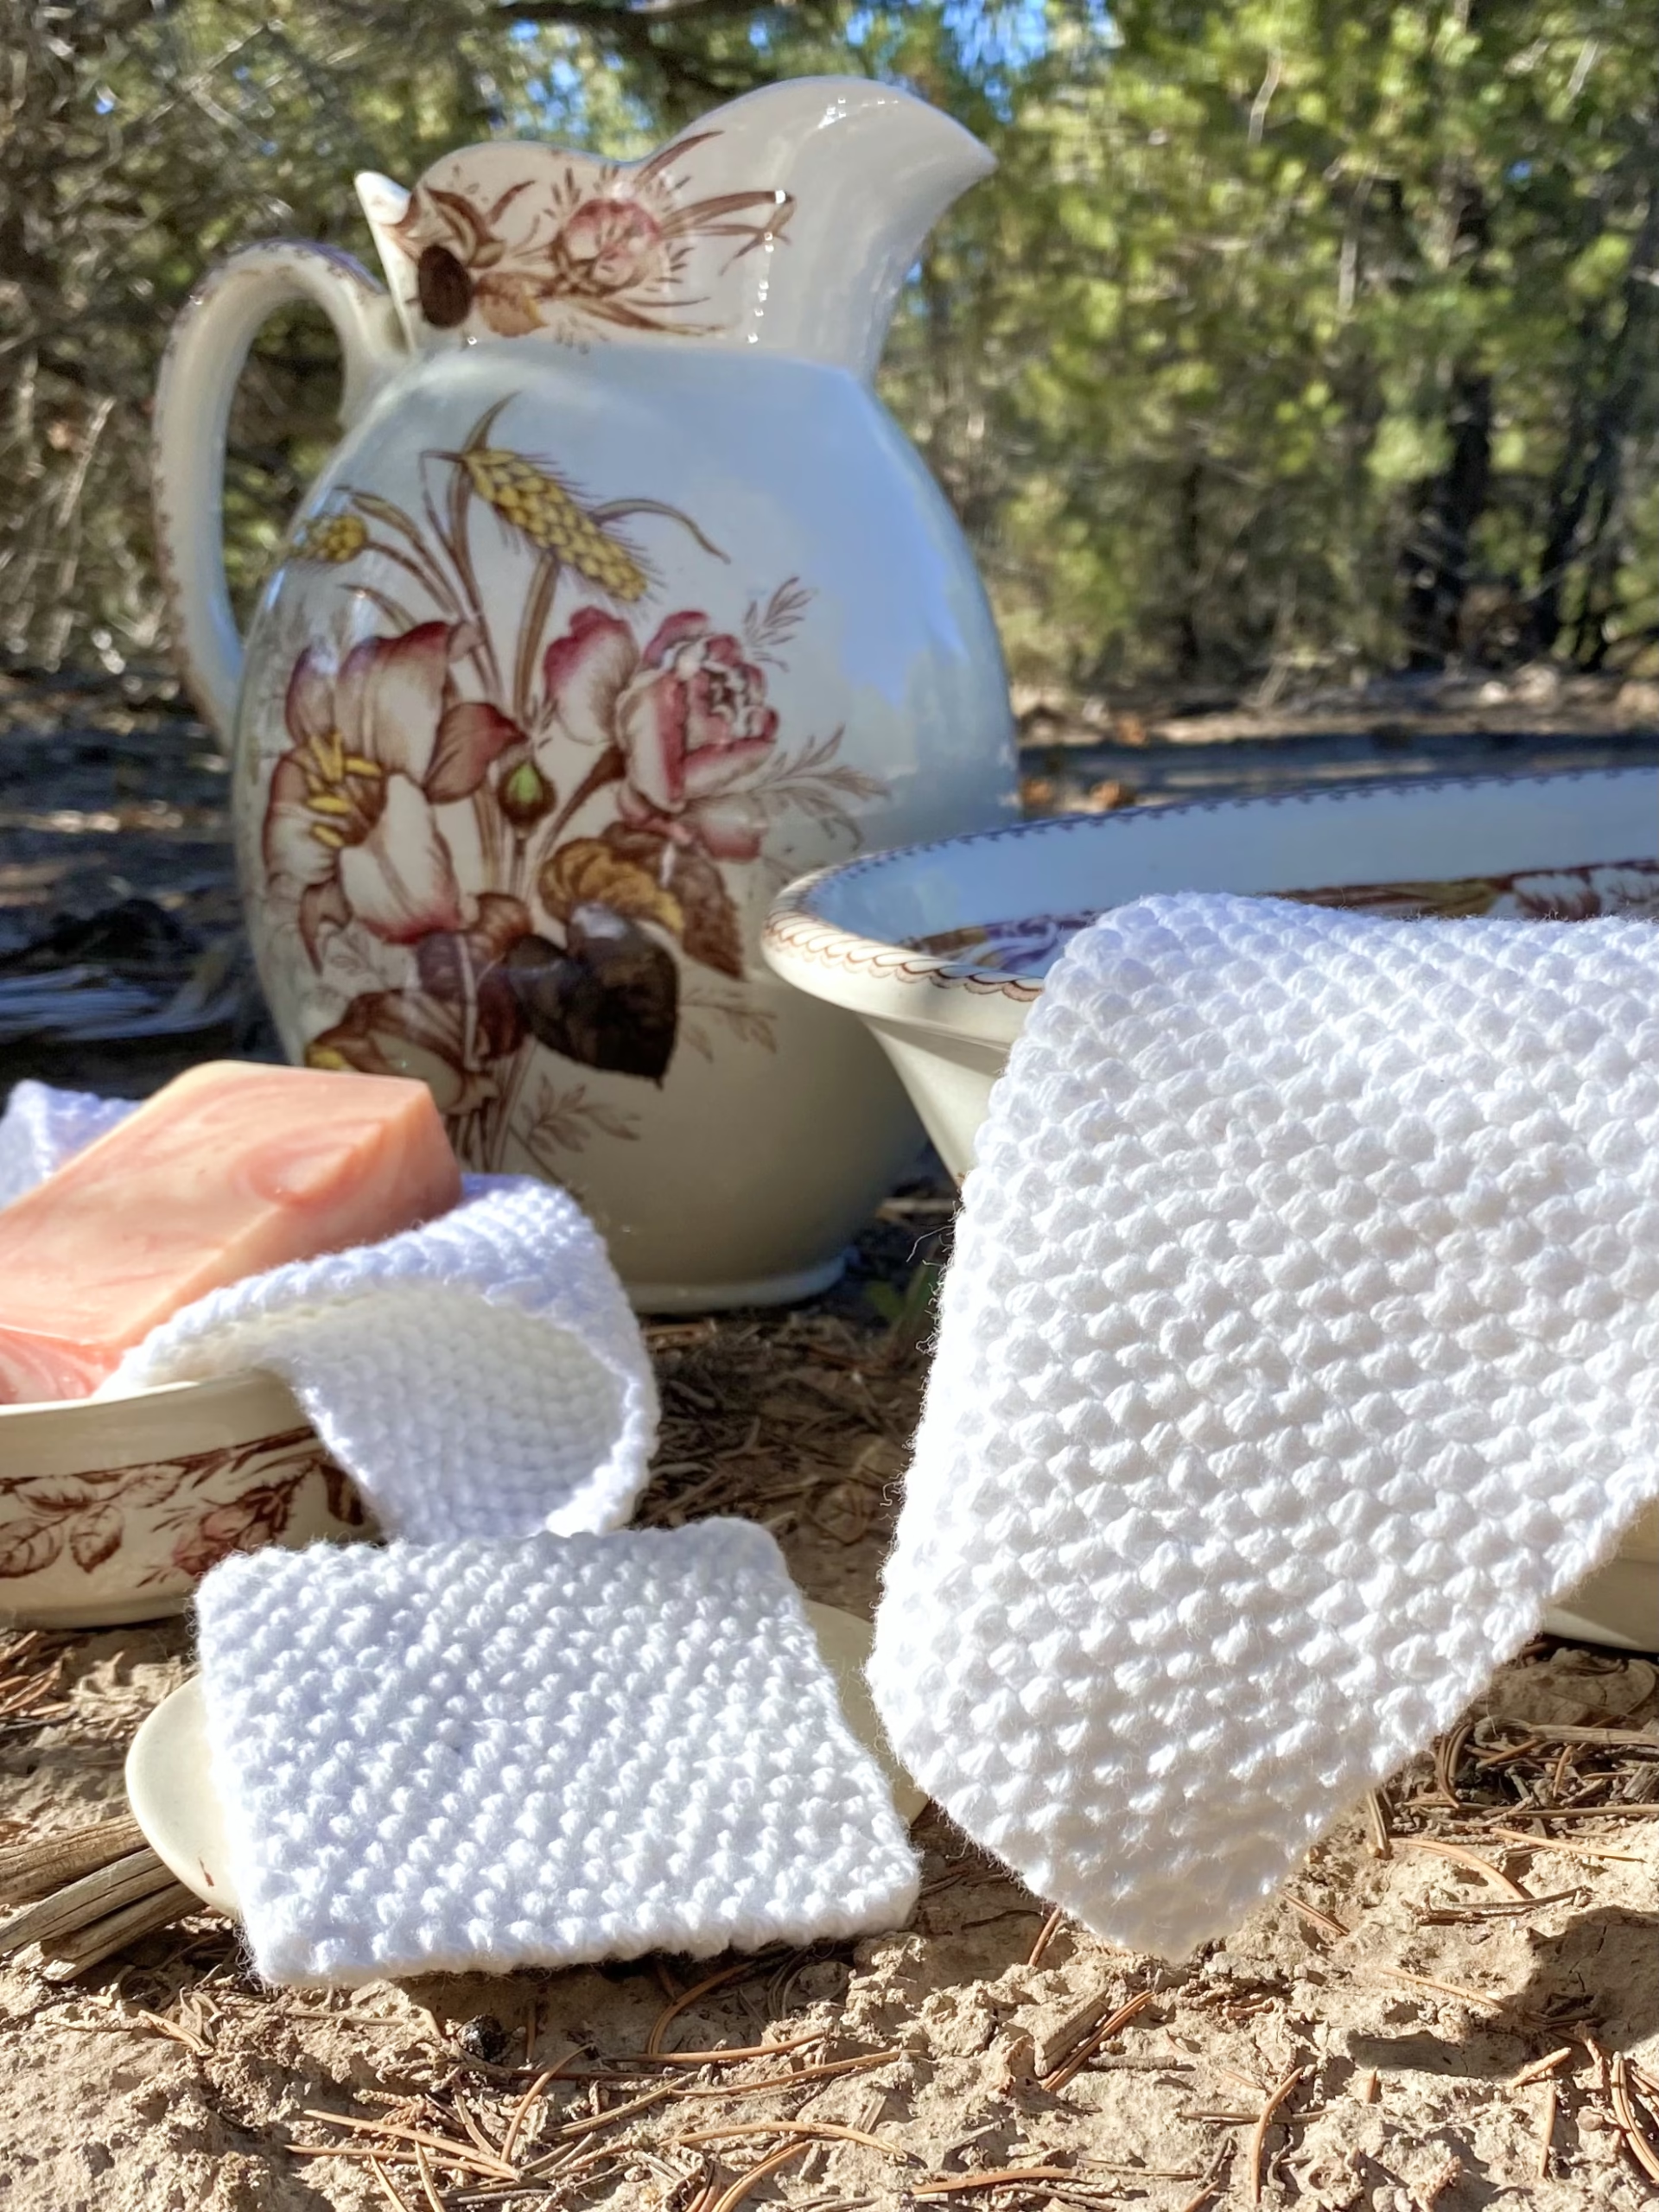
Practice With My Knitting Patterns

If you’ve been following my lessons, you now have enough information to knit all of the washcloths and face scrubbies in my Simple Washcloth Knitting Pattern Collection. Happy knitting!

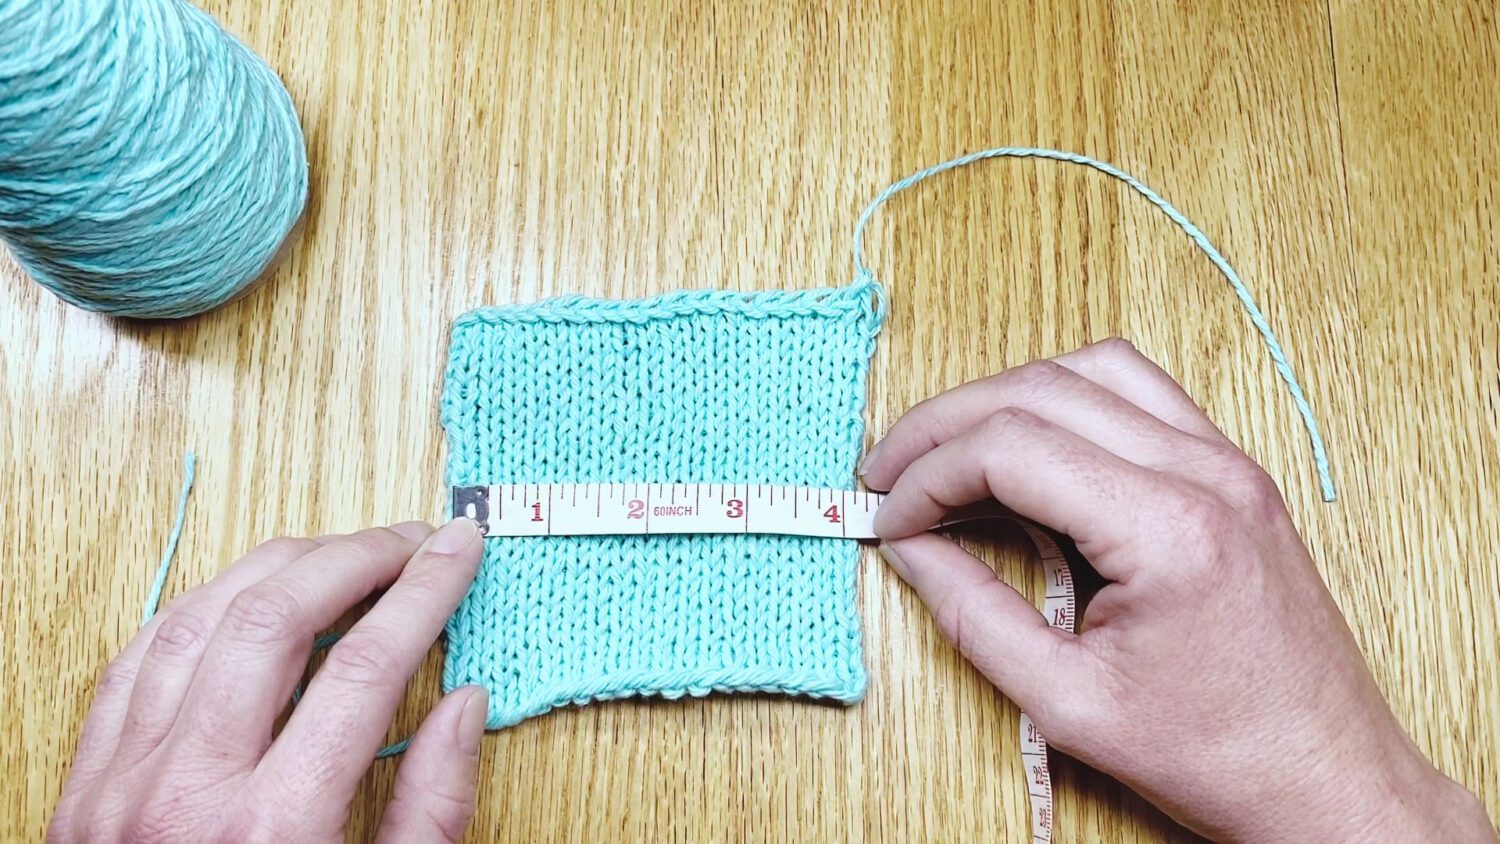
Up Next

Next up, a lesson about gauge. Learn what gauge means in knitting and you to check your gauge to make sure your knits end up the right size.


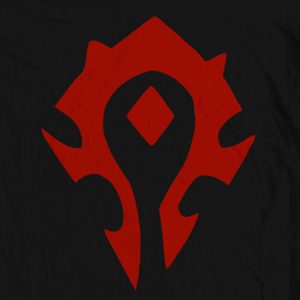 First, I charted out the Horde symbol so that I could make the shape with individual knitting stitches. I included two diamonds with the Horde symbol to make the knitting more practical (it is hard to carry the red yarn over a large field of black). I also added a fair isle border to make the hat a little more interesting. Then, I used the adult XL size of my favorite