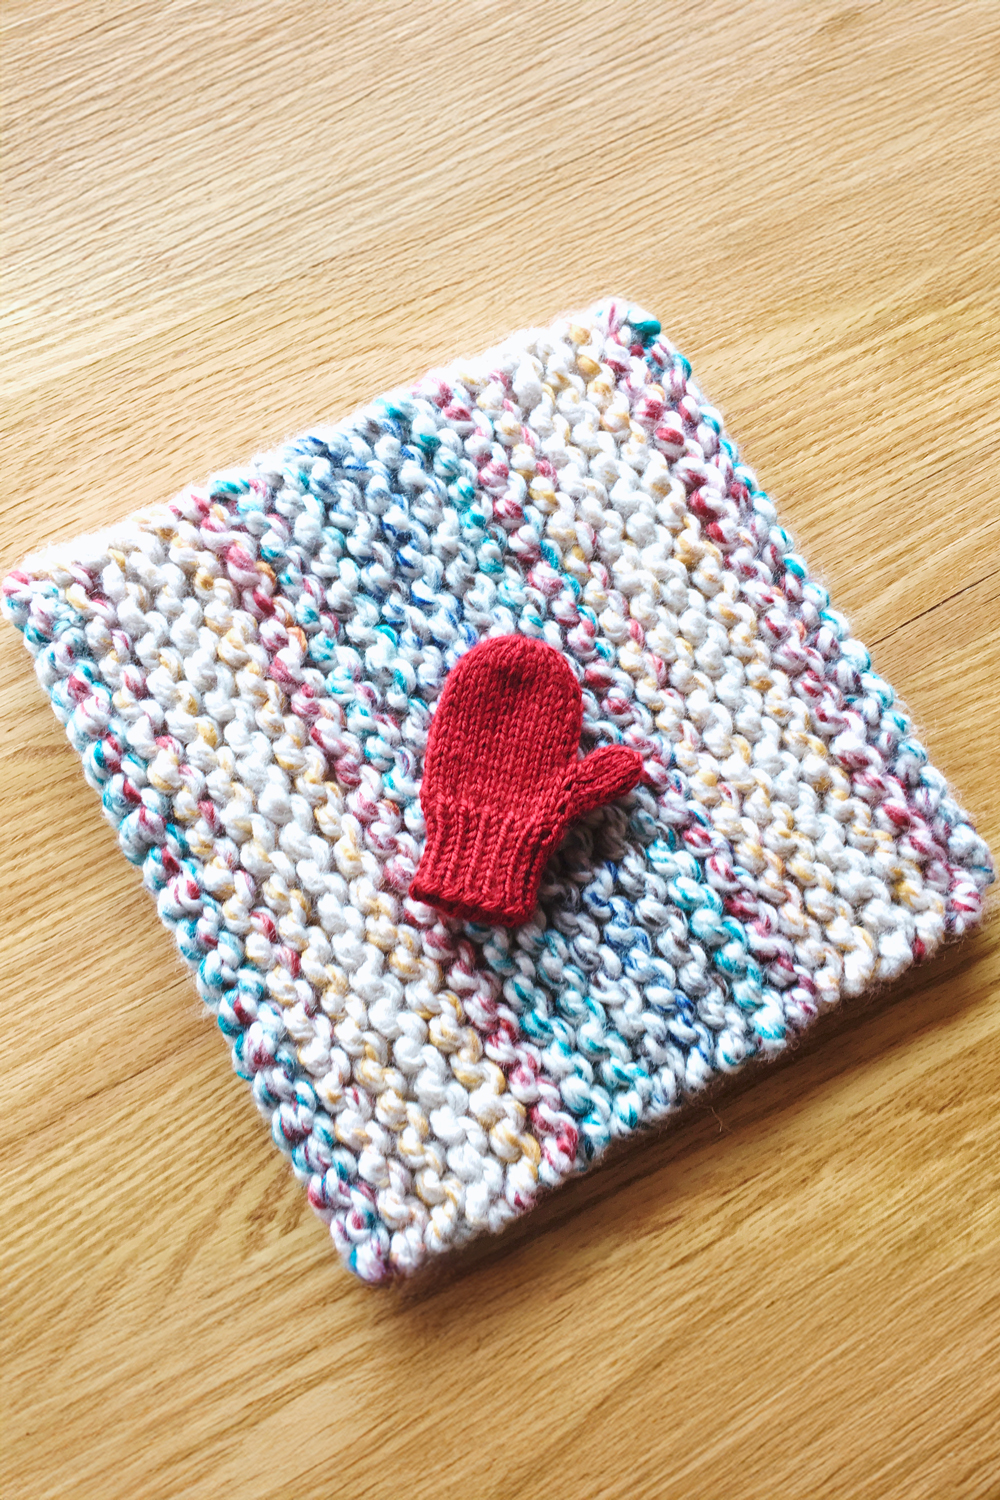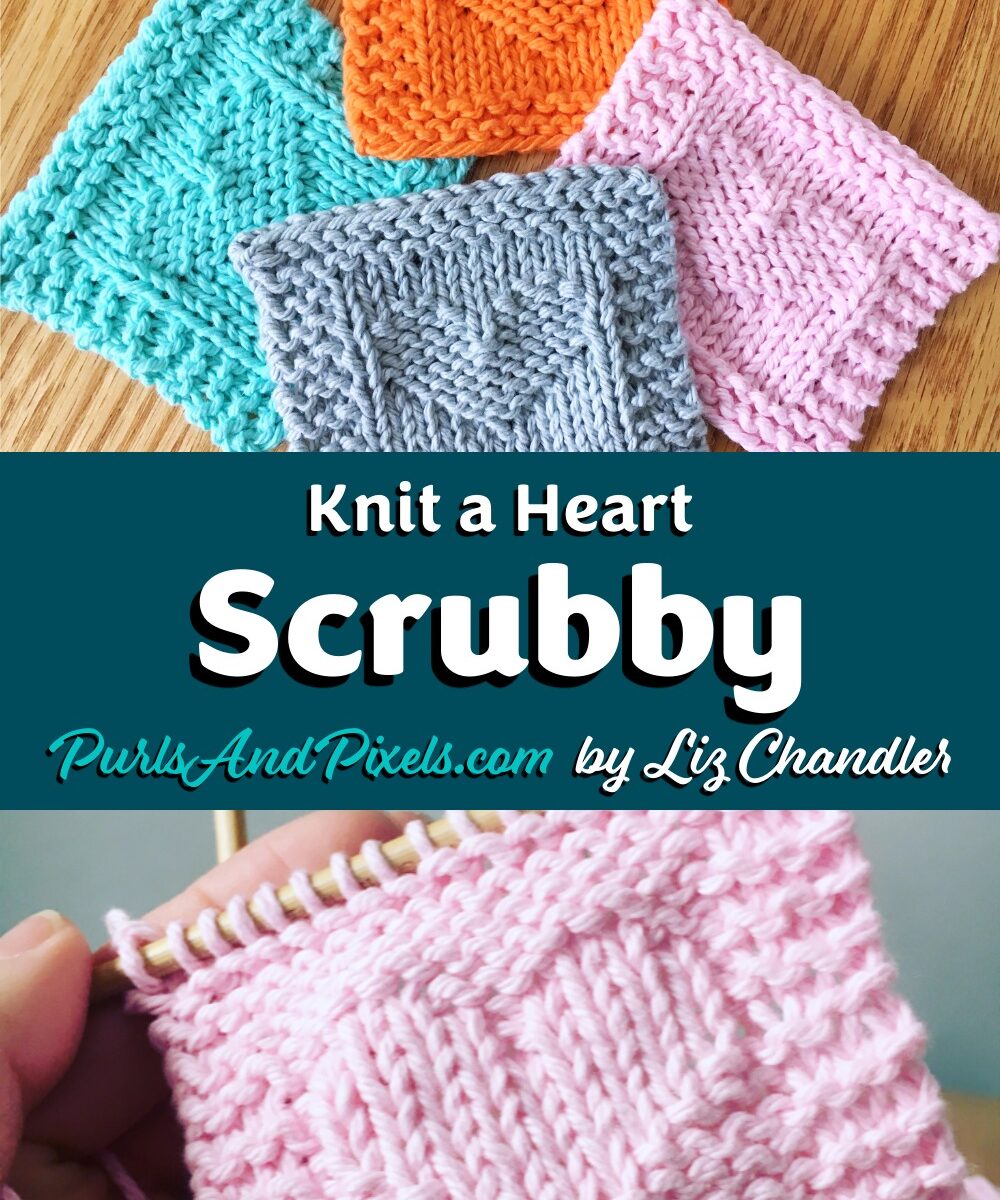
I’d like to give you all a little gift this Valentines day, so I have written up a quick heart face scrubby free knitting pattern. Enjoy!

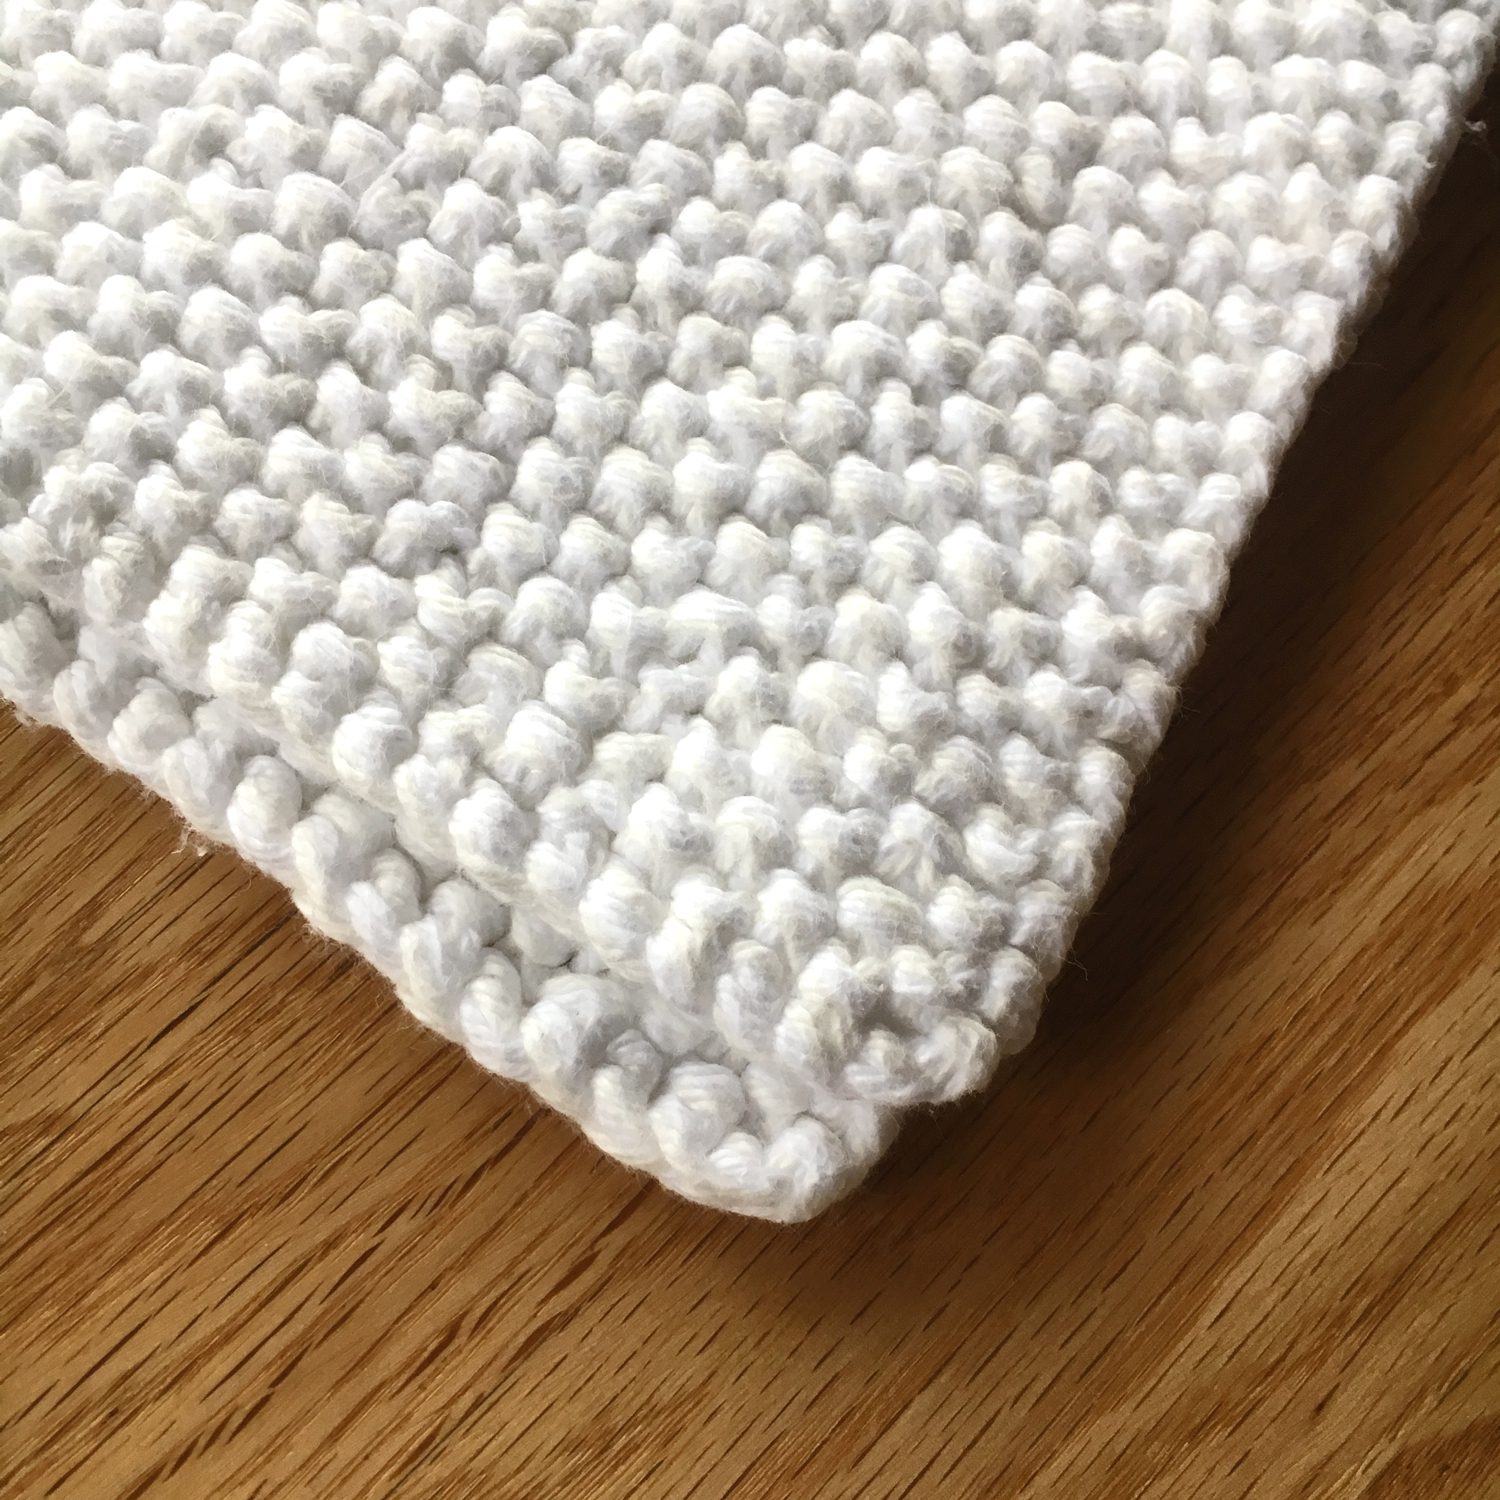
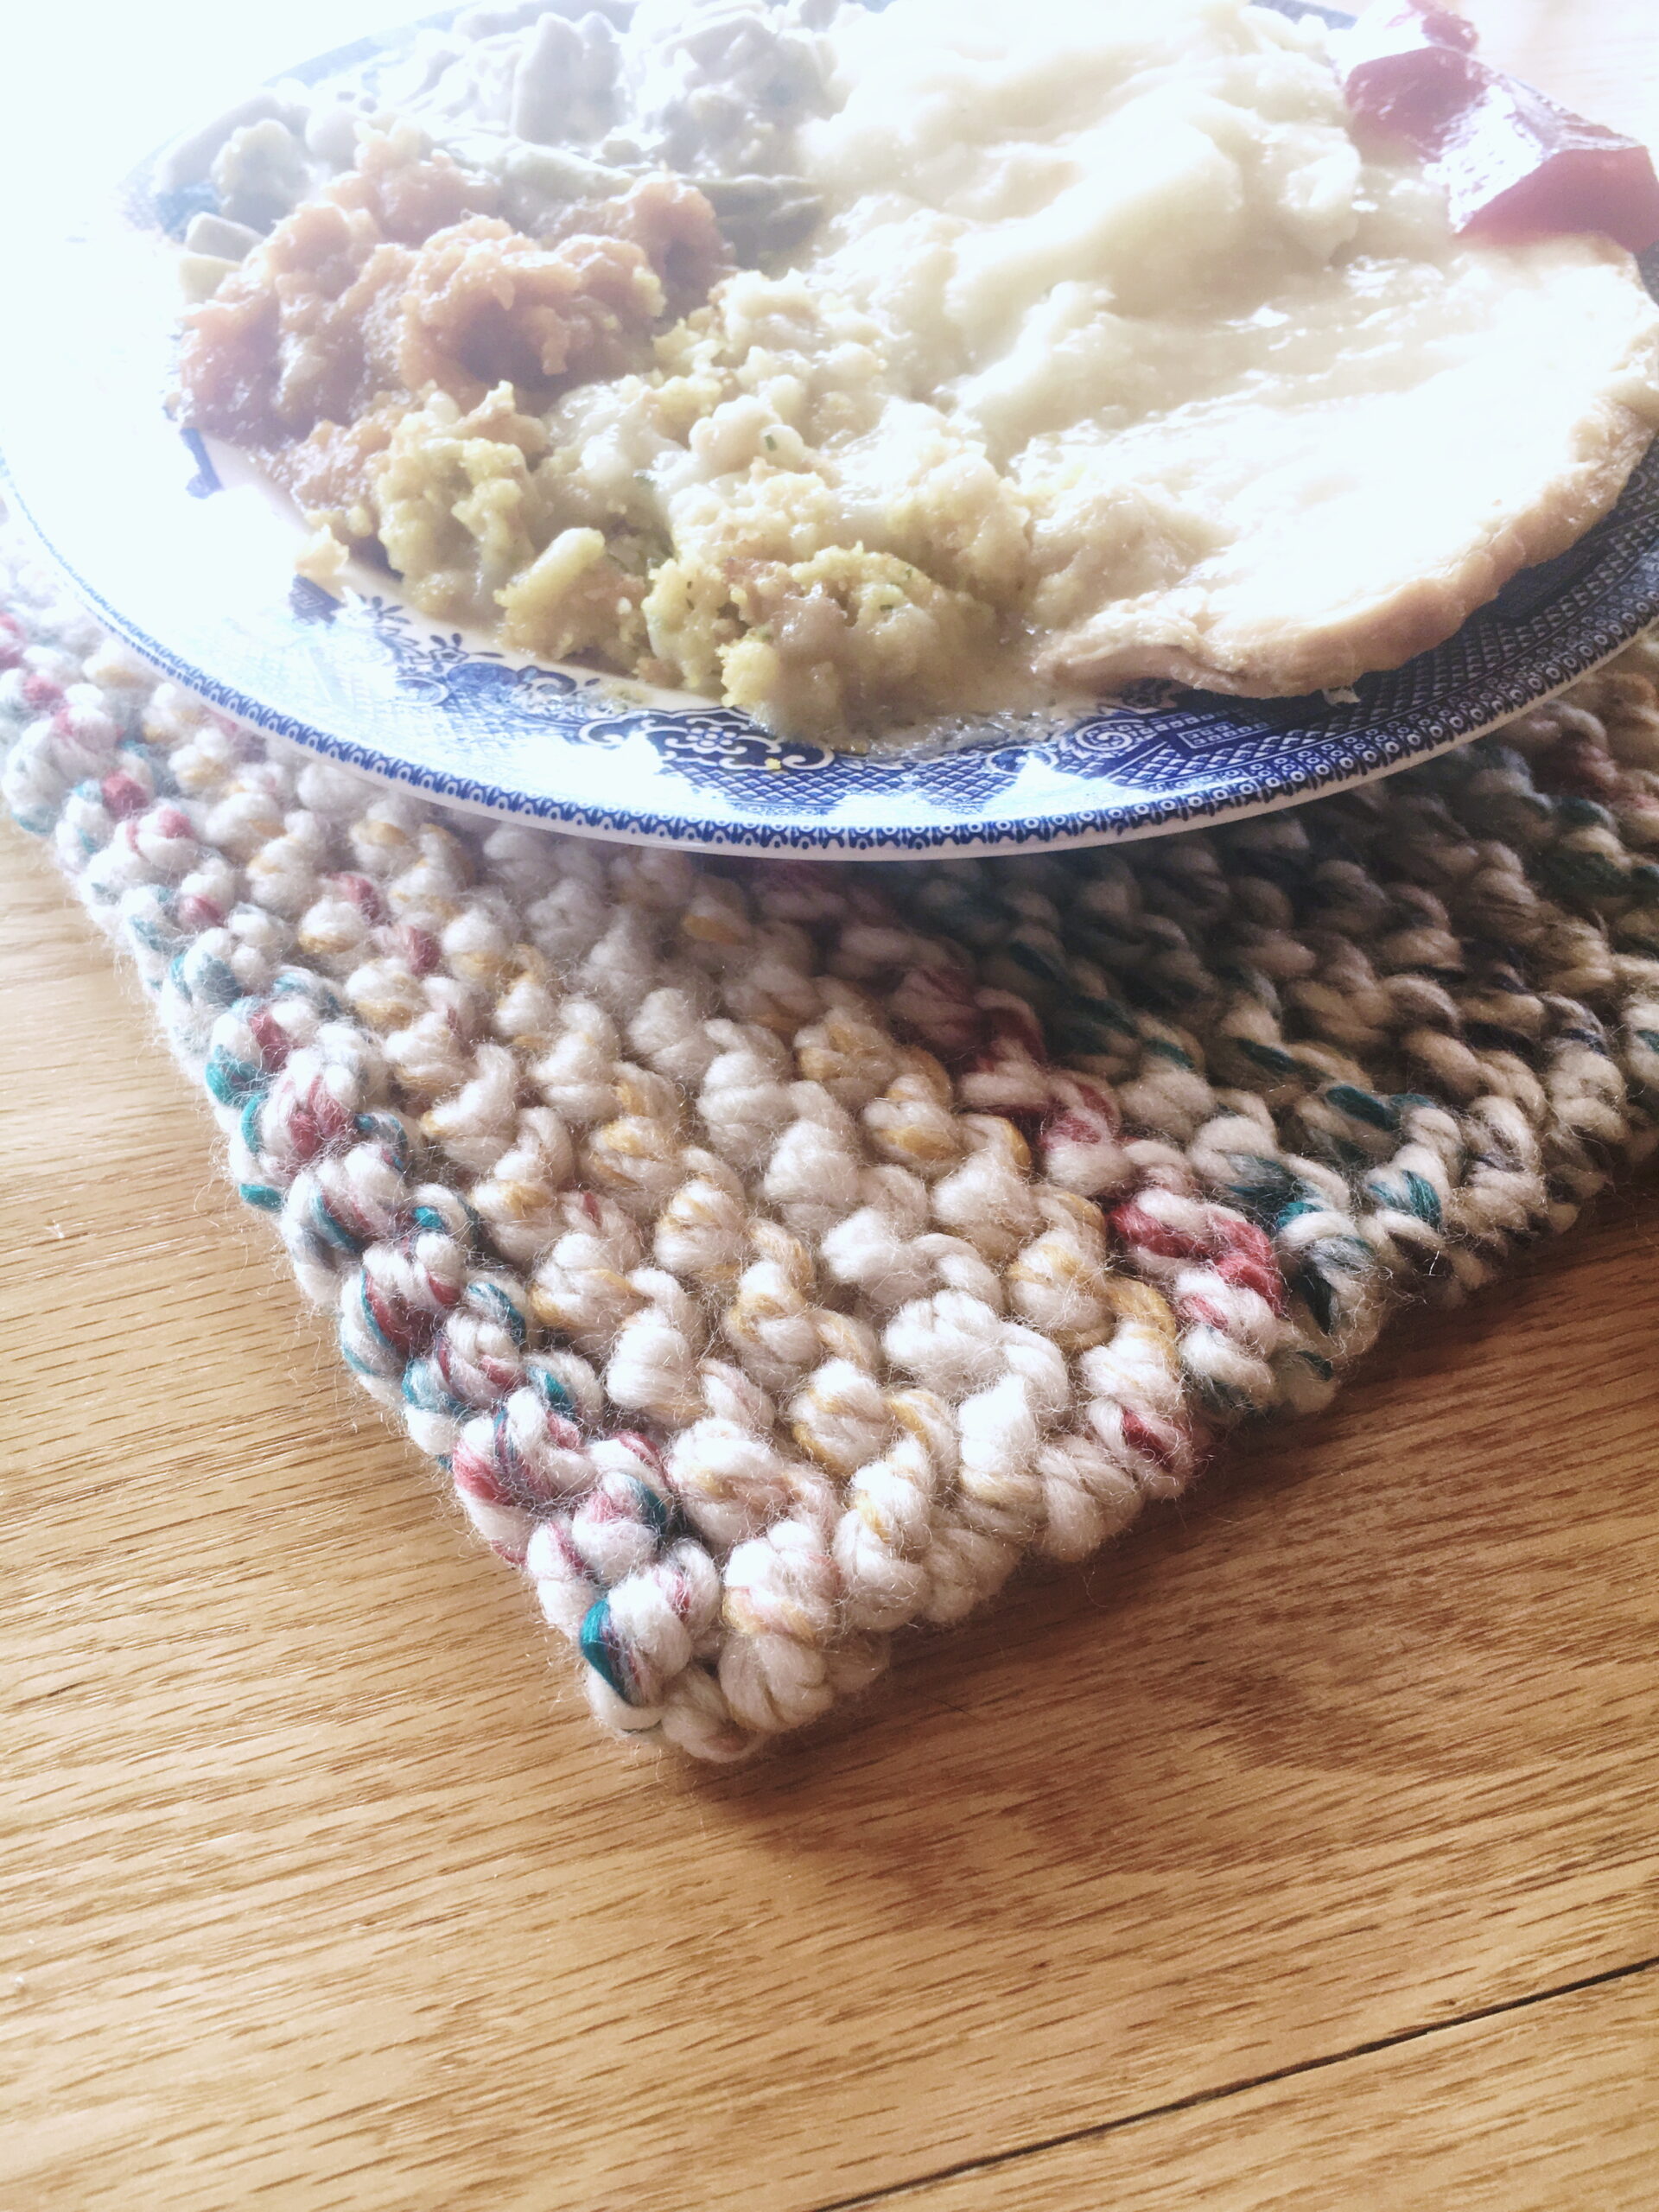
I love to use little handmade cotton squares to use with makeup remover and micellar water. Rather repeatedly throwing away disposable cotton pads, I make my own little face scrubbies with cotton yarn. After I use one, I put it in a Mason Jar, then when my collection is dirty I wash them up. A little OxyClean in the wash really helps to get them clean of makeup residue and then they’re ready to use again.
Prefer to knit offline?
This pattern is free to read below, but if you’d rather print it or save it for later, I’ve created a clean, ad-free PDF version for you.
- Includes row-by-row instructions and a knitting chart.
- Easy to print or use on your tablet.
- Supports my small business. 💖

These little heart scrubbies are super quick to make. The simple pattern also makes them easy to knit. They don’t use much yarn either, so they’re great for using up leftover scrap yarn.
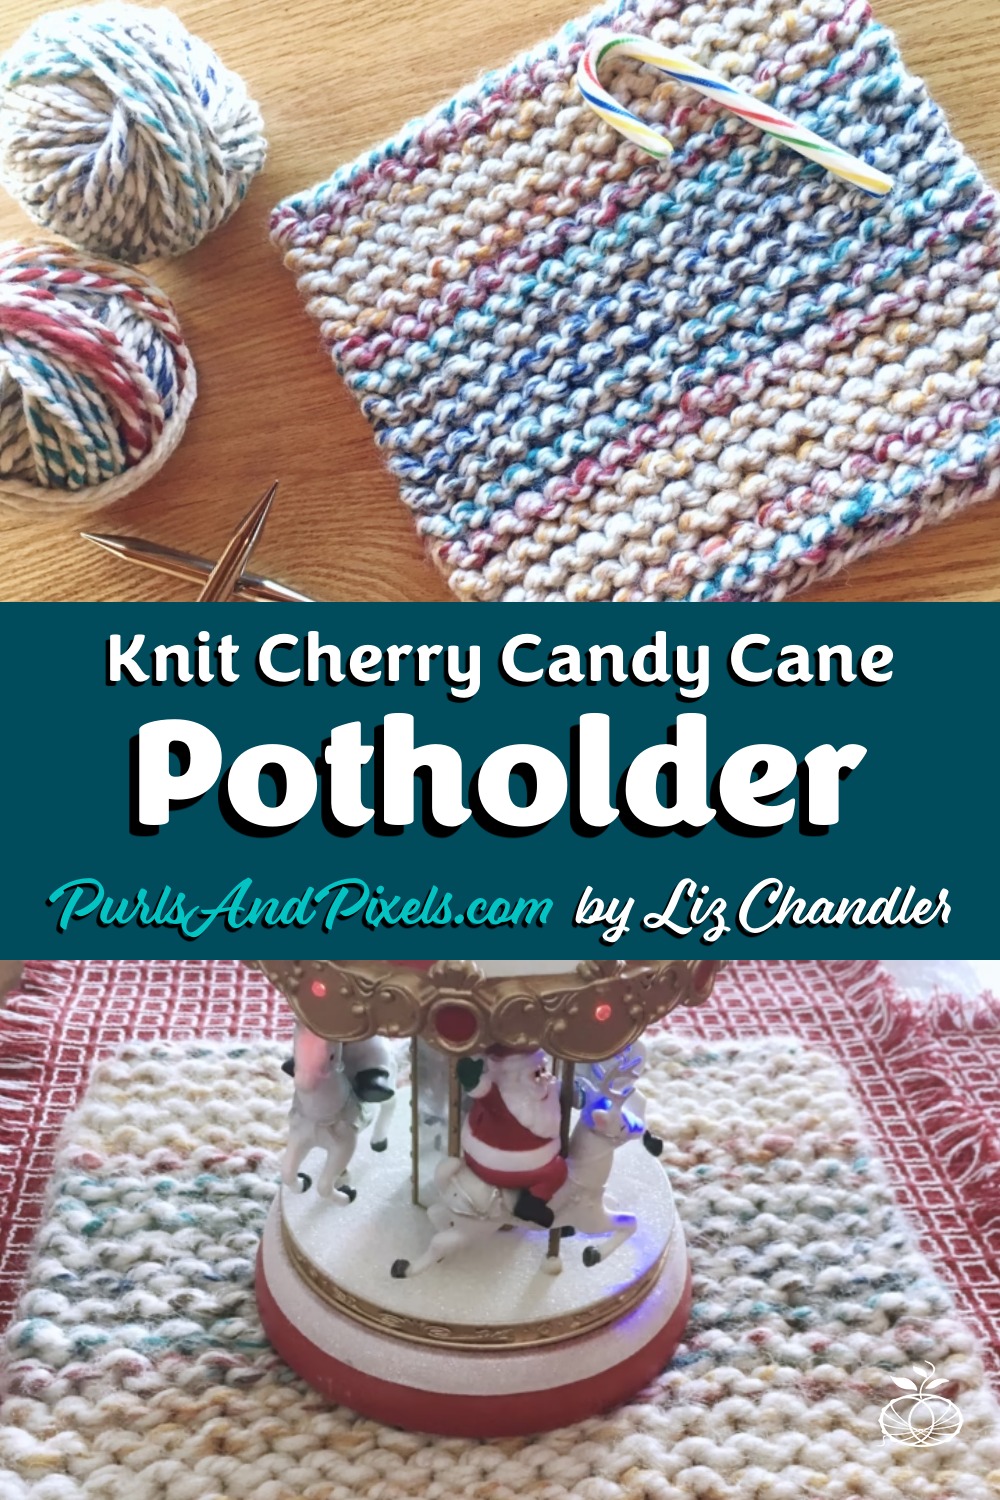
Make a bunch for your own facial care routine. Or create a little gift basket for Valentines Day or other holidays. Add several scrubbies, a wide-mouth mason jar (for storing used scrubbies that need to be washed), and makeup remover or micellar water to a cute basket and you’ve got a beautiful handmade spa basket. You could even throw in some nice soap and a few full-sized washcloths to make it extra-special (find my seed stitch washcloth pattern here).

About this Knitting Pattern
This heart face scrubby pattern is a beginner to easy level knitting pattern and is great for knitters who have an understanding of knits and purls.
Materials
Yarn
One 95-yard (2 ounce) skein of cotton worsted weight yarn (shown in Lily Sugar ‘n Cream 100% Cotton Yarn), in your choice of color
- one heart face scrubby uses about 9.5 yards (0.2 oz.)*
*Weight estimated with Lily Sugar n’ Cream yarn; other yarn weights may vary.
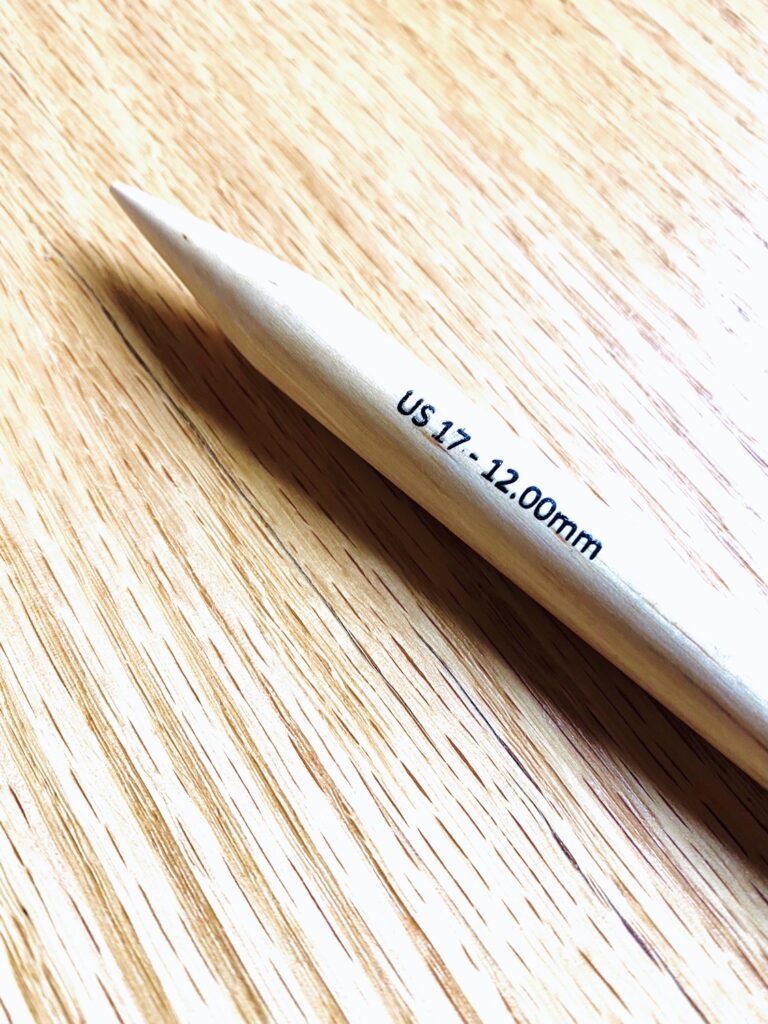
Knitting Needles
36-inch (91 cm) long US No. 7 (4.5 mm) circular needle or 9-inch (23 cm) long US No. 7 (4.55 mm) straight needles (or size needed to obtain gauge)
Notions
Gauge
19 stitches x 26 rows = 4 x 4 inches in stockinette stitch on No. 7 (4.5 mm) needles. (Learn how to check your gauge here.)
Abbreviations
k = knit
p = purl
Instructions: Heart Face Scrubby
(3 inches x 3.5 inches (unwashed) & shrinks to 3 inches x 3 inches after machine washing in cold water )
Knit flat, turning after each row.
Row 1: Cast on 17 stitches. Turn.
Rows 2 – 5: k 17. (17 stitches) Turn.
Row 6: k 3, p 11, k 3. (17stitches) Turn.
Row 7: k 17. (17 stitches) Turn.
Row 8: k 3, p 5, k 1, p 5, k 3. (17 stitches) Turn.
Row 9: k 7, p 3, k 7. (17 stitches) Turn.
Row 10: k 3, p 3, k 5, p 3, k 3. (17 stitches) Turn.
Row 11: k 5, p 7, k 5. (17 stitches) Turn.
Row 12: k 3, p 1, k 9, p 1, k 3. (17 stitches) Turn.
Row 13: k 4, p 9, k 4. (17 stitches) Turn.
Row 14: k 3, p 1, k 4, p 1, k 4, p1, k 3. (17 stitches) Turn.
Row 15: k 4, p 4, k 1, p 4, k 4. (17 stitches) Turn.
Row 16: k 3, p 2, k 2, p 3, k 2, p 2, k 3. (17 stitches) Turn.
Row 17: k 17. (17 stitches) Turn.
Row 18: k 3, p 11, k 3. (17 stitches) Turn.
Rows 19 – 22: k 17. (17 stitches) Turn.
Row 23: Bind off in knit stitches. Cut yarn, leaving an 8-inch tail, and pull through.
Weave in ends. Block if desired.
Knitting Chart
For this simple pattern you may or may not find a chart helpful. It’s included in case you’d like it.

Print the Heart Face Scrubby Free Knitting Pattern

Printable Heart Face Scrubby Free Knitting Pattern PDF by Liz @PurlsAndPixels
Care
If you use the materials called for in the pattern, your final product will be machine washable. To keep your heart face scrubbies looking their best, hand wash or machine wash separately on delicate cycle in cold water. A scoop of OxiClean can be added to the wash to help remove makeup residue. You may tumble dry on low heat or lay flat to dry.
Note: these scrubbies will shrink from 3 x 3.5 inches to 3 x 3 inches after washing as directed above.

©2019, Liz Chandler of PurlsAndPixels. Revised 2025.
This pattern is for personal use, gifting, and charitable donation of completed items. You may also sell handmade items created using this pattern. Do not copy this pattern and distribute it. If you’d like to share the pattern, refer your friends to my website, purlsandpixels.com so they may obtain a copy.
If you find any errors or have any questions, email purlsandpixels@gmail.com and I will do my best to help.
I’d love to see your finished work! Tag your photos with @PurlsAndPixels on Twitter or Instagram.
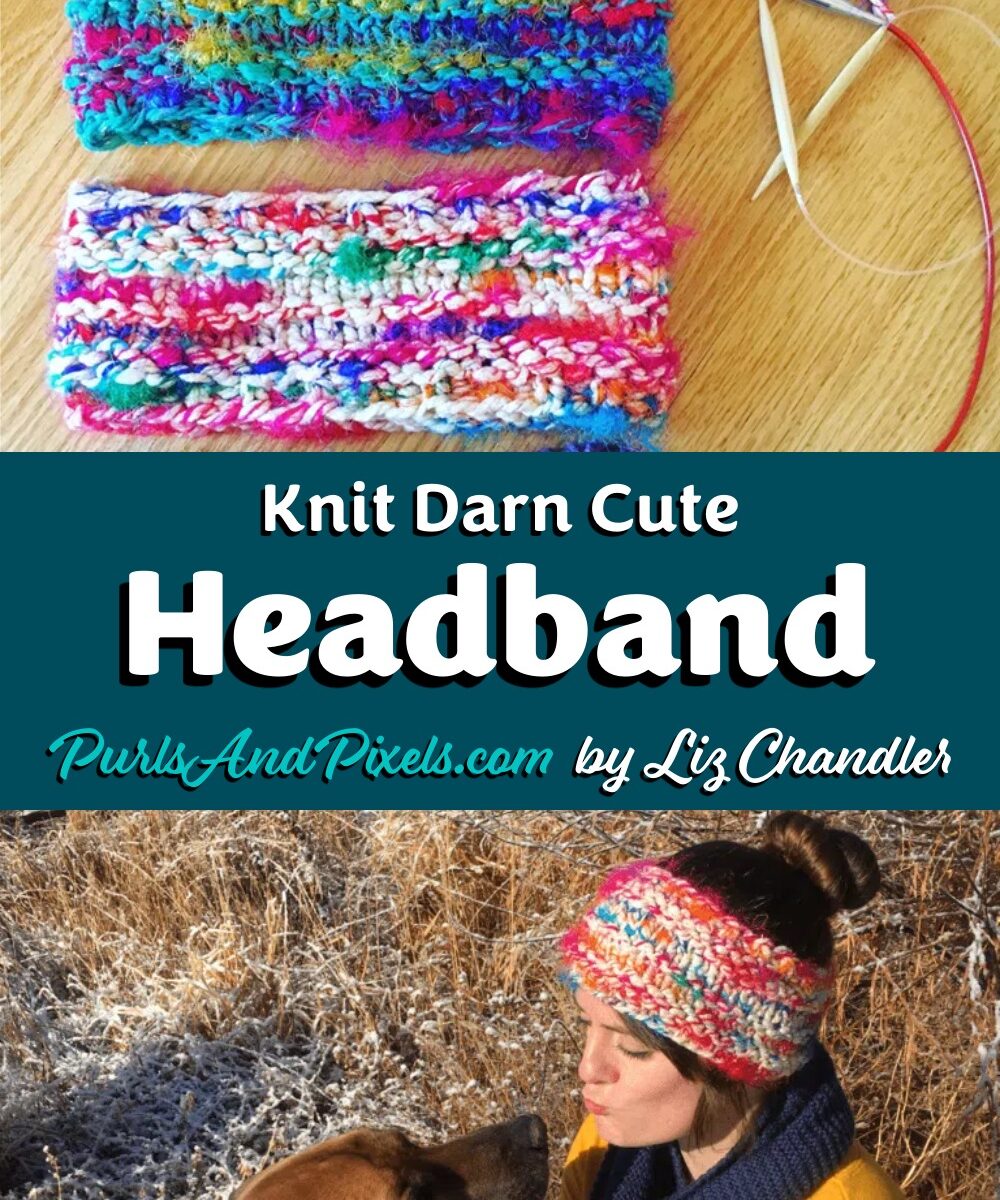
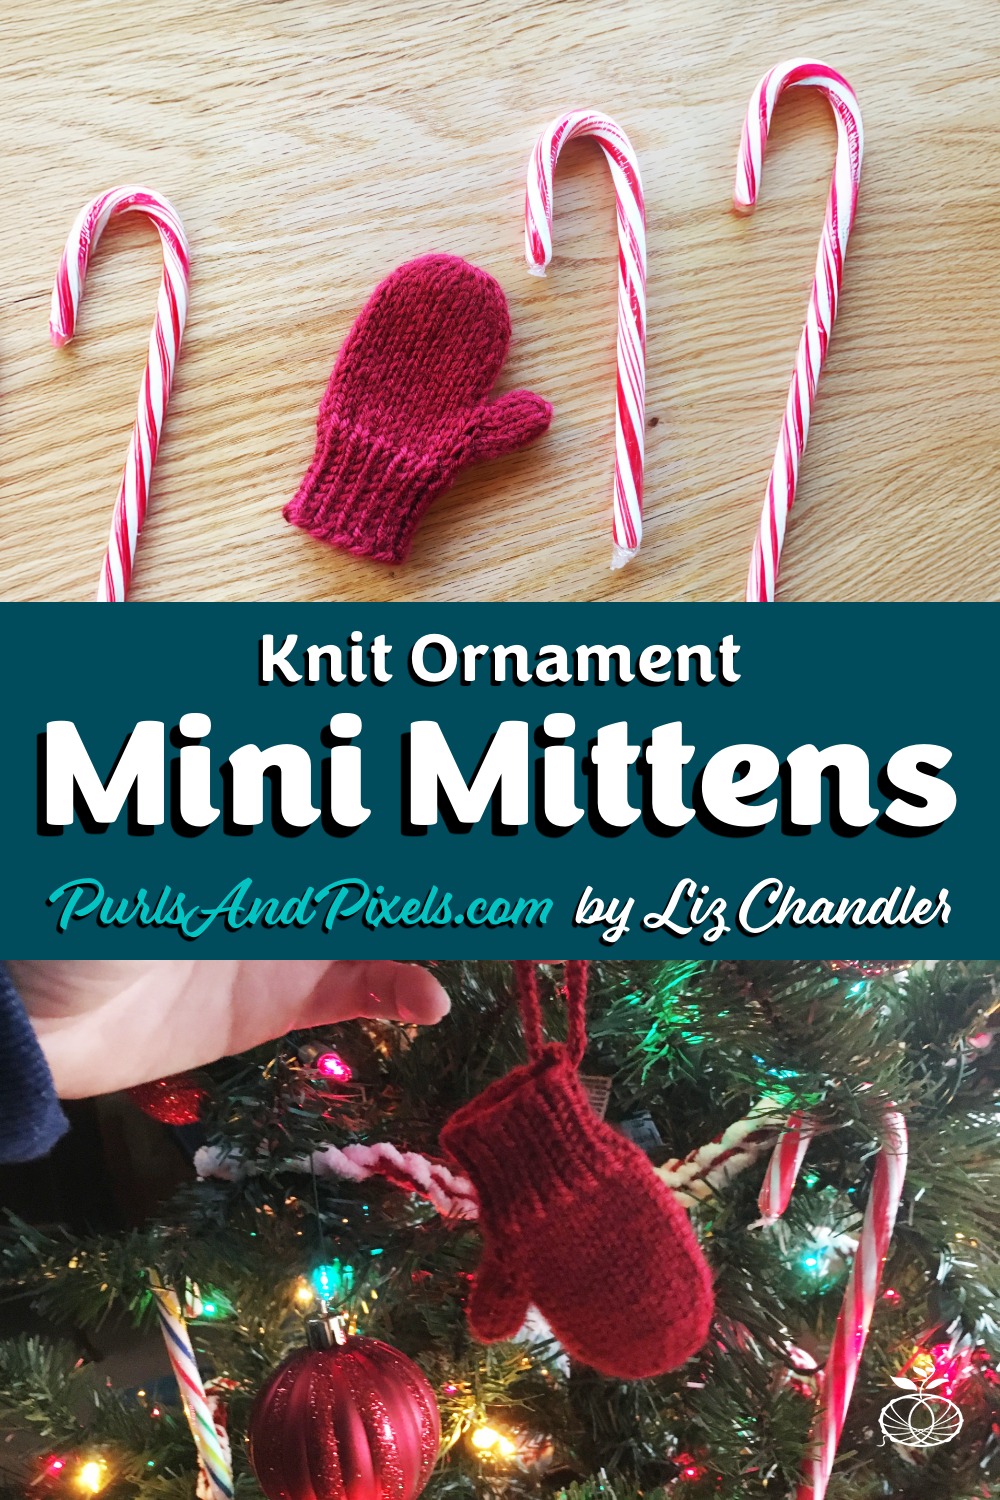
More Patterns You’ll Love
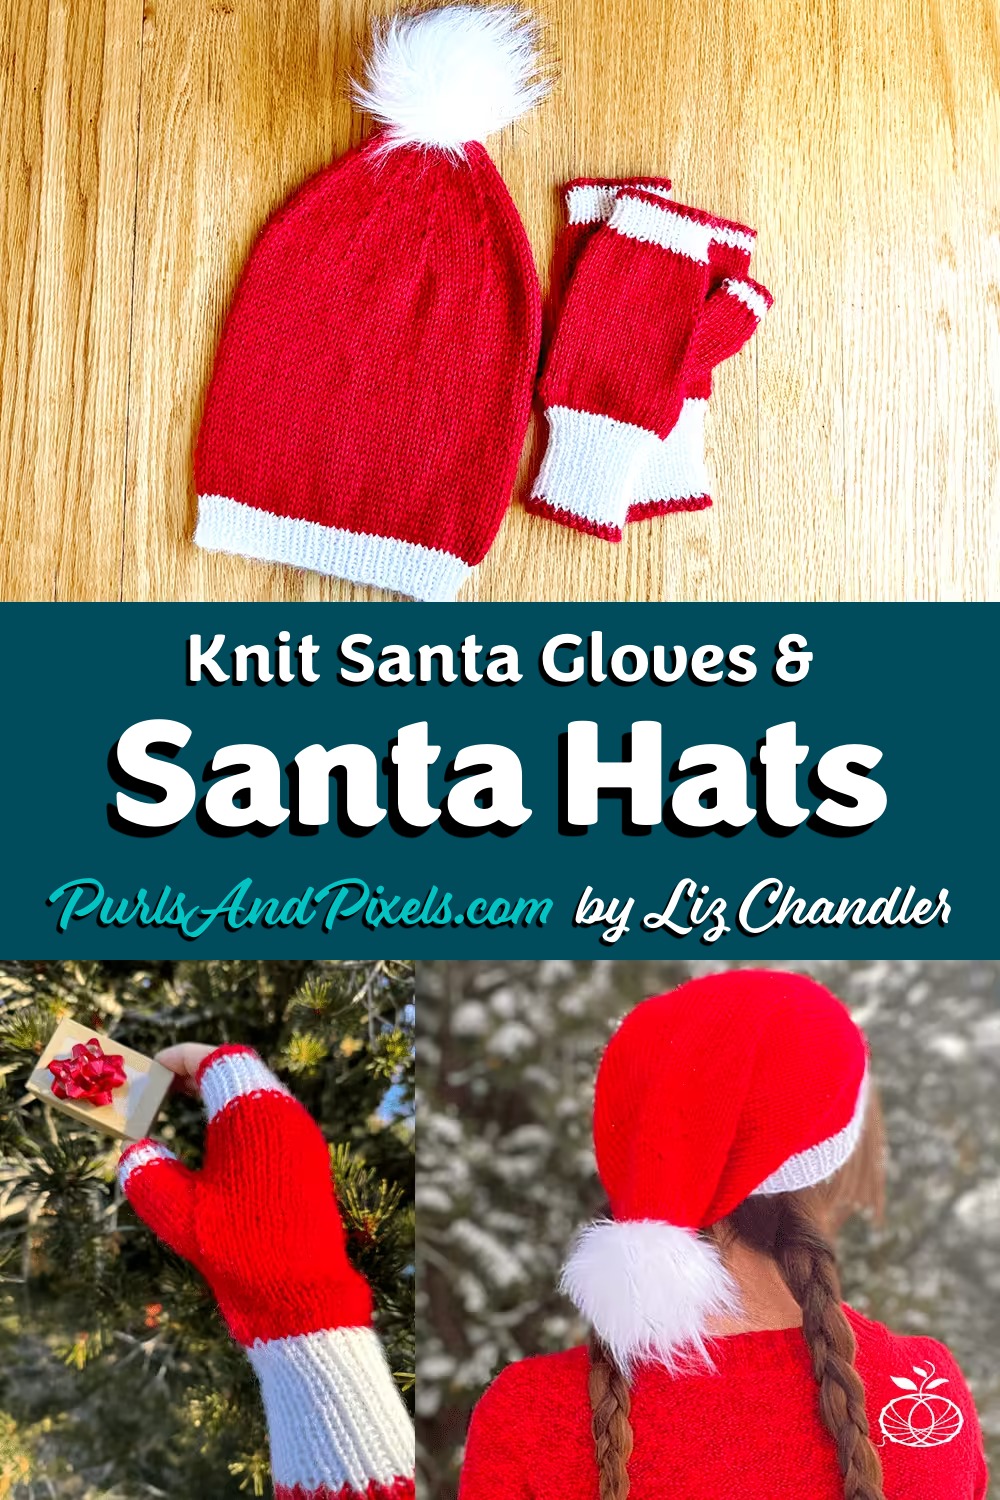
❤️ Purl Hearts Hat Knitting Pattern
💞 Colorful Hearts Hats Knitting Pattern
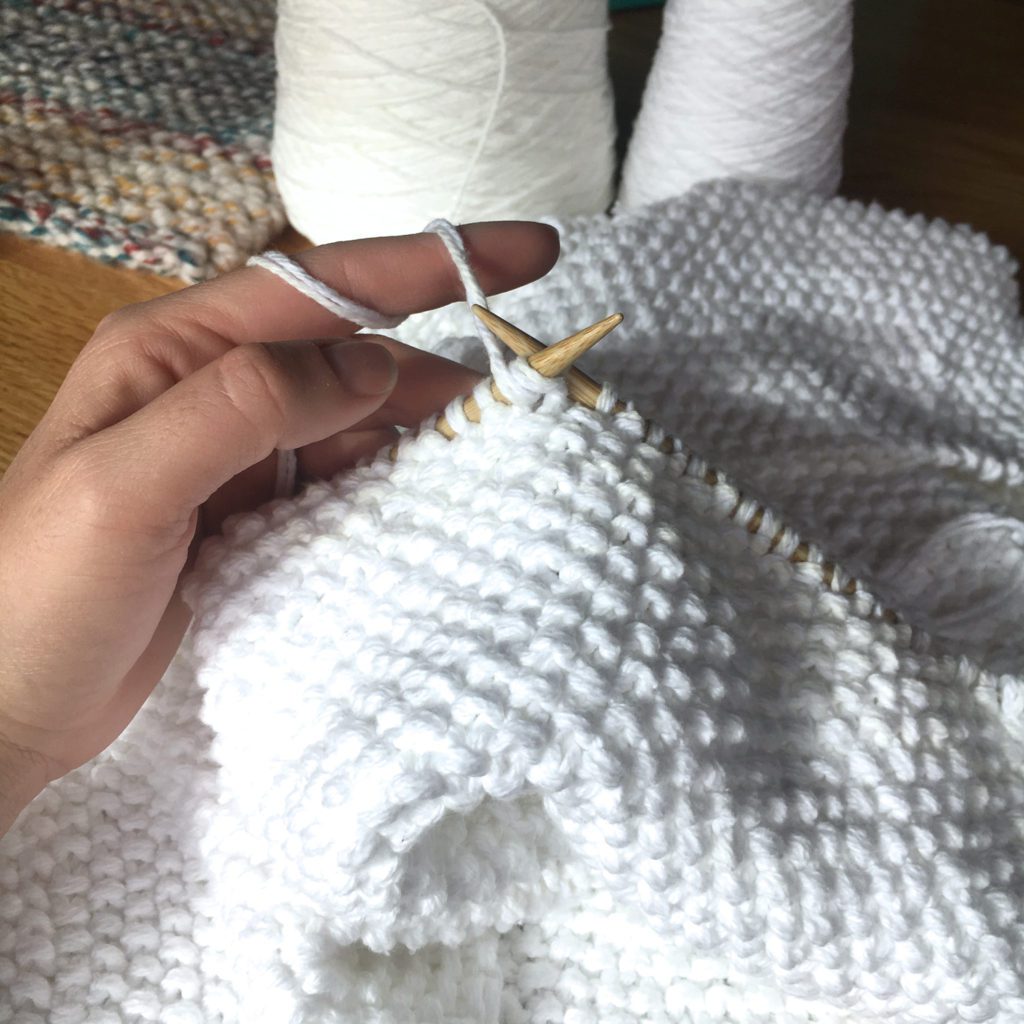
🧣 Beginner Knit Scarf Free Knitting Pattern