From Woolly Winters to Cotton and Palm Trees 🌴
Spring break: the season of college kids flocking to beaches, families heading to amusement parks, and, if you’re like me, knitters swapping out thick wool for breezy cotton. Right now, I am knitting a cotton washcloth in front of a palm tree in Arizona. Yes, you read that correctly. While others are sipping umbrella drinks 🍹 and making questionable life choices, I am clicking away with my needles, making the smooth transition from winter knits to spring essentials.
From Cozy to Cool: The Spring Knitting Shift 🧶
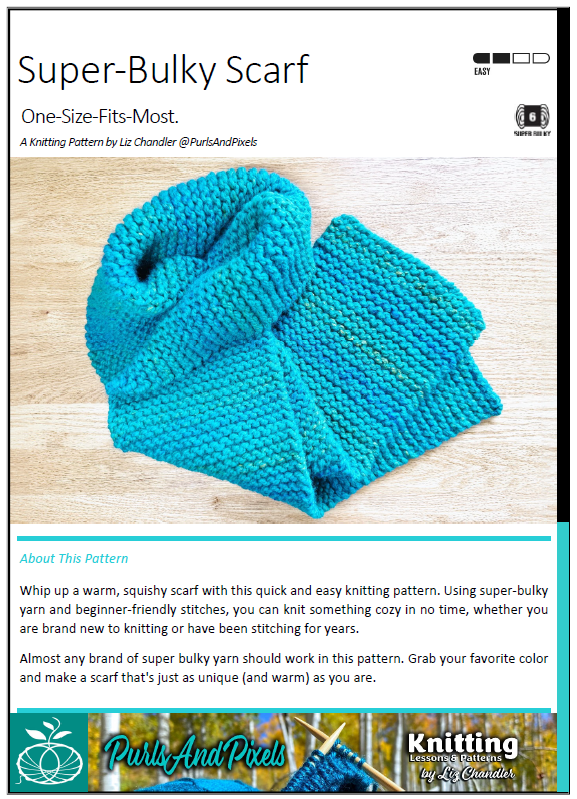
Winter knitting is all about survival: bulky scarves, hats you could store snacks in, and blankets that double as emergency shelters. But once the temperatures rise, no one wants to wrestle with a wool blanket in their lap unless they enjoy marinating in their own sweat. Spring knitting is the perfect excuse to lighten things up.

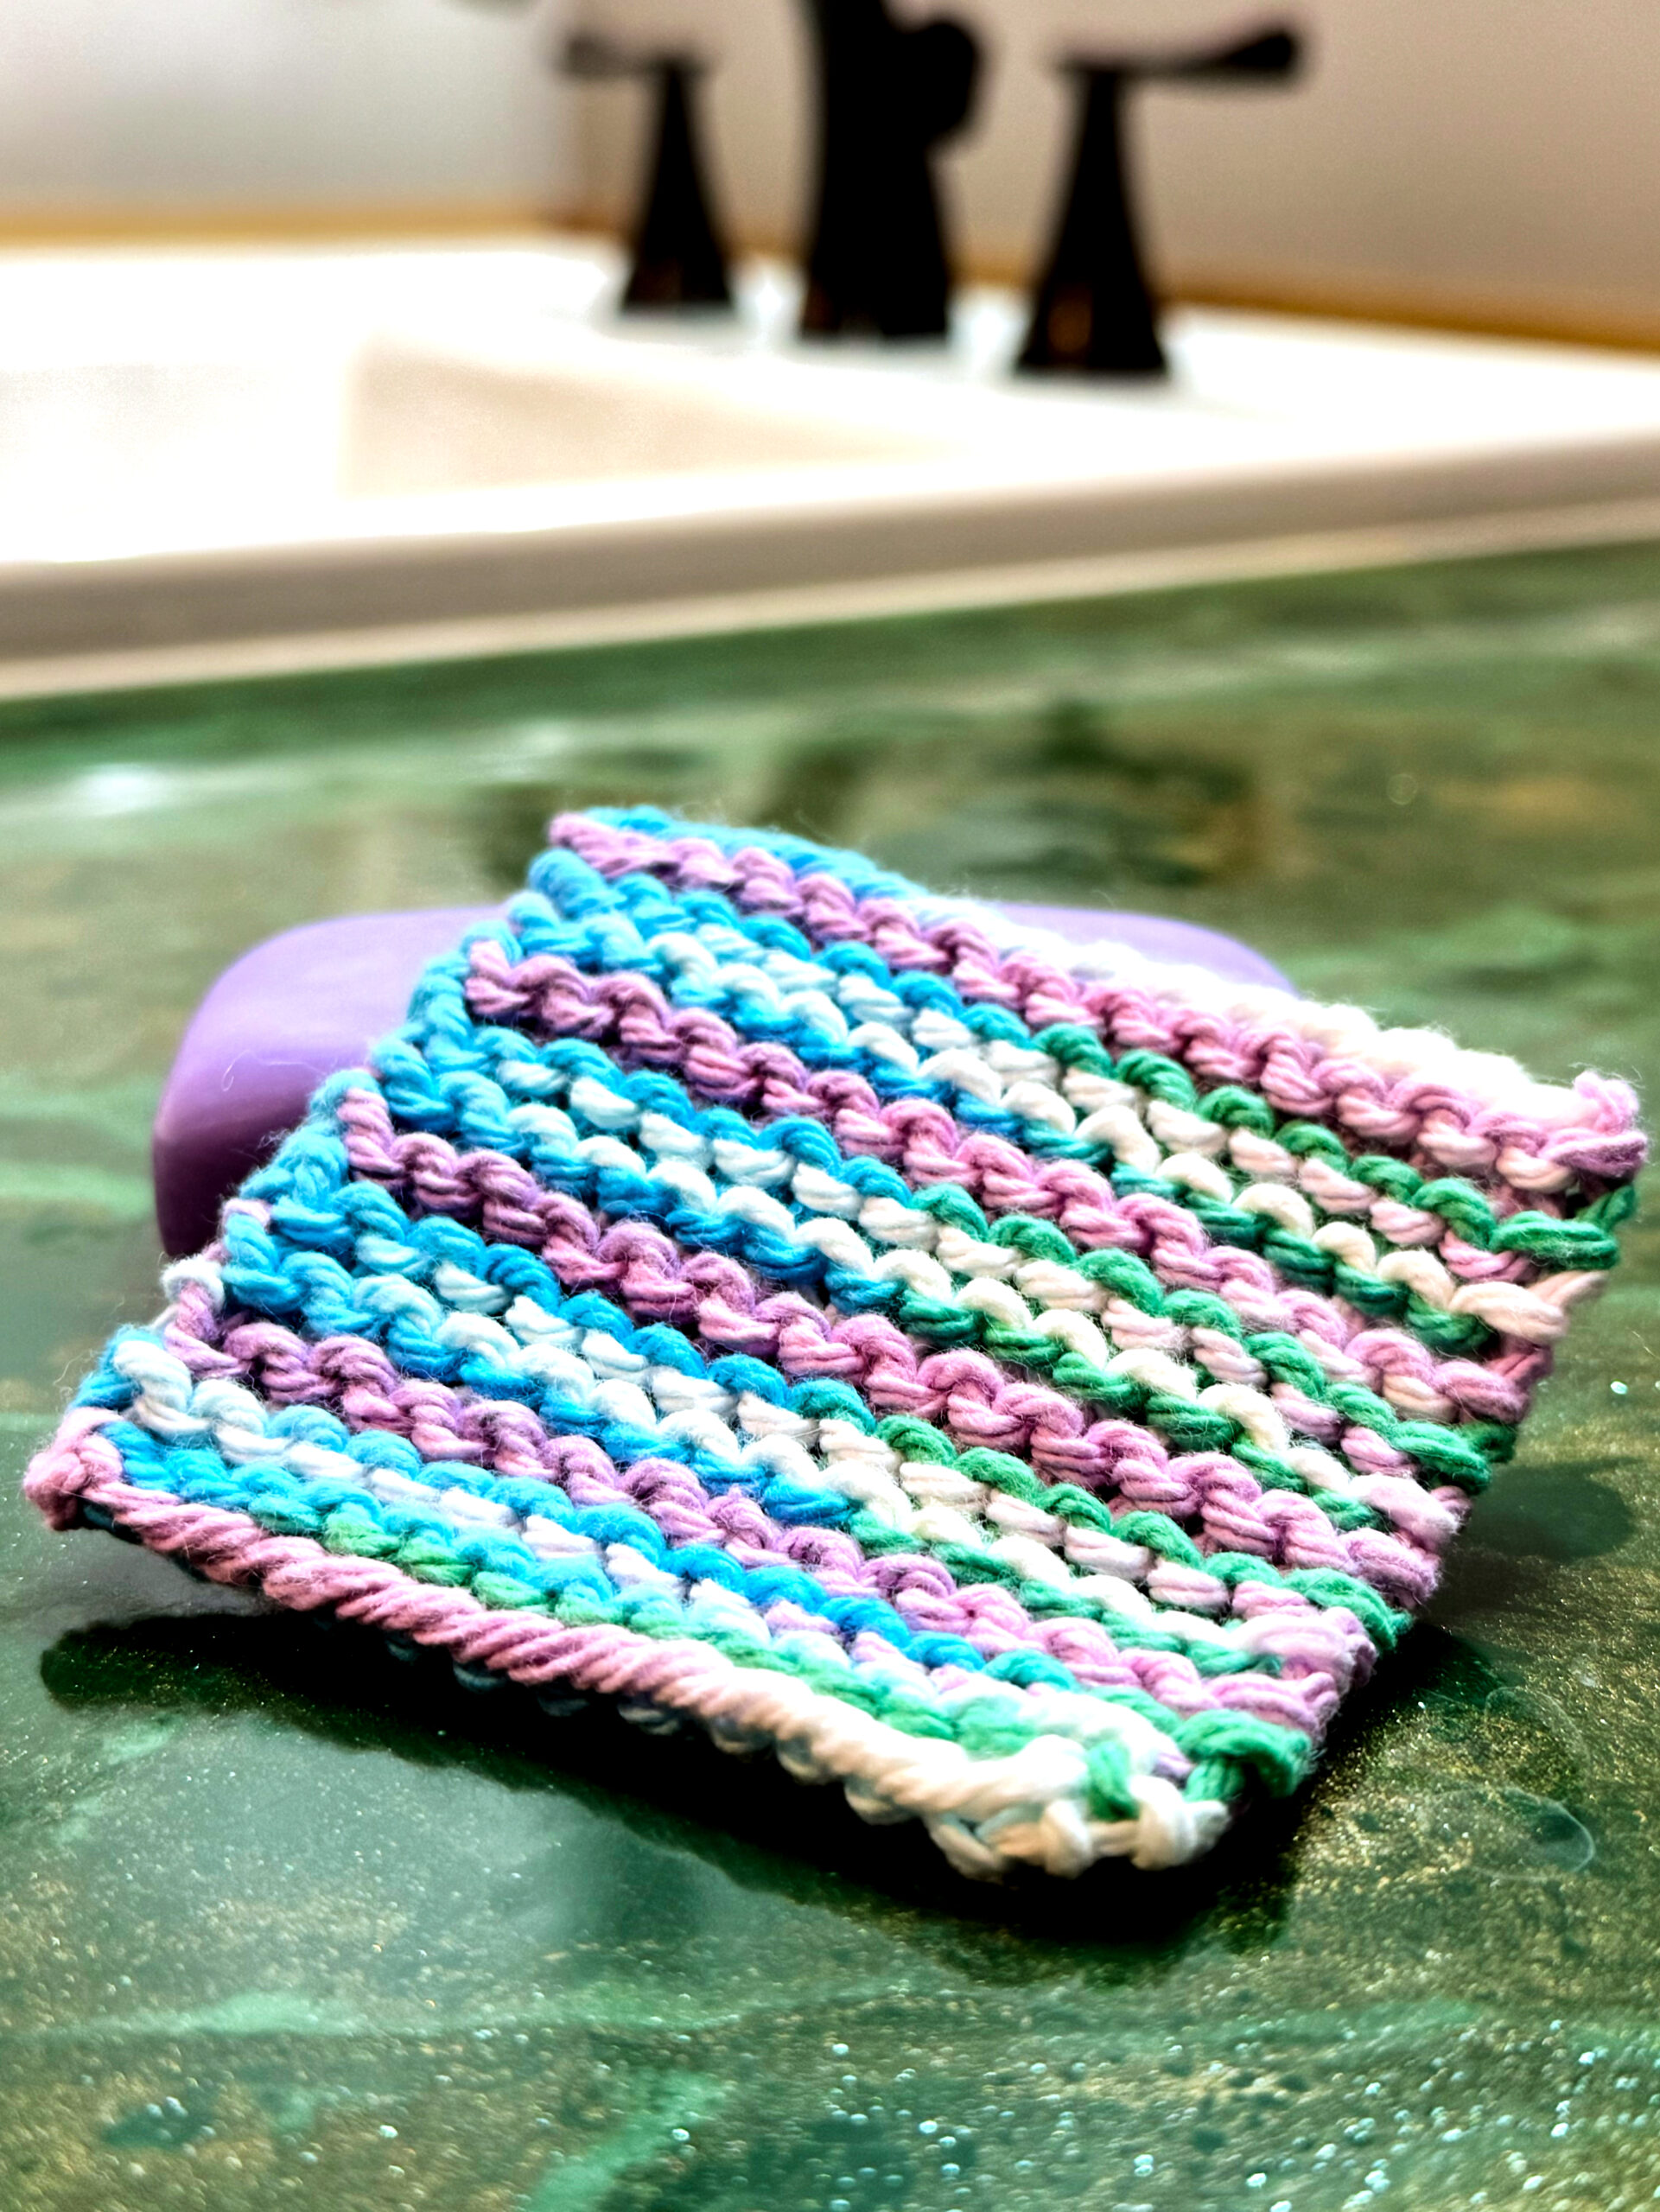
Enter cotton yarn, the MVP of warm-weather knitting. It is breathable, soft, and perfect for quick projects like washcloths, market bags, and lightweight shawls. I, myself, am working on a ribbed double stripped dishcloth (pattern here).
Knitting with cotton also forces a mindset shift. The dense, structured feel of wool yarn gives way to a looser, more relaxed stitch. It is like going from wearing a parka in the Rockies 🏔️ to lounging in flip-flops under an Arizona palm tree 🌴. You have to adjust your tension, embrace the drape, and accept that cotton knitting does not have the same forgiving stretch as wool. It is a little stubborn… kind of like me when someone tells me knitting is for grandmas. 🙄 (See Knitting Myths Unraveled for my unfiltered opinion on that!)

🌞 Spring Break, But Make It Knitting
Spring break is traditionally about relaxation, which means your spring knitting projects should follow suit. A cotton washcloth is the perfect project: small enough to toss in a beach bag 🏖️, easy enough to knit while half-watching a sunset 🌅, and practical enough to use later. Plus, let’s be honest, it is a good excuse to knit in warm weather without sweating through a half-finished sweater.
Speaking of unexpected things in the desert, did you know that Lake Havasu City is home to the original London Bridge? 🌉 Yes, the one from the nursery rhyme. A businessman in the 1960s decided to ship the whole thing from England to Arizona, because why not? It is now a tourist attraction, spanning a canal where spring breakers cruise by on jet skis. Meanwhile, I am over here knitting a washcloth and admiring a piece of British history in the Southwest. Not exactly a wild spring break story, but if you ask me, a stress-free afternoon with my knitting needles beats a sunburn and regret any day.
The Takeaway: Seasonal Knitting Wins 🌷
Transitioning from winter knitting to spring knitting is not just about yarn choice. It is about embracing the season, shifting to smaller, lighter projects, and letting your knitting patterns match your environment. Whether you are knitting in Arizona, on a road trip 🚗, or in your backyard with a fresh breeze 🍃, the key is to keep it simple and enjoyable.
So, if you find yourself swapping wool for cotton yarn and trading in cable knitting needles for a mindless garter stitch, welcome to the club. Spring break knitting might not be mainstream, but neither are we, and honestly, that is what makes it fun. 🎉🧶
Learn to Knit Index: All My Free Online Knitting Lessons Gathered In One Place
Liz Chandler’s Knitting Guide: Learn to Knit with Practical Patterns (a hardcover book)
Don’t Miss a Stitch! 🧶
Love cozy knitting projects? Sign up for my newsletter to get more free patterns, helpful tips, and updates straight to your inbox. 💌