Once you have chosen your yarn, you will have another big decision to make before you can start learning to knit: what kind of knitting needles will you use?

Choosing Knitting Needles
There are a few kinds of knitting needles to choose from: straight needles, circular needles, and double point needles. Most knitting needles come in a variety of materials, including wood, bamboo, and metal. Try a few different types of needles to decide what feels the most comfortable to you.

Types of Knitting Needles
Straight Needles
When most people think of knitting needles, they think of straight needles. These are two matching rods, often pictured sticking out of a ball of yarn. One end of each needle has a sharpened tip. The other end has a knob, which keeps the yarn from slipping off. Straight needles come in varying lengths, which allow you to make larger or smaller items more comfortably, depending on the needs of your project. These needles are useful for making flat pieces of fabric. You can craft scarves, blankets, washcloths, and dishcloths with straight knitting needles. You can also knit flat pieces that can be sewn together to create a garment like a sweater.

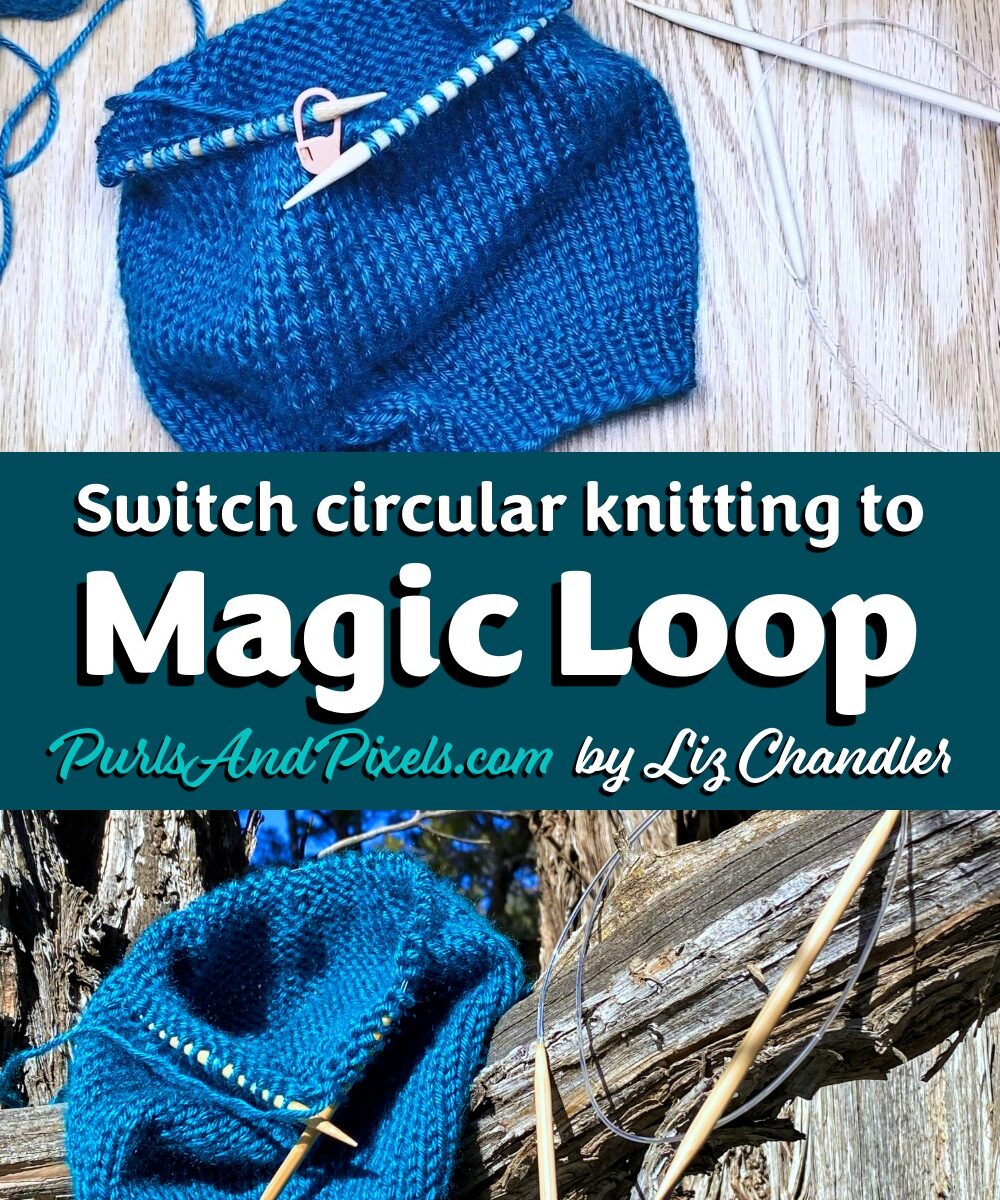
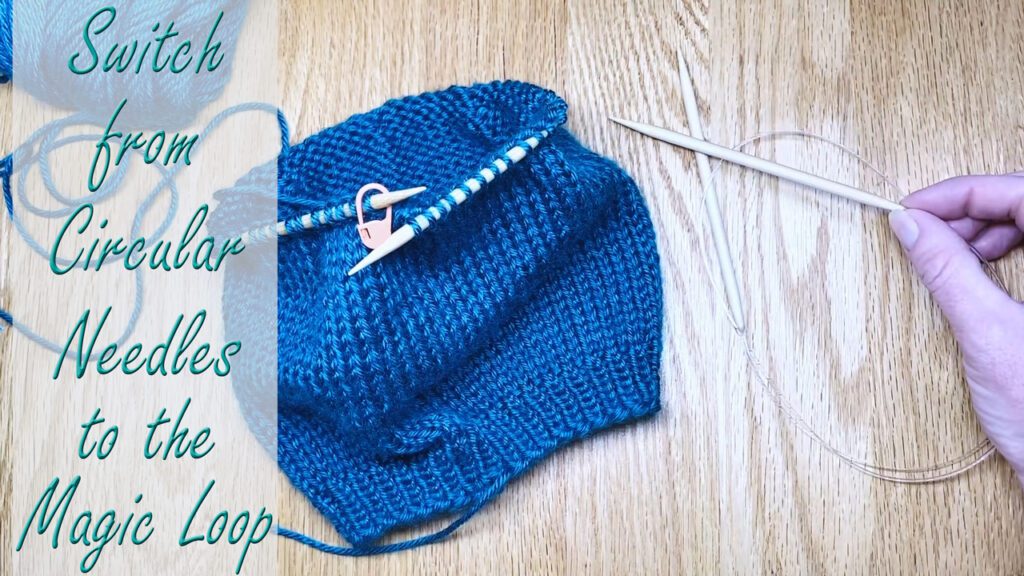
Circular Needles
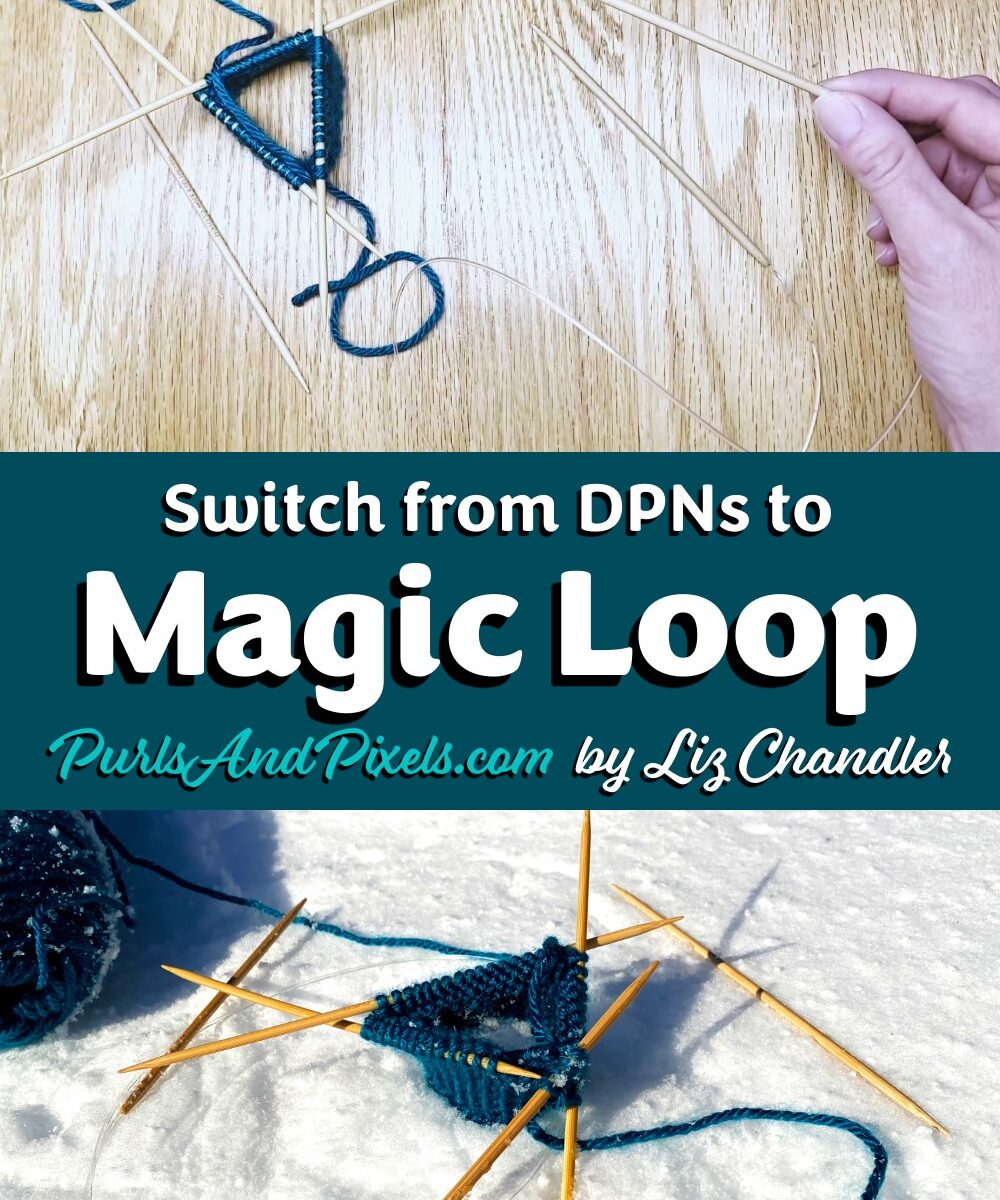
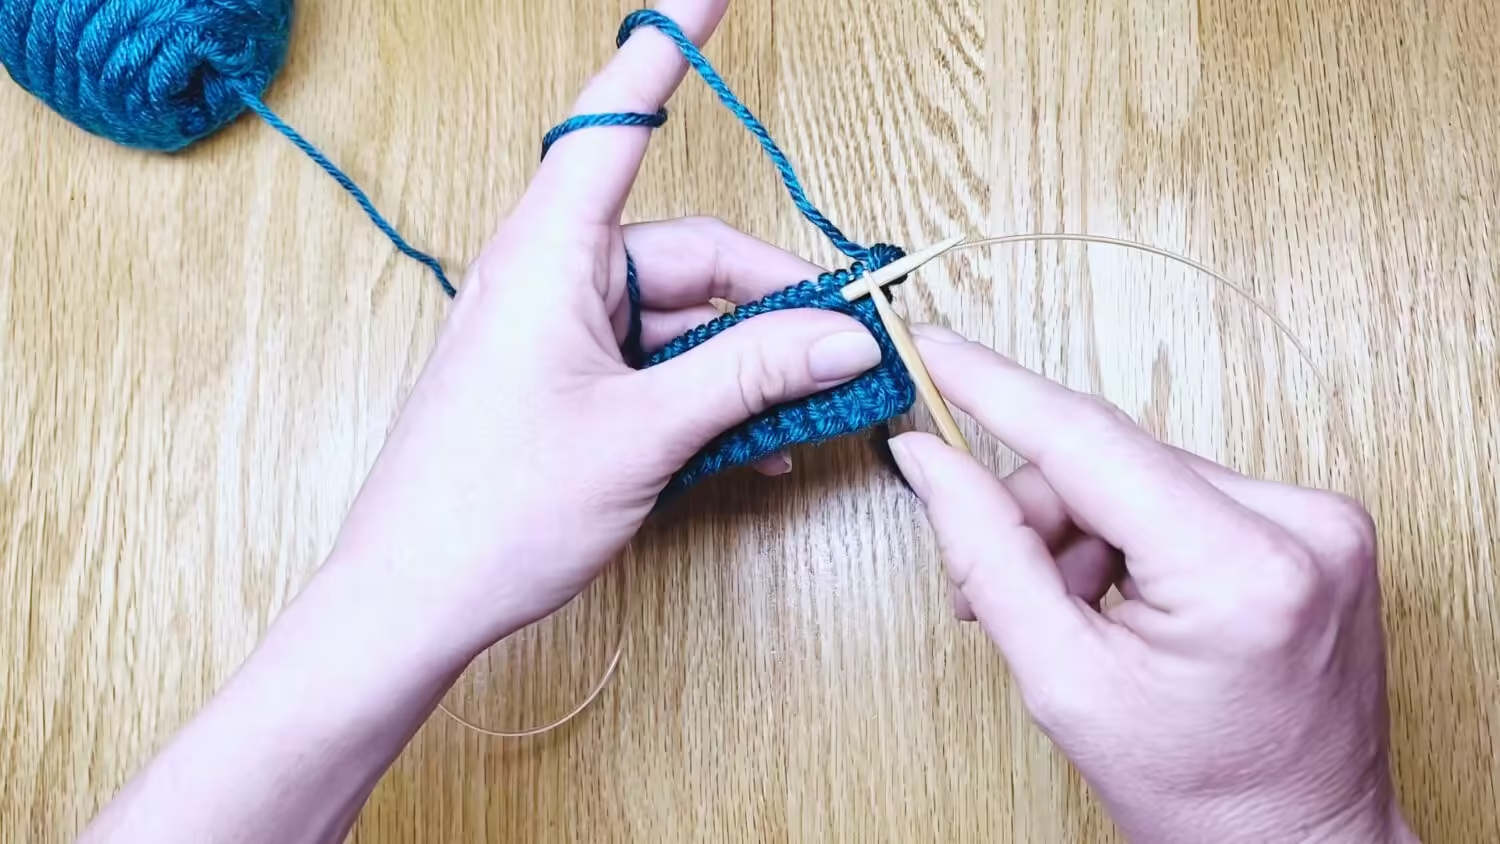
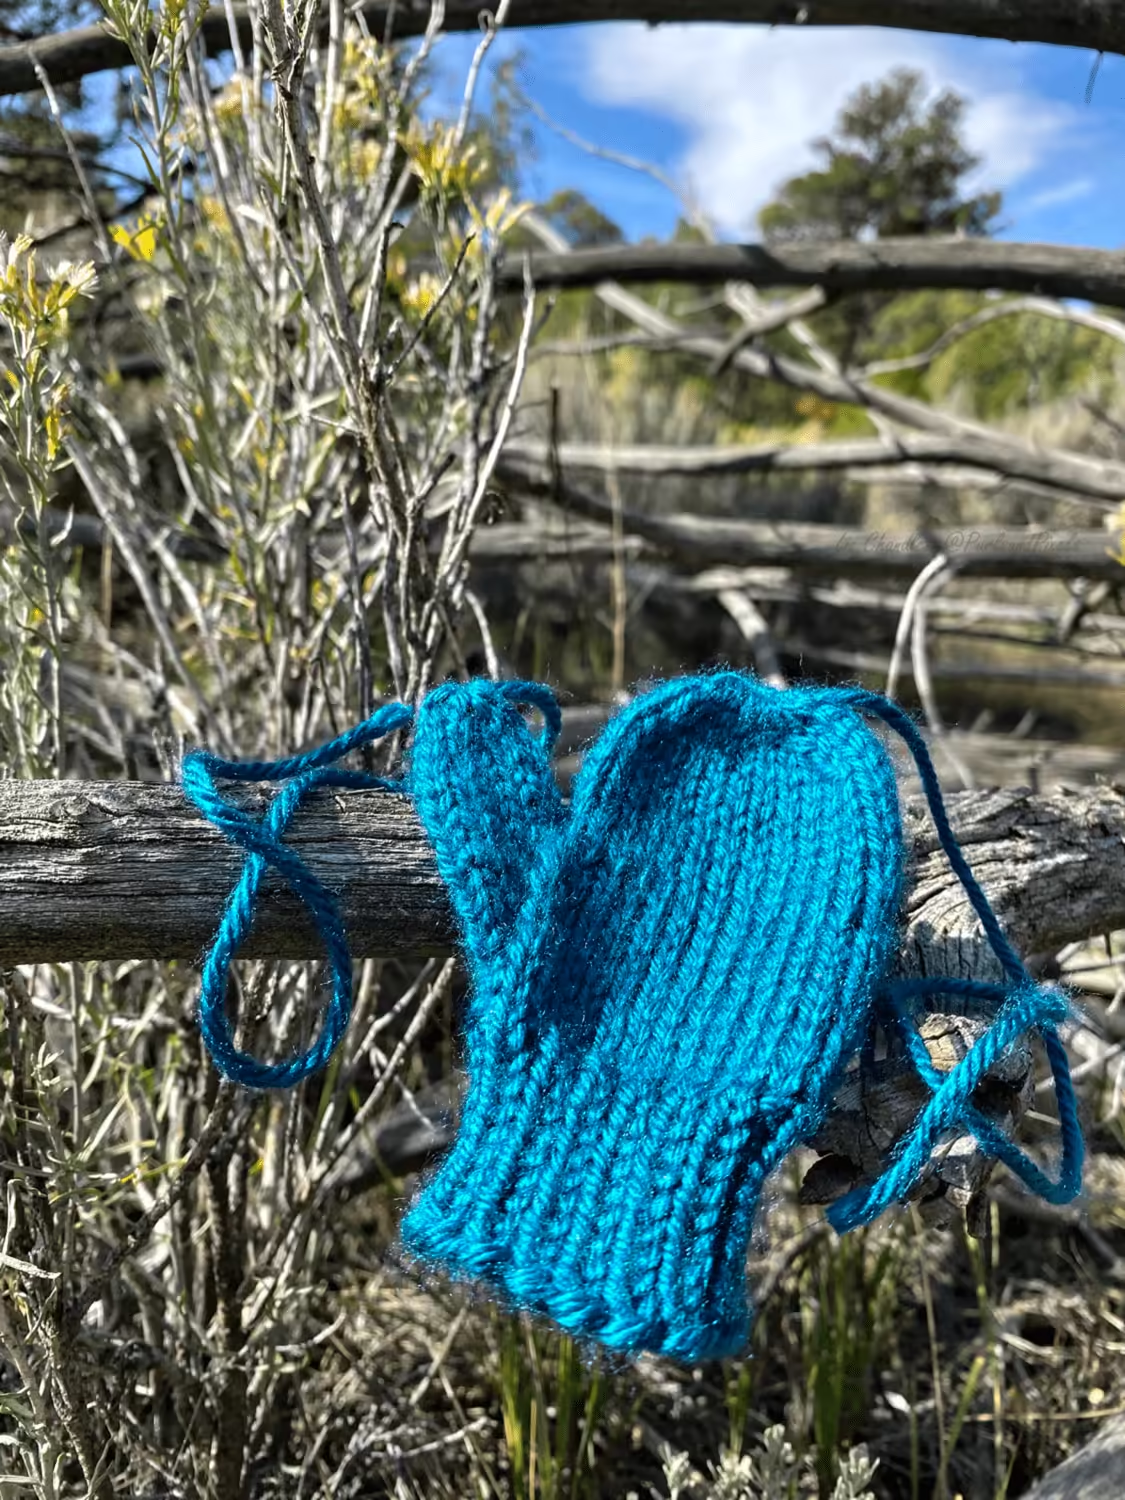
More unusual looking, but also more versatile, are circular knitting needles. Most circular needles have a flexible cord that connects the sharp working points of the needles. You can use circular needles to knit flat pieces of fabric like washcloths and scarves. You can also create seamless knitted tubes to make things like hats, sweaters, mittens, and socks. Circular knitting needles are made in different lengths; the longer the needles, the more stitches you can knit. Shorter circular needles are perfect for hats and smaller accessories. Longer knitting needles are useful for projects like knit sweaters and blankets.

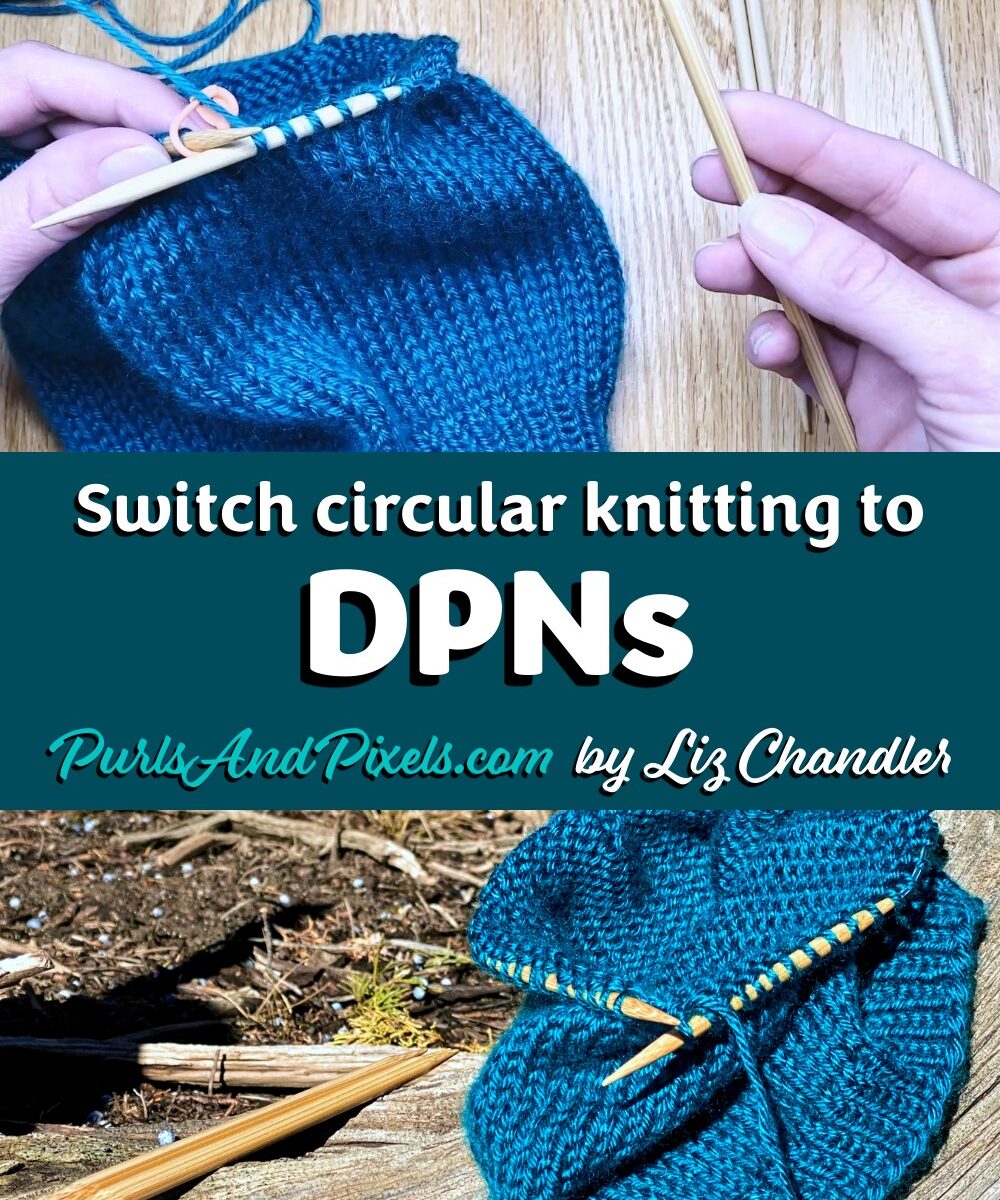
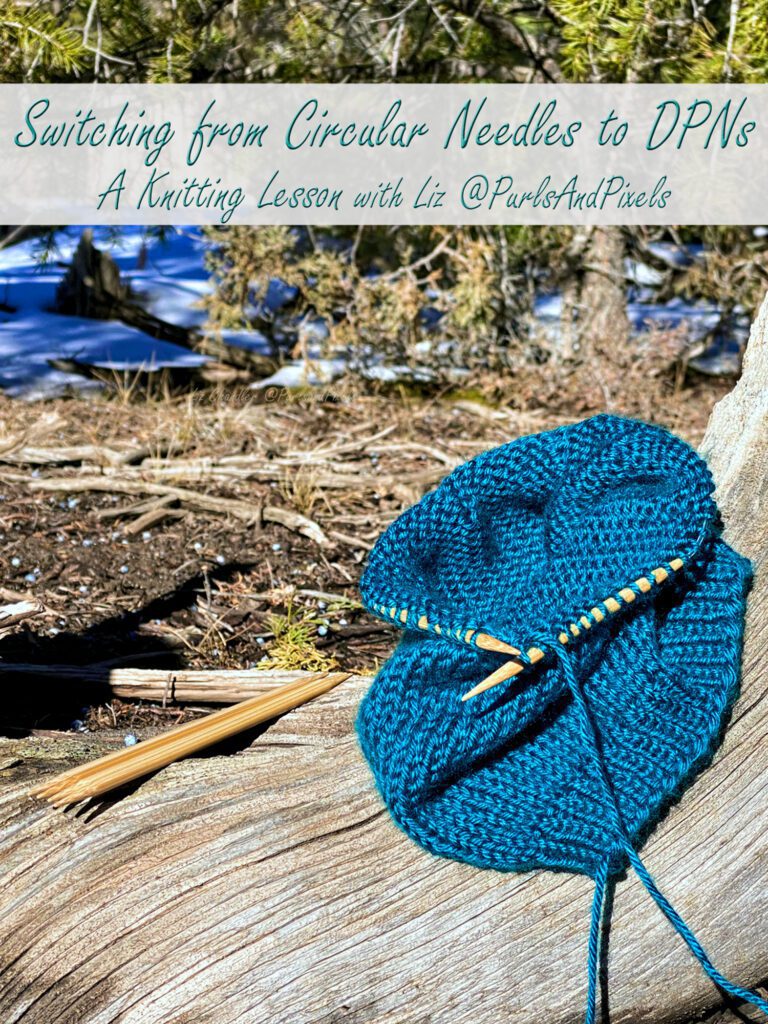
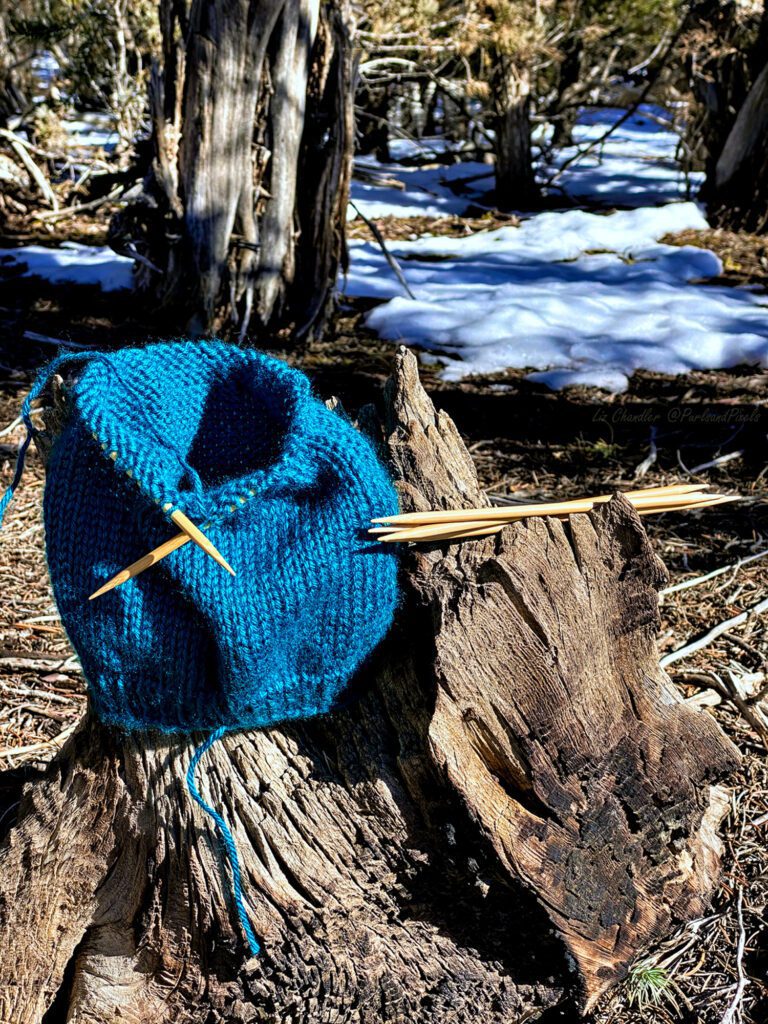
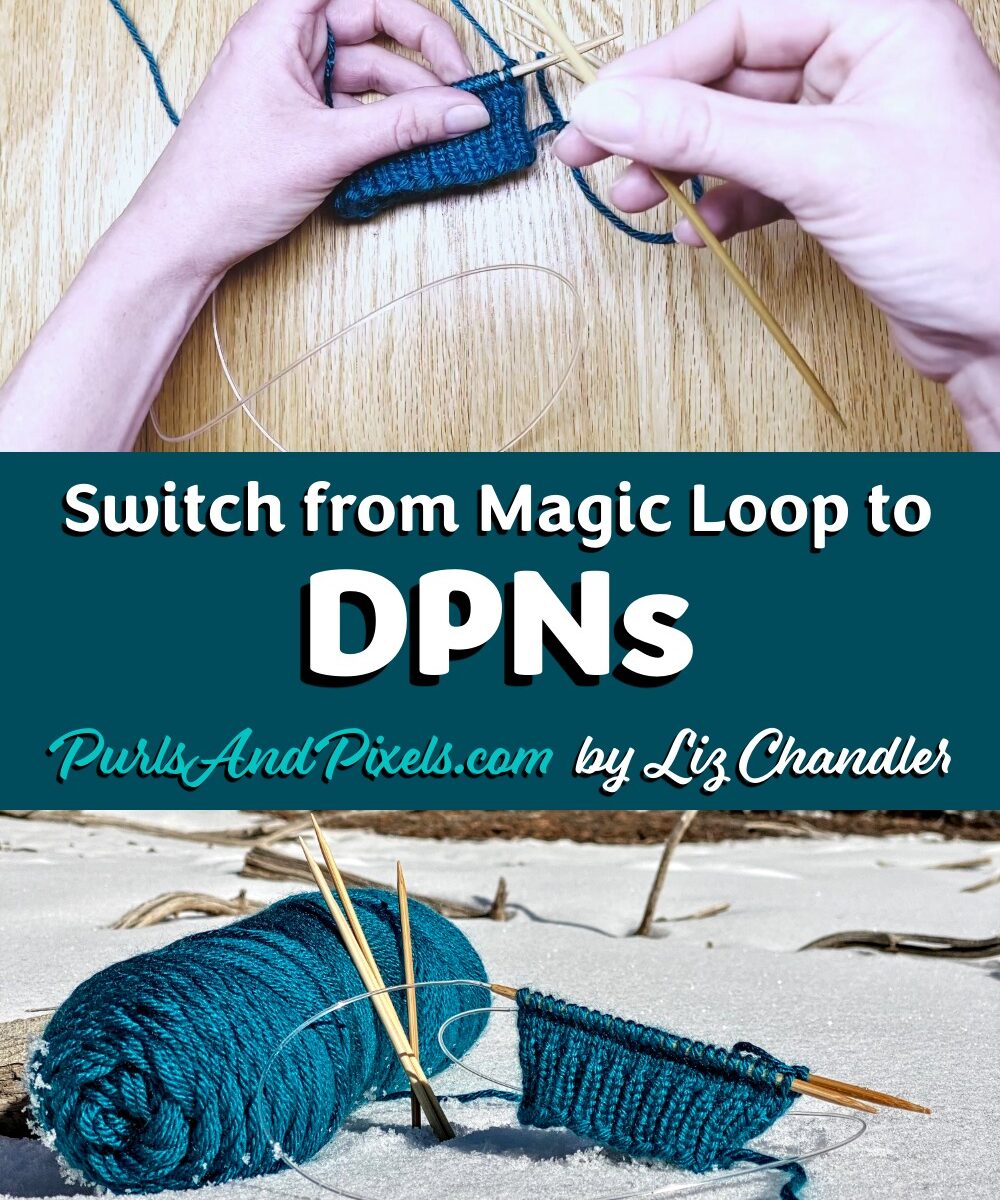
Double Point Needles
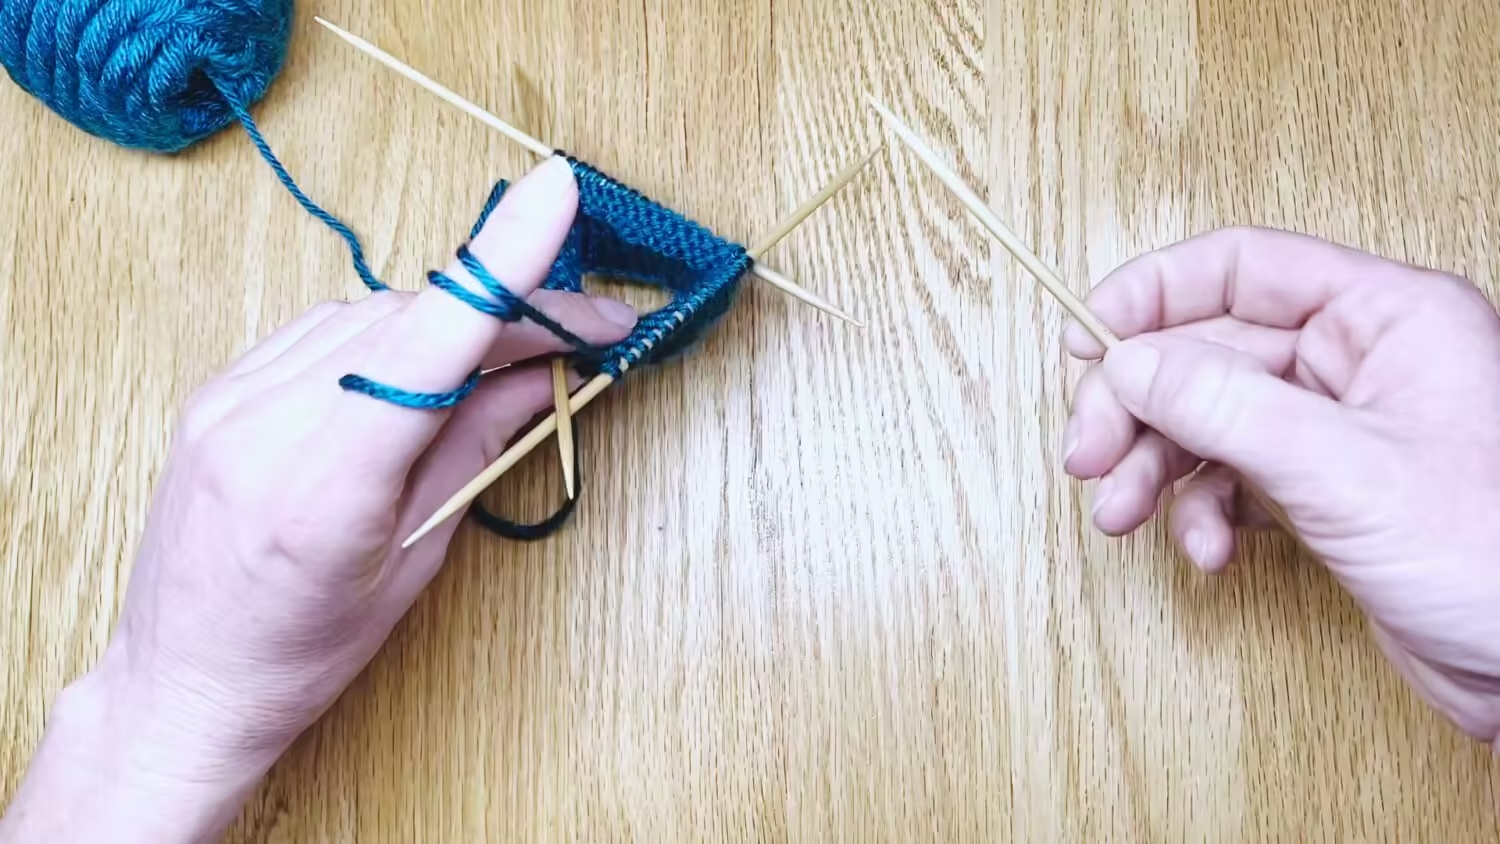
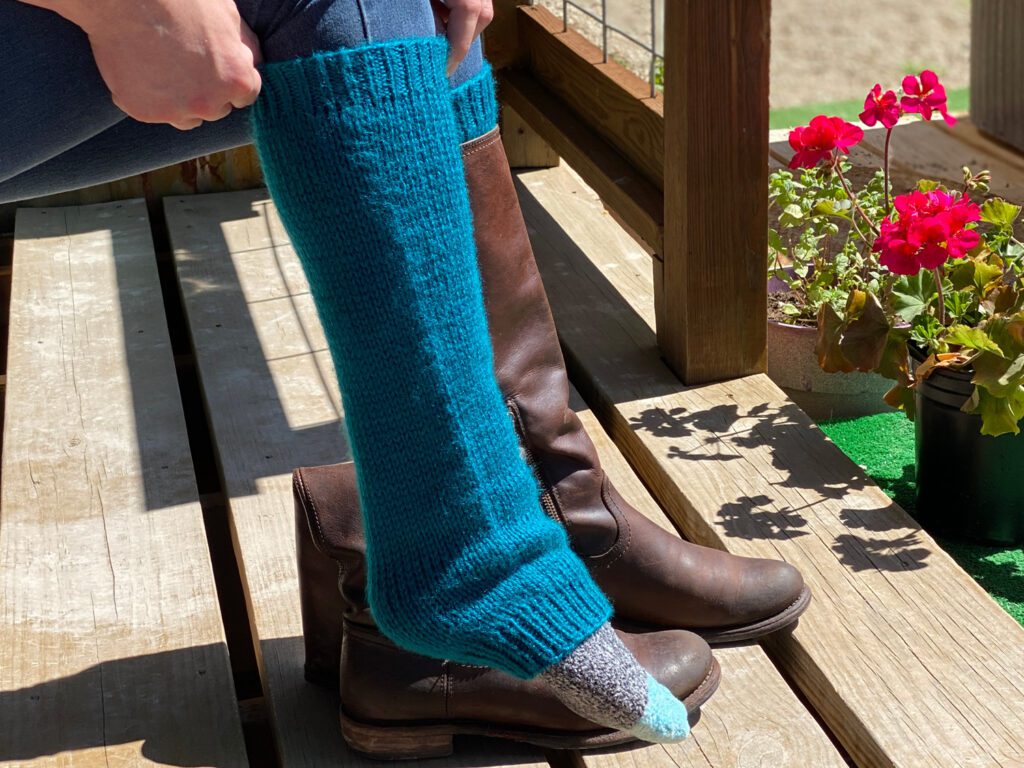
Double point needles (DPNs) are straight rods with sharpened points on either end. This allows you to knit with both sides of the needle. DPNs are mainly used for knitting smaller items that are tube-shaped, such as gloves, leg warmers, and baby hats. A package of DPNs typically comes with set of five identical needles. You will use at least three needles to hold your stitches and one needle to work into the yarn and make your next row. Often, especially in more simple patterns, the fifth needle is not used at all.

Metal or Wooden Knitting Needles
You can buy your needles in several different materials, most notable of which are metal, wood, and bamboo. Metal needles maintain their sharpness longer and are less prone to breakage than wooden and bamboo needles. On the other hand, wooden and bamboo needles are slightly less slippery than metal knitting needles; this means your knit stitches will not fall off them as easily as they might with a set of metal needles. Wooden and bamboo needles also make less noise as you work, minimizing the “clink” sound made as the needles come together. Bamboo weighs the least of the three materials, making these needles noticeably lighter, especially in larger sizes.

Knitting Needle Size

Most knitting needles are assigned a United States Number (US No.) and a millimeter (mm) measurement. The abbreviations “US,” “No.” or “US No.” are used to refer to the “American” knitting needle system which assigns a number to each needle size.
The millimeter measurement refers to the “diameter” or distance across the center of the knitting needle. For example, a US No. 7 / 4.5 mm needle has a diameter of 4.5 mm.
Most yarn labels suggest a needle to match the yarn weight, so referring to the packaging is a great place to start when choosing a needle size. You will also see recommended needle sizes for each type of yarn on the Crafty Yarn Council’s Standard Yarn Weight System chart.
Starter Knitting Needles
When selecting your first knitting needles, think about what your current project needs and what will be useful in your future knitting.
Metal needles, especially those of high quality, can last a lifetime and may never need to be replaced. Bamboo or wooden needles, on the other hand, can be easier for beginners to use, since they grip the yarn a bit better than a metal needle.
Circular needles are more versatile and can be used for many projects in the future since you can knit both flat and circular pieces with them.
Selecting a US No. 7 (4.5 mm) sized needle will allow you to make all the washcloth and face scrubby patterns in my Simple Washcloth Knitting Pattern Collection.

If all these choices have you muddled, my recommendation for a first set of knitting needles a 36-inch (91 cm) long US No. 7 (4.5 mm) bamboo circular knitting needle (Amazon affiliate link).
When you are following a pattern, remember to consult the materials list to find the correct knitting needles for the project.
Needles to Knit a Face Scrubby
If you are following my Learn to Knit Guide, you will start with a small Face Scrubby. Choose between straight needles or long circular needles, then select a US No 7 (4.5 MM) size. You can find knitting needles at most craft stores and on Amazon by using the affiliate links below:
- A 36-inch (91 cm) long US No. 7 (4.5 mm) circular needle
- OR a pair of 9-inch (23 cm) long US No. 7 (4.5 mm) straight needles
*Bamboo or wooden needles may be easier than metal for beginners.

Face Scrubby Knitting Pattern
You will also need a knitting pattern to get started. You can find my Free Beginner Face Scrubby Pattern. I suggest this for your very first knitting project because it is very small and simple; you’ll have a finished project quickly.
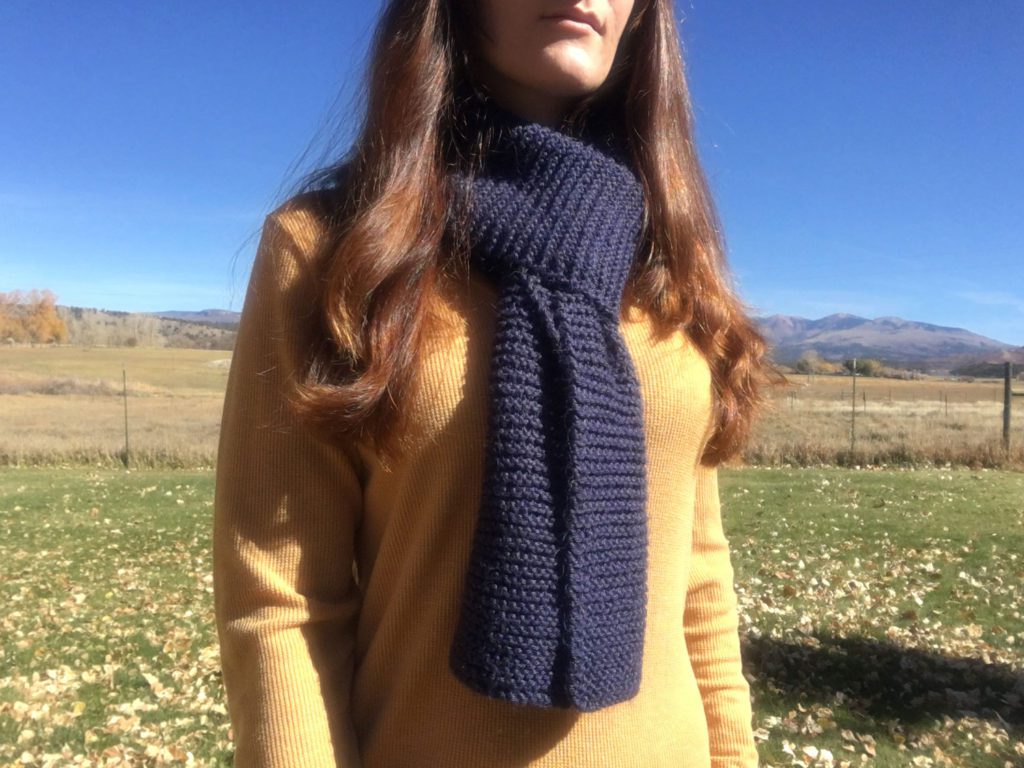
Needles to Knit a Scarf
To start learning to knit with a scarf instead, you will need to choose a US No. 8 (5.0 mm) sized needles. You can also choose between straight and long circular needles for the Beginner Knit Scarf project. You can find knitting needles at most craft stores and on Amazon by using the affiliate links below:
- A 36-inch (91 cm) long US No. 8 (5 mm) circular needle
- OR a pair of 9-inch (23 cm) long US No. 8 (5 mm) straight needles
*Bamboo or wooden needles may be easier than metal for beginners.

Scarf Knitting Pattern
You will also need my free Beginner Knit Scarf Pattern. Find it here.

Up Next
Finally, you will need a few tools. Learn about sewing scissors, darning needles, stitch markers, and stitch holders in the next lesson.