
A Free Knitting Pattern from Liz @PurlsAndPixels
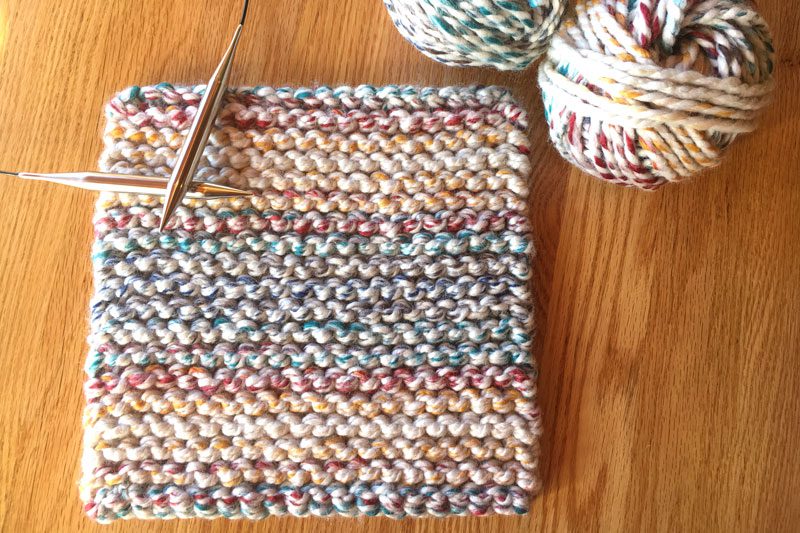
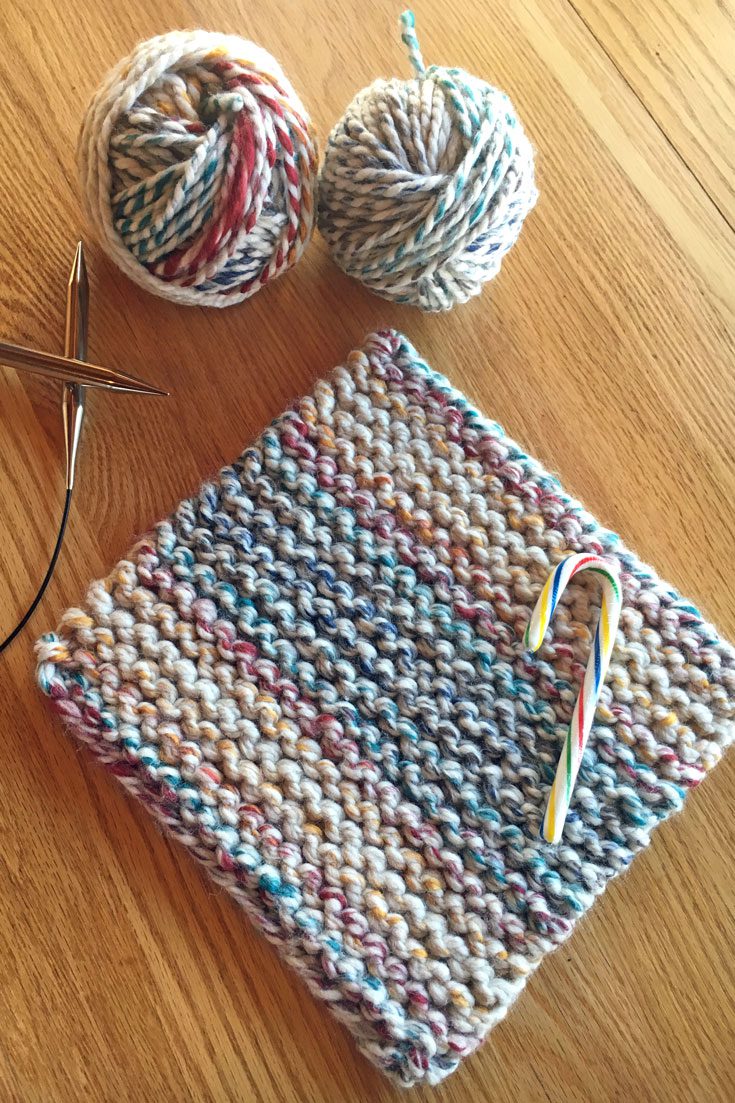
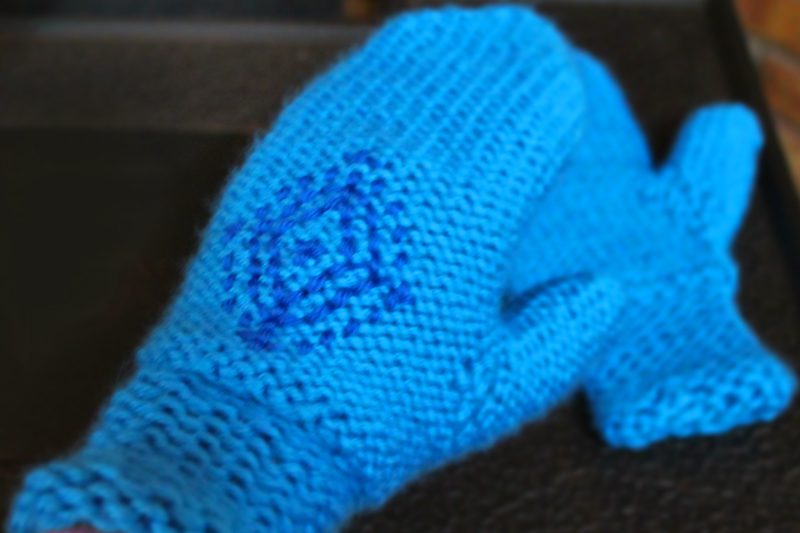
A great project for using up leftover yarn, you’ll need just about 0.3 ounces of worsted weight yarn for this mitten holiday ornament free knitting pattern. Whether you’re knitting up a stash of yarn scraps or just need a festive touch, this mitten is a cozy win. Try making the ribbed cuff in one color and the mitten body in another, or go wild with some variegated yarn. You can also get creative and embroider little patterns on the mitten to give it even more holiday charm!

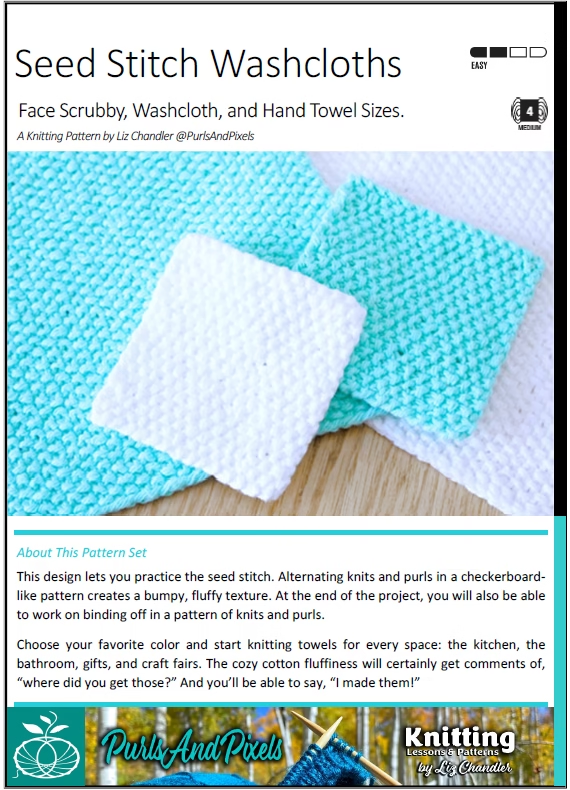
About this Quick Knitting Pattern
This little mitten ornament pattern is best for intermediate level knitters who have an understanding of knitting in the round with double point needles. You’ll also need to know how to increase by making one, decrease with slip, slip, knit, use stitch holders, and knit two together. You will craft it by knitting from the bottom up in a simple rib and stockinette pattern.

Making this Mitten Holiday Ornament Free Knitting Pattern
Materials
One 315-Yard Skein of Caron Simply Soft worsted weight yarn, Autumn Red (or your preferred color)
- uses approximately 15.75 yards (0.3 ounces) per mitten – double yardage if making two ornaments
No. 3/3.125 MM double point needles (DPNs) (or two sizes smaller than needles used to obtain gauge)
No. 5/3.75 MM double point needles (DPNs) (or size needed to obtain gauge)
Gauge
20 stitches and 28 rows = 4 inches x 4 inches in stockinette stitch on No. 5/3.75 MM needles.
Abbreviations
k = knit
p = purl
** = repeat the pattern between the asterisks
m1 = make 1 [Pick up the strand between the stitch just worked and the next stitch from front to back with the left needle and knit into the back of it.]
sl = slip stitch as if to purl with yarn held in back
k2tog = knit two together
ssk = slip, slip, knit [Slip two stitches as if to knit. Insert left needle from left to right into the fronts of the two slipped stitches. Pull working yarn thru both stitches with right needle to knit together.]
Instructions: Mitten Holiday Ornament
(Measures 4 inches top to bottom; 2 inches wide, without thumb)
Knit in the Round. Use stitch marker to keep track of the beginning/ends of your rows by placing it in the first stitch of each row/round. Make one or two, as desired.
[Using no. 3 DPNs] Row 1: Cast on 24 stitches. Divide onto 3 DPNs (8 stitches on each DPN). Join (taking care not to twist stitches) and *k, p* x 12. (24 stitches)
Rows 2 – 9: *k, p* x 12. (24 stitches)
[Switch to no. 5 DPNs] Rows 10 – 12: k 24. (24 stitches)
Row 13: k 11. Place stitch marker on the 11th knit stitch. m1. k 2. m1. k 1 and place marker on this stitch. k 10. (26 stitches)
Row 14: k 26. (26 stitches)
Row 15: k to marker. sl marker. m1. k to second marker. m1. sl second marker. k 10. (28 stitches)
Row 16: k 28. (28 stitches)
Row 17: k to marker. sl marker. m1. k to second marker. m1. sl second marker. k 10. (30 stitches)
Row 18: k 11. sl next 8 stitches onto stitch holder. k 11. {This will separate thumb stitches from hand stitches} (22 stitches on needles)
Rows 19 – 24: k 22. (22 stitches)
[Begin finger decreases] Row 25: k 1, ssk, k 5, k2tog, k 2, ssk, k 5, k2tog, k 1. (18 stitches)
Row 26: k 18. (18 stitches)
Row 27: k 1, ssk, k 3, k2tog, k 2, ssk, k 3, k2tog, k 1. (14 stitches)
Cut yarn leaving a 12-inch tail. With tapestry needle, draw yarn tightly through remaining 14 stitches. Weave in ends.
Mitten Holiday Ornament Thumbs
[Using no. 5 DPNs] Thumb Row 1: Put 8 stitches from stitch holder onto three needles. k 8 in the round. (8 stitches)
Thumb Rows 2 – 4: k 8. (8 stitches)
Thumb Row 5: k2tog x 4. (4 stitches)
Cut yarn leaving a 12-inch tail. With tapestry needle, draw yarn tightly through remaining 4 stitches. Weave in ends.
Weave in remaining loose ends. [Tip for the thumb base] With the loose end remaining at the base of the thumb, use duplicate stitch to close the gap that remains where the thumb attaches to the hand.
For more help weaving in your ends, see this guide to Finishing Mittens.
Block if desired.
Optional Mitten Holiday Ornament Hanger
Choose a pretty ribbon and tie it in a loop with a bow to the cuff of the mitten. Alternatively, using the same yarn or a contrasting color, you can use a size F/3.75 MM crochet hook to chain a 6-inch cord by following these instructions:
Ensuring you leave a 4-inch tail before your slip knot, chain 35. Cut yarn and pull through, leaving a 4-inch tail. Pull one end of the chain through an open knitted loop on your Ornament Sized Mitten. Tie a bow using the two loose yarn tails of the chain.

Print the Mitten Holiday Ornament Free Knitting Pattern

Printable Mitten Holiday Ornament pattern PDF by Liz @PurlsAndPixels
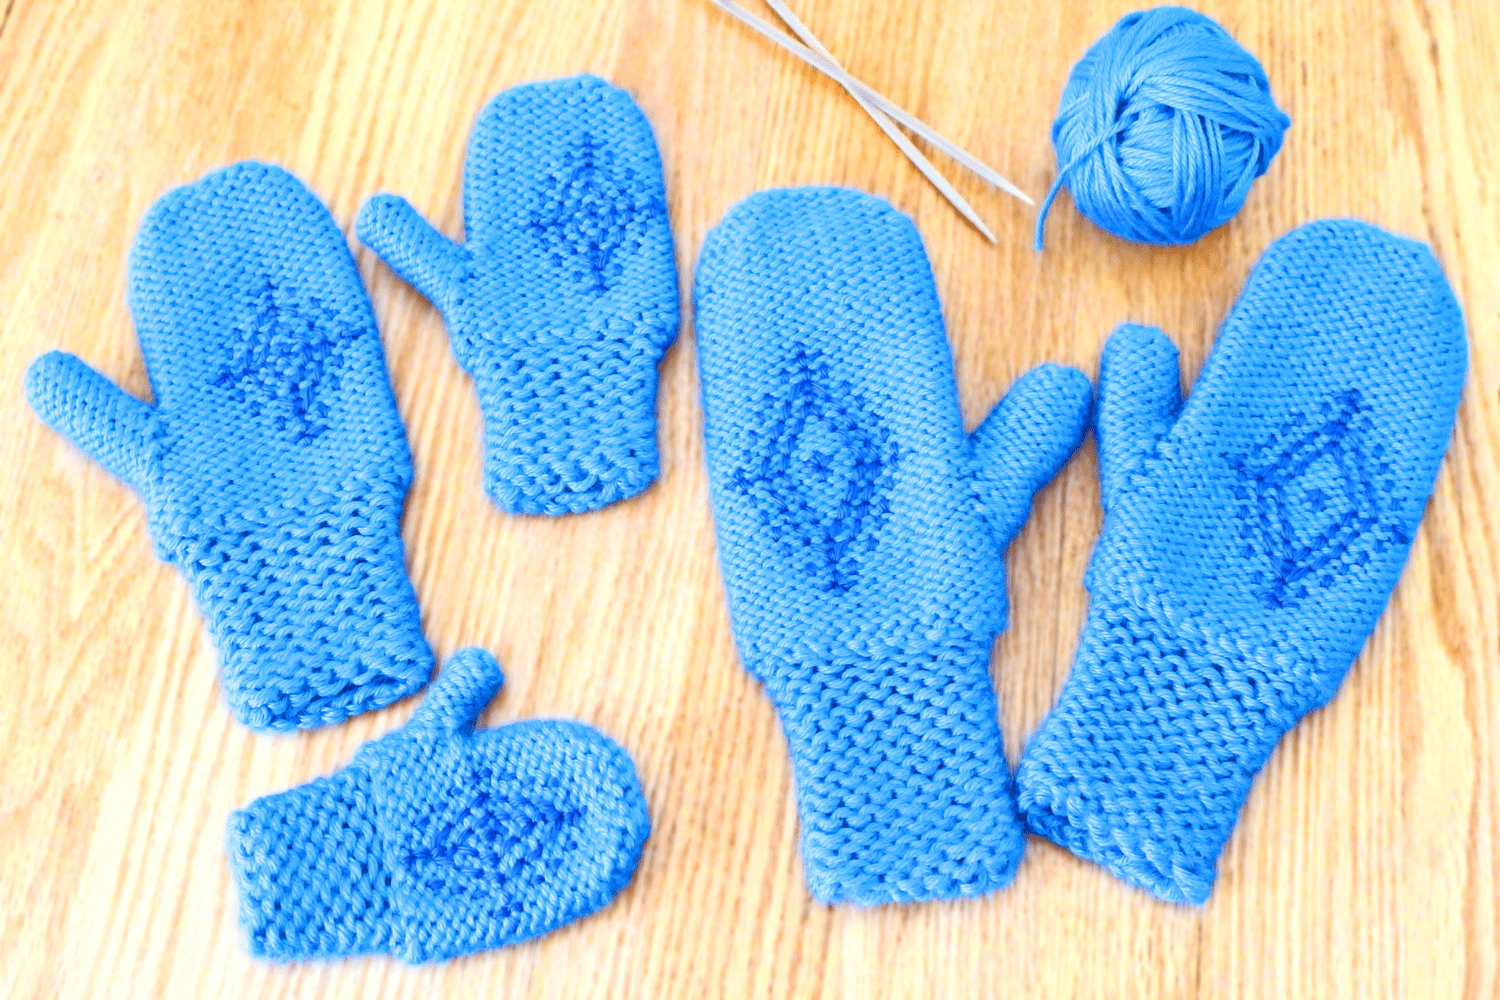
Make Full Size Mittens
If you like these tiny mittens, you can make them for your whole family! My knit mitten pattern in all sizes is available for download here on my PurlsAndPixels.
This pattern is also available as part of my collection of patterns in Liz Chandler’s Knitting the Simple Things, a hardcover book.
More Holiday Craft Ideas
Love DIY Christmas and holiday projects? Find more handmade holiday craft ideas at my Holiday Pattern Roundup Post.

©2017, Liz Chandler of PurlsAndPixels.
This pattern is for personal use, gifting, and charitable donation of completed items. You may also sell handmade items created using this pattern. Do not copy this pattern and distribute it. If you’d like to share the pattern, refer your friends to my website, purlsandpixels.com so they may obtain a copy.
If you find any errors or have any questions, email purlsandpixels@gmail.com and I will do my best to help.
See purlsandpixels.com for more great patterns or to order this item handmade by me. I’d love to see your finished work! Tag your photos with @PurlsAndPixels on Twitter or Instagram.


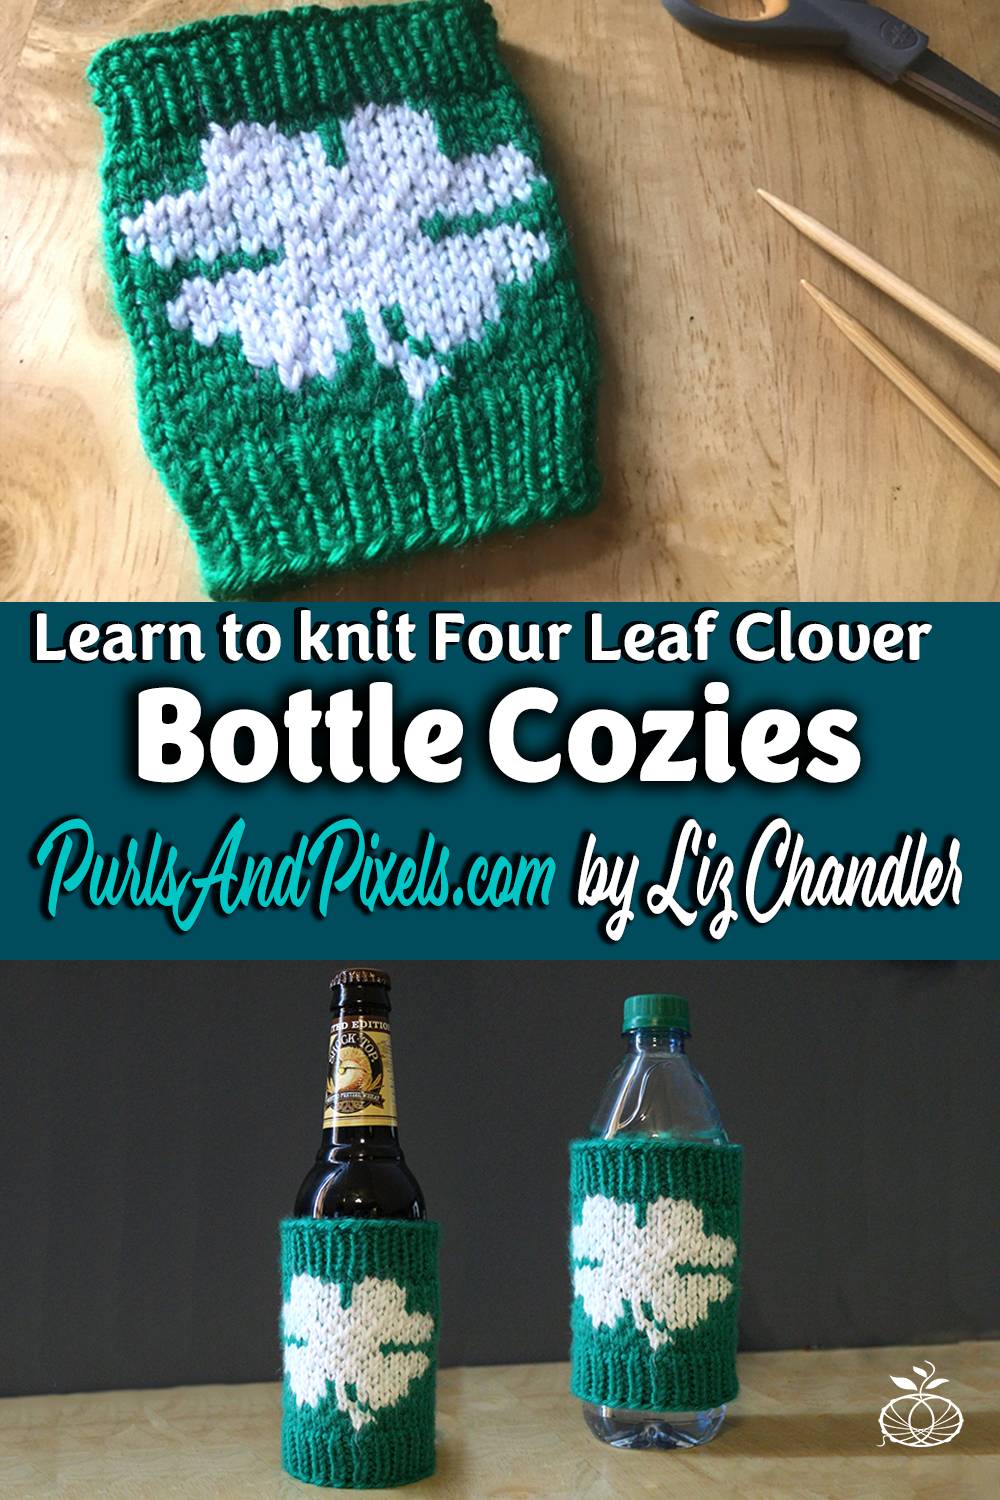
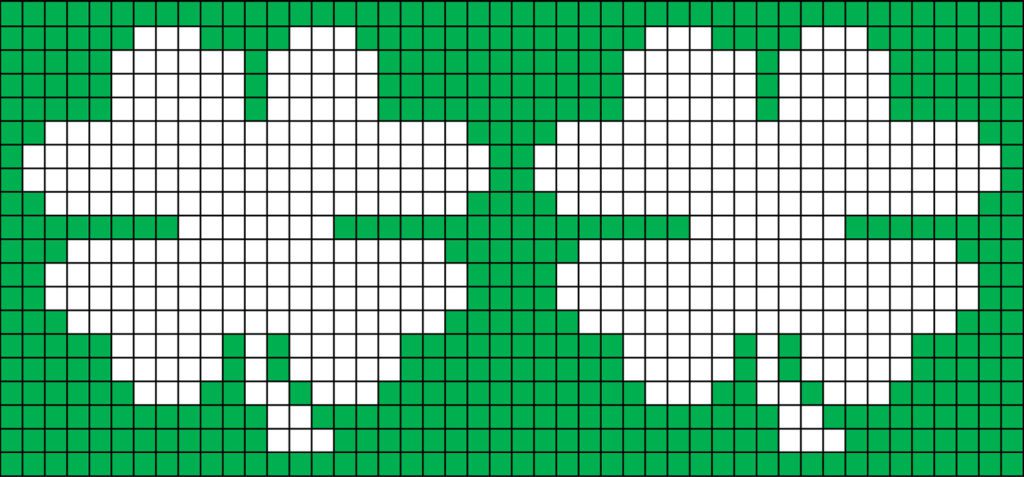
 Instructions: Lucky Coffee Cozy


