Why Upgrade Your Yarn? 🧶
If you’re anything like me, you probably started out with budget-friendly acrylic yarns like Caron Simply Soft. They’re easy to find, affordable, and great for learning. But as I delved deeper into knitting, I discovered a world of yarns that can elevate projects from “nice” to truly special. And there is a vast world of worsted weight yarn substitutes to explore.

I’ve experimented with various fibers, textures, and brands, and let me tell you, switching up your yarn can completely transform the feel of your finished piece. If you’re ready to upgrade your stash and explore options with better texture, durability, and stitch definition, here are my top worsted-weight recommendations!

Note: As the creator of PurlsAndPixels and author of “Liz Chandler’s Knitting Guide,” I’m committed to sharing honest recommendations and celebrating the evolving craft of knitting. These are yarns I personally love and use in my own knitting, but I have no direct affiliations with the companies. However, this post does contain Amazon affiliate links to help keep my content going – full transparency! ✨
Quick Yarn Comparison Guide (Organized by Price and Quality)
| Yarn Name | Fiber Content | Best For | Price Range |
|---|---|---|---|
| Caron Simply Soft | Basic Acrylic | Beginner Projects | $ |
| Lily Sugar’n Cream | 100% Cotton | Kitchen Items | $ |
| Lion Brand Wool-Ease | Wool/Acrylic Blend | Everyday Items | $ |
| Lion Brand 24/7 Cotton | 100% Cotton | Summer Wear | $ |
| Patons Classic Wool | 100% Wool | Everyday Wear | $$ |
| Lion Brand Heartland | Premium Acrylic | Cozy Sweaters | $$ |
| Knit Picks Wool of the Andes | 100% Highland Wool | Traditional Woolens | $$ |
| Malabrigo Rios | 100% Superwash Merino | Special Projects, Gifts | $$$ |
| Madelinetosh Vintage | 100% Superwash Merino | Luxury Garments | $$$ |
| Brooklyn Tweed Shelter | 100% American Wool | Heirloom Knits | $$$ |
| Ancient Arts Yarn | Various Artisanal Fibers | Unique Keepsakes | $$$ |
Best Budget-Friendly Yarn Alternatives ($)
Lion Brand Wool-Ease (Wool/Acrylic Blend)
✔ Soft and easy to work with
✔ Beginner-friendly wool option
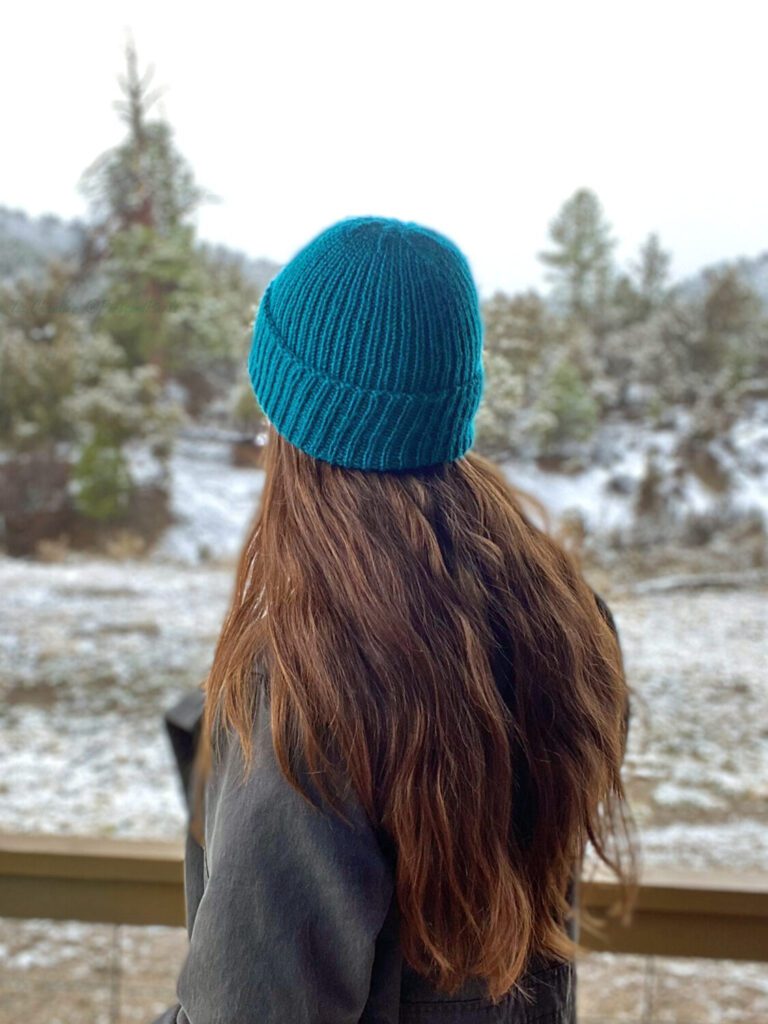
Great for: Basic Slouch Hat Knitting Pattern
Lily Sugar’n Cream (100% Cotton)
✔ Durable and machine washable
✔ Great for dishcloths and summer projects
Great for: Double-Stripe Ribbed Washcloth Knitting Pattern
Mid-Range Yarn Upgrades ($$)
Patons Classic Wool (100% Wool)
✔ Excellent stitch definition
✔ Perfect for cozy accessories
Great for: Twisty Cable Ear Warmer Headband Knitting Pattern
Lion Brand Heartland (Premium Acrylic)
✔ Ultra-soft with a heathered finish
✔ Machine washable and low-maintenance
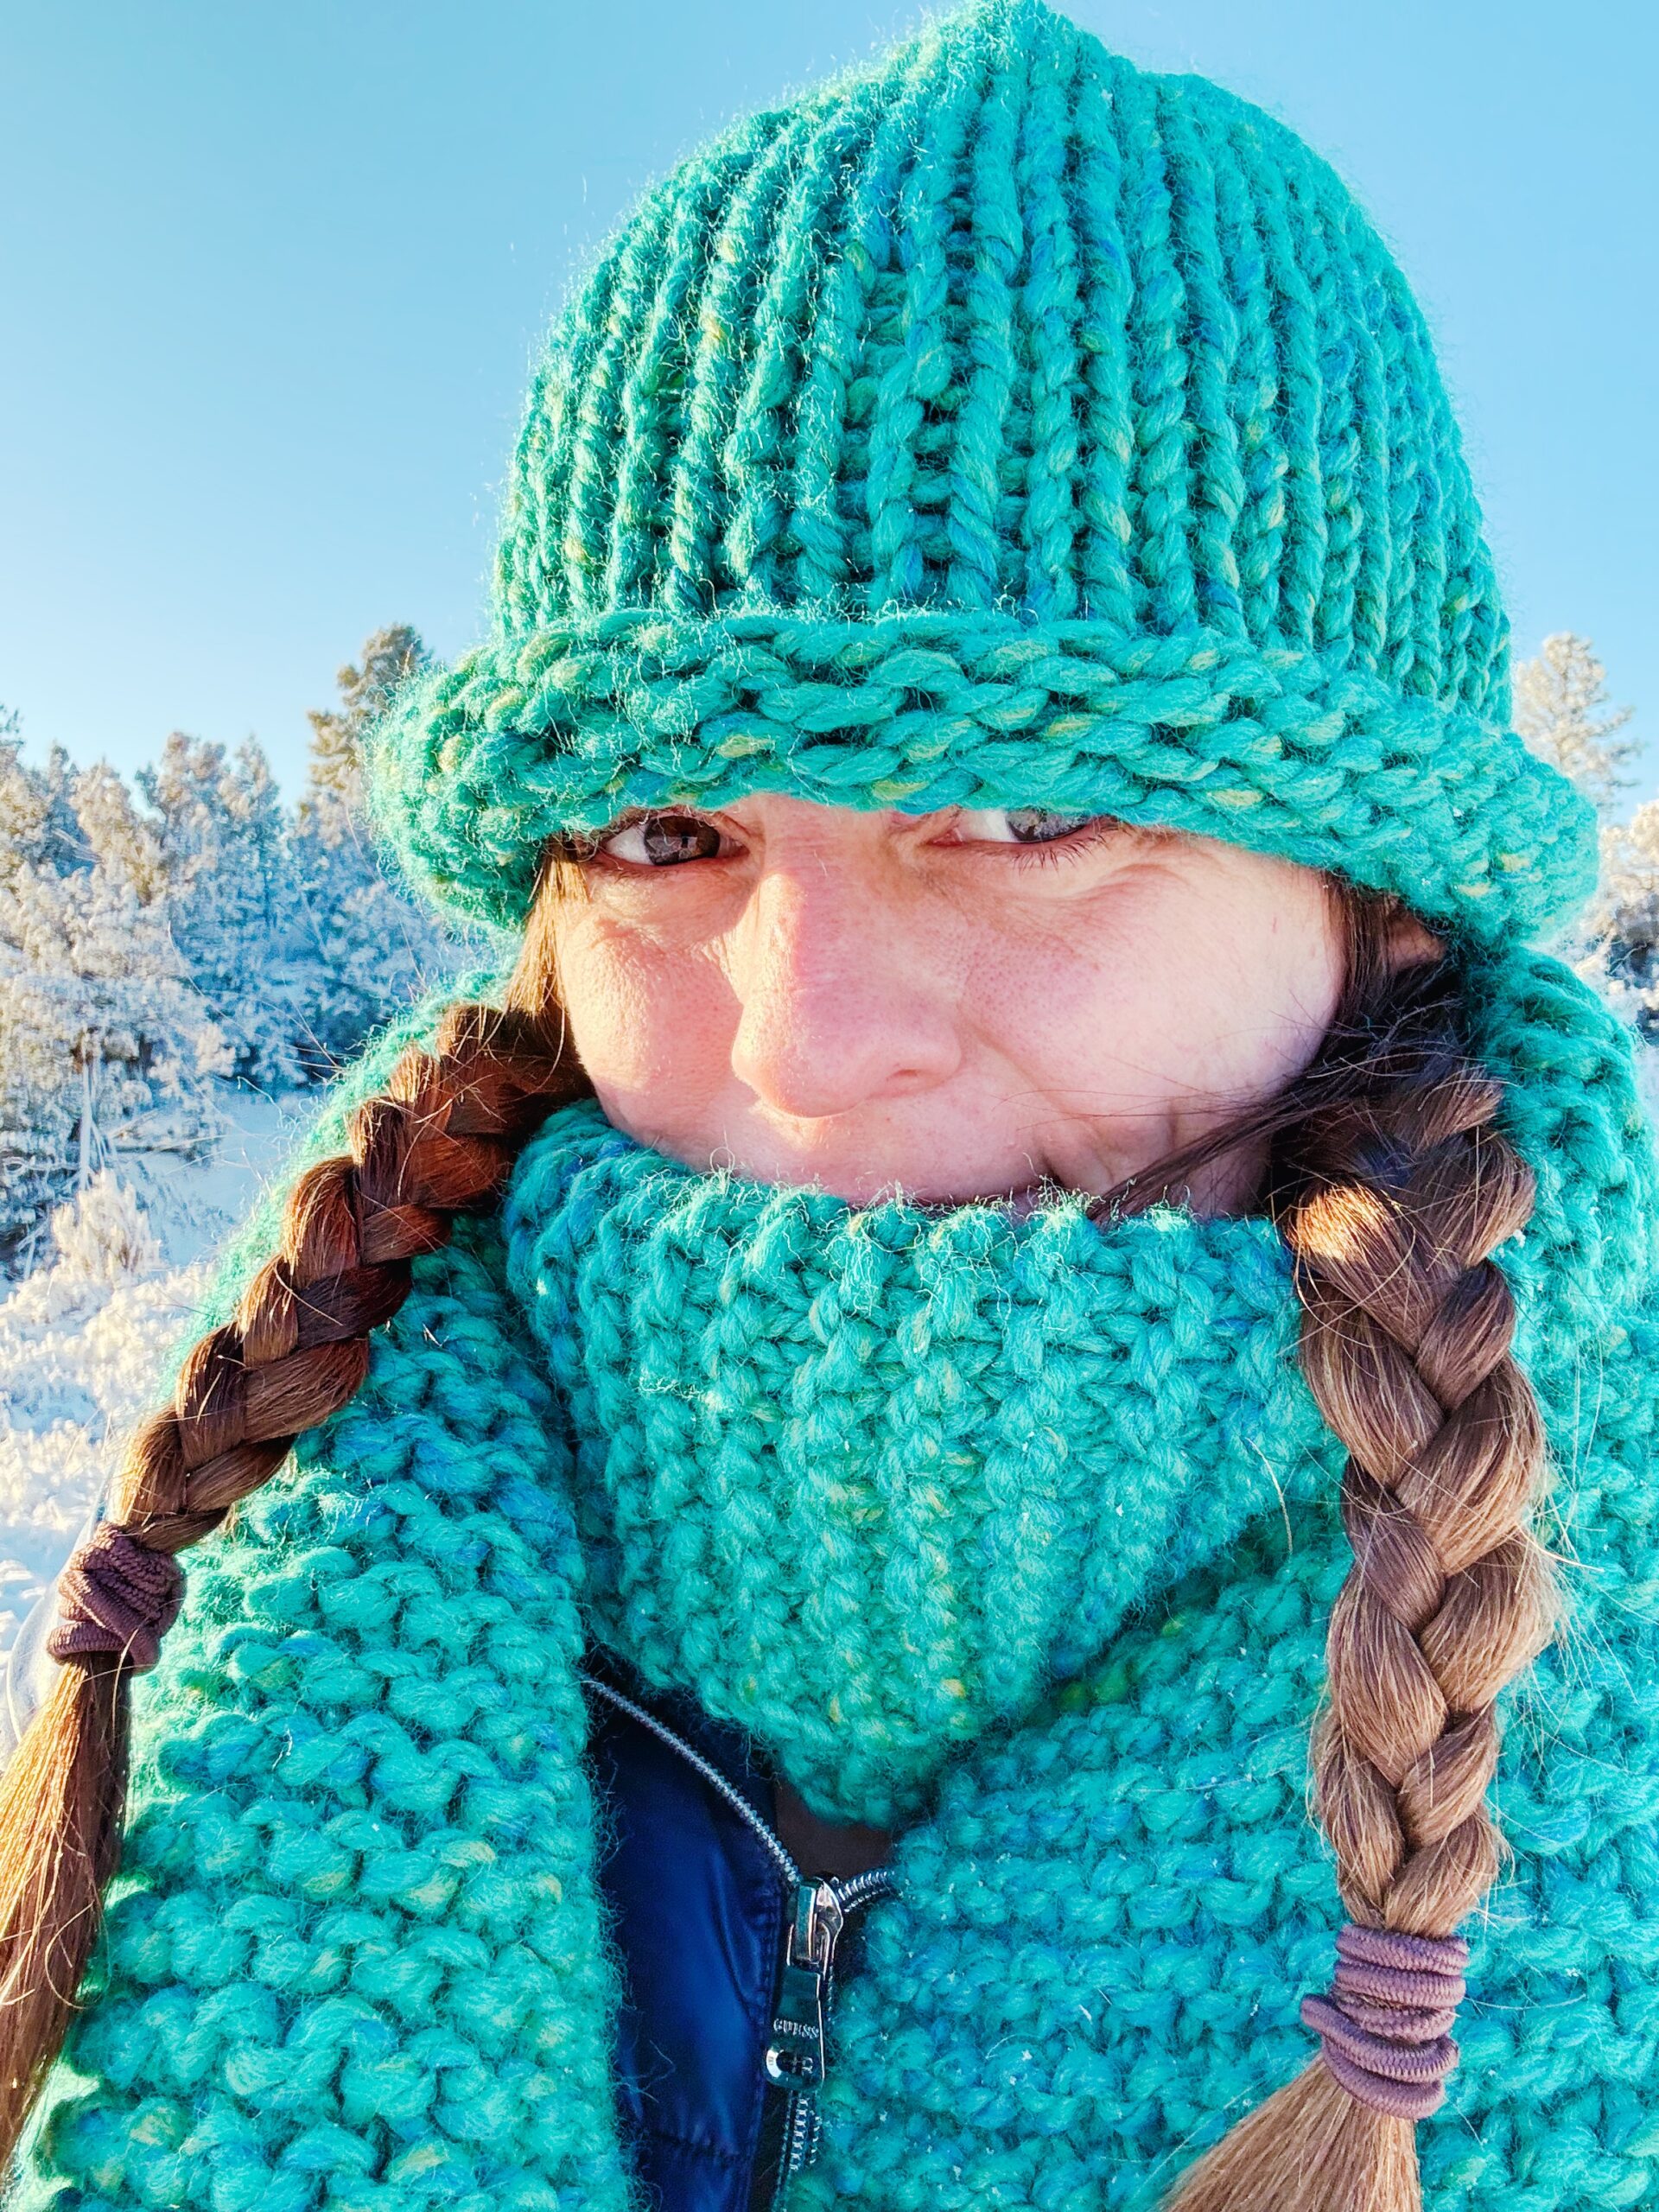
Great for: Chunky Beanie Hat Knitting Pattern
Premium Yarns on Amazon ($$$)
Malabrigo Rios (100% Superwash Merino) – My Top Pick!
✔ Buttery soft and hand-dyed
✔ Excellent stitch definition, perfect for gifts
Great for: Simple Mitten Knitting Pattern
Luxury Yarns Worth Seeking Beyond Amazon ($$$)
Madelinetosh Vintage (100% Superwash Merino)
✔ Rich, hand-dyed colors with incredible depth
✔ Perfect for luxury garments and statement pieces
Brooklyn Tweed Shelter (100% American Wool)
✔ Woolen-spun for lightweight warmth
✔ Stunning texture, ideal for heirloom knits
Ancient Arts Yarn (Artisanal, Hand-Dyed Fibers)
✔ Unique colorways, supports independent dyers
✔ Great for meaningful gifts and custom projects
FAQs
Q: What is your favorite luxury worsted weight yarn substitute?
A: My absolute favorite luxury yarn is Malabrigo Rios! It is incredibly soft, hand-dyed, and has stunning stitch definition.
Q: Will these yarns work with your patterns?
A: Absolutely! Most of my patterns are designed for worsted weight yarn. These worsted weight yarn substitutes can elevate simple knits into heirloom pieces!
Q: How do I care for premium wool yarns?
- Hand wash in cool water with wool-safe soap
- Lay flat to dry
- Store in a cool, dry place
- Add a cedar sachet to keep moths away
Let’s Talk Yarn!
I’m always on the lookout for amazing yarns to try! Do you have a favorite worsted-weight yarn that you swear by? Whether it’s an old favorite or a new discovery, I’d love to hear your recommendations. Drop a comment below and let me know what makes it special! 🧶✨
Ready to knit? Grab a copy of Knitting the Simple Things (a glossy hardcover with 15 classic worsted-weight knitting patterns in sizes for everyone). Or, dive into your own pattern writing with my beautiful knitting journals to track your making journey!
Happy crafting,
Liz 🧶
💌 Don’t miss a stitch. Subscribe to my newsletter for exclusive patterns, homesteading tips, and special offers.