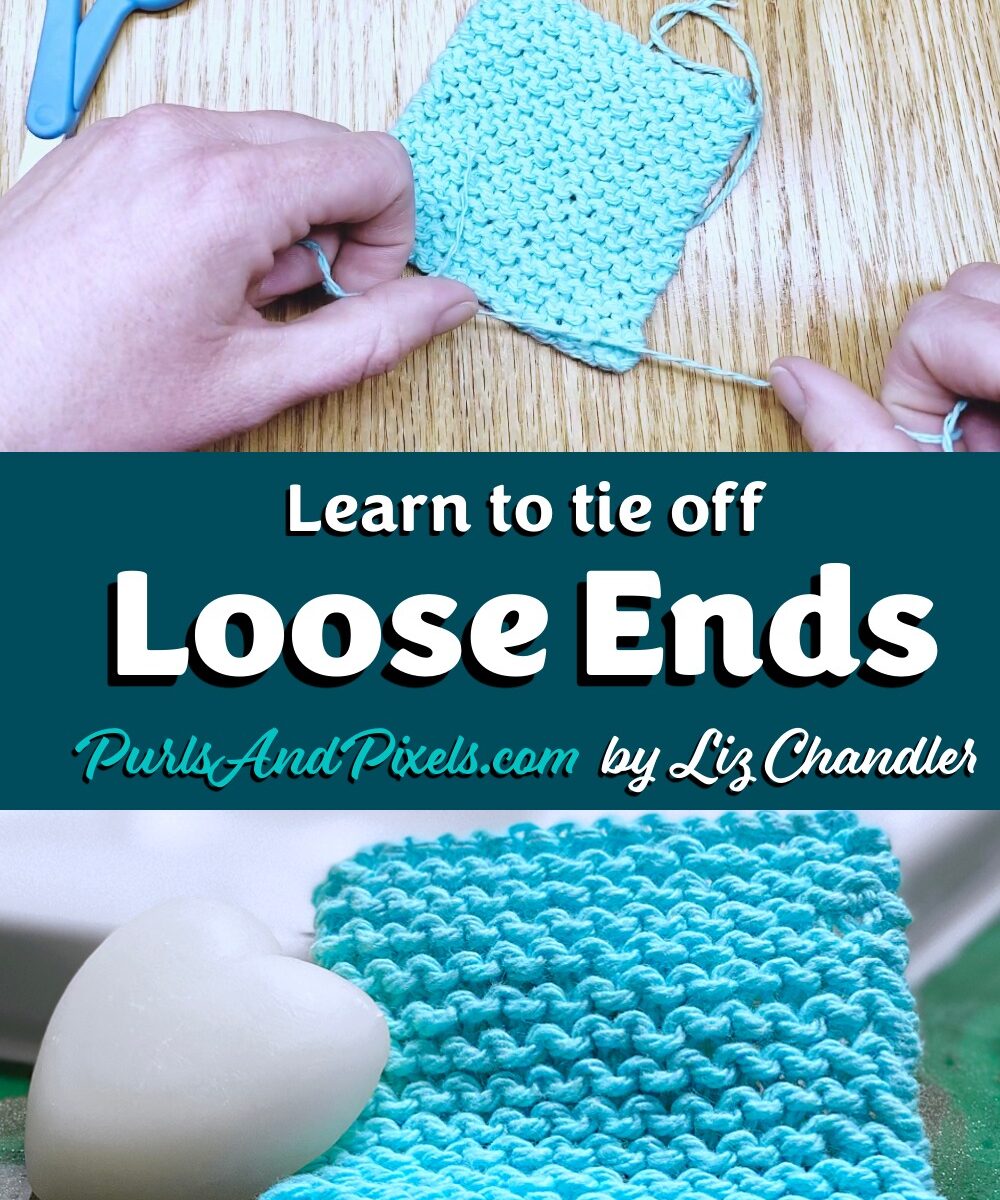
After weaving in my loose end for a few stitches, I always tie my yarn tail onto one of my knit stitches with a tiny, strong, and almost invisible knot. This allows me to use less duplicate stitch and end my knitting more quickly. I also find that this knot holds my tails in place much longer than weaving in alone. Here, I’ll show you how you can knot in your yarn ends before you trim them away.
First, you will need to split the yarn tail in two pieces. Then you will tie two small knots, which pull against one another to lock in place. After tying your knot, you can clip the excess yarn away with your scissors. Stretching the piece a little hides the knot within most knitting patterns.
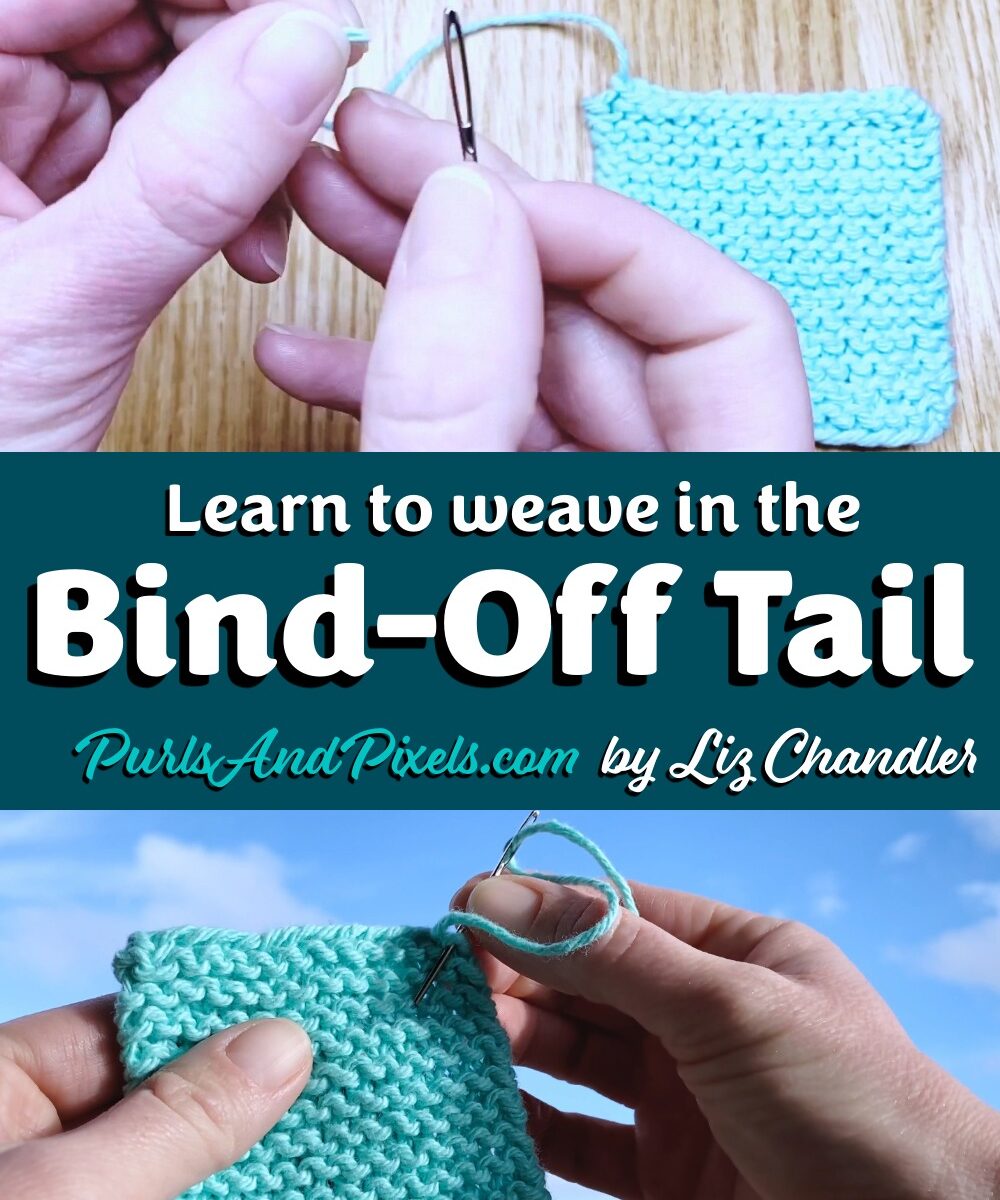
Below are both video and written tutorials to help you learn how to make a knot that will anchor your tail to your knitting.
Video Guide: How Knot in Yarn Tails
Written Guide: How to Knot in Yarn Tails
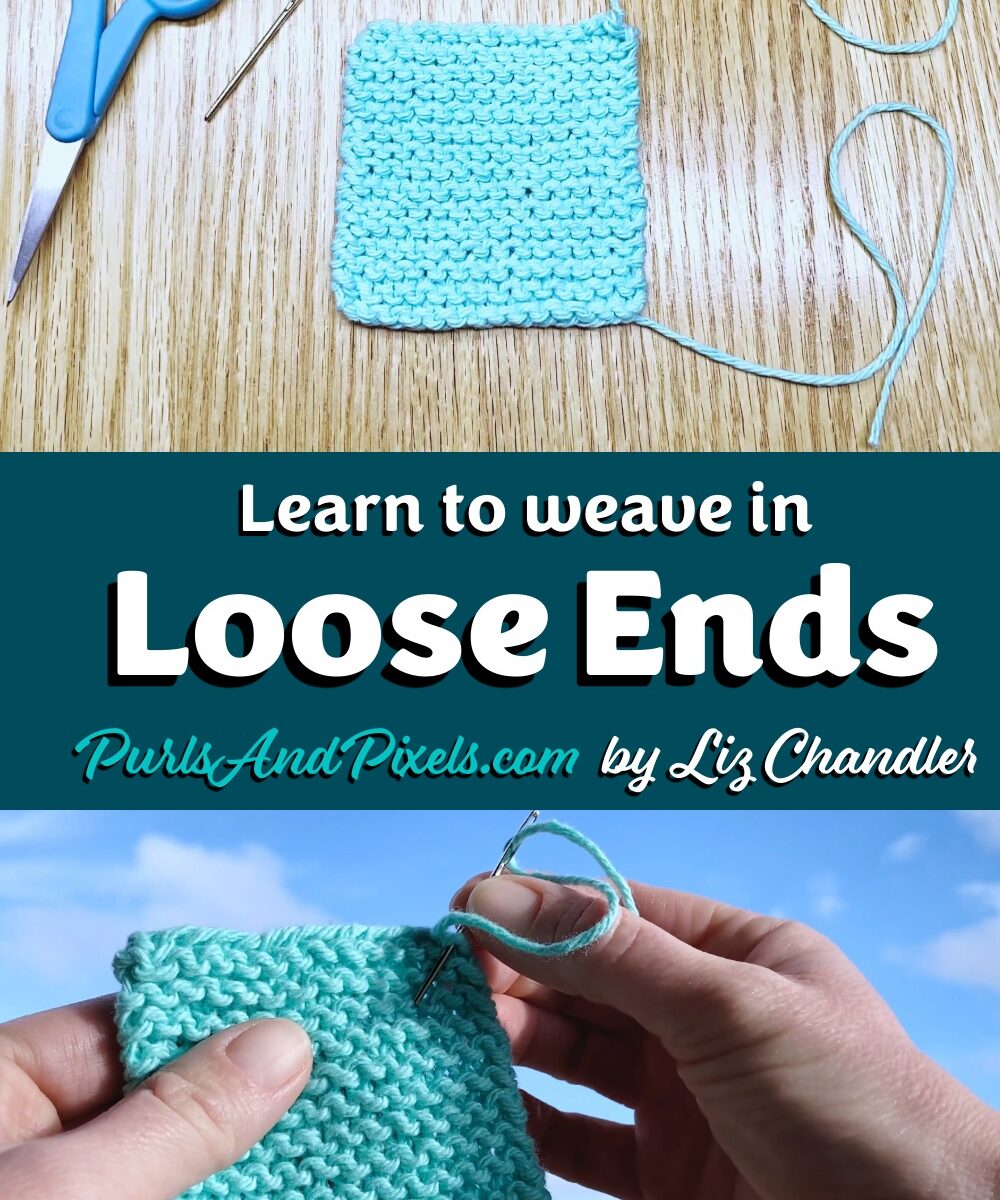
After using the tail to finish out your pattern and fix any strange corner loops, you can tie the yarn onto one of your interior stitches. Make sure you’ve already woven in your tail a little bit before you tie your knot. See the guides at this link if you aren’t sure how to weave in your tail.
Split & Anchor Yarn Tails
To prepare to tie in your end, you must first split the tail and anchor it to one stitch in your knitting project.

Split & Anchor, Step 1:
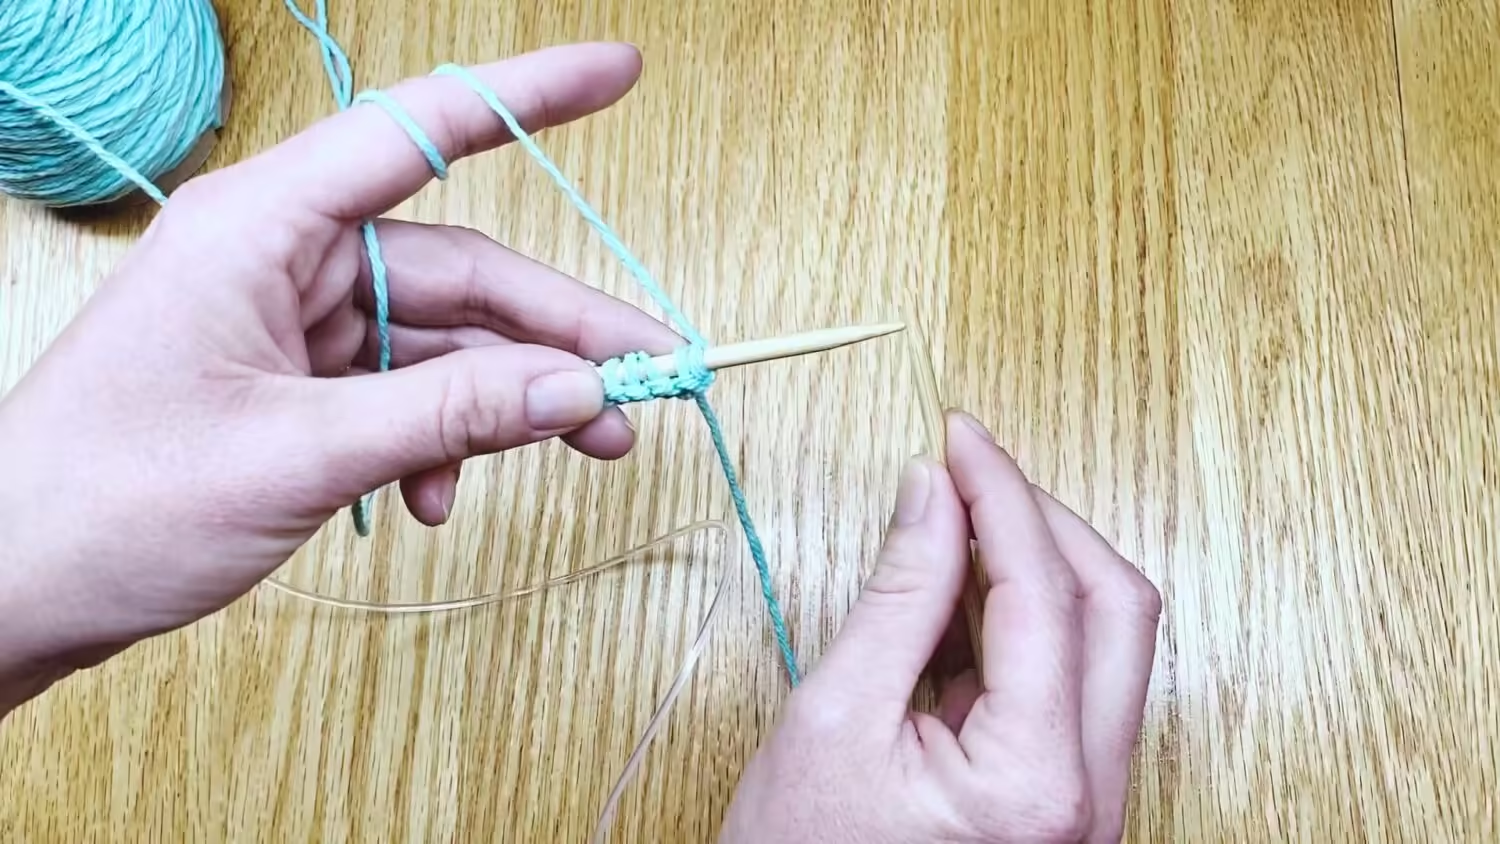
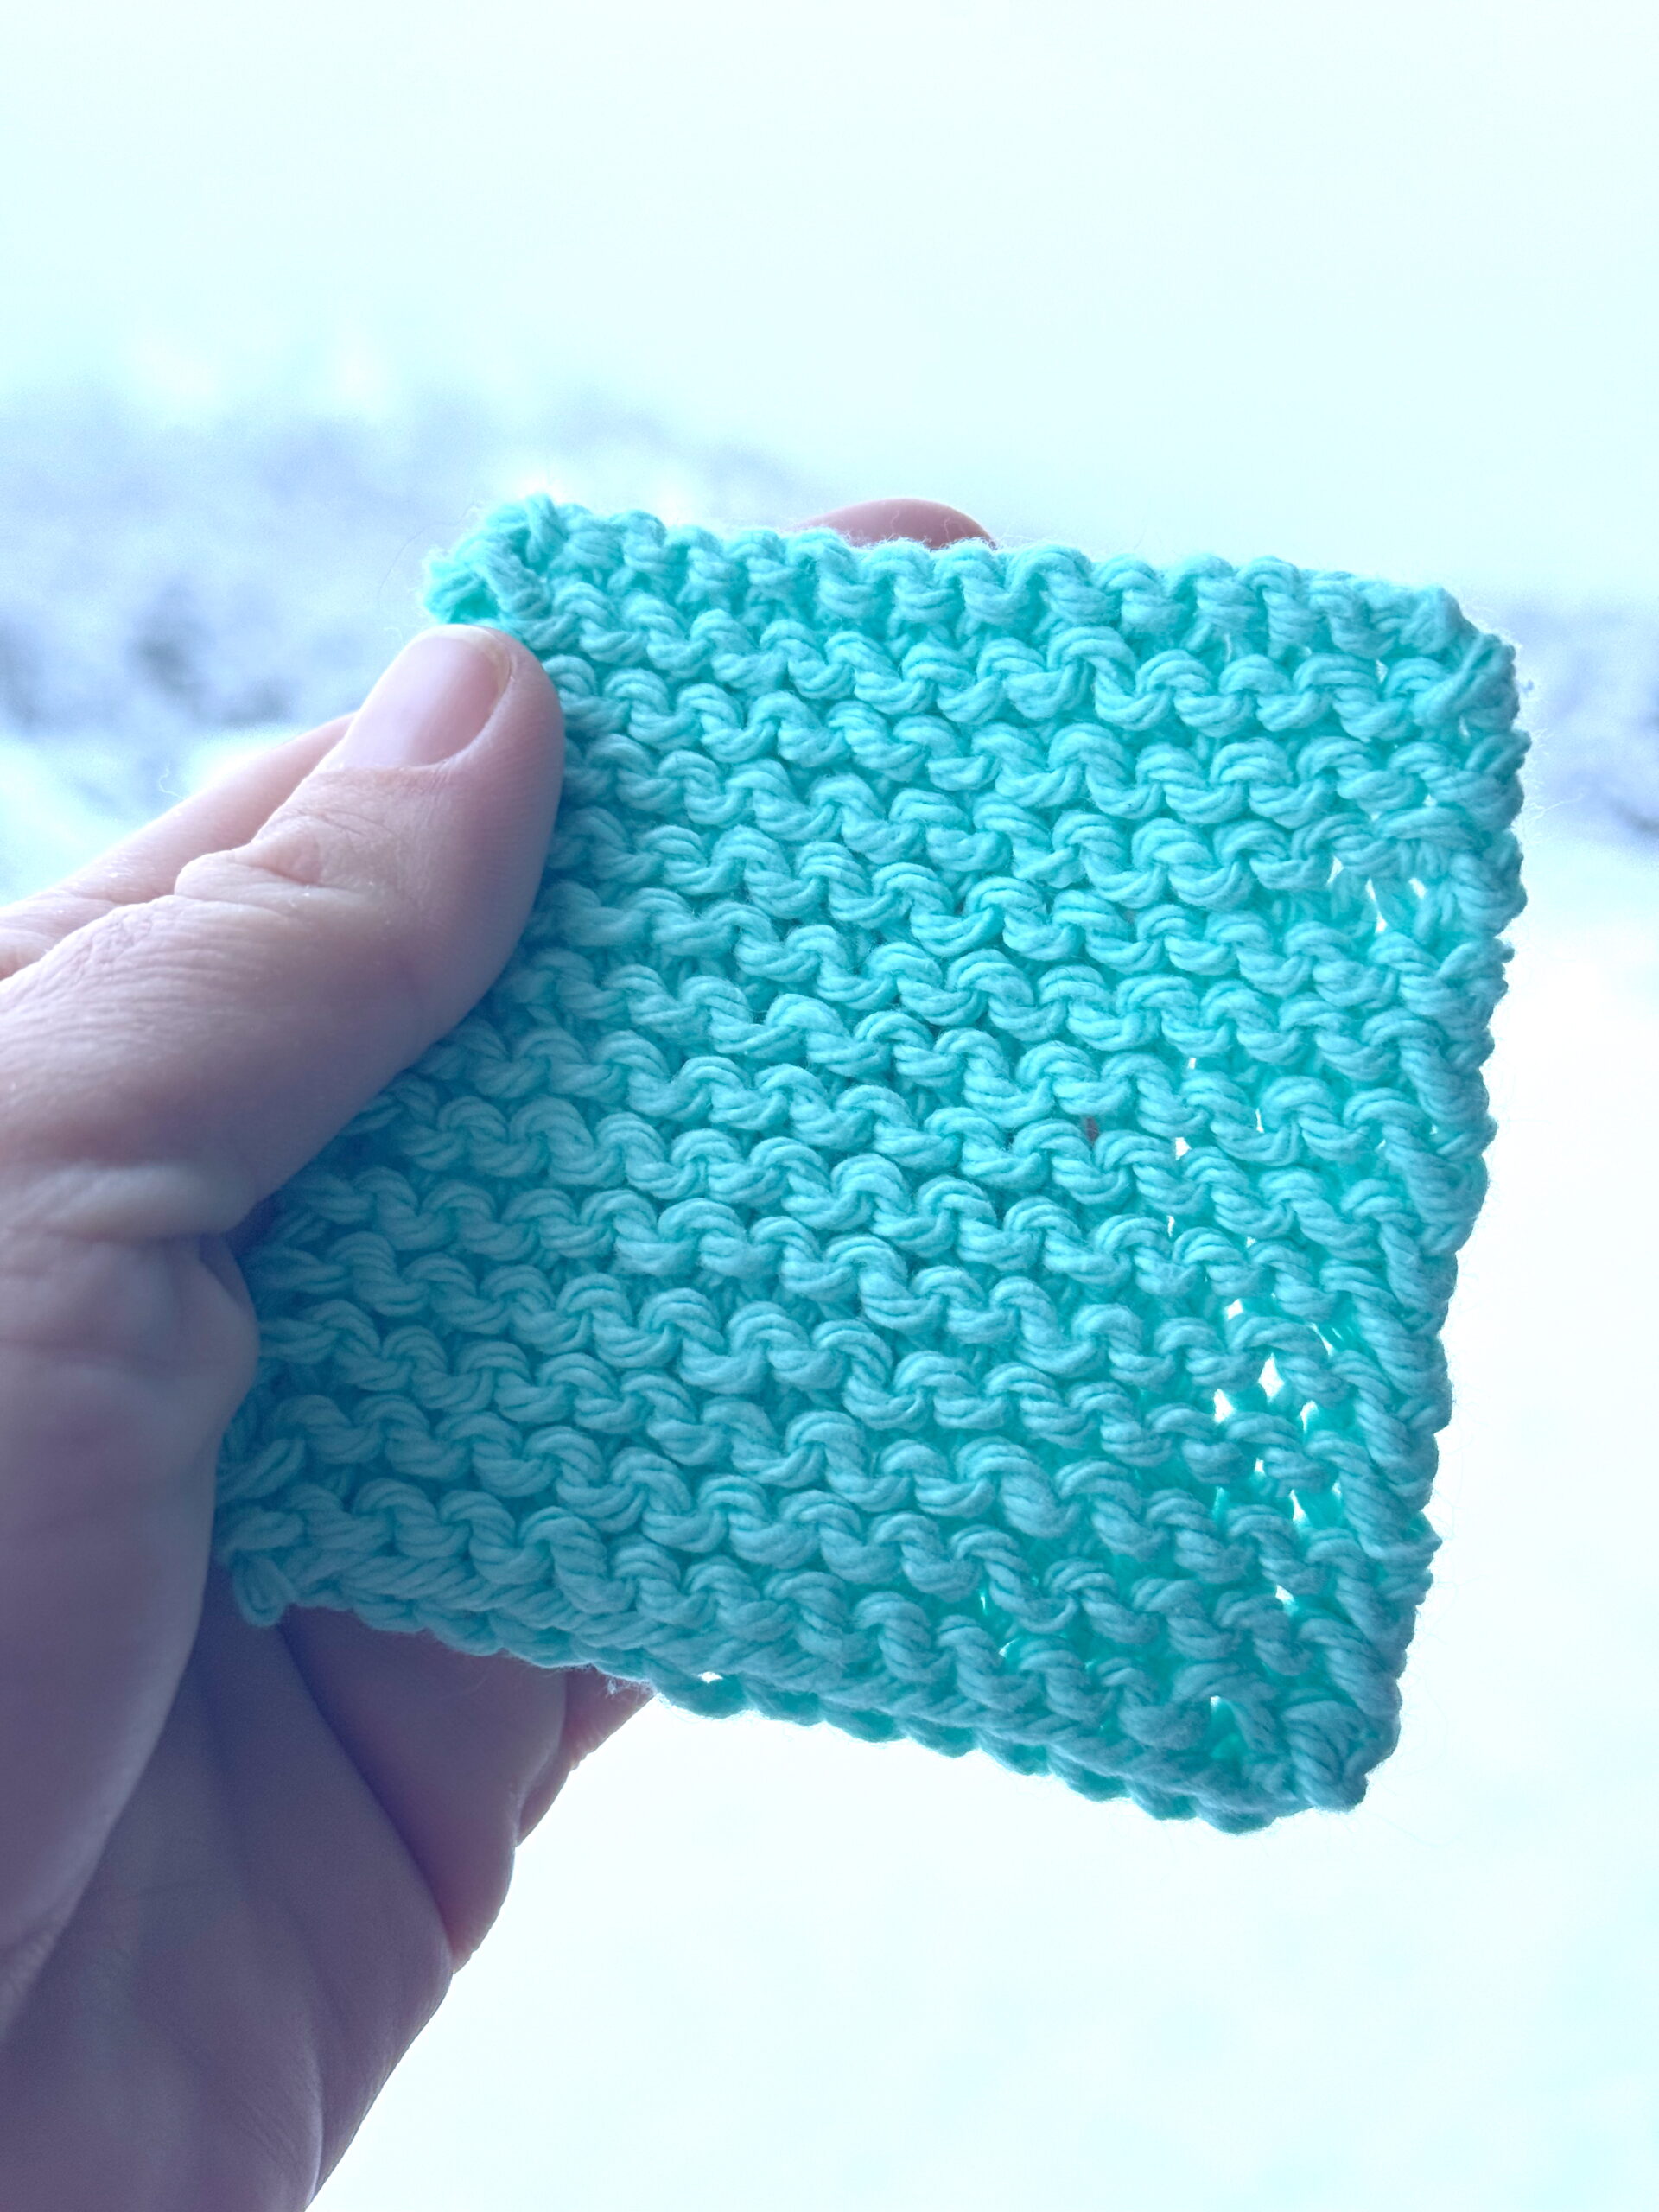
Inspect your yarn tail by untwisting it a bit, near your work. Identify the individual yarn plies and count them. Here, you will see a four-ply yarn; the yarn pictured is made of four smaller strings.

Split & Anchor, Step 2:
Use the tip of your darning needle to help you split the plies into two equal sections. With the four-ply yarn shown, the plies should be split so there are two on each side.

Split & Anchor, Step 3:
Gently separate the two halves of the yarn with your darning needle by sliding it out toward the end of the tail. Take care not to break the strands by pulling too quickly or roughly.

Split & Anchor, Step 4:
Once the tail is split in two, set one half aside and thread the other half through the eye of your darning needle.

Split & Anchor, Step 5:
With the darning needle, sew this half of the tail around the knit stitch that it is coming out from under. Do this by bringing your needle tip under and through the other side of the knit stitch.

Split & Anchor, Step 6:
Ensure that the darning needle runs parallel to the other half of the yarn tail before you sew it through.

Split & Anchor, Step 7:
Pull the tail through, only tightly enough to match the pattern of your knitting. Do not pull too tightly.

Split & Anchor, Step 8:
Remove the tail from the darning needle.
Tying Off / Knotting in Yarn Tails
After splitting the tail and anchoring it to a stitch, you are ready to begin tying your tiny knot.

Tie Off, Step 1:
Arrange the two halves of the tail so that the ends are pointing in opposite directions, laying one string toward your left side and the other toward your right. Then, set the strings down.

Tie Off, Step 2:
Pick up the strings so that the left-pointing string is in your right hand and the right-pointing string is in your left hand.

Tie Off, Step 3:
Cross the two ends by bringing the yarn in your right hand in front of the yarn in your left hand.

Tie Off, Step 4:
Bring the right-hand string around and behind the left-hand string, then tuck the right-hand string tail through the loop created.

Tie Off, Step 5:
This will cross the ends, forming first small knot. Tighten the knot by gently pulling on both tails of the yarn.

Tie Off, Step 6:
Pull this first knot only tightly enough to allow it to hug the surface of the knitting. Pulling this knot too tightly will cause your work to become misshapen.

Tie Off, Step 7:
After tying the knot gently to the surface of your work, lay the ends down in the direction you were pulling them. One end should point toward the left, and the other should point toward the right.

Tie Off, Step 8:
Now, grab the ends, switching the hands that held them. So, pick up the left-pointing string in your right hand and the right-pointing string in your left hand.

Tie Off, Step 9:
Cross the strings in the same way as you did in Step 3; bring the yarn in your right hand in front of the yarn in your left hand.

Tie Off, Step 10:
Bring the right-hand string around and behind the left-hand string, then tuck the right-hand string tail through the loop created.

Tie Off, Step 11:
This will cross the ends, forming your next small knot. Tighten this knot by gently pulling on both tails of the yarn.

Tie Off, Step 12:
Pull this second knot as tightly as you can to test if it will slip. If the knot does not move when the two tails are pulled very hard, you can move on to cutting away your yarn tails in the next step. But, if your knot starts to slip when you pull the tails, stop pulling and make one more knot by repeating steps 7 through 12.

Tie Off, Step 13:
Using the sharpest scissors you have available, clip off both halves of the yarn tail, one at a time, as closely as possible to the knot, without cutting the knot itself.
Tie Off, Step 14:
Stretch the corner of your work to help the knot settle into the project. It will hide itself amongst the other stitches.
At this point you should be free of your loose ends and ready to move on to blocking your work or starting a new project.

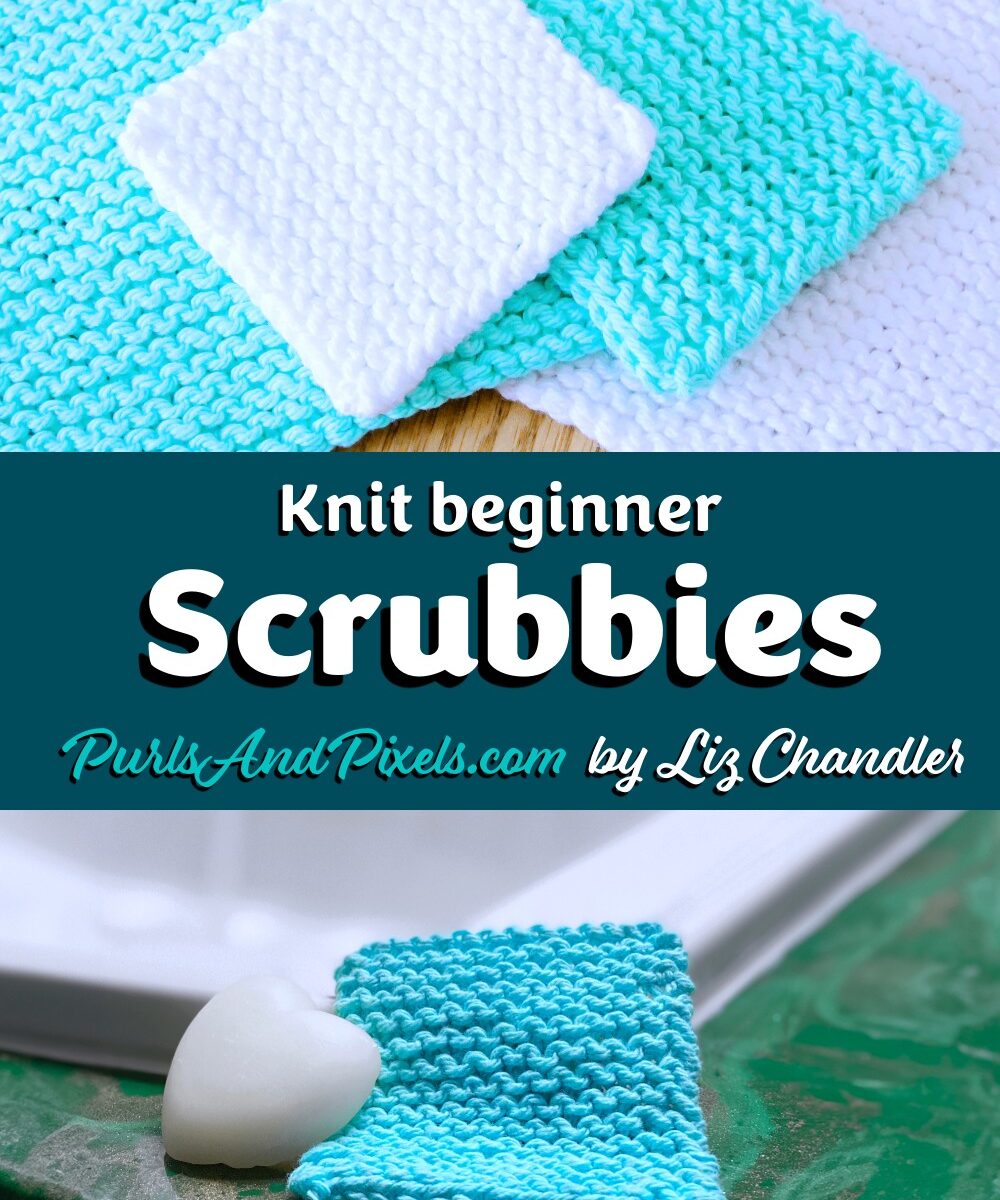
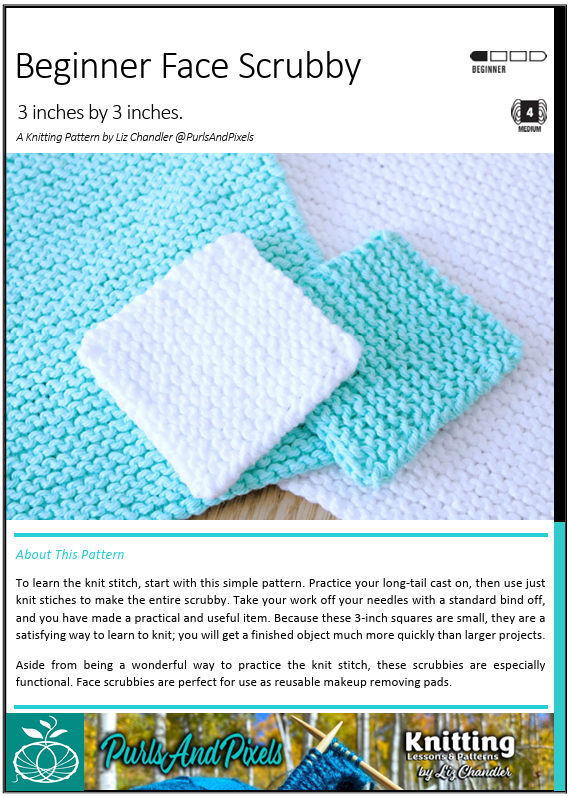
Practice With My Knitting Pattern
You can learn to knit along with me using my Free Beginner Face Scrubby Pattern.
Up Next

The next step in learning to knit is to make the purl stitch to start adding texture and patterns to your knitting projects.