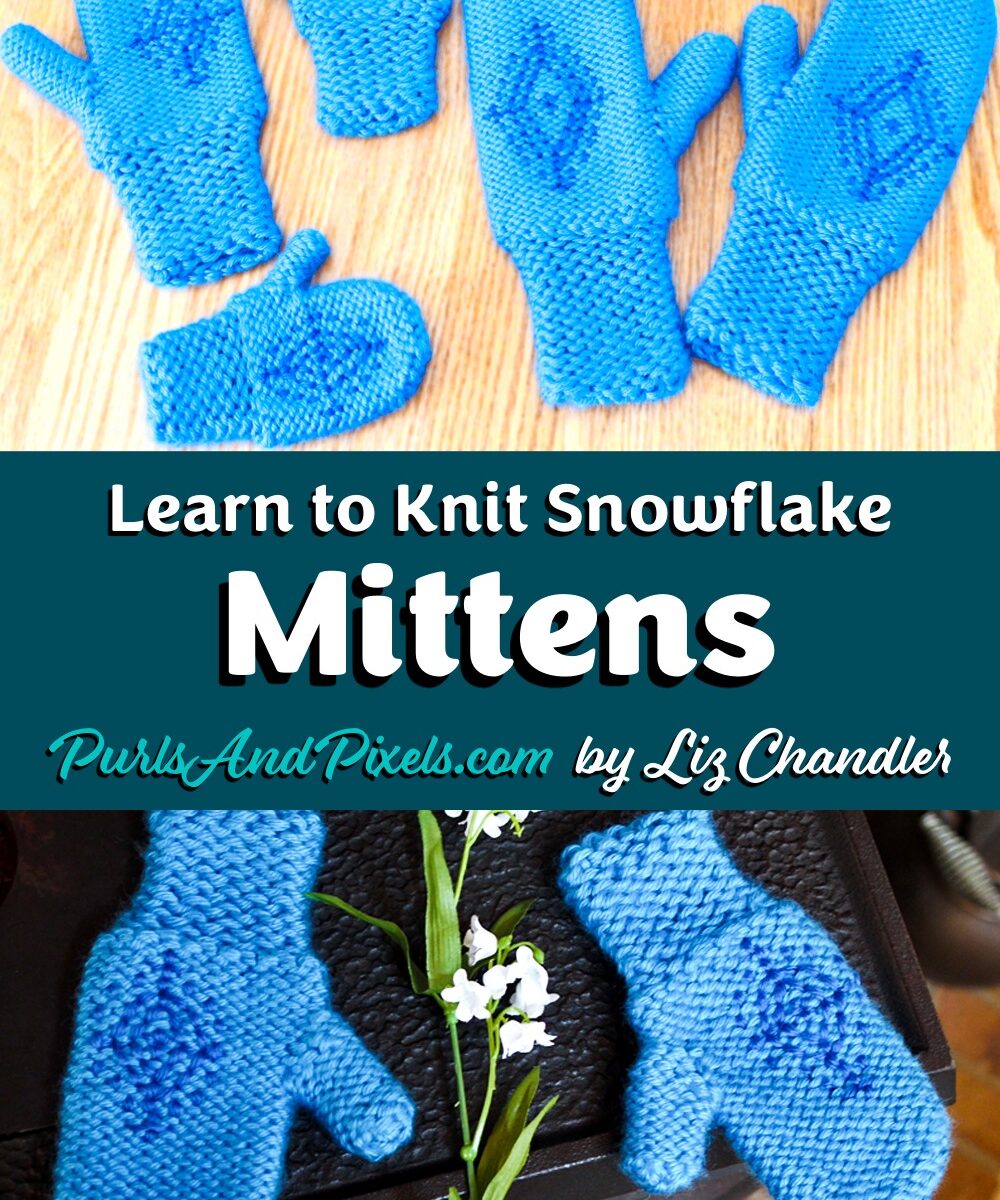
Frozen Snowflake Mittens: A Free Knitting Pattern by Liz Chandler
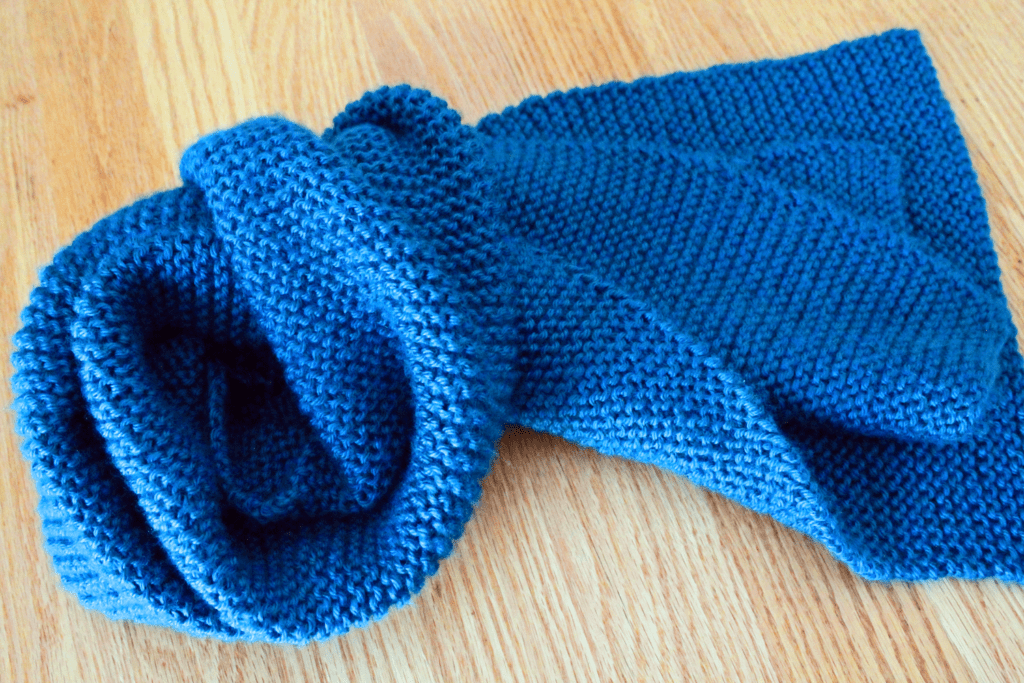
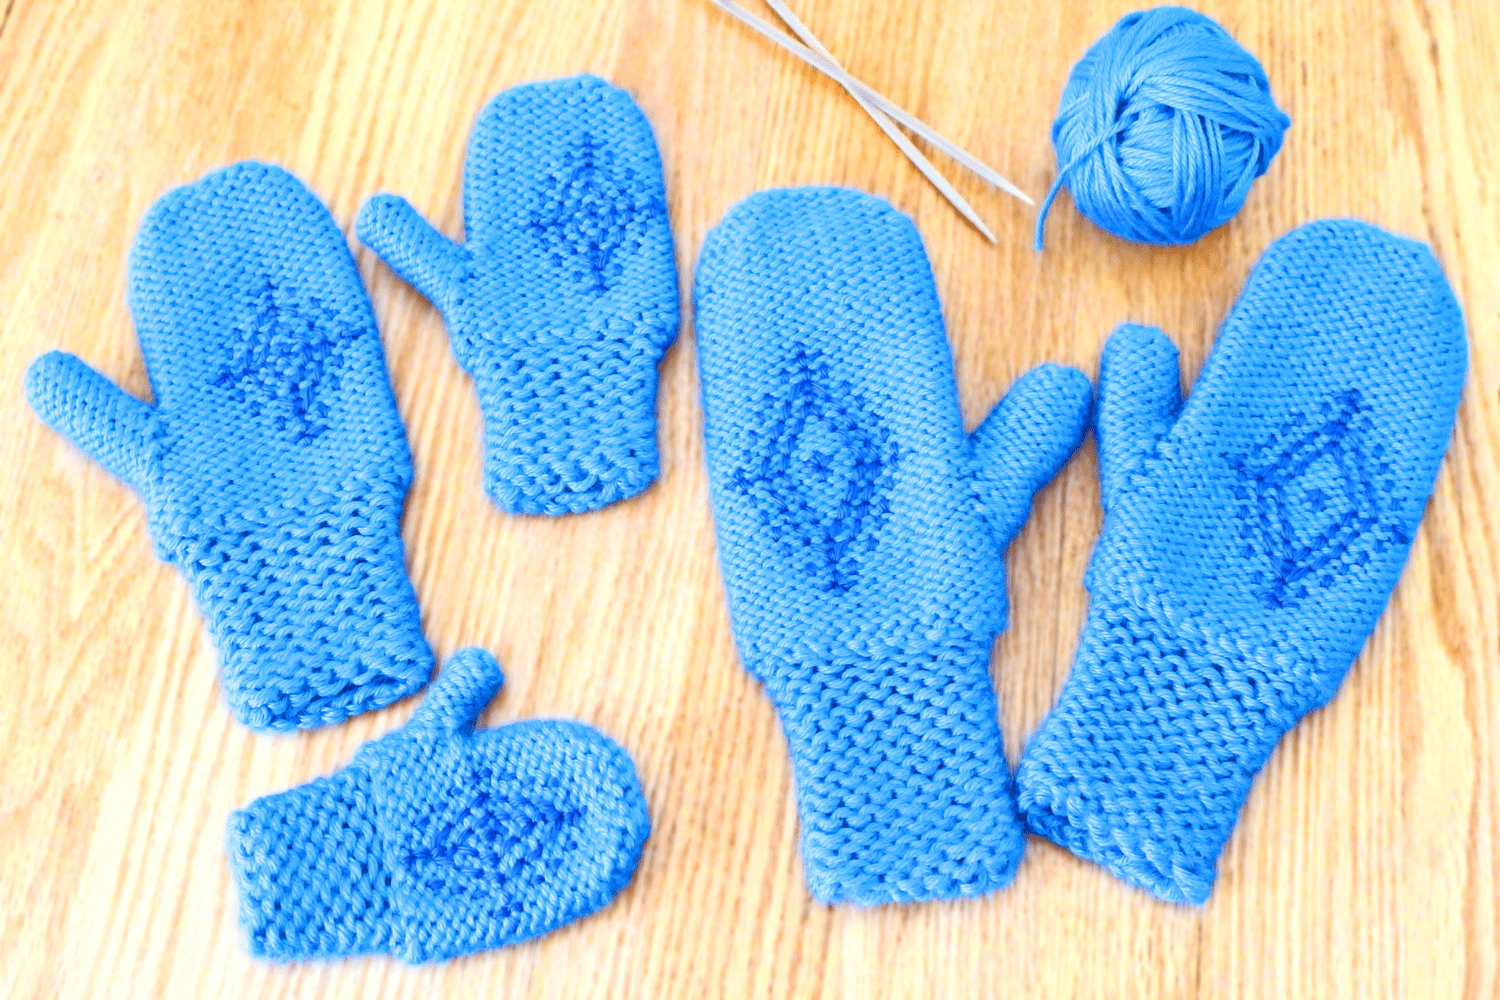
Are your hands a little chilly? Keep them warm with these mittens, embroidered with a subtle frozen snowflake. Get ready to embark on a new knitting adventure! Here is my free DIY pattern to knit these Frozen Snowflake Mittens yourself. Dive into the cozy world of crafting with step-by-step instructions to create three sizes of Frozen Snowflake Mittens: Women’s size, Girls’ Size, and Toddlers’ Size. Elevate your winter style with these charming mittens fit for royalty.
Crafted with care and warmth, these Frozen Snowflake Mittens are made using my favorite super-soft acrylic yarn – Caron Simply Soft. The choice of this yarn is intentional; it’s not only incredibly soft but also remarkably warm. Take them outside and build a snowman! What’s more, the practicality extends to easy maintenance – just toss these mittens into the washing machine when they need a refresh.
Designed with a touch of royal elegance, these mittens are perfect for princesses of all ages. The enchanting blue hue adds a regal charm, and to cater to diverse preferences, I’ve created these mittens in women’s, children’s, and toddlers’ sizes. Whether you’re gifting a pair to a little one or treating yourself to a new accessory, these mittens are a delightful addition to any winter wardrobe.
About This Free Frozen Snowflake Mittens Pattern
Materials
You will need the following materials, which you can purchase at your local yarn shop or on Amazon.com via the affiliate links below:
Knitting Needles:
Double Point Needles (DPNs)
Yarn:
*Weights estimated with Caron Simply Soft yarn; other yarn weights may vary. Weight does not include gauge swatch. A 4×4 inch gauge swatch with a 2 row by 3 stitch border uses an additional 21 yards (0.4 oz.).
Tools:
A stitch marker, a measuring tape and a darning needle.
Gauge
20 stitches x 28 rows = 4 x 4 inches in stockinette stitch on No. 5 (3.75 mm) needles. (Learn how to check your gauge here.)
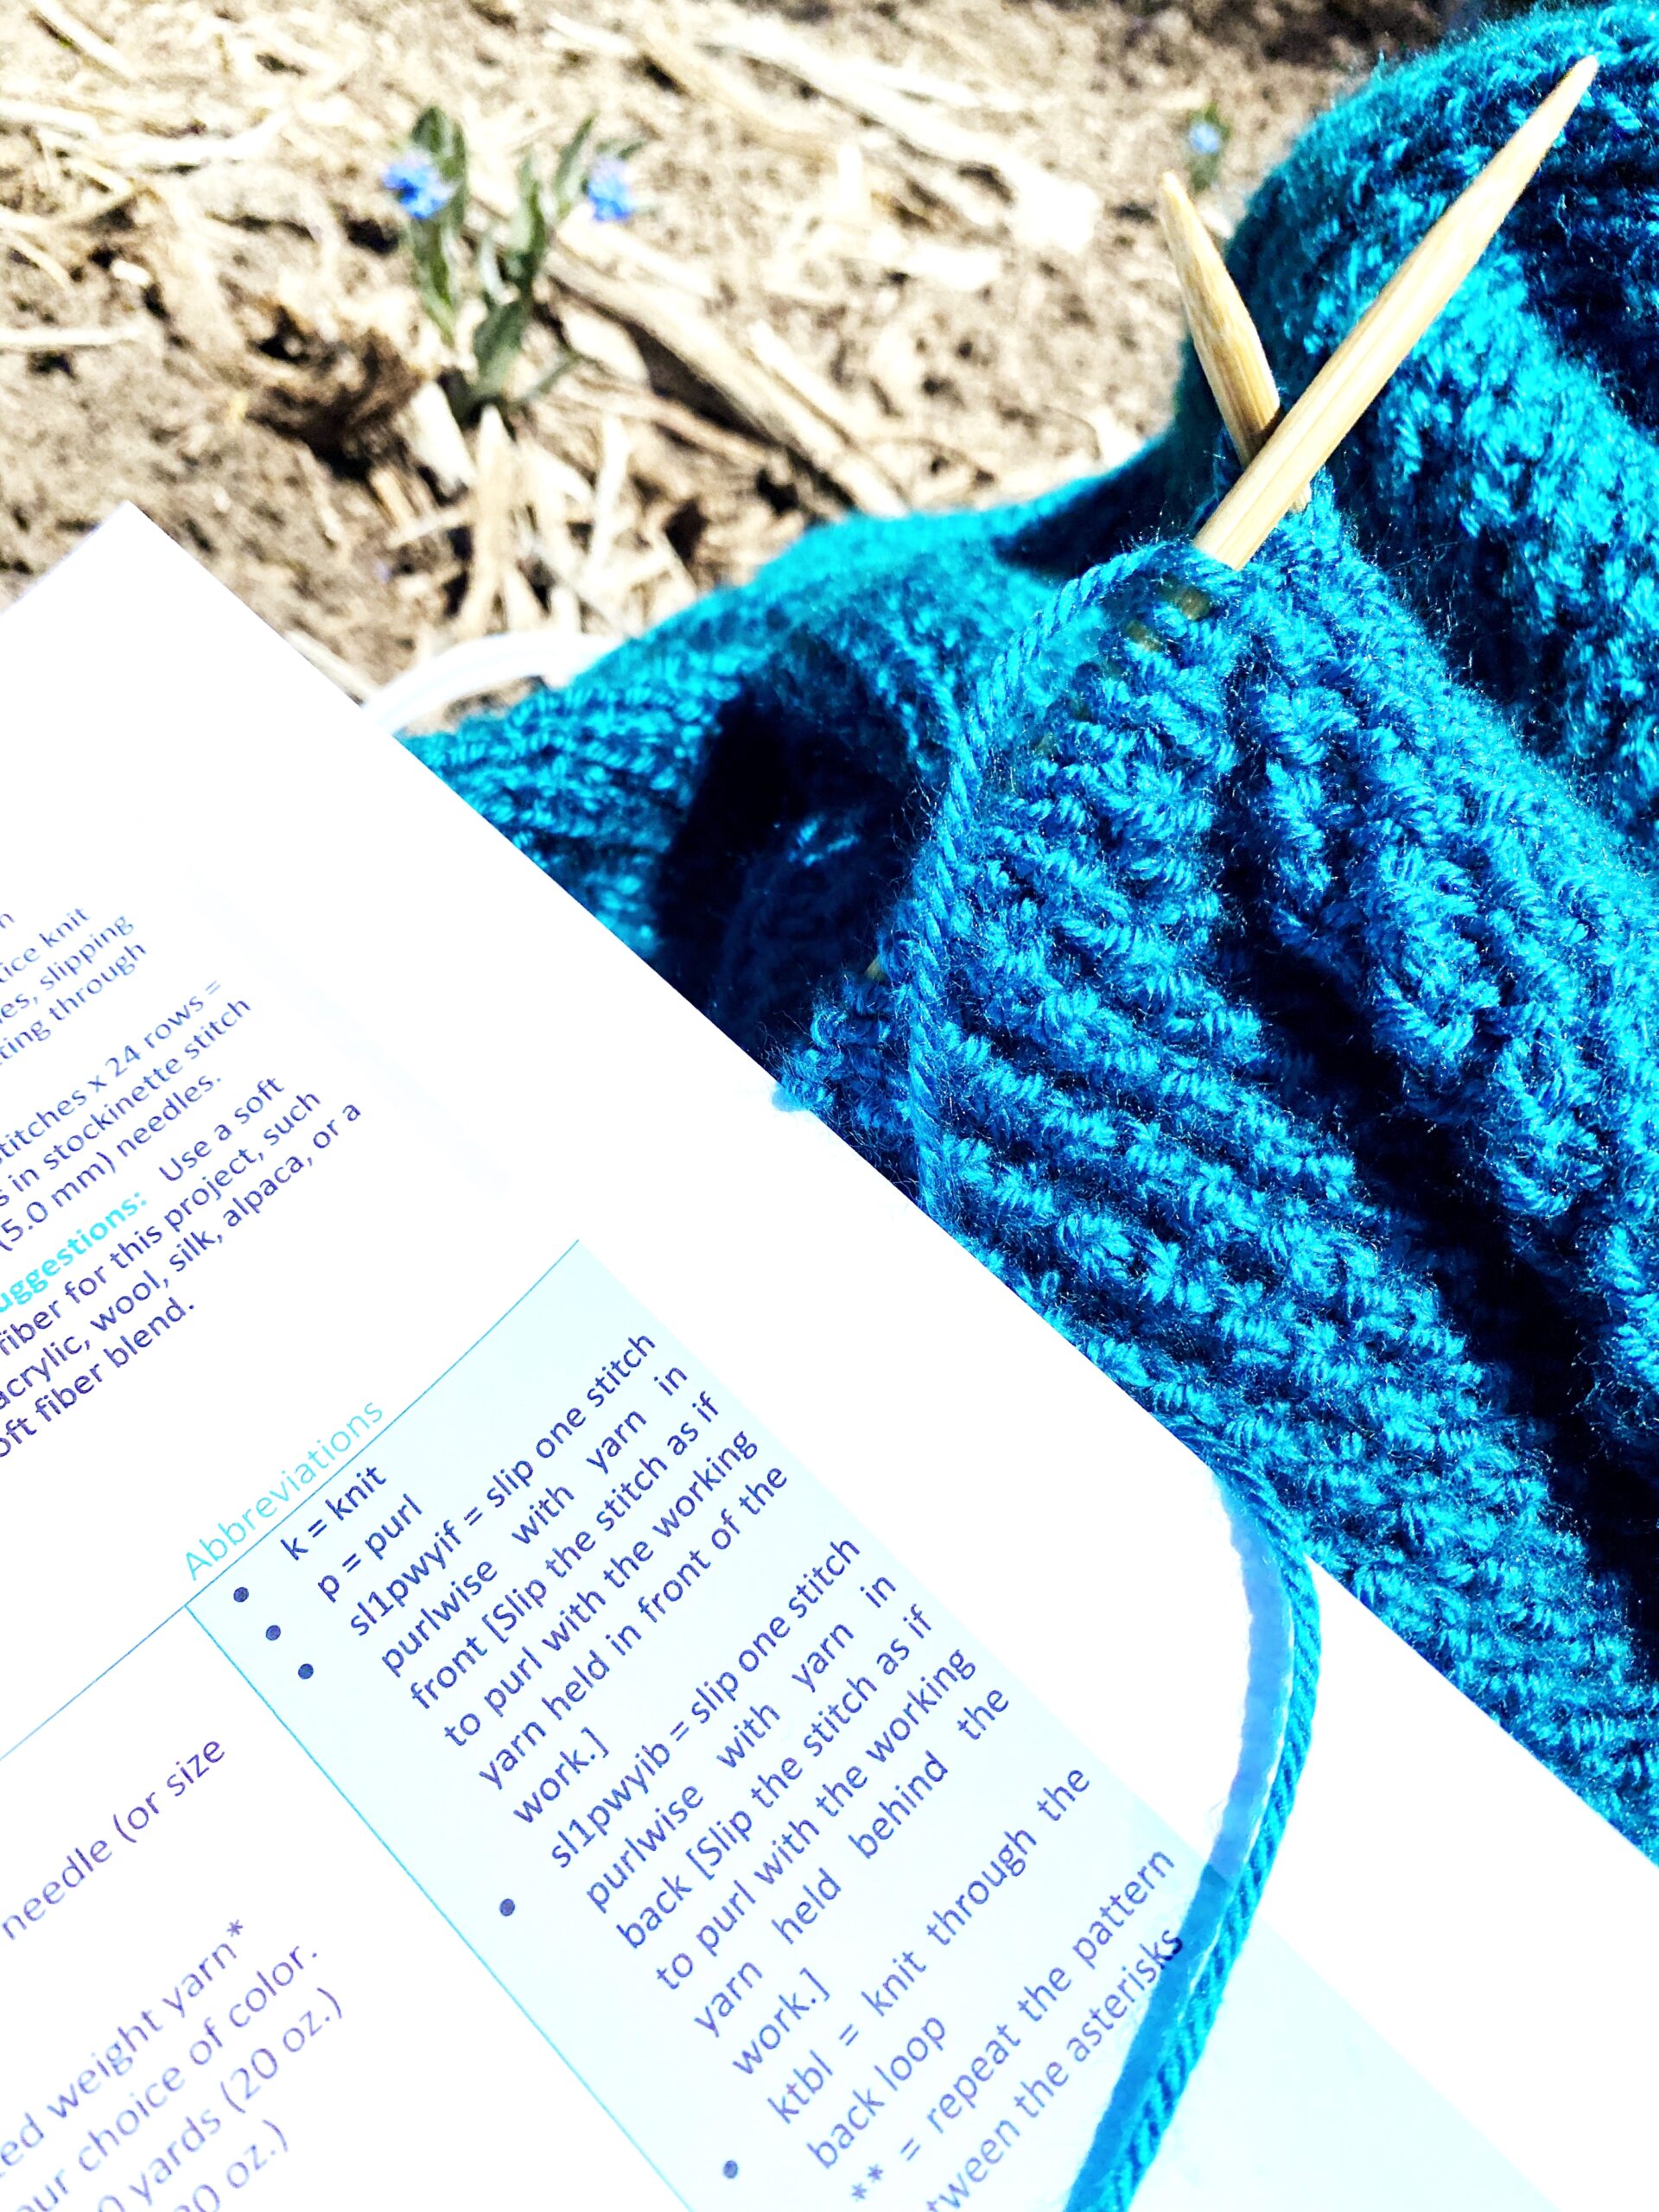
Abbreviations
k = knit
Make 1 = with the left needle, pick up the strand between the stitch just worked and the next stitch from front to back and knit into the back of it.
k2tog = Knit two together.
ssk = Slip, slip, knit. Slip two stitches as if to knit. Insert left needle from left to right into the fronts of the two slipped stitches and knit together.
sl1pwyif = Slip one stitch purlwise, holding yarn in front of work.
Instructions: Frozen Snowflake Mittens
Instructions: Adult Women’s Size Frozen Snowflake Mittens
(Approx. 10.5 inches from top to bottom, 8 inches around hand, without thumb)
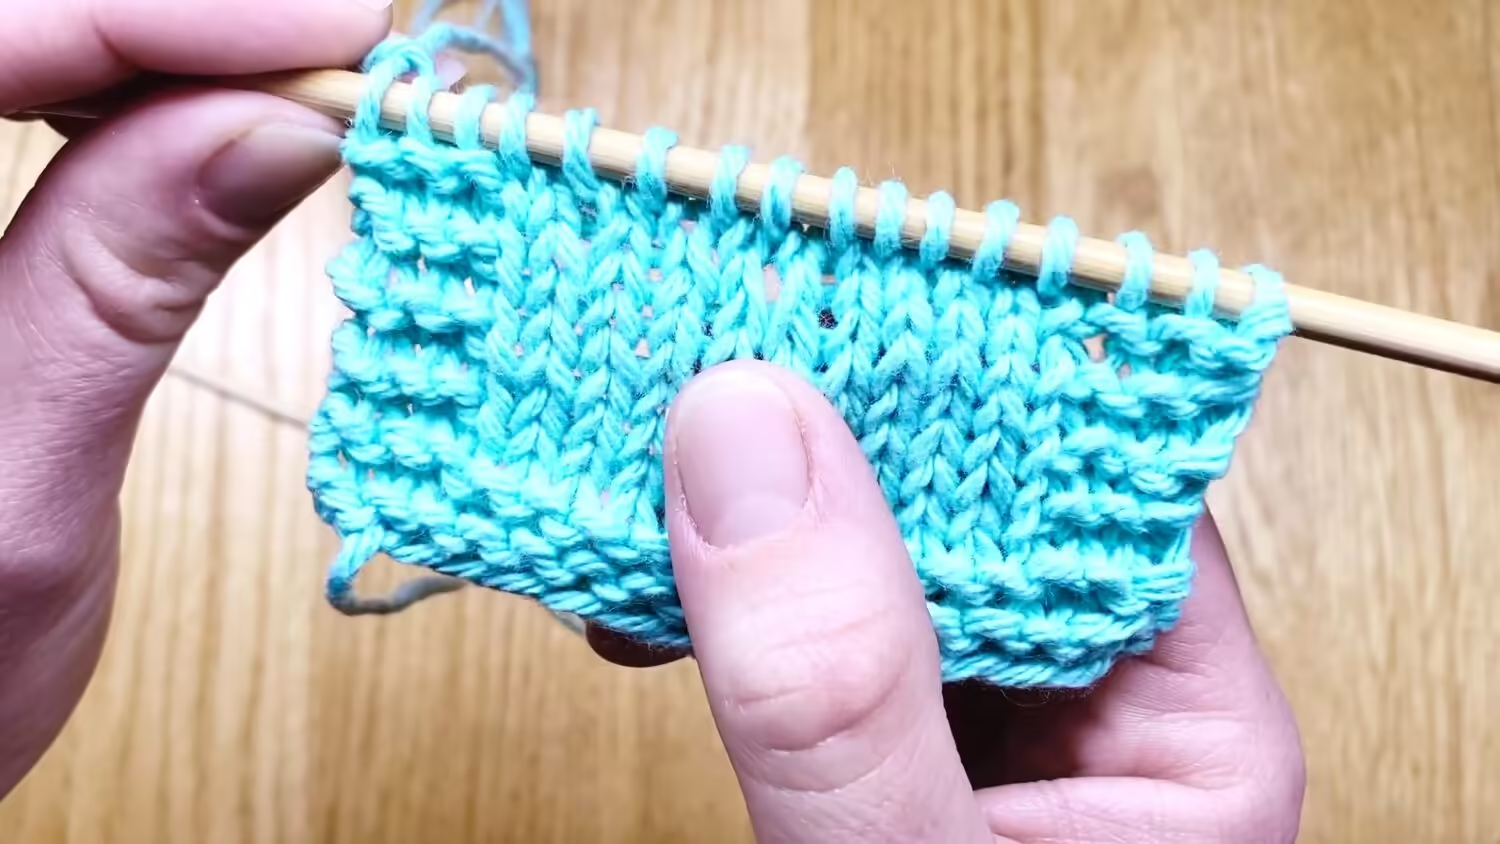
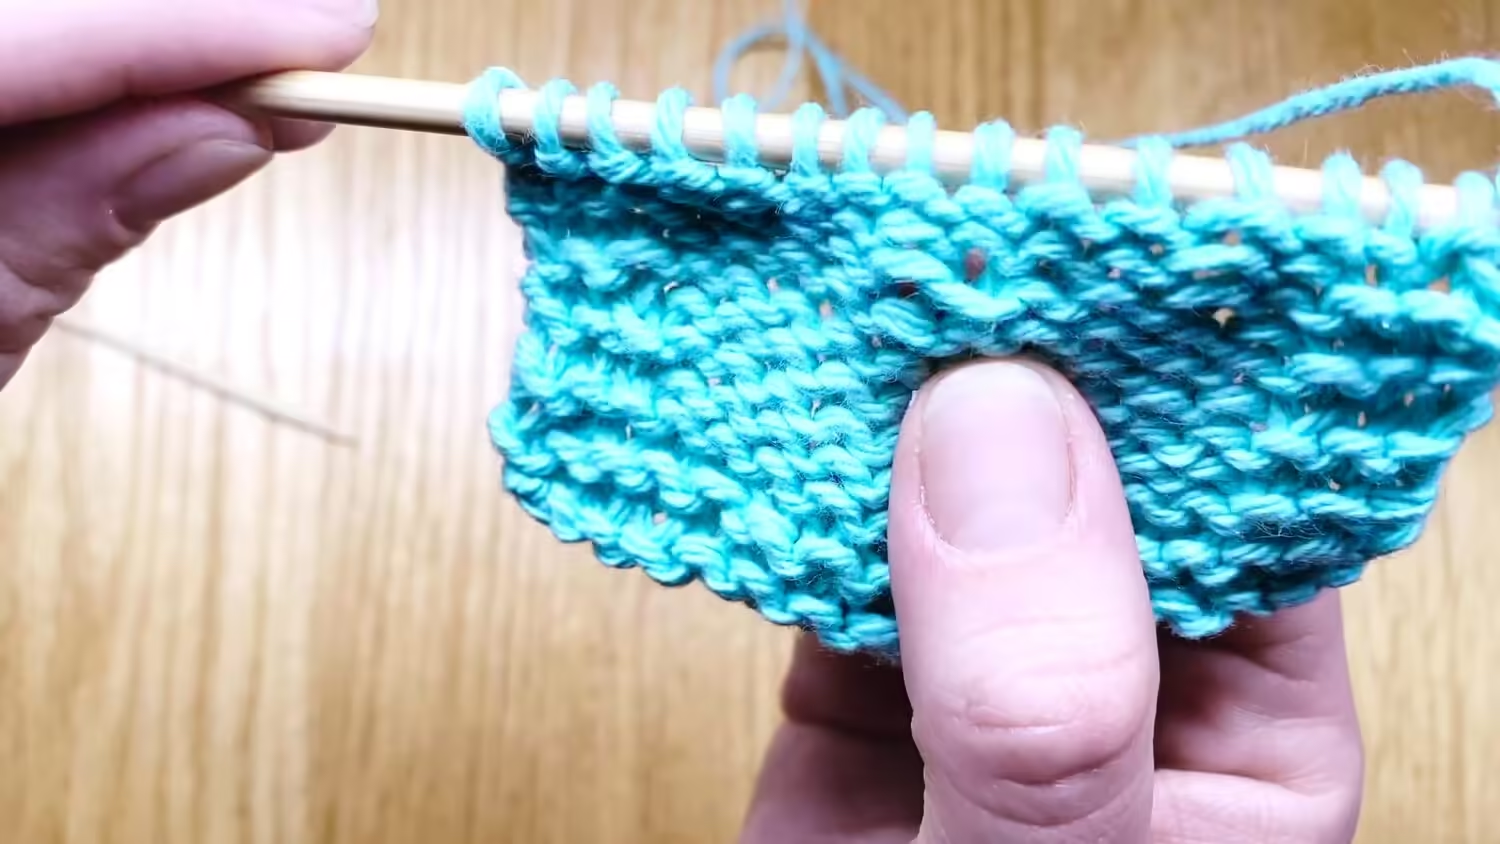
Use the Long-Tail Cast On method. Knit with 2 strands of yarn held together. Use stitch marker to keep track of the beginning/ends of your circular rows by placing it in the first stitch of each circular row (round). Remember: You will turn these gloves wrong-side-out (purl-side-out) when you are finished. Make two (2).
Row 1: With No. 13 DPNs, cast on 15 stitches. Divide evenly onto 3 No. 13 DPNs (5 stitches each).
Row 2: Join (taking care not to twist stitches) and knit 15 stitches.
Rows 3 thru 14: Knit 15 stitches.
Row 15: Switching to No.9 DPNs as you go, k1, make 1 repeat for one round. (30 stitches)
Rows 16 thru 21: Knit 30 stitches.
Row 22: Knit 14 stitches. Place stitch marker on the 14th knit stich. Make 1. Knit 2 stitches. Make 1. Place stitch marker on the newly made stitch. Knit 14 stitches. (32 stitches)
Row 23: Knit 32.
Row 24: Knit to marker. Slip marker purlwise with yarn in front. Make 1. Knit to second marker. Make 1. Slip second marker purlwise with yarn in front. Knit to end. (34 stitches)
Row 25: Knit 34 stitches.
Row 26: Knit to marker. Slip marker purlwise with yarn in front. Make 1. Knit to second marker. Make 1. Slip second marker purlwise with yarn in front. Knit to end. (36 stitches)
Row 27: Knit 36 stitches.
Row 28: Knit to marker. Slip marker purlwise with yarn in front. Make 1. Knit to second marker. Make 1. Slip second marker purlwise with yarn in front. Knit to end. (38 stitches)
Row 29: Knit 38 stitches.
Row 30: Knit to marker. Slip marker purlwise with yarn in front. Make 1. Knit to second marker. Make 1. Slip second marker purlwise with yarn in front. Knit to end. (40 stitches)
Row 31: Knit 40 stitches.
Row 32: Knit 14 stitches. Slip next 12 stitches, purlwise with yarn in front, onto stitch holder. Knit 14 stitches. (This will separate thumb stiches from hand stitches.)
Rows 33 thru 54: Knit 28 stitches.
Row 55: K2tog. Knit 10 stitches. SSK. K2tog. Knit 10 stitches. SSK. (24 stitches)
Row 56: Knit 24 stitches.
Row 57: K2tog. Knit 8 stitches. SSK. K2tog. Knit 8 stitches. SSK. (20 stitches)
Row 58: Knit 20 stitches.
Row 59: K2tog. Knit 6 stitches. SSK. K2tog. Knit 6 stitches. SSK. (16 stitches)
Cut yarn leaving a 12 inch tail. With tapestry needle, draw yarn tightly through remaining 16 stitches. Weave in end. You may wish to reinforce the “seam” created by the decreases at the fingertips; use duplicate stitch to tighten the seam as you weave in your tail. Keep in mind your “purl-side” or “wrong-side” will be the visible outside of your glove, so keep that side neat.
Thumb
Put 12 stitches from stitch holder onto three No. 9 DPNs (4 stitches per needle).
Thumb Row 1: Knit 12 stitches in the round.
Thumb Row 2: Join round (taking care not to twist stitches) and knit 12 stitches.
Thumb Rows 3 thru 10: Knit 12.
Thumb Row 11: K2tog x 6 (6 stitches).
Cut a 12 inch tail and draw tightly through remaining 6 stitches.
Use duplicate stitch to tighten any loose stitches around the “seams” as you weave in your tails. Keep in mind your “purl-side” or “wrong-side” will be the visible outside of your glove, so keep that side neat.
Turn mittens purl-side (wrong-side) out – this is now the “right-side” of your work. Embroider adult snowflake design.
Instructions: Child Size Frozen Snowflake Mittens
(Approx. 9 inches from top to bottom, 7 inches around hand without thumb)
Use the Long-Tail Cast On method. Knit with 2 strands of yarn held together. Use stitch marker to keep track of the beginning/ends of your circular rows by placing it in the first stitch of each circular row (round). Remember: You will turn these gloves wrong-side-out (purl-side-out) when you are finished. Make two (2).
Row 1: With No. 13 DPNs, cast on 14 stitches. Divide onto 3 No. 13 DPNs.
Row 2: Join (taking care not to twist stitches) and knit 14 stitches.
Rows 3 thru 12: Knit 14 stitches.
Row 15: Switching to No.9 DPNs as you go, k1, make 1 repeat for one round. (28 stitches)
Rows 16 thru 21: Knit 28 stitches.
Row 22: Knit 13 stitches. Place stitch marker on the 13th knit stich. Make 1. Knit 2 stitches. Make 1. Place stitch marker on the newly made stitch. Knit 13 stitches. (30 stitches)
Row 23: Knit 30.
Row 24: Knit to marker. Slip marker purlwise with yarn in front. Make 1. Knit to second marker. Make 1. Slip second marker purlwise with yarn in front. Knit to end. (32 stitches)
Row 25: Knit 32 stitches.
Row 26: Knit to marker. Slip marker purlwise with yarn in front. Make 1. Knit to second marker. Make 1. Slip second marker purlwise with yarn in front. Knit to end. (34 stitches)
Row 27: Knit 34 stitches.
Row 28: Knit 13 stitches. Slip next 8 stitches, purlwise with yarn in back, onto stitch holder. Knit 13 stitches. (This will separate thumb stiches from hand stitches.)
Rows 29 thru 44: Knit 26 stitches.
Row 45: K2tog. Knit 9 stitches. SSK. K2tog. Knit 9 stitches. SSK. (22 stitches)
Row 46: Knit 22 stitches.
Row 55: K2tog. Knit 7 stitches. SSK. K2tog. Knit 7 stitches. SSK. (18 stitches)
Row 56: Knit 18 stitches.
Row 57: K2tog. Knit 5 stitches. SSK. K2tog. Knit 5 stitches. SSK. (14 stitches)
Row 58: Knit 16 stitches.
Row 59: K2tog. Knit 3 stitches. SSK. K2tog. Knit 3 stitches. SSK. (10 stitches)
Cut yarn leaving a 12 inch tail. With tapestry needle, draw yarn tightly through remaining 10 stitches. Weave in end. You may wish to reinforce the “seam” created by the decreases at the fingertips; use duplicate stitch to tighten the seam as you weave in your tail. Keep in mind your “purl-side” or “wrong-side” will be the visible outside of your glove, so keep that side neat.
Thumb
Put 8 stitches from stitch holder onto two No. 9 DPNs (4 stitches per needle).
Thumb Row 1: Beginning with the first picked up stitch, knit 8 stitches in the round.
Thumb Row 2: Join (taking care not to twist stitches) and knit 8 stitches.
Thumb Rows 3 thru 11: Knit 8 stitches.
Thumb Row 12: K2tog x 4 (4 stitches).
Cut a 12 inch tail and draw tightly through remaining 4 stitches.
Use duplicate stitch to tighten any loose stitches around the “seams” as you weave in your tails. Keep in mind your “purl-side” or “wrong-side” will be the visible outside of your glove, so keep that side neat.
Turn mittens purl-side (wrong-side) out – this is now the “right-side” of your work. Embroider children’s snowflake design.
Instructions: Toddler Size Frozen Snowflake Mittens
(Approx. 6.5 inches from top to bottom, 6 in. around hand without thumb)
Use the Long-Tail Cast On method. Knit with 2 strands of yarn held together. Use stitch marker to keep track of the beginning/ends of your circular rows by placing it in the first stitch of each circular row (round). Remember: You will turn these gloves wrong-side-out (purl-side-out) when you are finished. Make two (2).
Row 1: With No. 13 DPNs, cast on 12 stitches. Divide onto 3 No. 13 DPNs.
Row 2: Join (taking care not to twist stitches) and knit 12 stitches.
Rows 3 thru 10: Knit 12 stitches.
Row 11: Switching to No.9 DPNs as you go, k1, make 1 repeat for one round. (24 stitches)
Rows 12 thru 16: Knit 24 stitches.
Row 17: Knit 11 stitches. Place stitch marker on the 11th knit stich. Make 1. Knit 2 stitches. Make 1. Place stitch marker on the newly made stitch. Knit 11 stitches. (26 stitches)
Row 18: Knit 26.
Row 19: Knit to marker. Slip marker purlwise with yarn in front. Make 1. Knit to second marker. Make 1. Slip second marker purlwise with yarn in front. Knit to end. (28 stitches)
Row 20: Knit 28 stitches.
Row 21: Knit 11 stitches. Slip next 6 stitches, purlwise with yarn in back, onto stitch holder. Knit 11 stitches. (This will separate thumb stiches from hand stitches)
Rows 22 thru 34: Knit 22 stitches.
Row 35: K2tog. Knit 7 stitches. SSK. K2tog. Knit 7 stitches. SSK. (18 stitches)
Row 36: Knit 18 stitches.
Row 37: K2tog. Knit 5 stitches. SSK. K2tog. Knit 5 stitches. SSK. (14 stitches)
Row 56: Knit 14 stitches.
Row 57: K2tog. Knit 3 stitches. SSK. K2tog. Knit 3 stitches. SSK. (10 stitches)
Cut yarn leaving a 12 inch tail. With tapestry needle, draw yarn tightly through remaining 10 stitches. Weave in end. You may wish to reinforce the “seam” created by the decreases at the fingertips; use duplicate stitch to tighten the seam as you weave in your tail. Keep in mind your “purl-side” or “wrong-side” will be the visible outside of your glove, so keep that side neat.
Thumb
Put 6 stitches from stitch holder onto two No. 9 DPNs (3 stitches per needle).
Thumb Row 1: Beginning with the first picked up stitch, knit 6 stitches in the round.
Thumb Row 2: Join (taking care not to twist stitches) and knit 6.
Thumb Rows 3 thru 6: Knit 6 stitches.
Thumb Row 7: K2tog x 3 (3 stitches).
Cut a 12 inch tail and draw tightly through remaining 3 stitches.
Use duplicate stitch to tighten any loose stitches around the “seams” as you weave in your tails. Keep in mind your “purl-side” or “wrong-side” will be the visible outside of your glove, so keep that side neat.
Turn mittens purl-side (wrong-side) out – this is now the “right-side” of your work. Embroider children’s snowflake design.
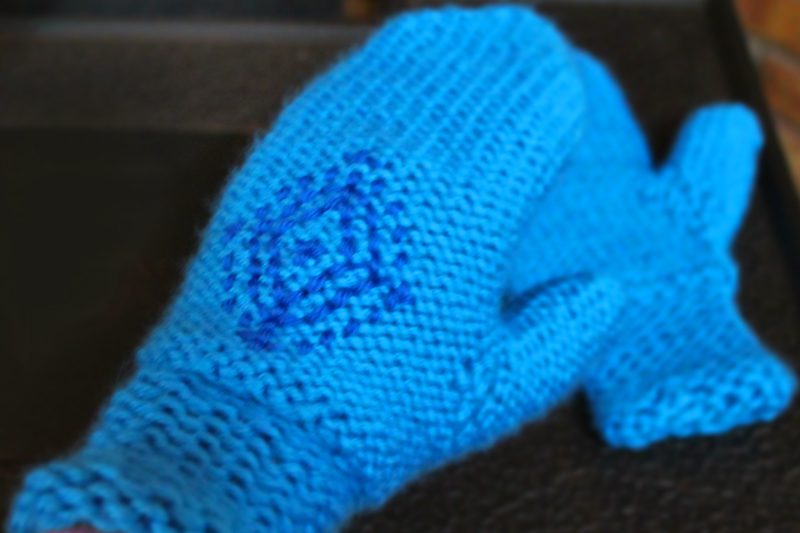
Snowflake Design
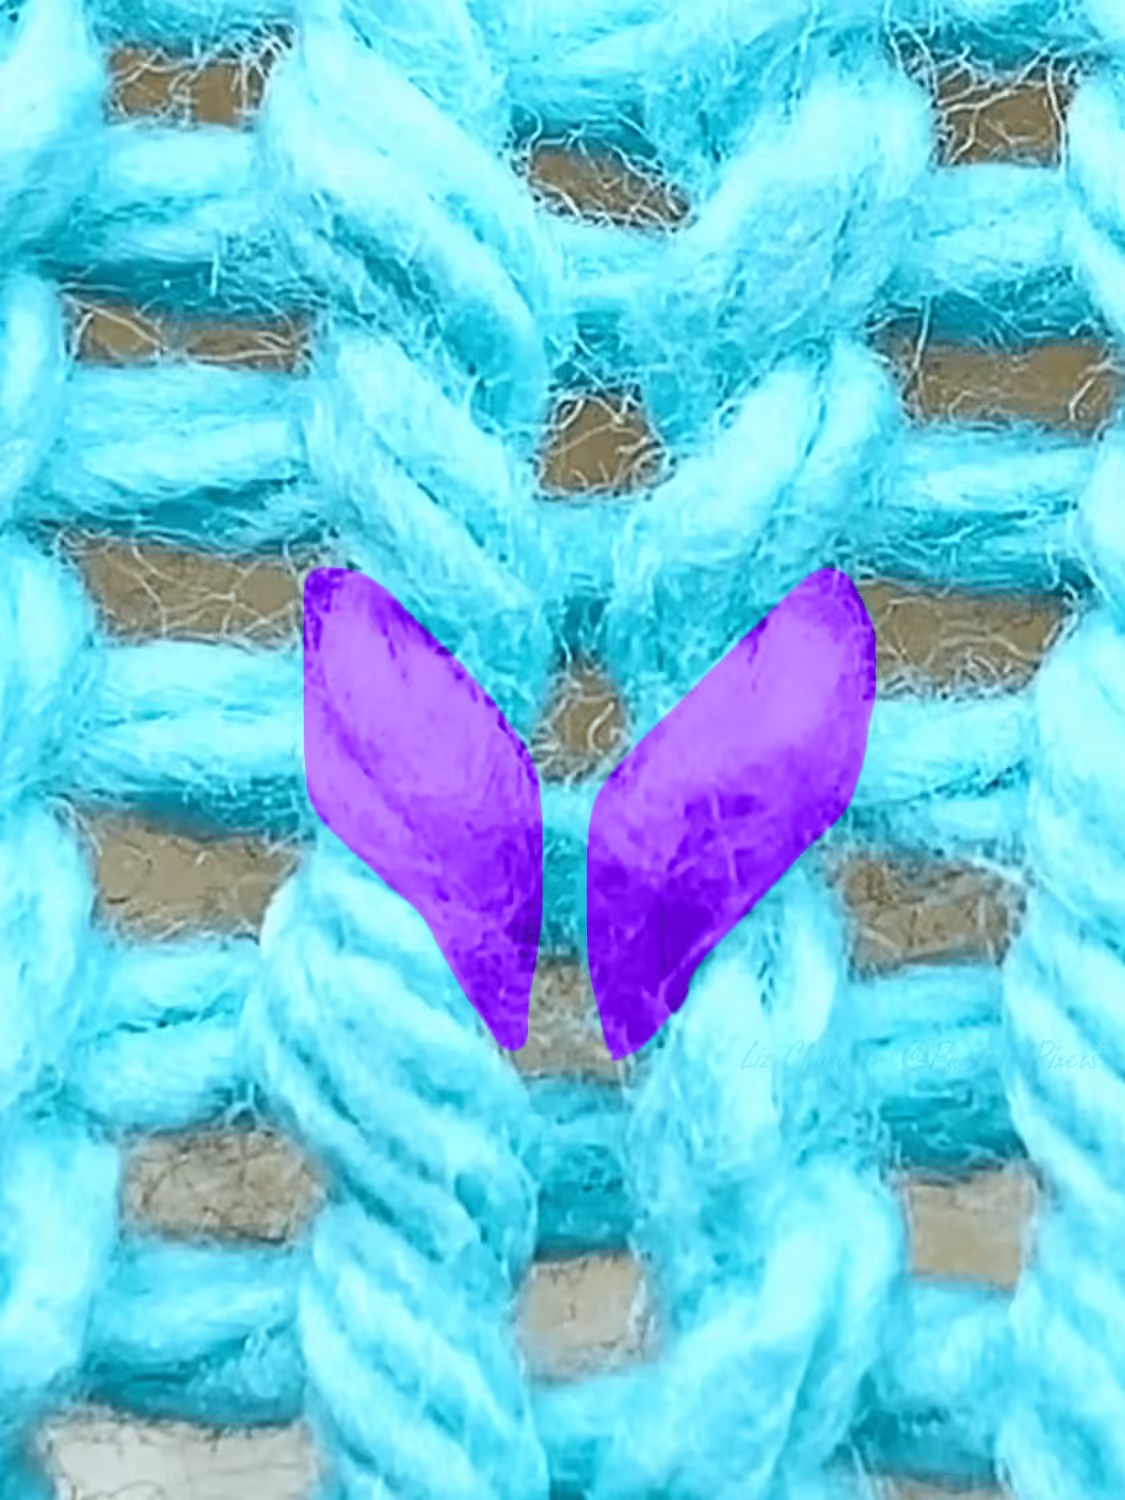
The snowflake design is made by embroidering the mitten using a tapestry needle and one strand of royal blue yarn. Tip: You may want to practice sewing the snowflake on your gauge swatch before you embroider your mittens.
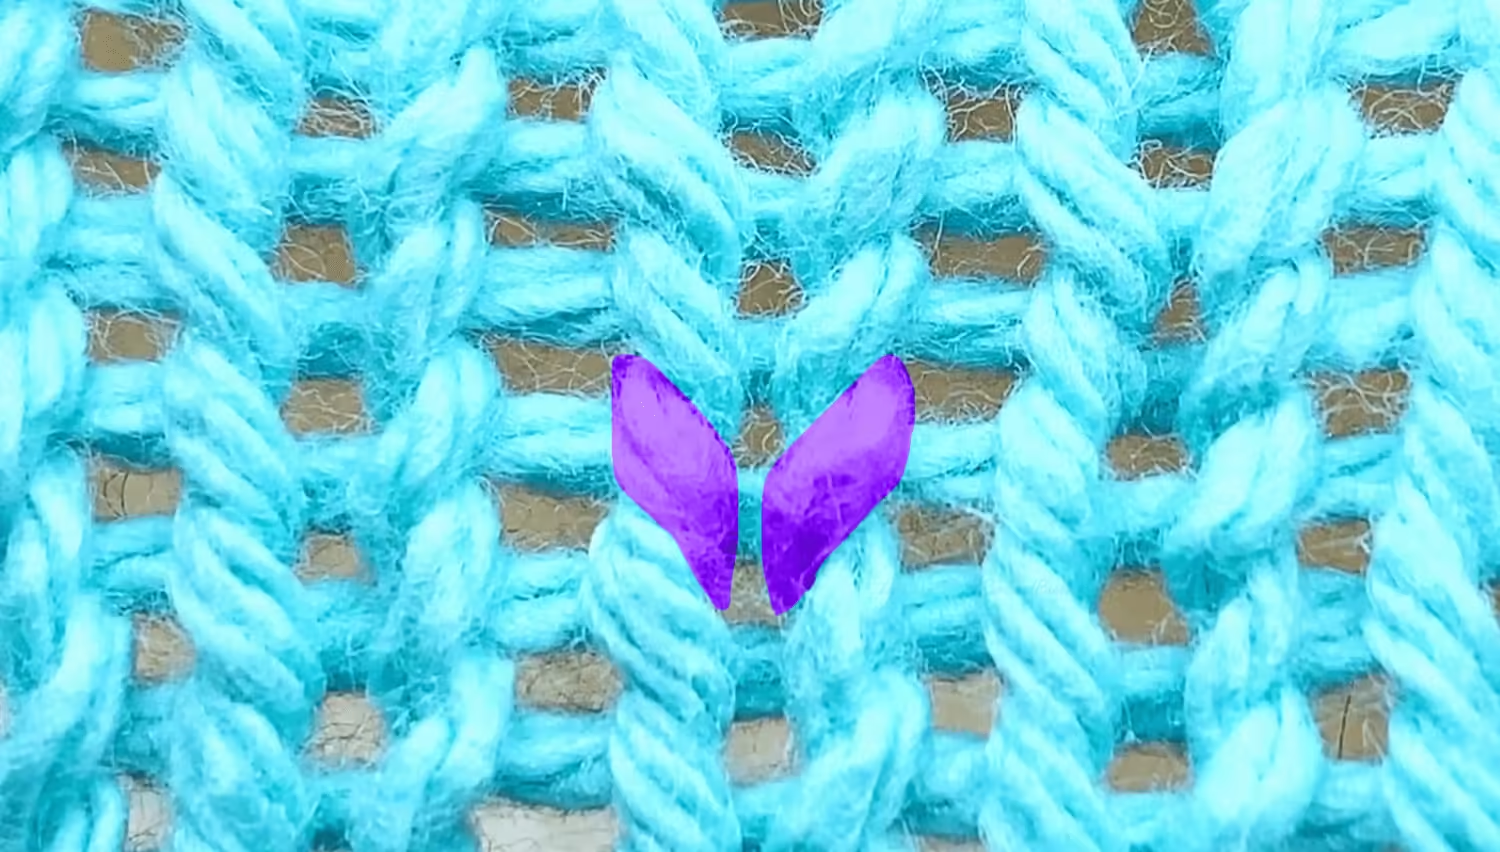
Using the knitting’s natural holes as a guide, embroider the following charted design onto the back of the hand of each mitten. I found it easiest to begin with the center stitches and work my way out and around the snowflake. For all sizes, the center of snowflake should be placed about 1 inch in from thumb crease and 1.5 inches above where the rows made with No. 9 needles begin.
In the diagrams below, one line equals one stitch. The stitches shown in red should be embroidered in a continuous manner, sewing into the same hole as the previous stitch. The black stitches should not connect and should have gaps between them. Use the close-up photographs as a guide, as well as the diagrams below
Print the Free Frozen Snowflake Mitten Knitting Pattern
Printable Frozen Snowflake Mitten Knitting Pattern PDF by Liz @PurlsAndPixels
Find More Knitting Patterns
©2015, Liz Chandler of PurlsAndPixels. Revised 2024.
This pattern is for personal use, gifting, and charitable donation of completed items. You may also sell handmade items created using this pattern. Do not copy this pattern and distribute it. If you’d like to share the pattern, refer your friends to my website, purlsandpixels.com so they may obtain a copy.
If you find any errors or have any questions, email purlsandpixels@gmail.com and I will do my best to help.
I’d love to see your finished work! Tag your photos with @PurlsAndPixels on Twitter or Instagram.


