How Country Living Wove Its Way into My Practical Knitting Adventures
Life in the countryside isn’t just about picturesque landscapes; it’s also about how my knitting needles have adapted to thrive in the great outdoors. Let’s unravel the influence that knitting in the sticks (yes, pun intended 😉) has had on my own crafting adventures.
Spinning a Yarn: Just Me, the Mountains, and the Trees
Let me tell you the tale of how my knitting has evolved since I moved back to my small, Colorado hometown. With less than 2000 people in town and lots of State and National Forest to wander around, I meet more deer and turkeys than I do people. And, thank goodness for the space! Nature and country-living have, without a doubt, inspired my knits.
Yarn Adventures: Nature’s Color Palette
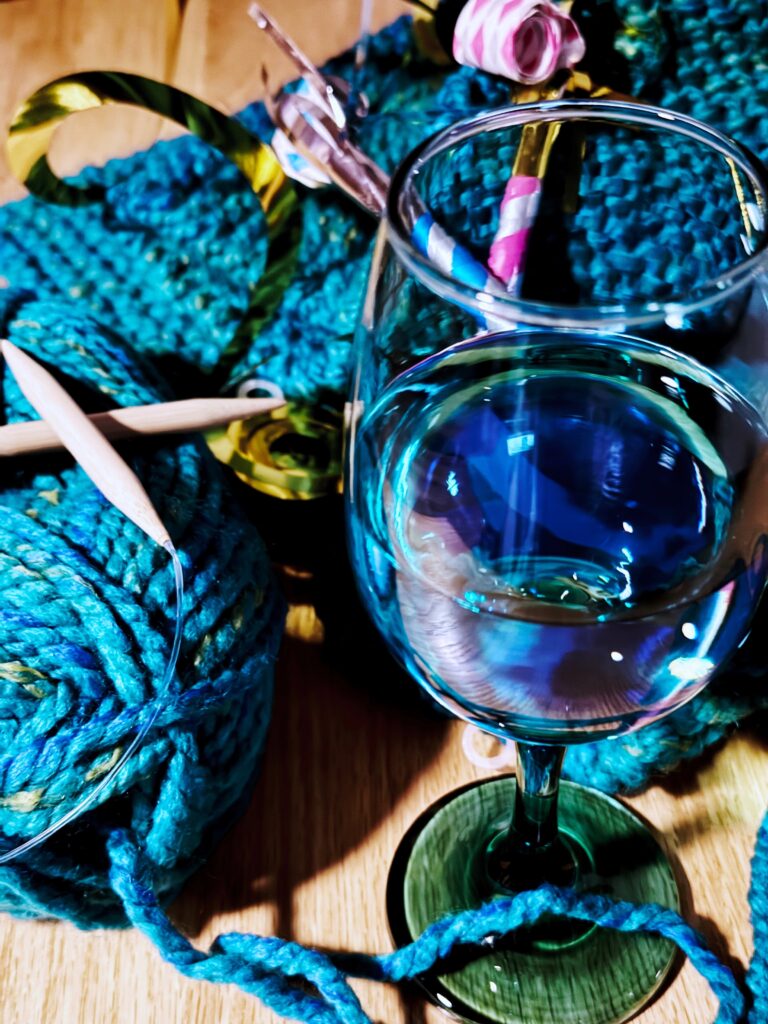
Living in the boonies means my yarn choices are a bit like picking berries – I go for the richest hues, found right outside my door. Whether it’s the muddy browns after a rainy day, the vibrant greens dancing in the trees, or the blue hues of the Rocky Mountain sky, my yarn basket mimics the countryside’s color spectrum.
Weather-Proof Knits: Seasons Got Style
Surviving the rural Colorado climate means knitting for all seasons. When winter hits, I’m like a knitting bear in hibernation, creating thick, cozy accessories that could keep a snowman toasty. Come spring, my knitting switches to “practical mode” with functional home goods, like hand towels and washcloths.
Rural living also means limited choices. When the nearest mall is two hours away, fashion trends tend to fall behind. (We were still wearing those low-rise hip-hugging jeans well into the 2010s 🤫). That’s why I stick with classic, minimalist knitting designs that can survive changes in trends.
Farmyard Fiber Finds: Local Yarn Heroes
Let’s talk sheepish secrets! Living near farms means I’ve got access to some real woolly wonders. I snag local sheep’s fleece and alpaca wool fibers whenever I can. Craft fairs, art shows, and small-town festivals are filled with hidden fuzzy-gems. And trust me, these local fibers know how to keep you warm!
Practical Patterns: Hardworking Hobbies
I’ve mastered rural traditions in knitting that are as practical as a good ol’ farmer’s handshake. Classic stitches and Fair Isle designs – they aren’t just pretty; they’re like the Swiss Army knives of knitting, ready for anything mountain life throws my way.
Here in my forest, a countryside symphony of chirping birds calm and entertain. As I weave together a new knitting project, songbirds whistle and hawks screech. Woodpeckers drum, while ravens provide a throaty chortle. Little Steller’s Jays mimic the other’s songs. The opus echoes down my little canyon when they awake. It’s the best sound therapy I can think of: simply soaking in the tranquility of the piñon forest.
Knitting in the Sticks
Living in the sticks has added a practical twist to my knitting endeavors. From yarn hues inspired by nature’s whimsy to patterns that could handle a rural rodeo, my knitting journey is a playful dance with the practical, backwoods charm. So, here’s to needles clicking, sheep frolicking, and country living inspiring every purl and knit in my stash!
Ah, the weather in Colorado – as changeable as a toddler’s mood swings. We all know that fleeting moment of warmth just before a snowstorm hits. It’s like nature’s way of saying, “Here’s a quick taste of spring before I dump more snow on you!” In that brief respite, it’s time to get your game face on and snowstorm prep.
Preparing for the Incoming Snowstorm
Picture this: The sun’s out, the snow’s melting, and I’m doing a mad dash around the yard. Garden tools left out? Check. Animals comfy in their shelters? Check. Buildings ready to face the snowy wrath? Check, check, check. Because in Colorado, you’ve got to seize the moment!
Animals and Outbuildings
Sure you can refill the chicken feed tomorrow. They’ve got a little left. But do you really want to hike out there in a foot of snow? I sure don’t, so I make sure to top off the hens’ feeders and waterers when it is warm and beautiful. The girls are happy, I’m happy. It is a win-win!
Tools, Hoses, and Toys
An essential tip for preparing for Colorado snowstorms is to meticulously check and ensure the functionality of your snowplow and other winter equipment. Confirm that the snowplow is in optimal working condition, with all components thoroughly inspected and any necessary repairs addressed. Additionally, it is crucial to guarantee that the equipment is easily accessible when the need arises. A well-maintained and readily available snowplow can significantly streamline the process of clearing driveways and pathways, contributing to a more efficient and stress-free response to the winter weather challenges that often grace the Colorado landscape.
Another crucial tip for preparing for Colorado snowstorms involves taking advantage of the fleeting warm days: make it a priority to pick up outdoor toys and tools. These items left scattered in the yard may soon find themselves buried under a blanket of snow, complicating cleanup and potentially causing damage.
If your weather has been warm enough to use the garden hoses, it’s time to unhook them from the house and outdoor faucets. Leaving water hoses connected in freezing temperatures can cause the hoses or, worse, the pipes in your house to freeze and burst from the expanding water turning ice.
By seizing the opportunity to tidy up during those brief spells of milder weather, you ensure a smoother transition into the snowy days ahead, saving both time and effort in the long run.
Finish Shoveling
Alright, fellow winter warriors, here’s a snow survival nugget: treat icy spots like ninja snow – quick and sneaky! The game plan? Finish shoveling those frosty troublemakers as soon as they thaw. Why, you ask? Well, let’s just say we want to avoid a winter-long staring contest with stubborn ice patches. If you procrastinate, they might just call in more snow reinforcements and set up camp for the entire season. So, grab your shovel, channel your inner snow superhero, and let’s keep our winter pathways drama-free and slip-proof!
Embracing Indoor Activities: Knitting During Snowstorms
As soon as the snowflakes commence their enchanting dance, it’s officially knitting o’clock! Believe me, it’s the ideal way to embrace the storm. The needles go clickety-clack, and in the blink of an eye, I transform into a crafting maestro in the midst of a winter wonderland.
Ah, Colorado – where the weather keeps us on our toes! That last sunny hurrah before a snowstorm? It’s our reminder to prep smart and savor every twist and turn. So, here’s to our ever-surprising skies and the quirky rituals that make our snowy days a tad cozier.
Hey, how do you snowstorm prep in Colorado’s yo-yo weather? Share your tips for embracing the unexpected or let me know your secret weather-predicting weapon. WeatherBug, anyone?
Where Knitting Meets Critters and Gardens Host Gossip Sessions
So, picture this: Southwest Colorado, where my knitting needles and gardening trowels mingle with the locals – the wildlife! From my crafting corner, I’ve got a front-row seat to nature’s sitcom, and let me tell you, it’s both hilarious and awe inspiring.
Hummingbird High-Speed Chase
Ever tried knitting while hummingbirds zip around? It’s like a NASCAR race with wings! These speedsters inspire me to pick vibrant yarn colors, because, let’s face it, life’s too short for dull colors when hummingbirds are around.
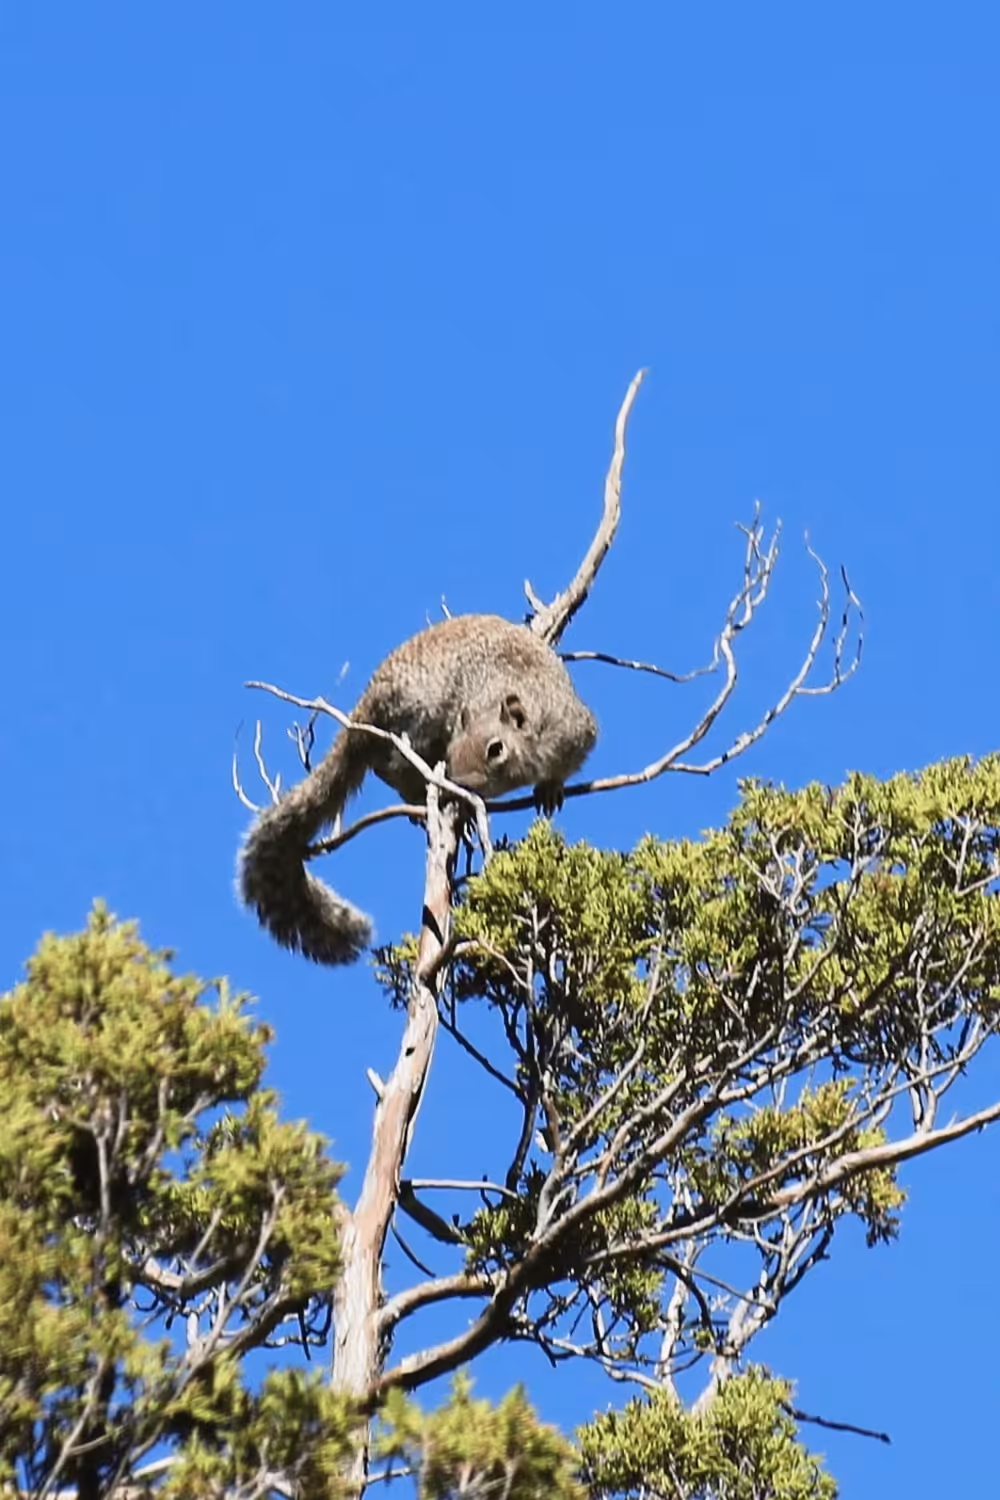
Squirrel Shenanigans and Cheeky Chipmunks
Gardening with squirrels and chipmunks around is a bit like playing hide-and-seek. They eye my veggies, I try to protect ’em. It’s a constant game of “Who’s got the best tricks?” Their antics remind me to knit resilient stitches, just in case they decide to get crafty with my knitting basket.
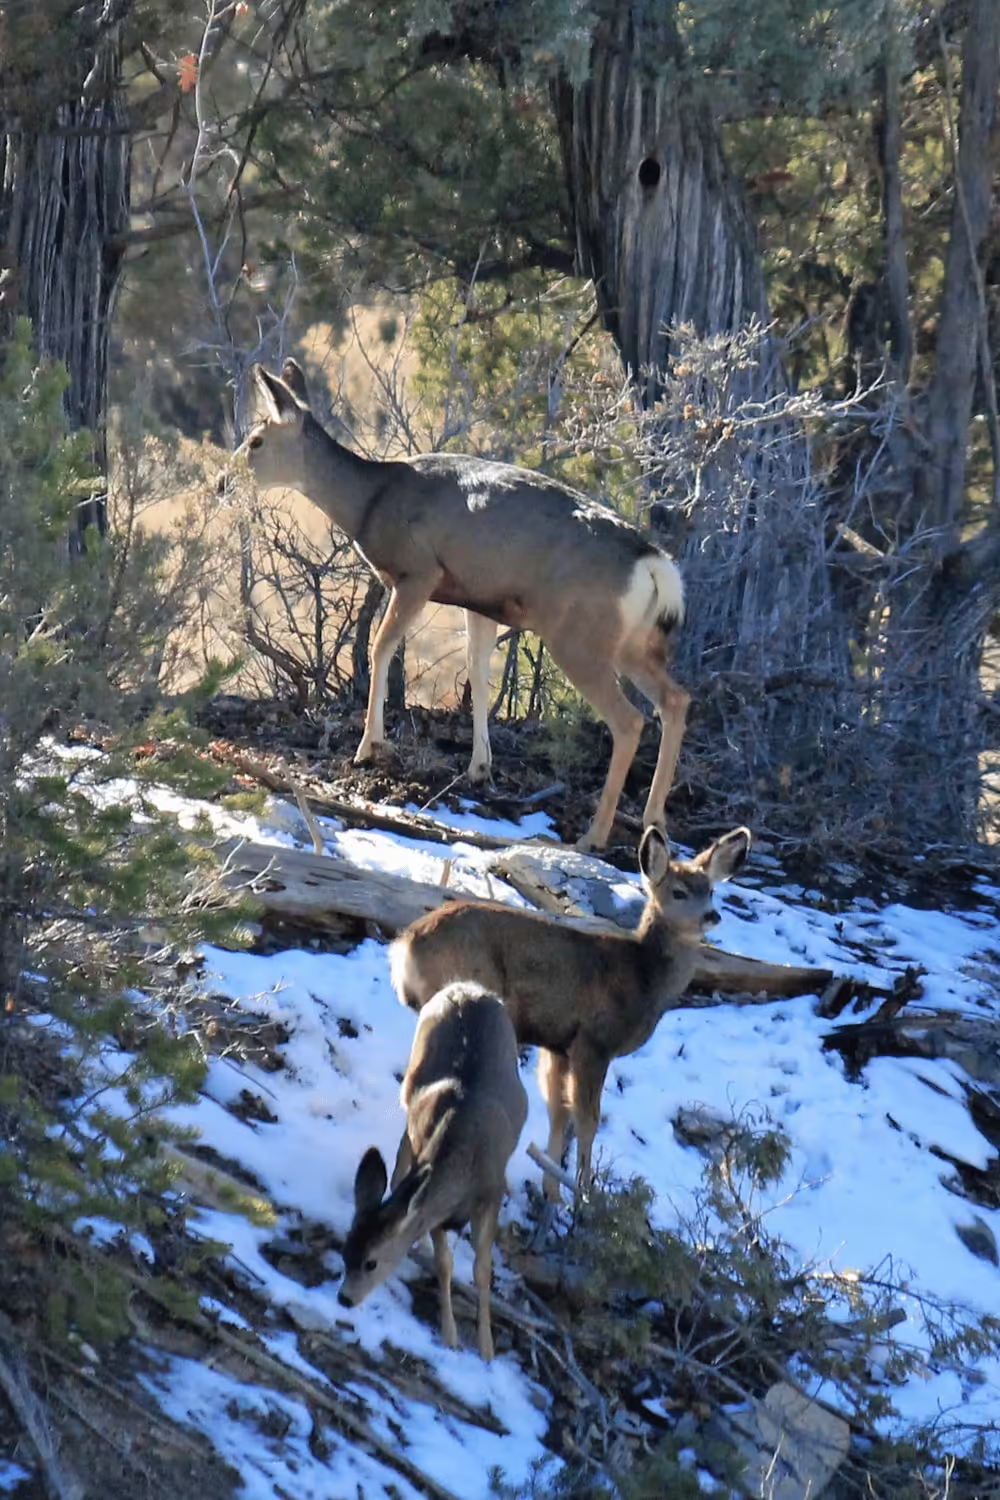
Deer Drama Queen
As twilight sets in, the deer emerge, looking all majestic until they nibble on my carefully tended plants! They’re the garden divas, strutting in for a snack. But hey, their elegance sometimes sneaks into my knitting patterns – subtle and graceful, just like those sneaky but graceful nibblers.
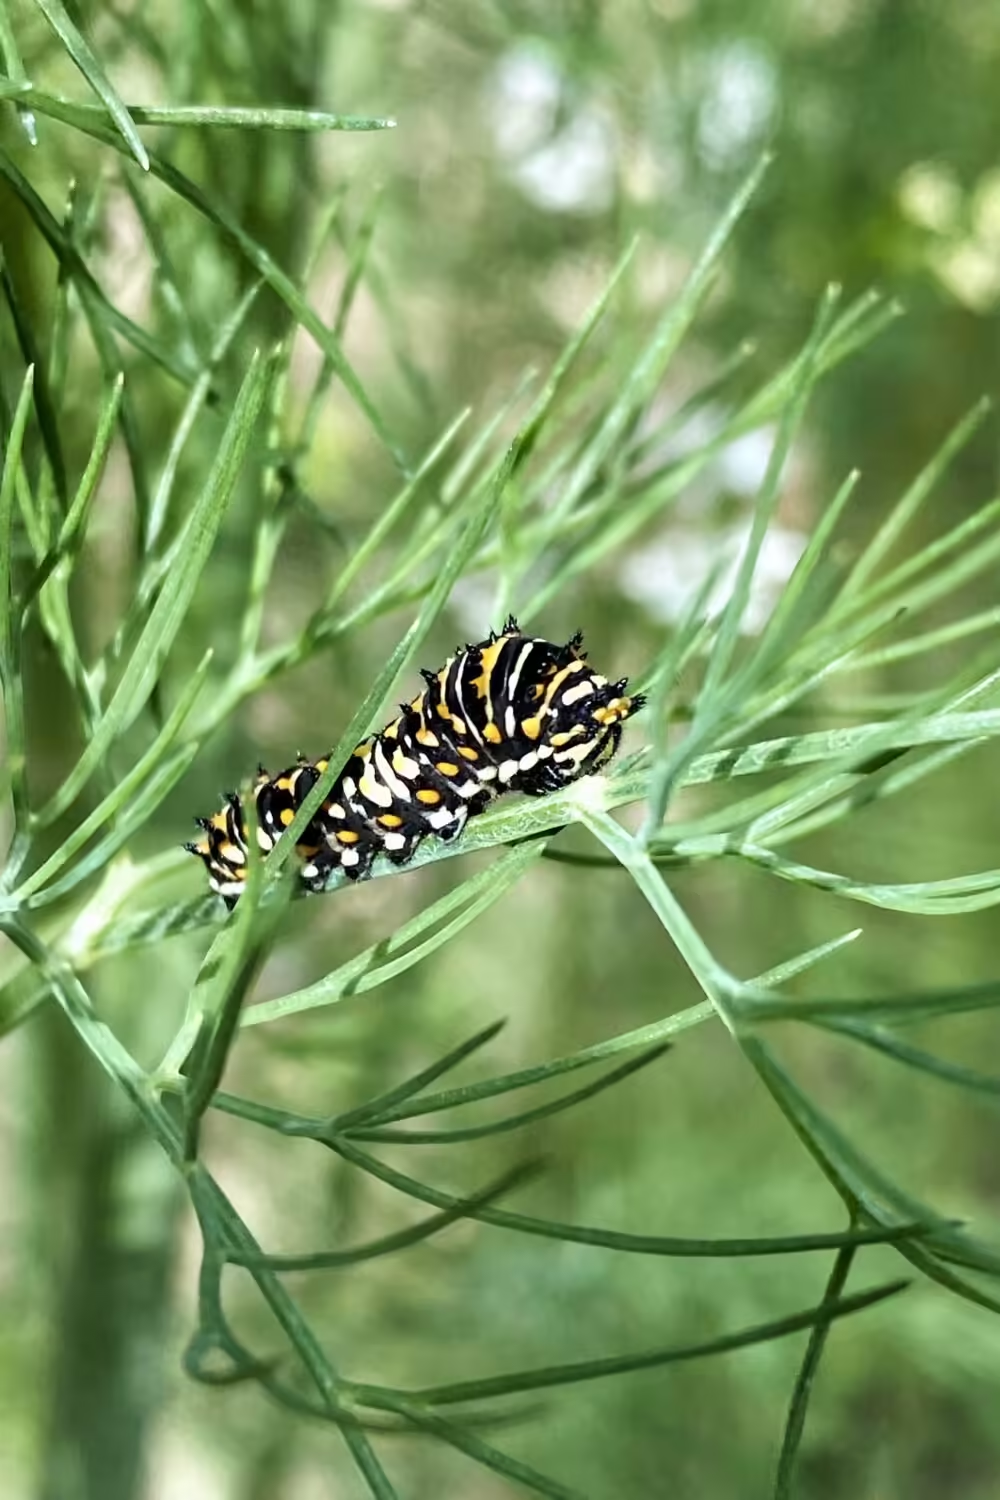
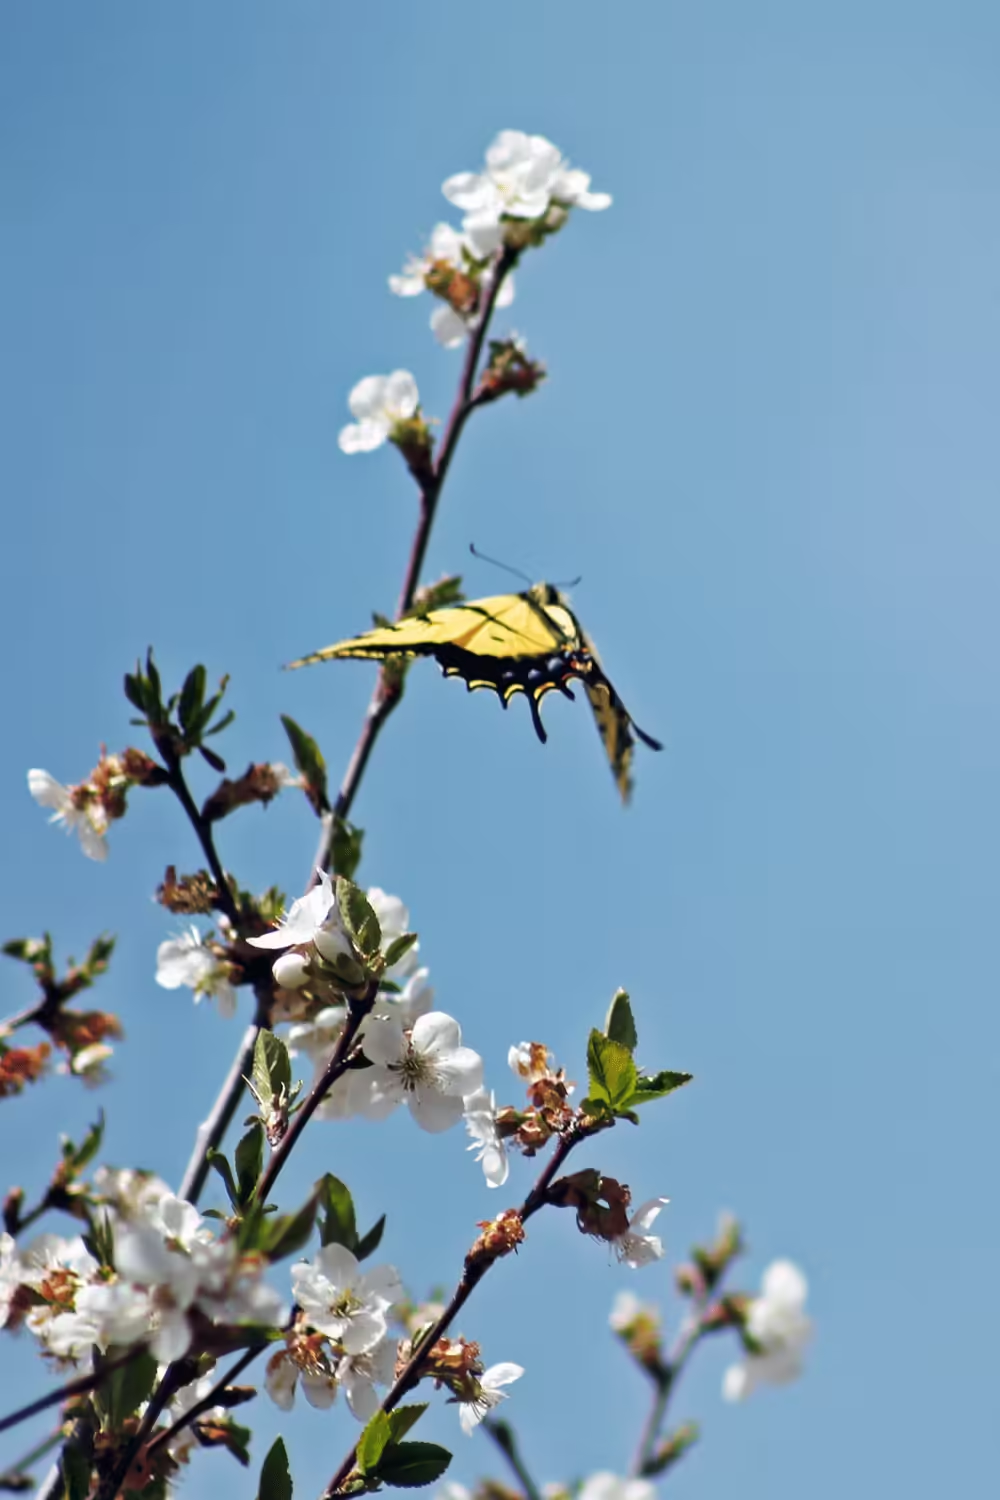
Butterfly Makeovers
From caterpillar chaos to butterfly beauty, the garden’s got its own makeover show! It’s like witnessing a craft project in fast-forward. Their transformations nudge me to experiment with new knitting patterns – after all, change is a beautiful thing, right?
Songbird Karaoke Nights
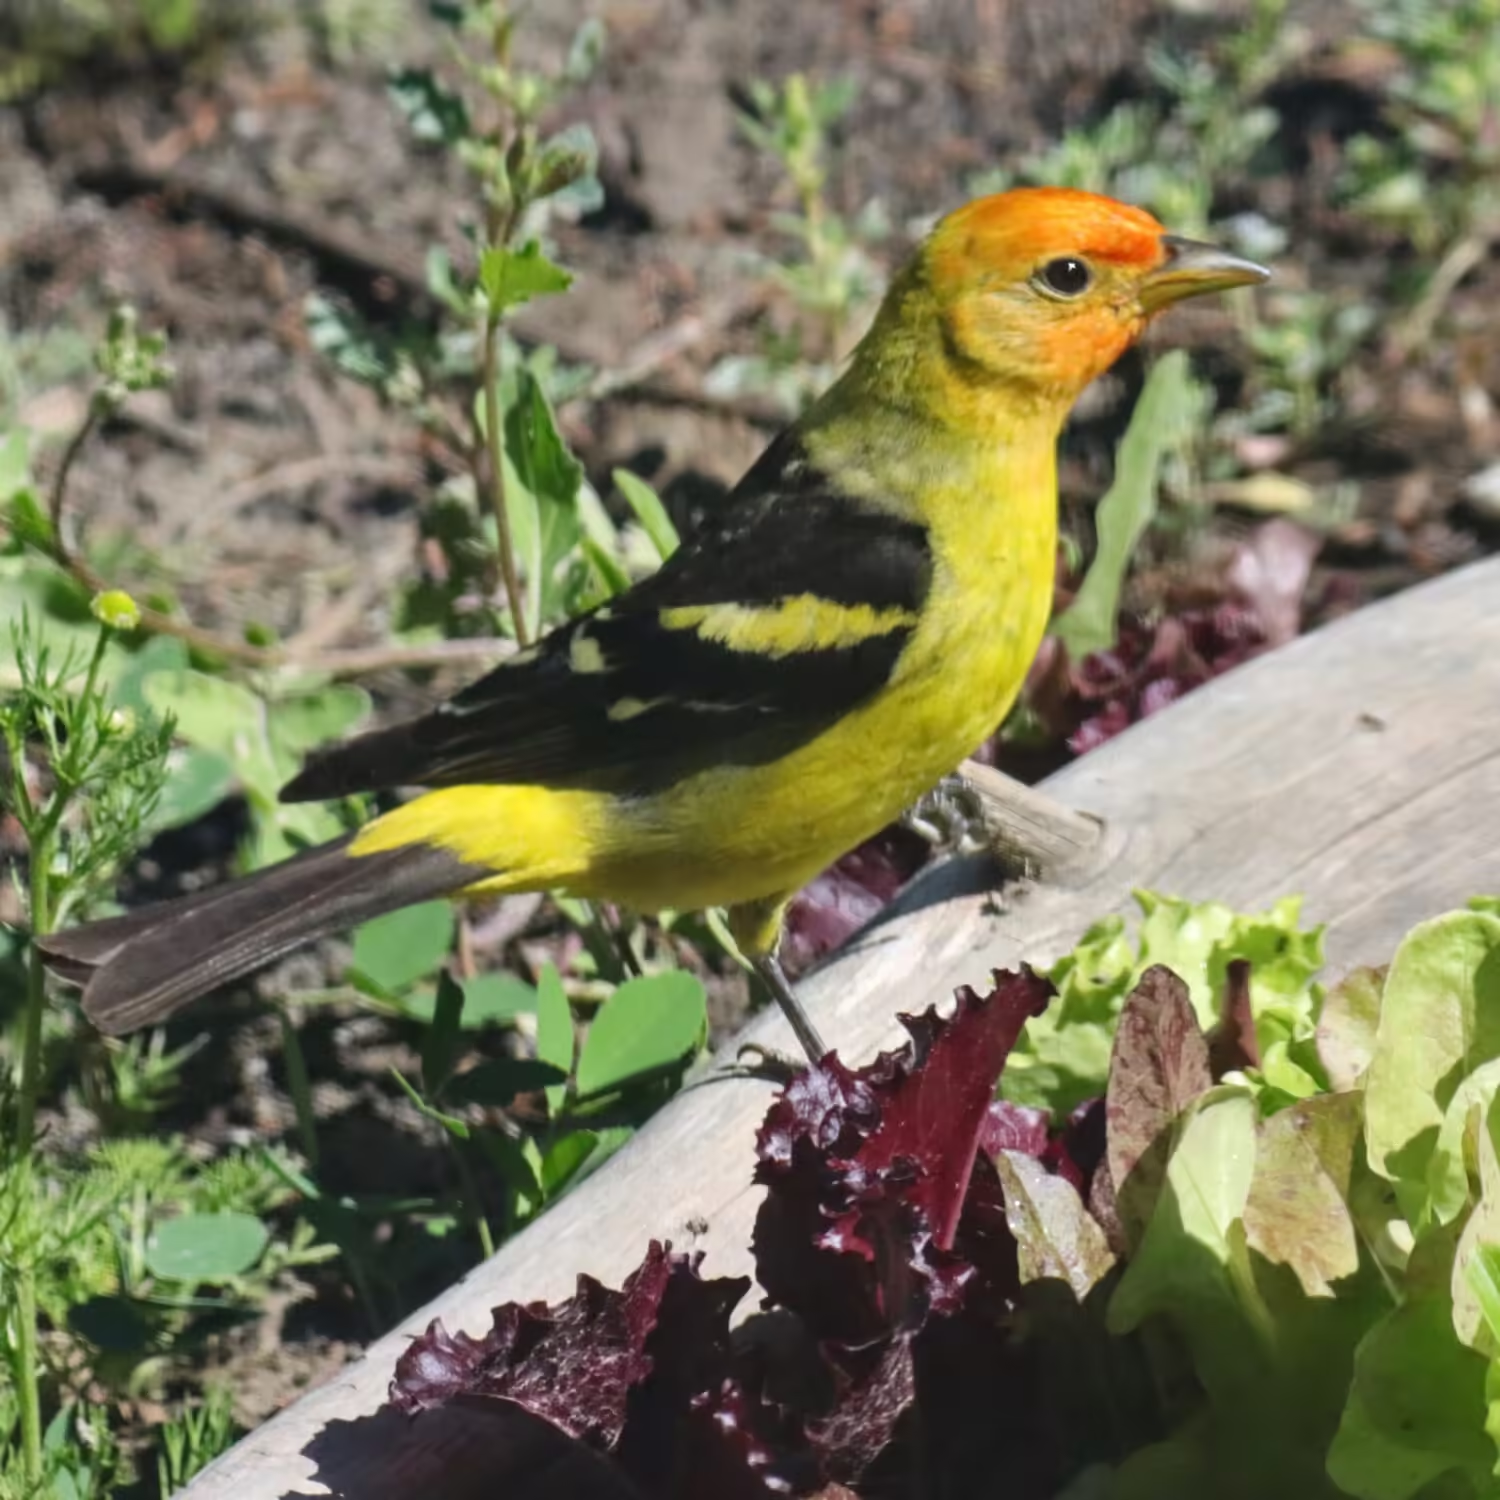
These songbirds make my gardening soundtrack! It’s a full-on karaoke session out there. Their tunes fuel my knitting rhythm. Who knew a knitting session could double as an open mic night for nature’s finest crooners? And what’s extra-exciting in my neck of the woods is to hear the Steller’s Jays imitate the local hawks. Sometimes I hear a hawk scream and look up to see this fellow. The little stinker does it to clear the garden of other birds that might be competing for food. They hear a hawk and flee, while the Jay feasts happily, knowing the birds of prey are not on the attack.
Wild Turkey Troublemakers
Now, speaking of wild birds, I often run into the most beautiful flock of wild turkeys while knitting and gardening outside. They are adorable and so fun to watch. But they do love a good garden snack, just like anyone else. Do I share? Usually. They’re too fun to run off. Oh, and it is also amazingly fun to watch wild turkeys take flight.
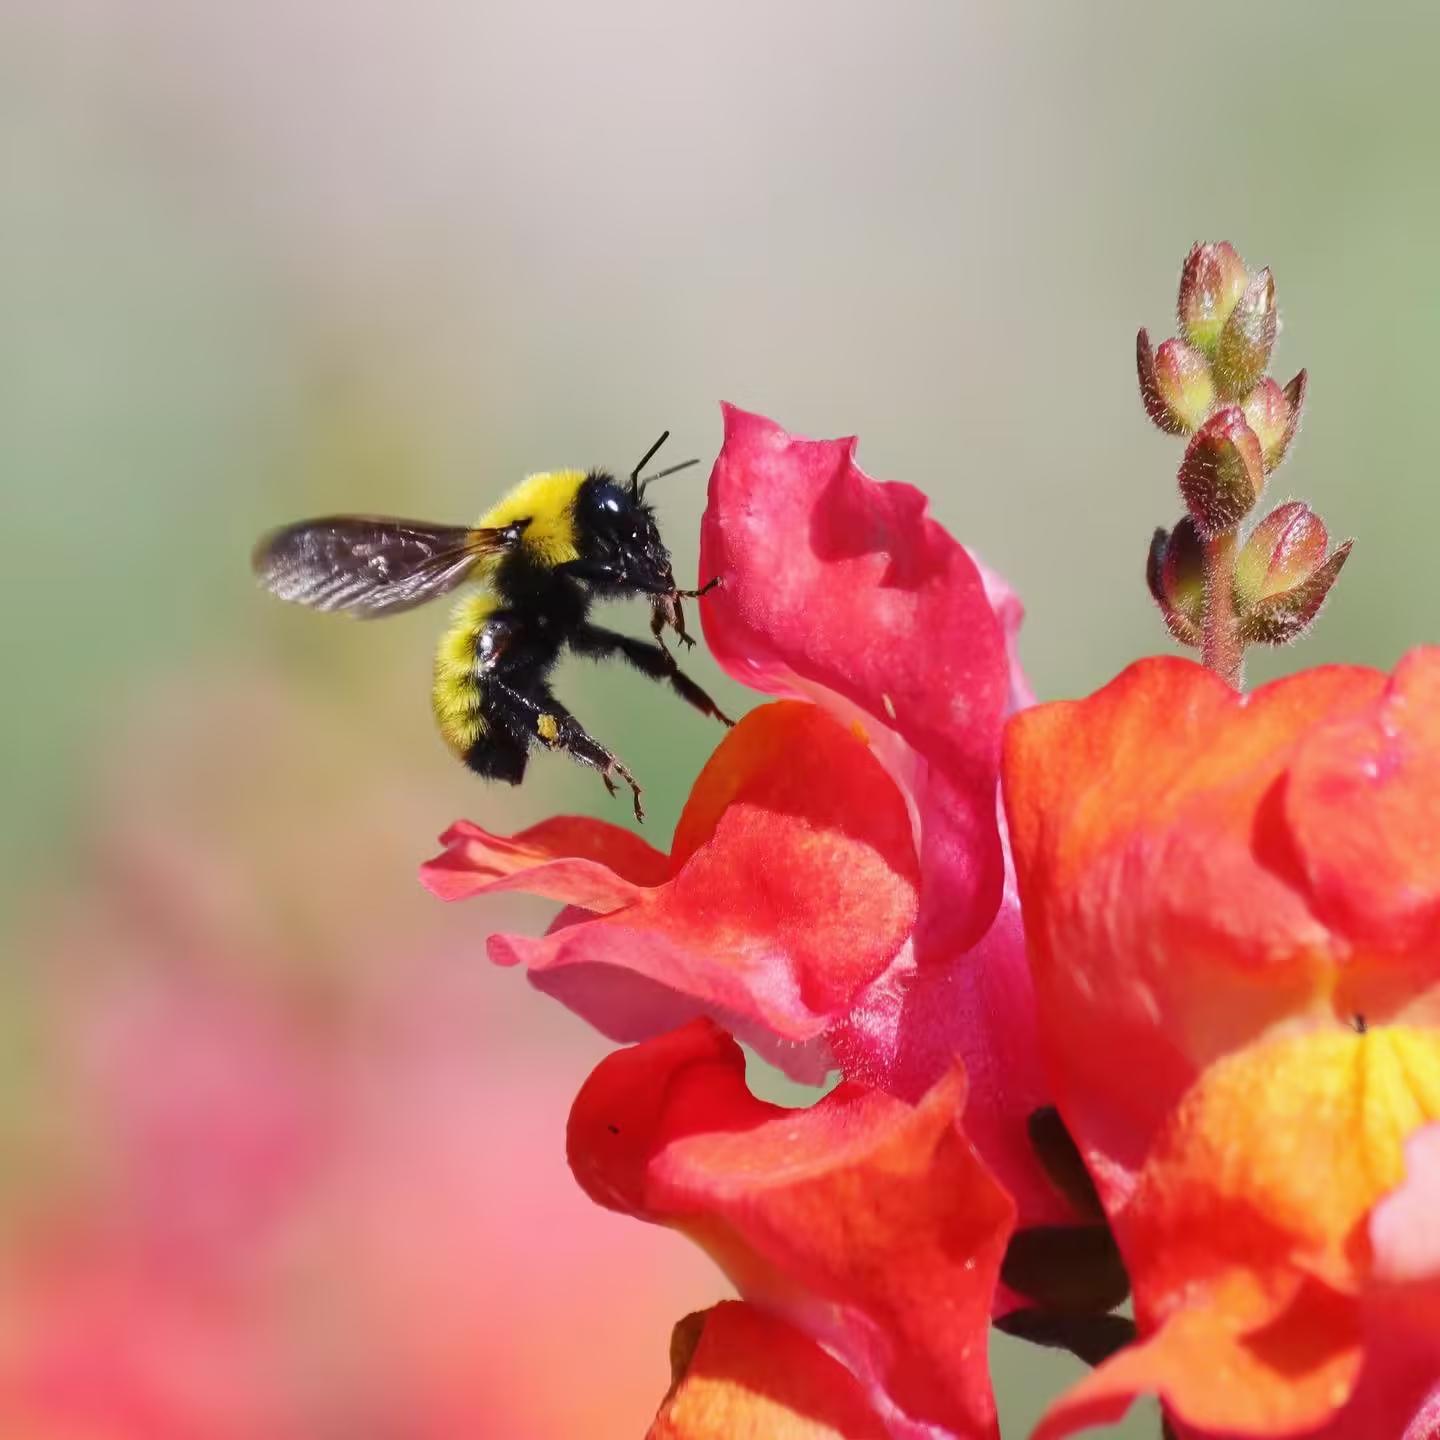
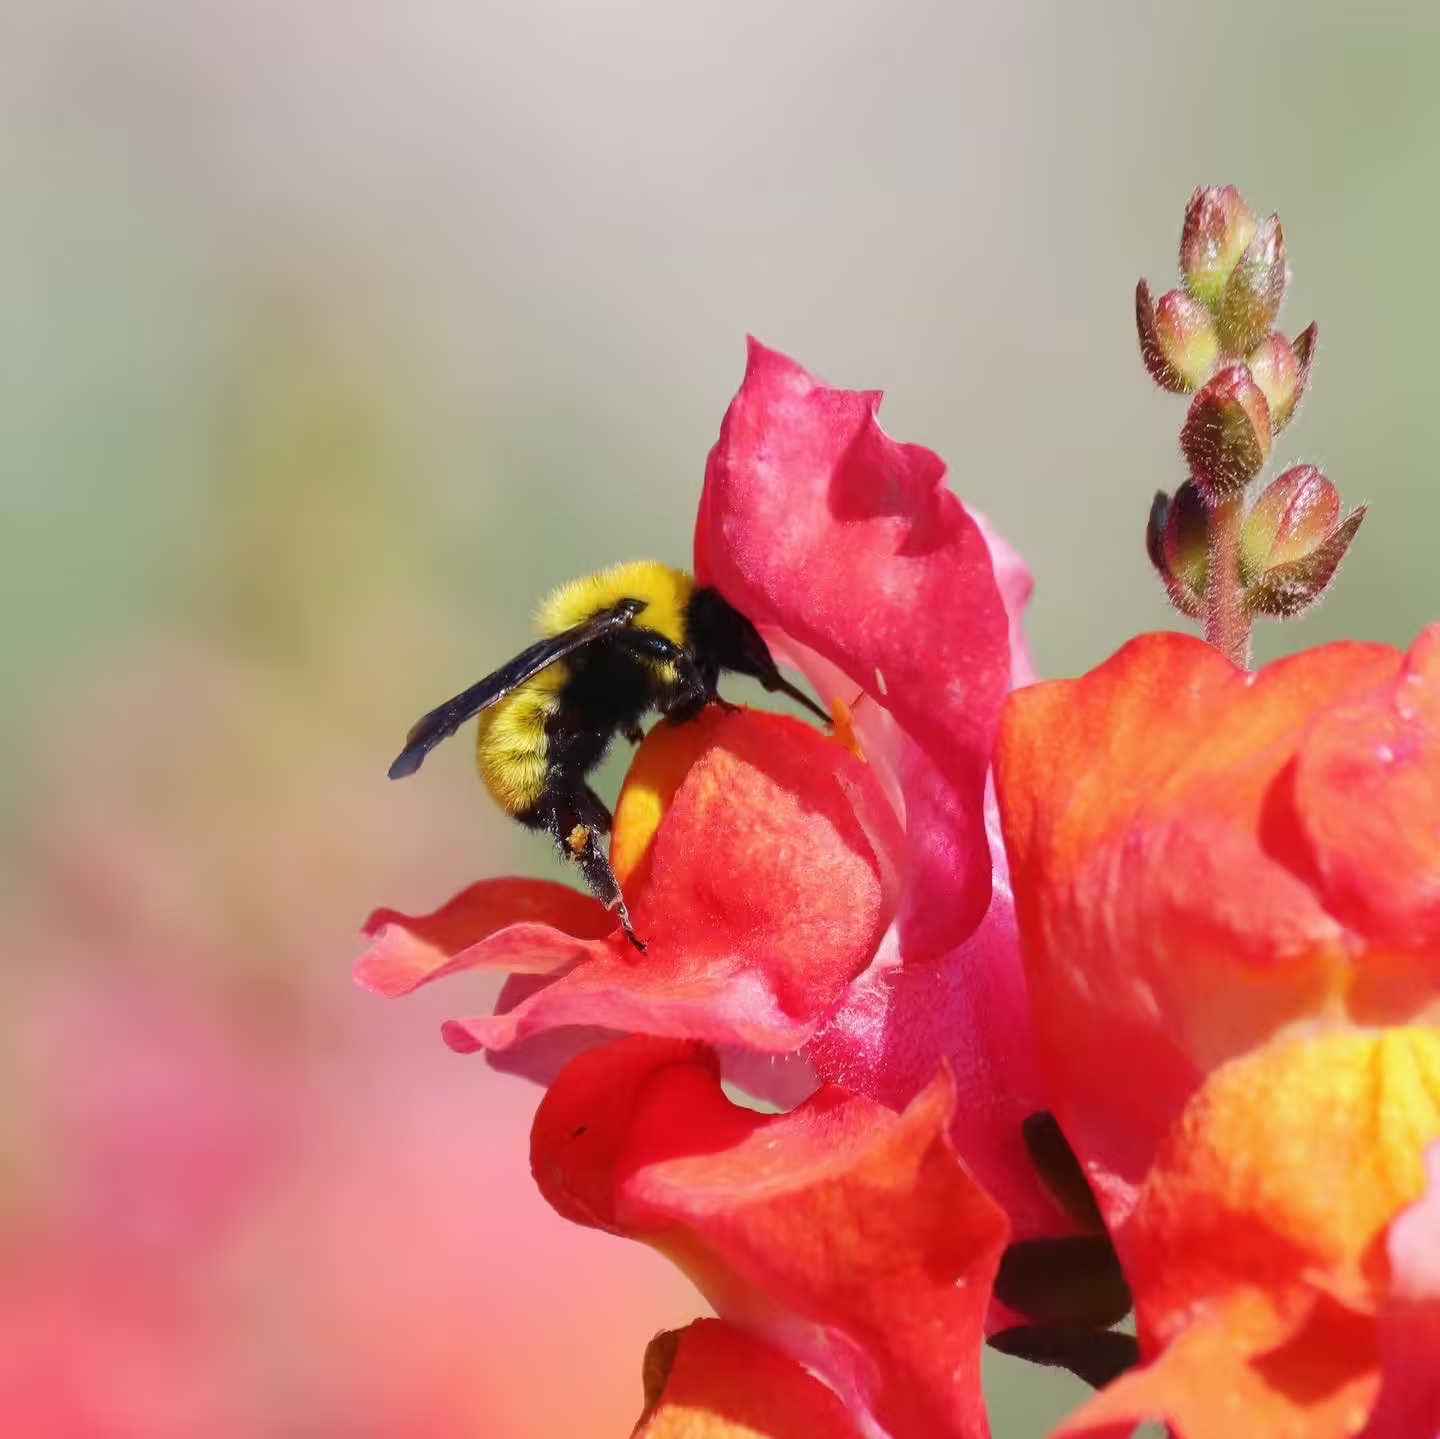
Bumbling Bees
Lets not forget the most important of the garden creatures to visit while I’m clicking my knitting needles. Both honey and bumble bees are both vital to the garden’s survival and to my knitting bliss. Listen to the sweet soft buzzing while you weave together your newest knitting project. Your mind will thank you for the tranquility.
Don’t Forget to Look Up
Those knitting stitches do keep your eyes focused. But don’t forget to take a break and look up every now and then. Otherwise you might miss spotting some really amazing wildlife.
In Southwest Colorado, my knitting and gardening adventures unfold amidst the quirkiest cast of characters – the local wildlife! Their shenanigans and charm sneak into my crafting choices, adding a touch of nature’s comedy to my cozy craft haven.
Knit along with me and be sure you follow me on Instagram: that’s where I share my best nature and knitting photos.
My New Year’s Day tradition? Starting seedlings. Yes, I know it seems early, but the timing is just right if you live in a cold climate with a short growing season. Some of those stubborn, slow growing garden plants like tomatoes and peppers just don’t have time to make their yummy fruit. I can’t tell you how many sad, frozen green tomatoes I have pouted over. So, now I have a new tradition: starting seedlings on New Year’s Day. Sewing my slow-growing seeds inside on January 1st to gives them the best head-start possible.
Winter Seedlings
I live and garden in Southwest Colorado, Zone 6A. (Find your Plant Hardiness Zone at the USDA website.) That means our typical planting season, like many of the colder Zones, is pretty short. Plants can safely be outside from June 1st through mid-September. Those three and a half months fly by, and, in my experience, sneaky September frosts often kill off your favorite flowers and veggies before they fully ripen. Tragic.
Instead of planting little seedlings outside when June comes along, I need to plant fairly large tomatoes, peppers, and perennials inside quite early. To give them time to develop, I start now! And it sure makes for a happy New Year’s Day to get your hands dirty and start watching something grow.
Gardening Inside
Since my home is fairly well lit, I do have the advantage of bright sun in my bedroom most of the day. This means that come January 1st, my bedroom doubles as a seed-starting room and plant nursery. I adore waking up to my little garden of plants every morning.
When planting my seeds, I don’t do anything too fancy. I use square white starter pots and regular potting soil (affiliate links). Make sure the soil is thoroughly saturated with water before planting your seed. When watering, be gentle and careful not to disturb the seed. Or, try watering from the bottom. Place a tray under the seed pot and keep that tray filled with water; the plant will soak the water up through the holes in the pot without disturbing delicate seedlings.
I do supplement their lighting with an LED grow light like this one found on Amazon. This helps prevent the plants from getting leggy (too tall) while they wait to go outside. If your home doesn’t have great lighting, you will probably want to use grow lights for all your indoor garden plants.
Replenish their water to keep your plants hydrated, and a bit of diluted fertilizer once a month after they’ve established themselves is all you’ll need to keep your indoor plants happy. Then, once summer arrives (and those nasty freezes go away), you can harden the plants off and plant them out in the garden.
Hardening Off
Acclimating your plants to the outdoor weather is even more important when they’ve spent so much time inside. Make sure you bring them outside on nice, calm days. Too much wind, cold, or heat will shrivel your sheltered plant babies. Give them just a few hours in the outdoor shade to start with. Then, slowly add time to their outdoor recess until they can handle a full day and night outside. I’ll even take the extra step of letting them sit in their garden spot while still in their pots. If they get wilt-y or start getting crispy leaf tips, they may need a different place in the garden or a bit more time in the shade before they are planted out.
A New Gardening Tradition for a New Year
If you’re like me and live in a very chilly part of the world, starting seedlings on New Year’s Day could be an exciting new tradition. And it might just be the ticket to a full harvest this summer.
Dear fellow knitting enthusiasts, welcome to an exciting new chapter in my creative journey! Today, I’m thrilled to share a budding passion that’s been quietly flourishing alongside my knitting adventures – the vibrant world of gardening. I hope you will join me in my knitting garden, so we can grow together.
A Shared Thread: Knitting and Gardening
For those who’ve followed my knitting escapades, you’ll understand the joy of crafting something magical out of a simple skein of yarn. Now, imagine that same sense of creation but with soil, seeds, and a garden spade. Gardening, much like knitting, is a canvas for creativity, a testament to patience, and a journey filled with growth.
A Personal Connection
You might wonder, “Gardening on a knitting blog?” Well, let me share a little secret – gardening has become more than just planting flowers and growing veggies. Growing food and flowers has intertwined itself with my knitting journey in ways I couldn’t have imagined. The vibrant colors of my garden have found their way into yarn choices. The rhythm of knitting often echoes the peacefulness of a garden in bloom.
Where Knitting Meets Greenery
Picture this: knitting needles click in harmony with the rustling leaves. A newly sprouted garden bed inspires the next knitting pattern. Curious wildlife wanders by. These moments, where knitting meets nature, have become cherished encounters that I can’t wait to share with all of you.
Spinning a Yarn in the Garden
Gardening and knitting – two seemingly distinct worlds – have found common ground in my creative space. Just as knitting stitches come together to form a beautiful piece, so do the seeds planted in my garden. They both sprout into a colorful tapestry that resonates with the essence of my knitting projects.
What’s Next?
As we embark on this gardening-knitting journey together, expect to see the garden growing onto my knitting blog pages more often. From planting tips that complement yarn choices, to stories where garden motifs find their way into our knitting patterns, a whole new chapter is waiting to be unraveled. I may also tell you a little about my chickens, too.
So, my dear knitting companions, prepare to see a hint of green among my yarn stash. Gardening has strolled into my knitting haven, and I couldn’t be more excited to knit this new story with all of you.
As the calendar flips to a new year, many of us scribble down resolutions like “go to the gym” or “eat healthier.” But what if this year, you resolve to do something that doesn’t require spandex or saying goodbye to your favorite snacks? Enter knitting. It’s the New Year’s resolution that’s both productive and forgiving of your occasional snack attack. 🧶🥳
Cozy and Good For You
In a world spinning faster than a knitter’s yarn, picking up those needles offers a relaxing break from life’s chaos. Picture this: you, cocooned in a comfy chair, needles clacking away like a tiny percussion section, while everyone else is stuck in traffic. It’s not just a hobby; it’s a magical retreat that says, “Sorry, I’m on ‘knit’ time.”
Apart from fashioning fabulous scarves and blankets, knitting is like a personal Zen garden. Studies rave about its stress-busting powers and ability to lower blood pressure. While others are in downward-facing dog at the yoga studio, you’ll be in your happy place, creating something utterly ‘knit-credible.’ Read more about knitting wellness here.
And let’s not forget the knitting community – it’s basically a secret society disguised as a craft circle. Join one, and you’ll soon be swapping stories faster than a dropped stitch. It’s where rivalries over the best yarn blend turn into lifelong friendships.
Plus, knitting isn’t just a way to avoid buying mass-produced stuff; it’s the ultimate flex of creativity. From a simple scarf to the Picasso of sweaters, every project you finish is a high-five to your inner artist.
This year, instead of sweating it out on the treadmill, why not create your own style while watching a marathon of your favorite shows? Pick up those needles, select some yarn that speaks to your soul, and knit your way to a year filled with cozy accomplishments and endless laughter.
Who knew that something as simple as two sticks and a ball of yarn could be the key to unlocking a year of creative fun? So, grab your needles, choose your colors, and let’s make this year ‘knit-tastic’! Cheers to a new year of loops, laughter, and knitted dreams coming true! 🥂
Let’s chat real knitting. Not the curated basket‑on‑a‑white‑couch fantasy. Not the twelve‑hundred‑dollar set of heirloom needles your neighbor pretends she uses. This is the gear I actually knit with. These are the supplies that sit next to my coffee, the ones that get tossed in my tote bag, and the exact things I recommend to anyone learning or coming back to knitting.
Grab your yarn, your coffee, and zero perfection pressure. We knit here. We do not stress.
To make things easier to find, I’ve included Amazon affiliate links throughout this list. They’ll take you to the yarn and tools I usually order. Happy knitting!
Start Here: Your Beginner Knitting Kit
Brand new? Restarting after life took over? (Welcome back.💞 ) This simple setup will carry you through the first wins without overwhelm.
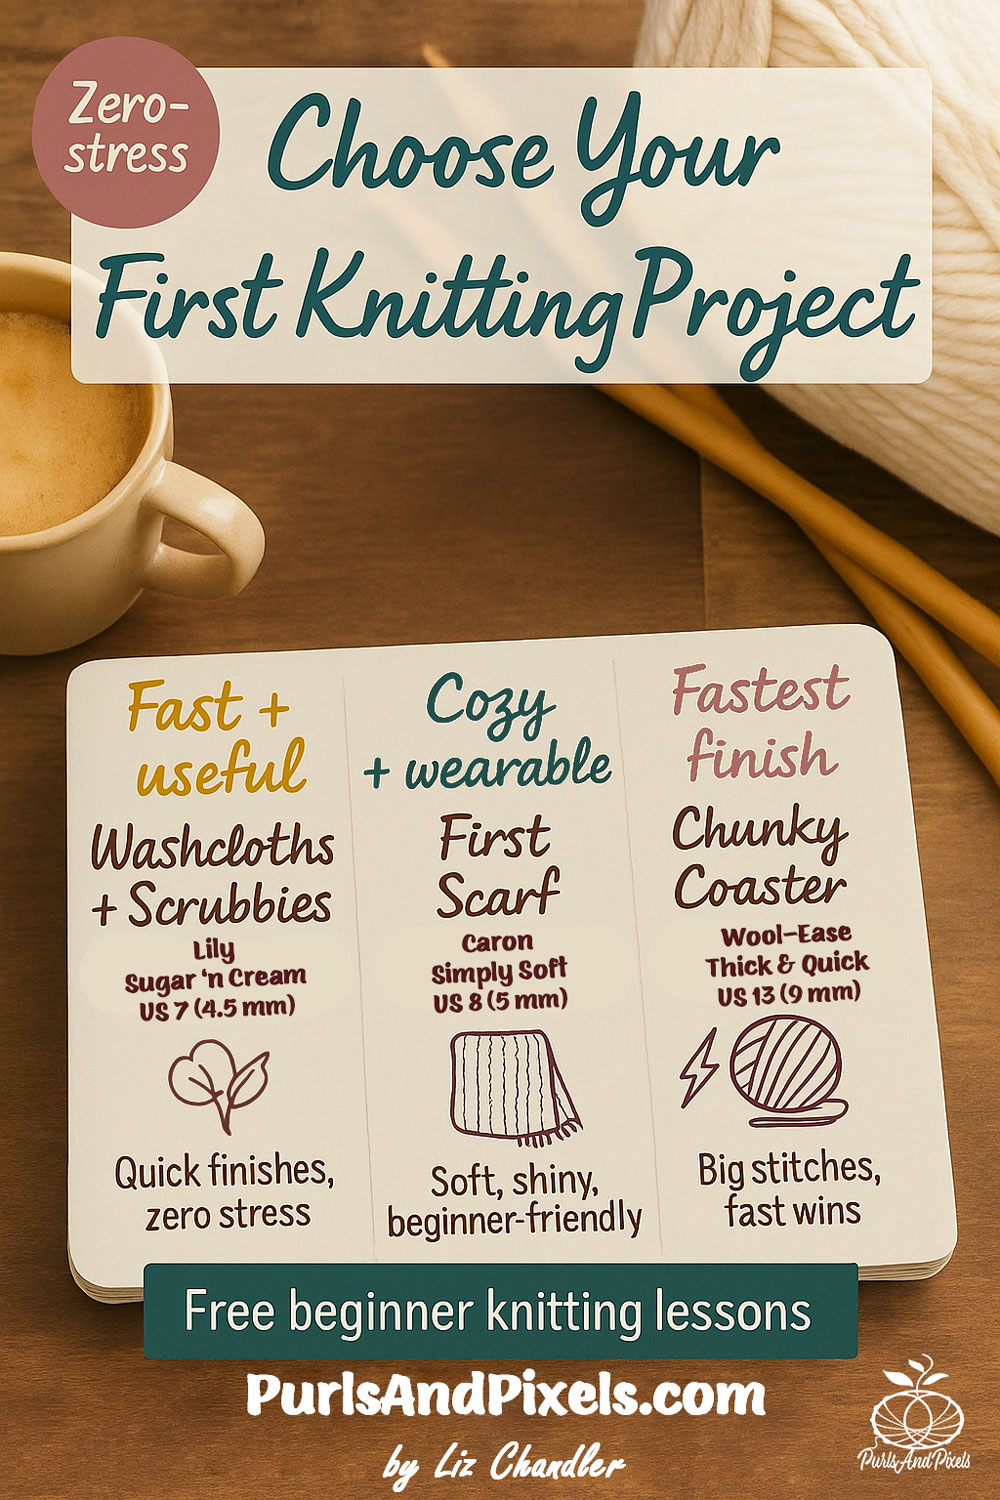
Choose your beginner knitting path:
Fast + useful: Knit washcloths and face scrubbies (free pattern here)
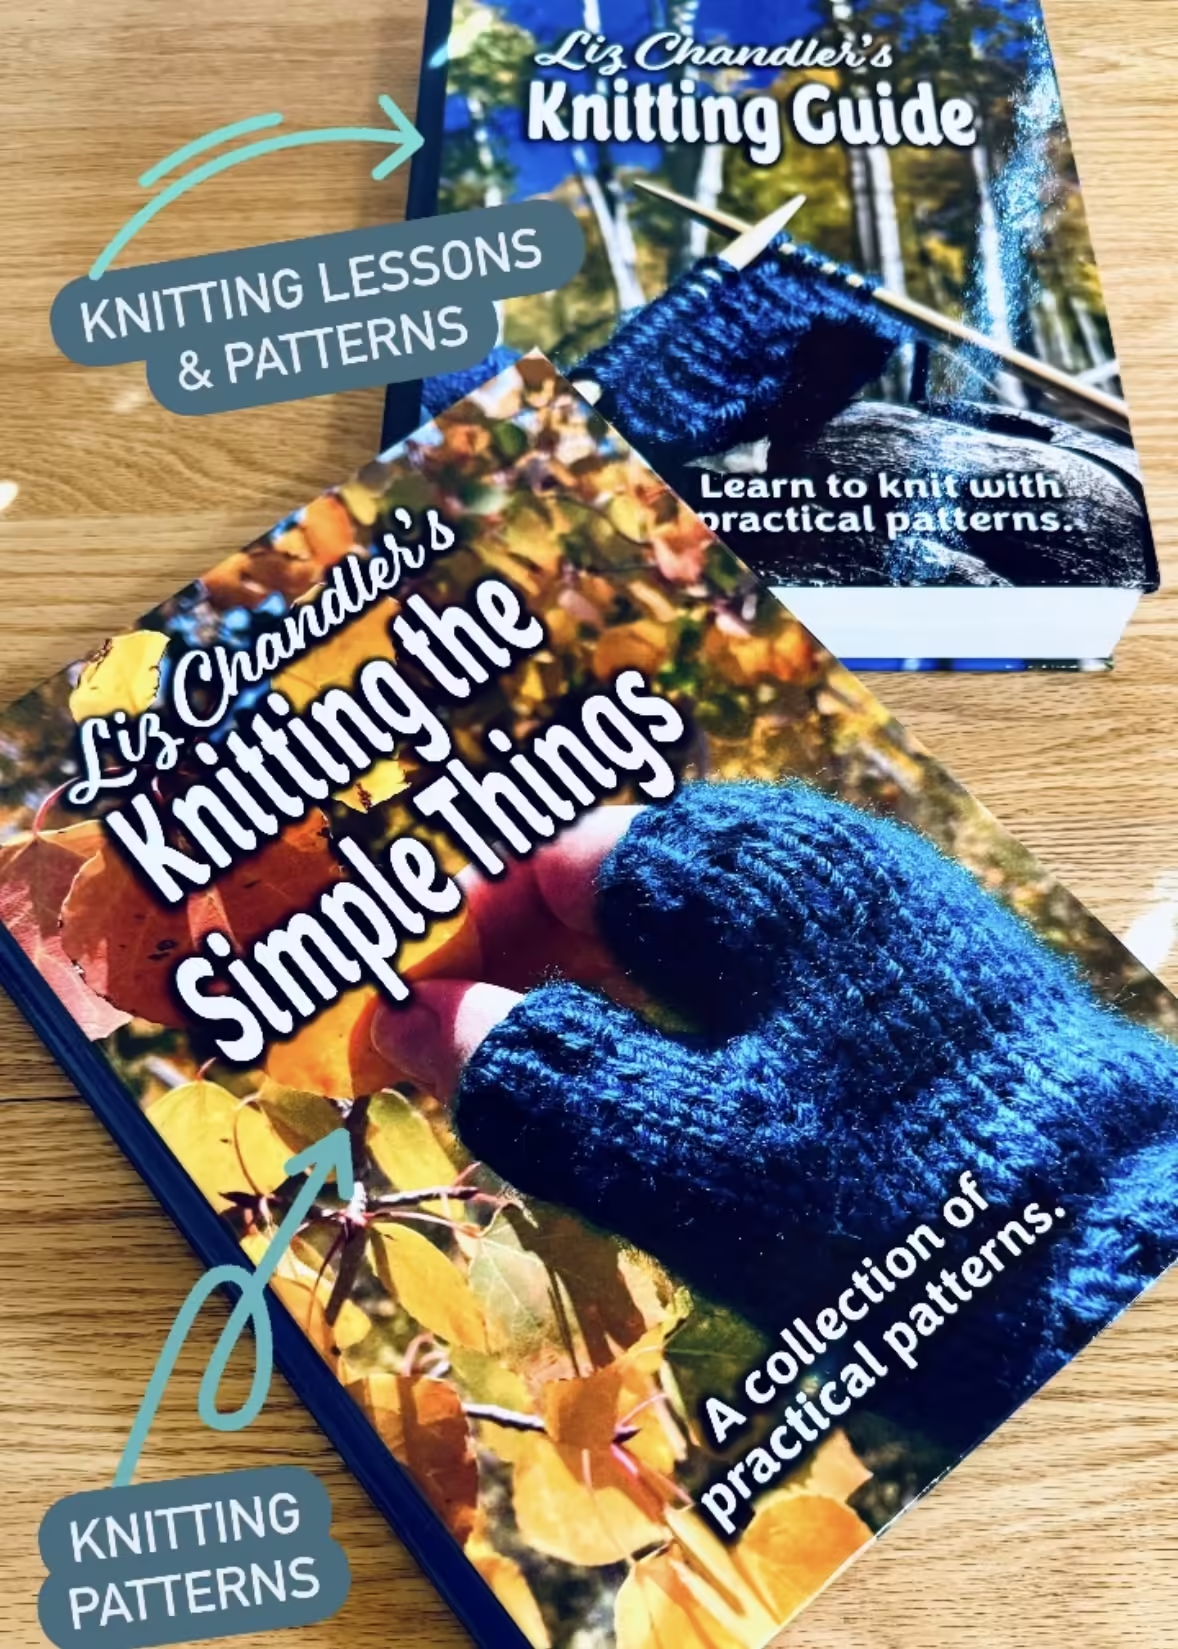
Liz Chandler’s Knitting Guide: Learn to Knit with Practical Patterns
In addition to my free online lessons, you can learn to knit in my complete guide book. I wrote this book because nobody else had. My complete instruction manual for true beginners has full‑color photos for every single step and patterns you will keep using long after you learn.
Liz Chandler’s Knitting The Simple Things: A Collection of Practical Patterns
Want all the patterns from my Knitting Guide without the knitting lessons? Grab Liz Chandler’s Knitting the Simple Things. My pattern-only book has 15 designs all in multiple sizes (65 total patterns are included). This high-gloss color-printed pattern book has all the classic knits you’ll want to knit over and over: washcloths, scarves, hats, gloves, and more!
Buy what feels good in your hands. If you pick it up and your brain immediately goes, “ooooh, squishy!” that is your yarn.
Cotton
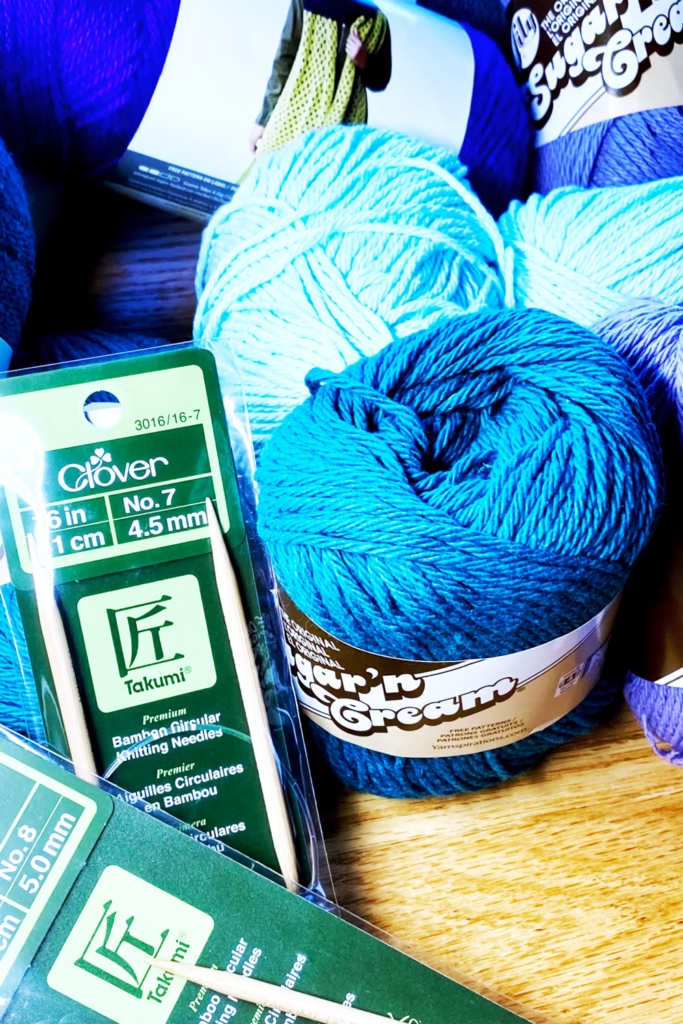
For dishcloths, towels, or anything you’ll wash often, Lily Sugar ’n Cream 100% cotton yarn is your best friend. It’s durable, absorbent, and feels amazing to work with.
If you want something smooth, washable, and easy to find, try Caron Simply Soft. It comes in every color imaginable and is perfect for scarves, blankets, and beginner projects.
For instant-gratification knitting, you can’t beat Lion Brand Wool‑Ease Thick & Quick. It’s perfect for chunky scarves, cowls, or anything you want to finish fast and love forever.
When you’re ready for something softer and more luxurious, try Malabrigo Merino Wool. It’s beautifully dyed, smooth as butter, and perfect for special gifts or long-lasting wearables.
If you’ve ever wondered which knitting needles are best for beginners, here’s the short answer: it depends on what kind of knitter you are. Bamboo needles are warm to the touch, slightly grippy, and help keep your stitches from sliding off. They’re perfect for relaxed, meditative knitters or anyone just getting started. Metal needles, like Addi Turbo, are slick, fast, and great for those who love speed and precision.
Needles also come in many shapes. You’ll see straight, circular, and double point needles line the shelves. Each has its perks, so the best choice is whichever one makes your hands (and your mood) happiest. Circular needles are the most versatile of all; they can handle everything from scarves to hats and blankets without taking up much space. Here’s a quick guide that makes sense:
If you’re knitting washcloths or towels, use US No. 7 (4.5 mm) needles. For scarves and cozy basics, reach for US No. 8 (5 mm). And when you’re in the mood for fast, super‑bulky projects, go big with US No. 13 (9 mm).
If you’re only buying one kind of needle, circular needles around 16 inches long will handle most projects, from scarves to hats to washcloths.
Bamboo needles, like Clover Bamboo, are my go-to for calm, quiet knitting sessions. They have just the right grip to keep your stitches from slipping, and they feel warm and natural in your hands. Plus, they are much quieter to work with than metal needles that make a clinking noise when you work them.
Metal needles, like Addi Turbo, glide smoothly and are perfect for when you want to move quickly through a project. They’re strong, durable, and ideal for knitters who like speed with precision.
Bamboo Knitting Needles
Calm, cozy, gentle. Clover Takumi Bamboo when I want quiet knitting.
Bamboo US No. 8 (5 mm) 16 inch (14 cm) circular needle
Bamboo US No. 13 (9 mm) 16 inch (14 cm) circular needle
Metal Knitting Needles
Smooth and fast. Knit with ChiaoGoo Red Lace needles when caffeine meets ambition. I like the thick cable on this brand. And, they’re good for everything, not just lace. 😉
I’ll be honest, these are an indulgence I have not yet tried. But, oh do I wish I could work with a set of interchangeable needles! They come with tons of needle tip sizes and cord lengths. It looks very handy to be able to mix and match! Here are some sets I’ve been drooling over. Have you tried them? Let me know how it went!
These little helpers make your finished pieces look tidy and professional. You’ll want tapestry needles for weaving in yarn ends, small scissors for trimming, stitch markers for tracking sections, and a row counter if you like to stay organized. Each tool makes your knitting just a little smoother.
If you want to see exactly how I use each one, check out my detailed post: Choosing Knitting Tools.
Keeping Notes
Always jot down what yarn you used and where you left off. You’ll thank yourself later. Whether you use a notebook or an app, keeping notes helps you remember what worked and what didn’t. It also saves you from trying to guess which shade of blue you used six months ago.
Hear me out. Fancy baskets are lovely, but containers that stack, travel, and survive kids, dogs, and gravity make the best yarn holders. Practical wins.
Love cozy knitting projects? Join me on YouTube, Pinterest, and Instagram! And don’t forget to sign up for my newsletter to get more free patterns, helpful tips, and updates straight to your inbox. 💌
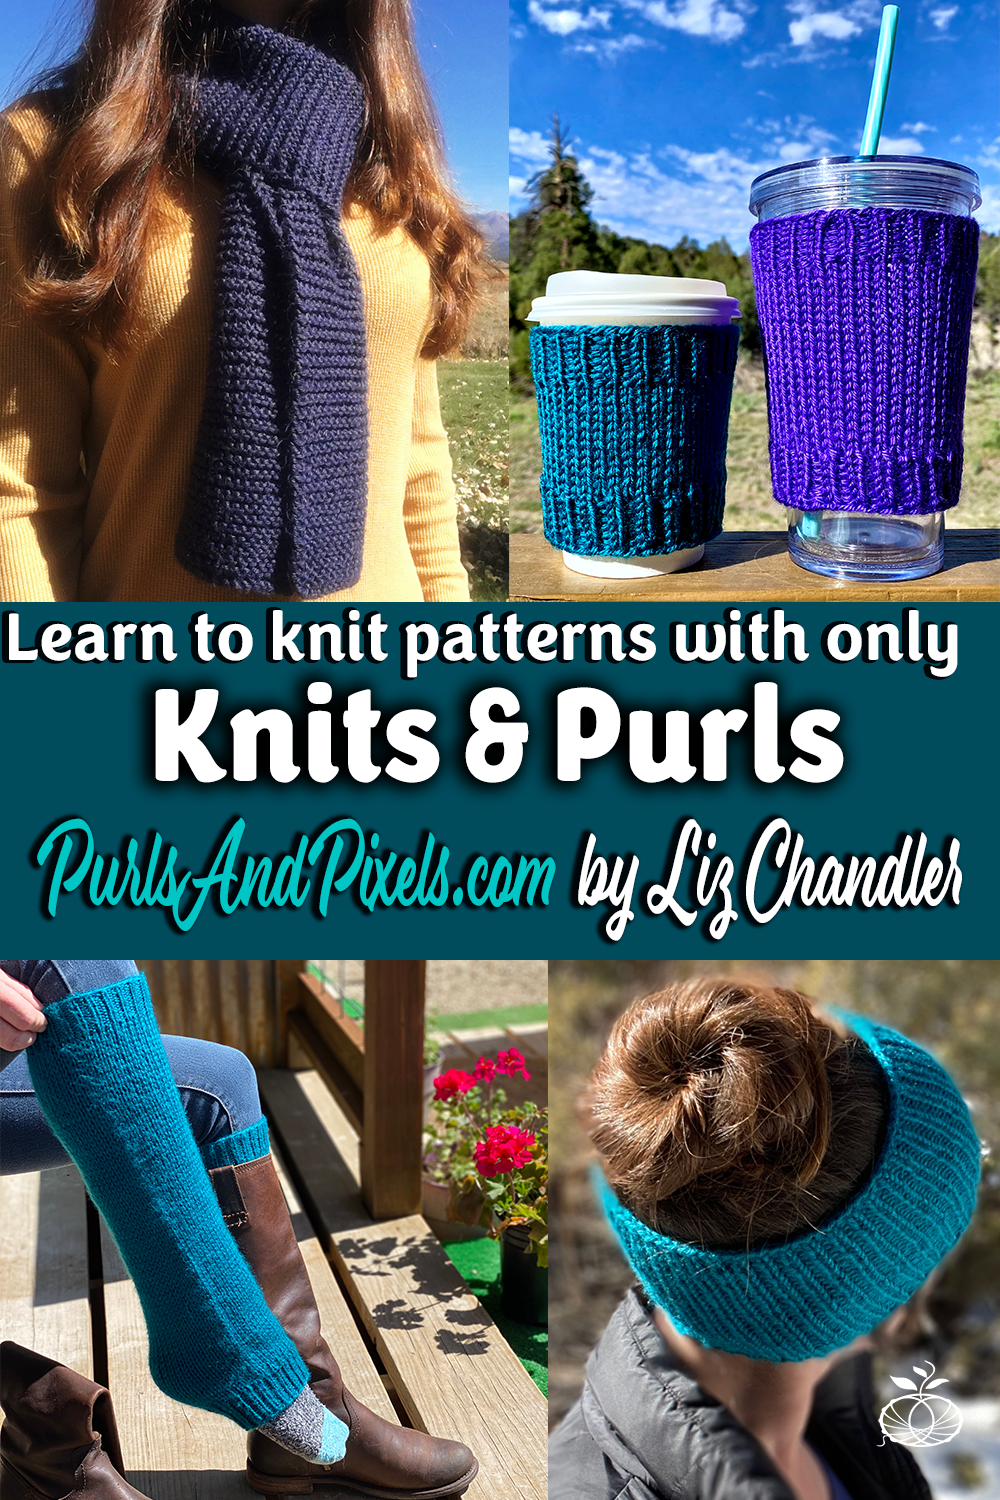
Knitting Patterns with only Knit and Purl Stitches
Once you master knits and purls, you’ll be able to start making simple beginner knitting patterns. Beginning knitters can easily try making Garter Stitch, Stockinette Stitch, Seed Stitch, and Rib Stitch, because they are all made with only knit and purl stitches.
Garter Stitch
Garter stitch is a knitting pattern that is composed of all knit stitches. When knitting a regular flat piece, you will knit all the stitches in one row, turn, then knit all the stitches in the next row, turn, and repeat. This creates a ribbed fabric that looks the same on both sides.
Garter stitch has a very simple abbreviation: “k” every row.
Stockinette Stitch is one of the most widely used knitting patterns, which has smooth “knit side” and a bumpy “purl side.”
When knitting a flat piece in Stockinette Stitch, you cast on an even number of stitches, knit one row, turn your work, then purl one row and continue alternating knit and purl rows.
Stockinette is usually abbreviated in this way: c/o even number of stitches.*k 1 row, p 1 row.*
Knit, purl rib is a frequently used stitch for ribbed borders on clothing like hats, mittens, and sweaters. To knit this type of ribbing, cast on an even number of stitches. *Knit, purl* repeat for one row. Turn, and repeat the same row. You will be knitting into the knit stitches and purling into the purl stitches of the row below.
Abbreviated, a rib pattern will often read: c/o even number of stitches. *k, p* every row.
You can knit a more elaborate texture using the Seed Stitch. Although it looks more difficult, simply alternate knit and purl stitches, much like a Knit, Purl Rib. Instead of stacking the knits and the purls in columns, however, in Seed Stitch you purl into the knit stitches and knit into the purl stitches. Both sides of the work will look the same.
To make the Seed Stitch, cast on an even number of stitches. Knit one stitch, purl one stitch, then repeat for one row or round. At the next row or round, purl one stitch, knit one stitch, then repeat until the end of the row or round. Repeat these two rows until you are finished.
The abbreviated version of this would read: c/o even number of stitches. *k, p* one row, turn, *p, k* one row. Repeat.
After you understand these basic patterns, you can make lot of different fabrics with the same ball of yarn.
It is a great time to start exploring fun beginner patterns and learning new skills. My beginner knitting patterns use the stitches above to make your own cozy accessories.