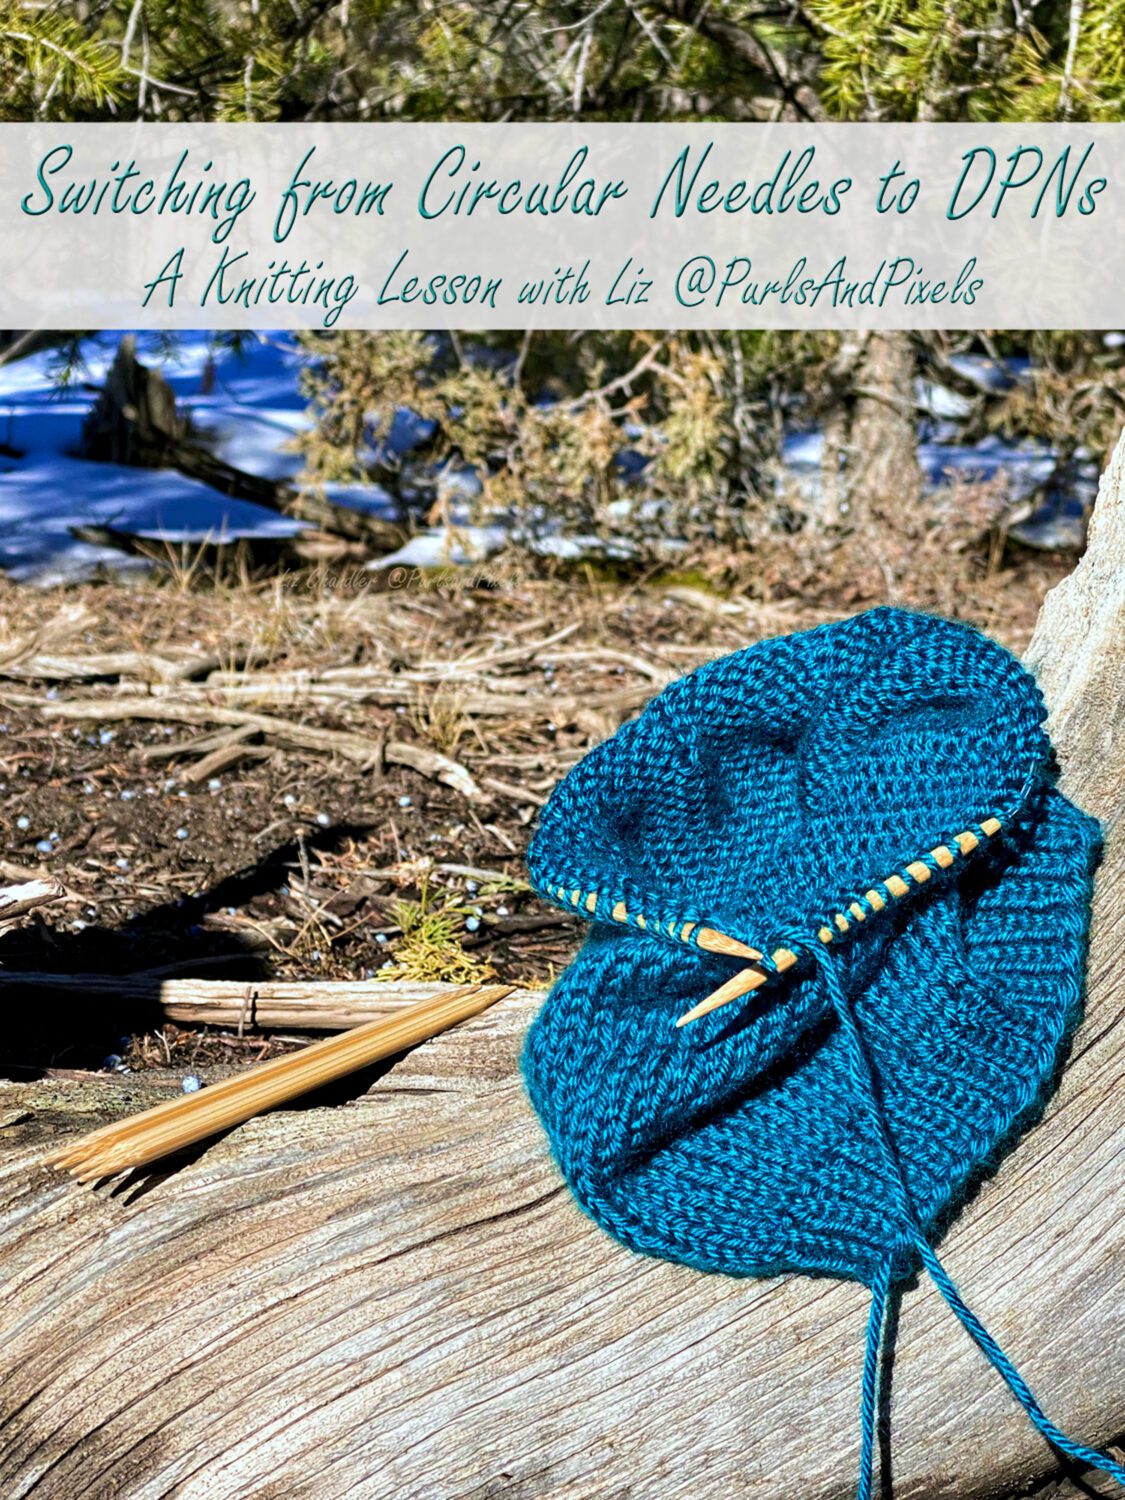
When knitting a hat from the bottom, up, you will add decreases at the top. These decreases make your rows shorter, which allows you to round off and close the top of your hat. However, if you have been knitting with a circular needle, the decreases will eventually make the rows too short to fit on your needle. You will need to switch knitting methods so you can continue decreasing the length of your rounds. In this knitting lesson, I’ll show you how to move a hat top from circular needles to Double Point Needles (DPNs).
Below you will find both video and written guides to help you learn how to transition from working with circular needles to Double Point Needles.
Video Guide: How to Switch from Knitting in the Round on Circular Needles to Knitting with Double Point Needles (DPNs) – Switching Needles for Hat Decreases
Written Guide: How to Switch from Knitting in the Round on Circular Needles to Knitting with Double Point Needles (DPNs) – Switching Needles for Hat Decreases
Before you begin this knitting method switch, you will need to know how many live stitches are on your needles. Check the pattern you are following to see how many stitches are on your needles, or count them. In the example here, I have 48 total live stitches on my circular needle.
Switch from Circular to DPNs, Step 1:
Work up to the point where you would like to switch knitting methods (usually the end/beginning of a row/round is the best place to start). Set the needle in your right hand aside.
Divide the total number of live stitches on your circular needles by the number of needles to which you will be moving. Here, I will divide 48 stitches onto three needles, so my math is:
48 ÷ 3 = 16
This means you’ll need to place roughly 16 stitches on each double point needle. Because decreases are involved in this example, this is an estimate not an exact number of stitches to be placed each needle.
Switch from Circular to DPNs, Step 2:
Pick up one DPN with your right hand. If you have been using a stitch marker to keep track of the beginning/end of your rounds, you can set it aside.
Switch from Circular to DPNs, Step 3:
Begin working the live stitches off the circular needle and onto the DPN tip.
Switch from Circular to DPNs, Step 4:
Work roughly the number of stitches you calculated in Step 1 onto your first DPN, except stop at a decrease. When the current row/round contains decreases, remember to count the live stitches coming from the left needle separately.
Switch from Circular to DPNs, Step 5:
Let go of the first DPN and pick up a second DPN in your right hand. Begin working the next live stitches off the circular needle in your left hand.
Switch from Circular to DPNs, Step 6:
Work roughly the number of stitches you calculated in Step 1 onto your second DPN, except stop at a decrease.
Switch from Circular to DPNs, Step 7:
Let go of the second DPN and pick up a third DPN in your right hand. Begin working the next live stitches off the circular needle in your left hand.
Switch from Circular to DPNs, Step 8:
Work the remaining live stitches off the circular needle in your left hand and onto the third DPN.
Switch from Circular to DPNs, Step 9:
At this point the circular needle will be free from the work; set it aside.
Switch from Circular to DPNs, Step 10:
Pick up the fourth (the empty) DPN with your right hand and prepare to start knitting in the round with just your DPNs. (See this lesson on Knitting with DPNs if you aren’t sure how this method works.)
Practice With My Knitting Patterns
Want to follow along?
Here, I am knitting a Simple Beanie Hat. Find the pattern here.
Or, try making a Basic Slouch Hat, which is also knit from the bottom up, adding decreases at the top. Find the pattern here.
If you’d rather use the Magic Loop to close your hat tops, you can switch from knitting on circular needles to knitting in the Magic Loop. Find step-by-step instructions in the next lesson.