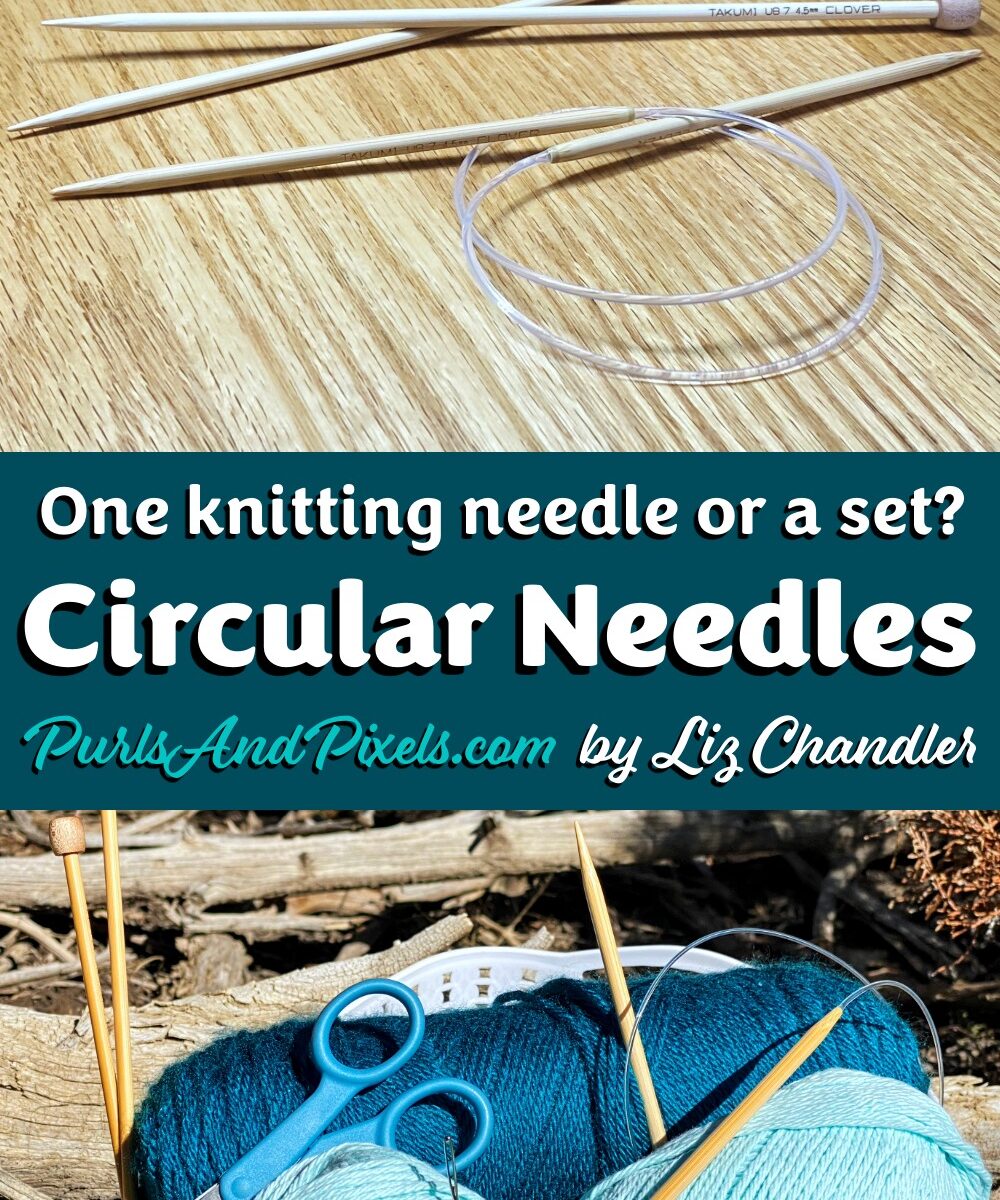
Unraveling a Mystery 🧶
I was just working on my upcoming kids’ knitting book when I froze mid sentence. Wait a second. If you are knitting with circulars, is it one needle or two? That little question stopped me in my tracks, and it might have you wondering too.
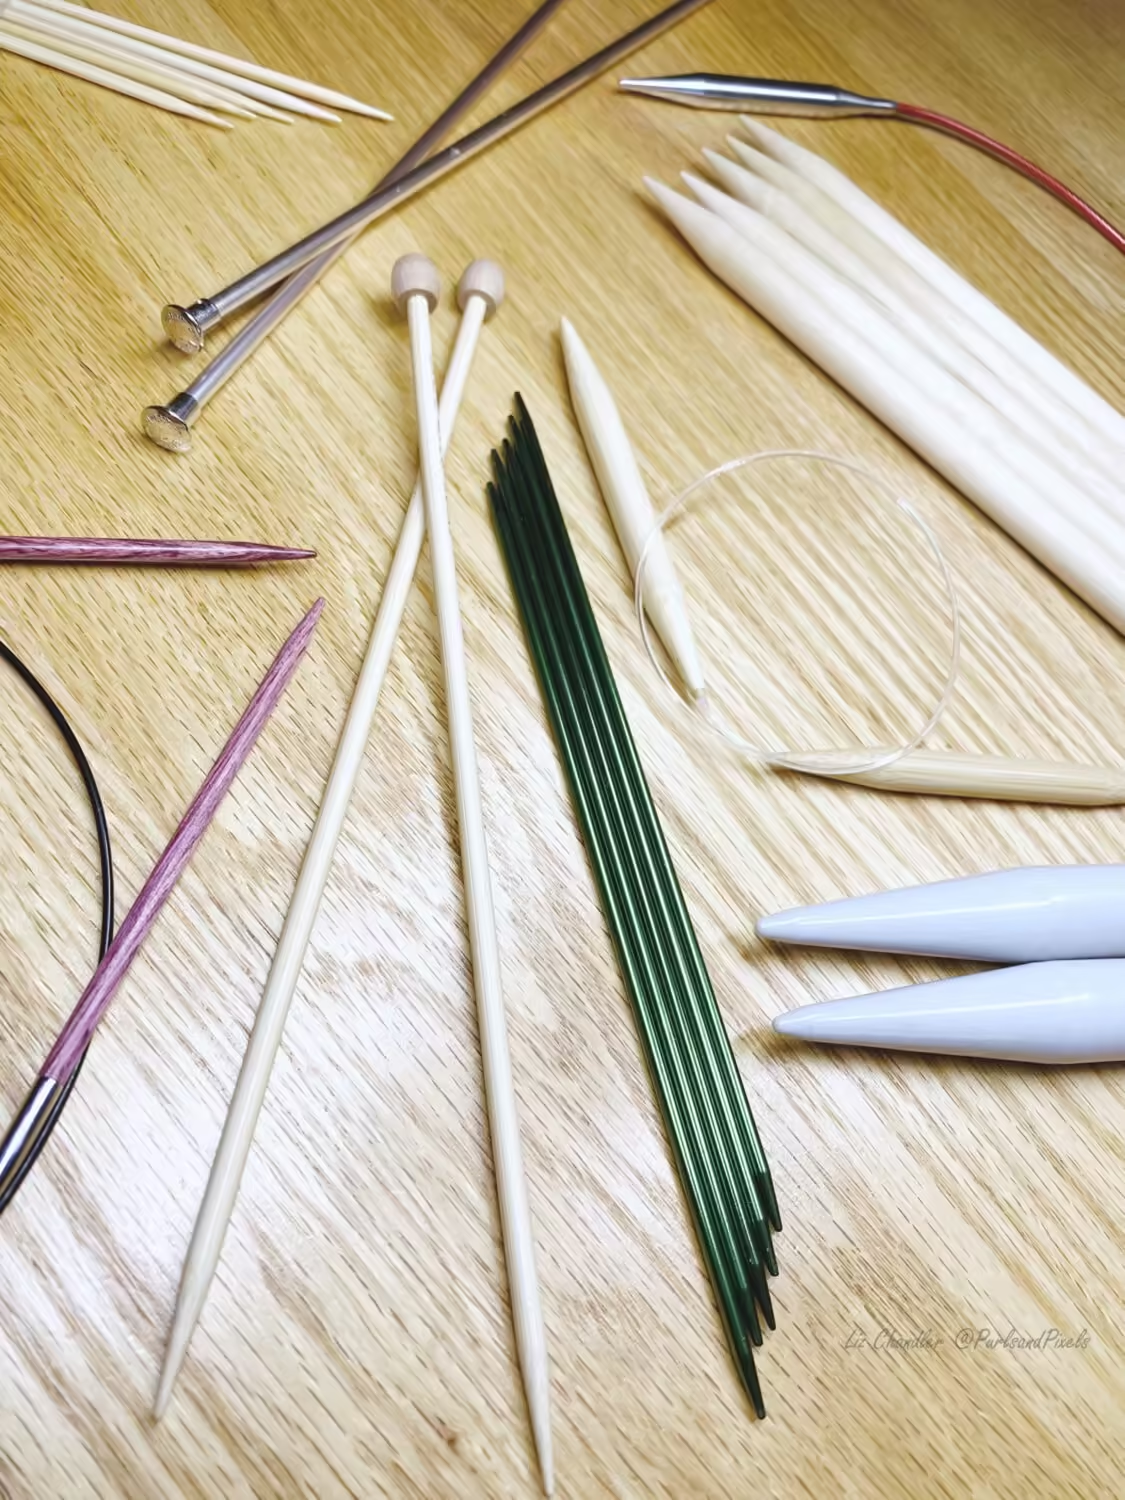
If you are brand new to knitting, the tools can be a little confusing. People often talk about “a pair of knitting needles” (two sticks that work together to hold stitches and make fabric). That is the classic picture most of us carry in our heads when we think of knitting.
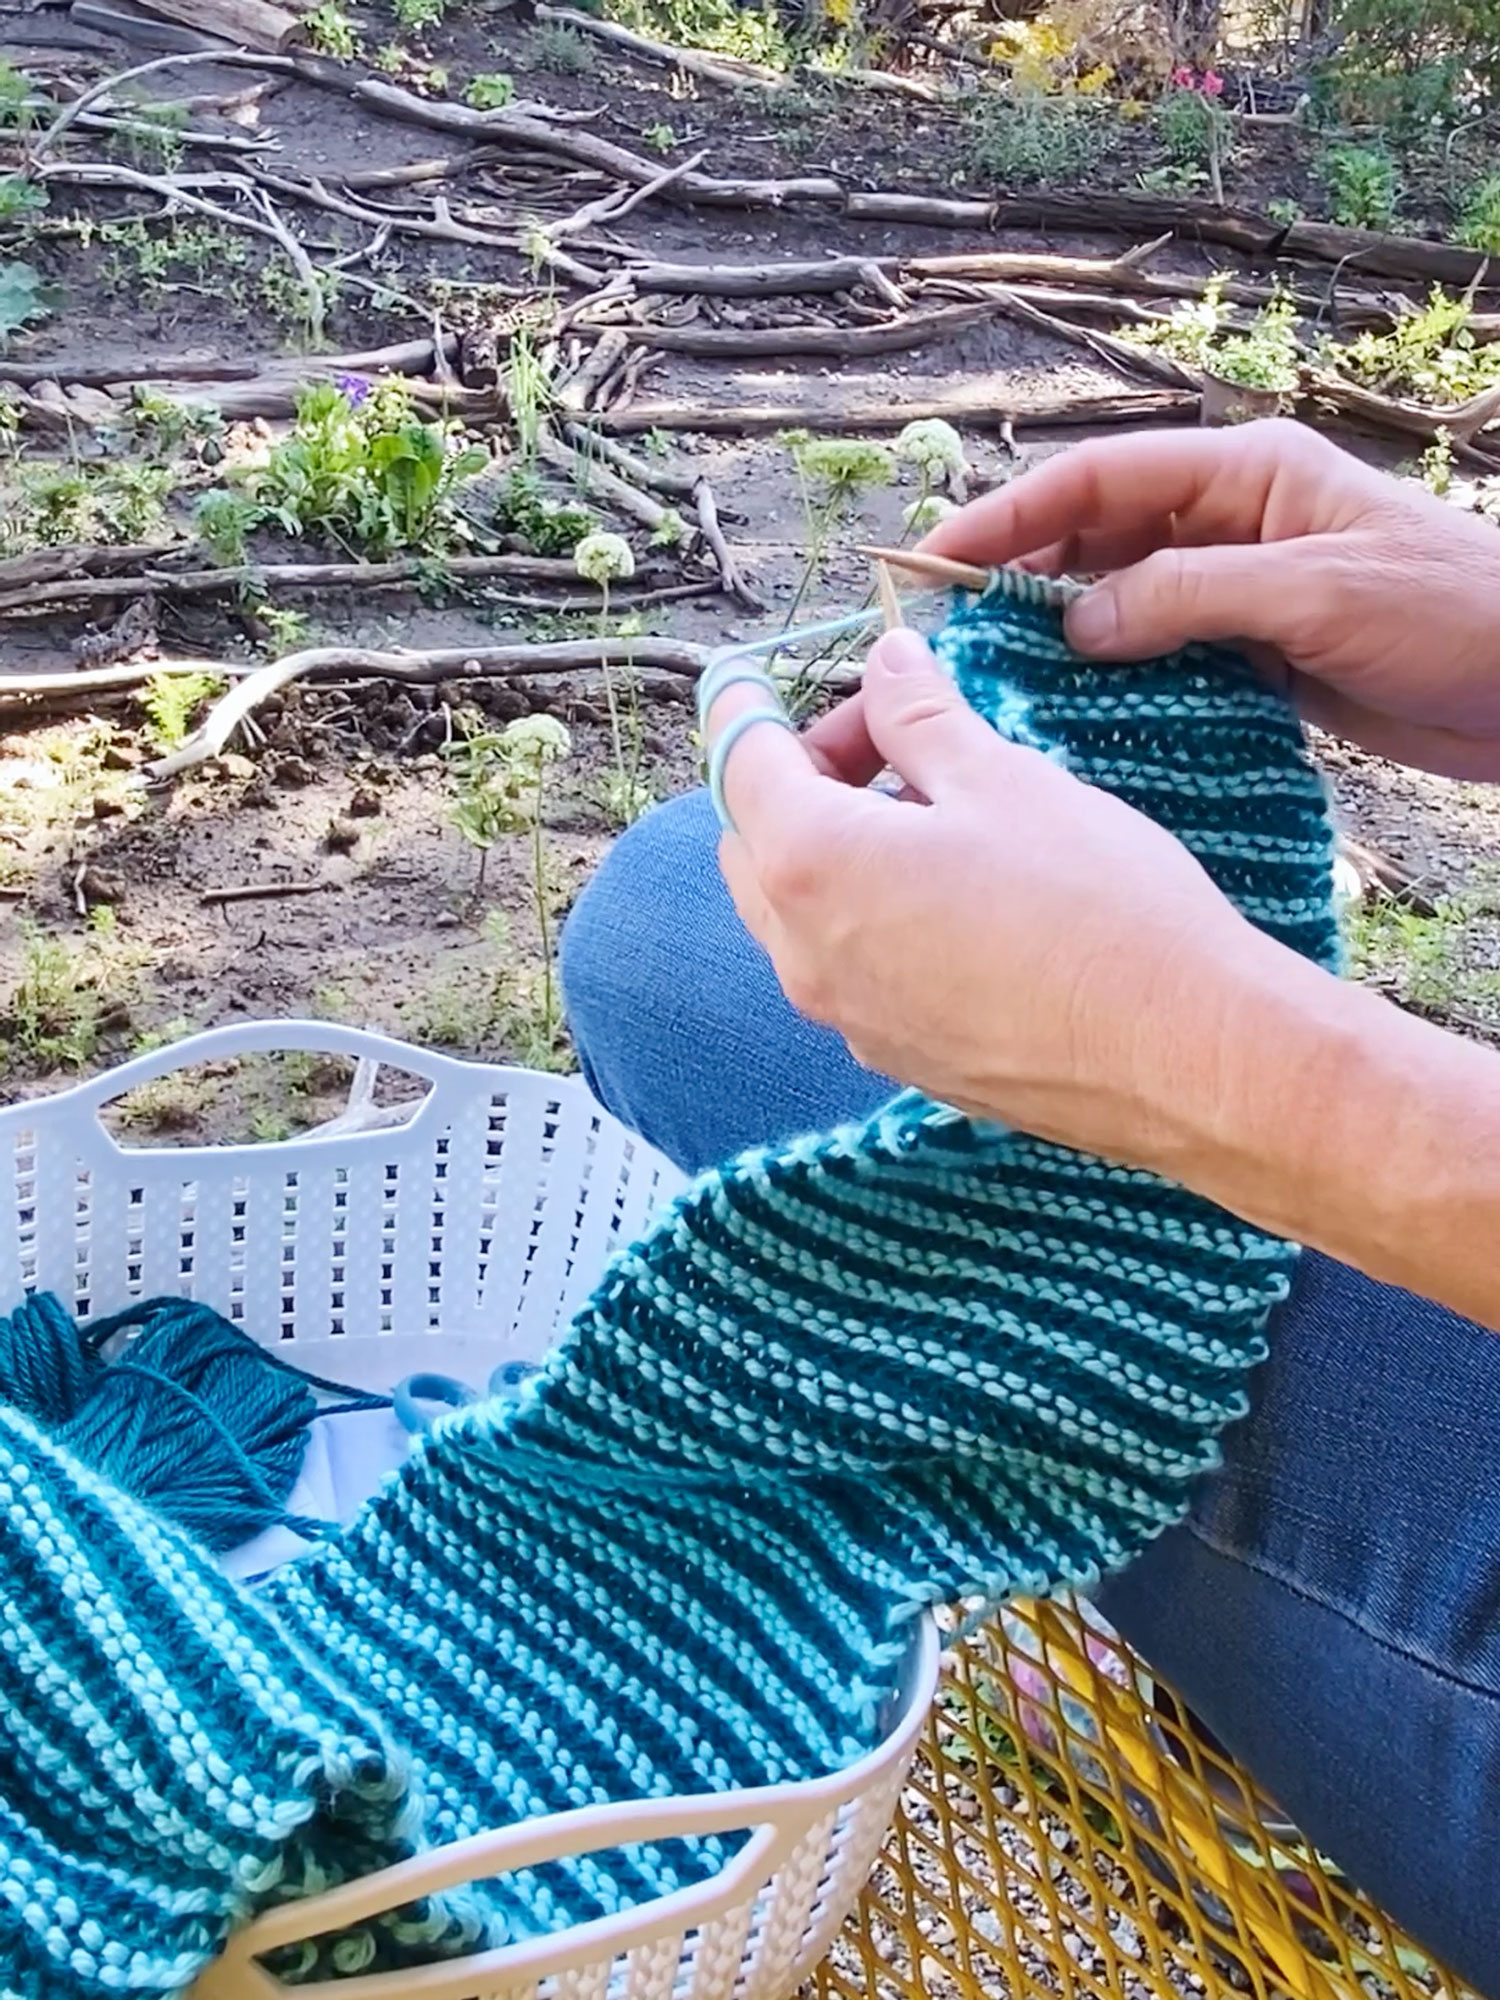
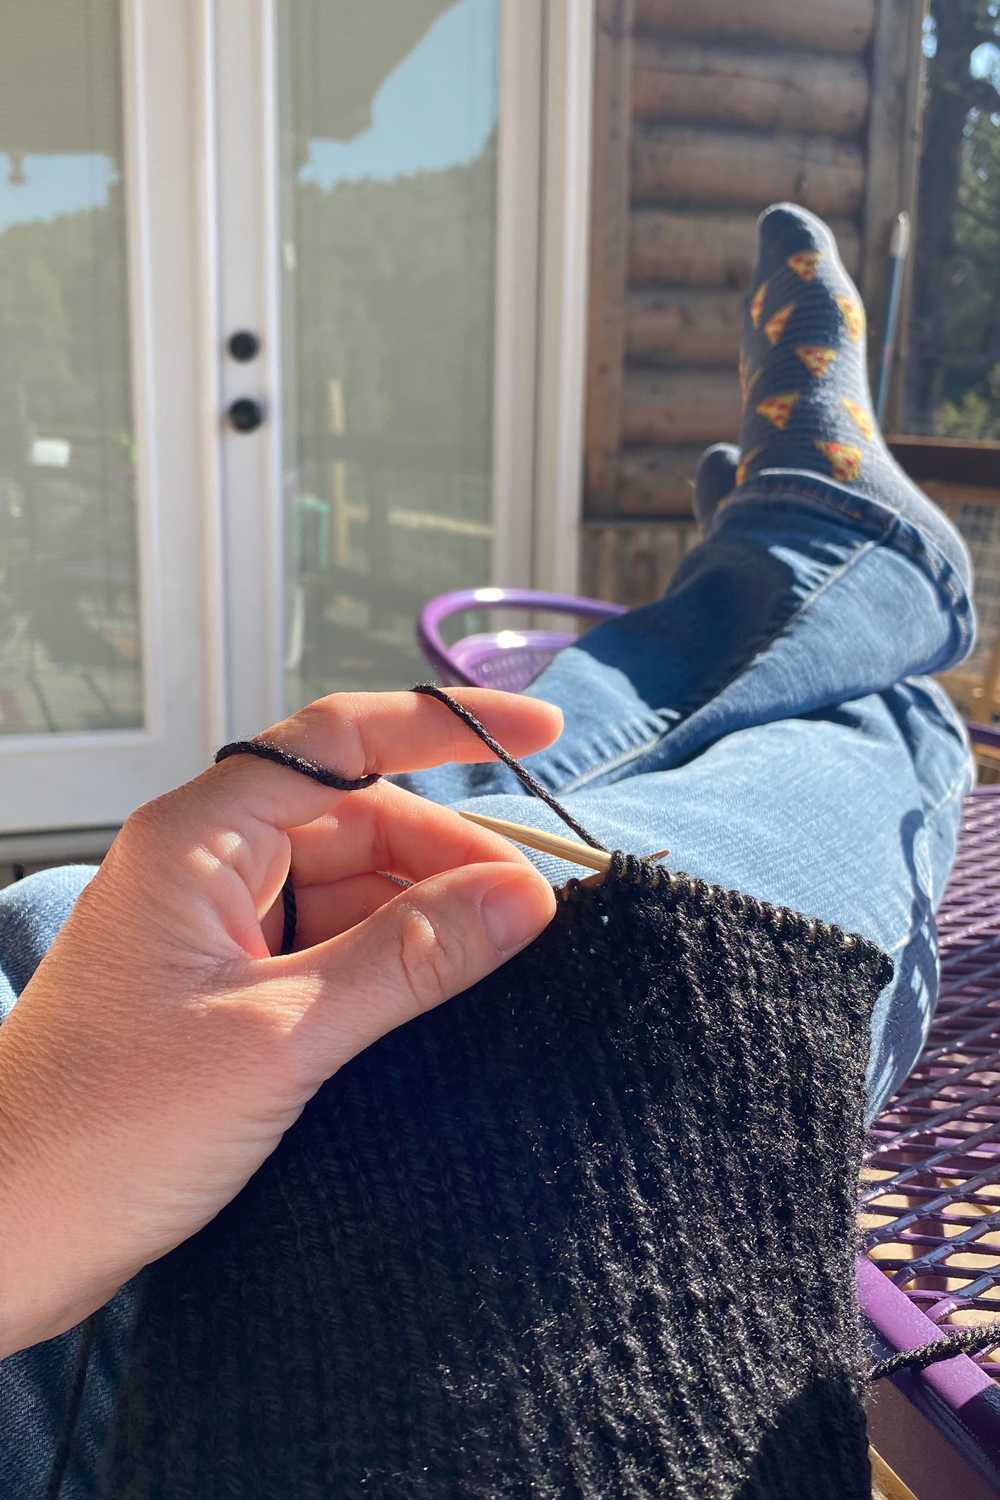
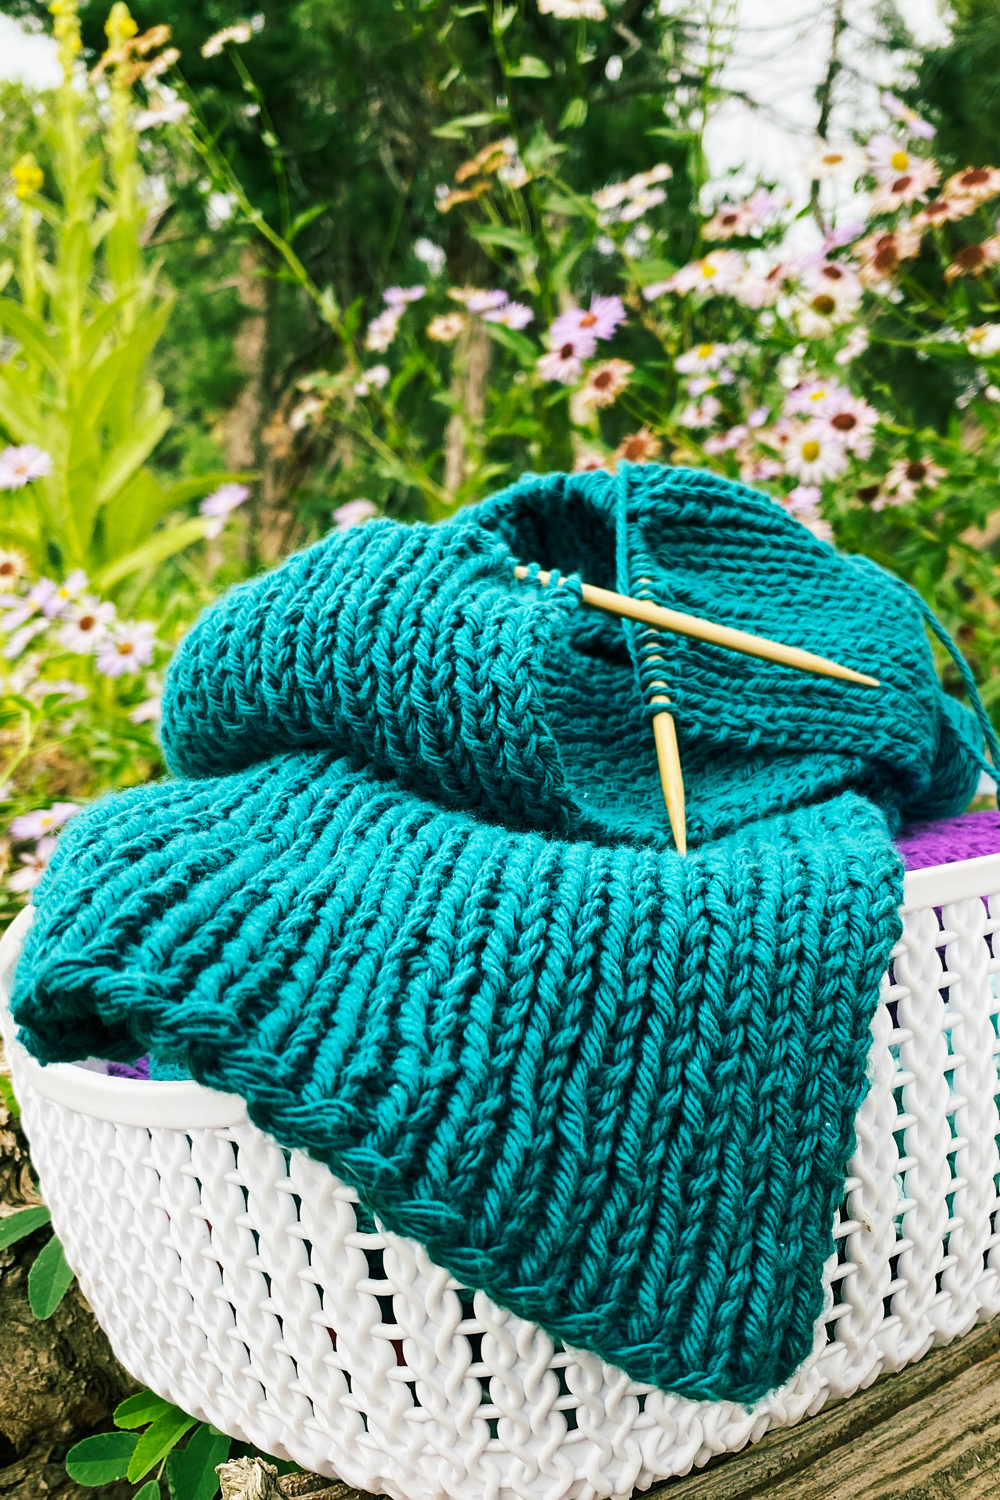
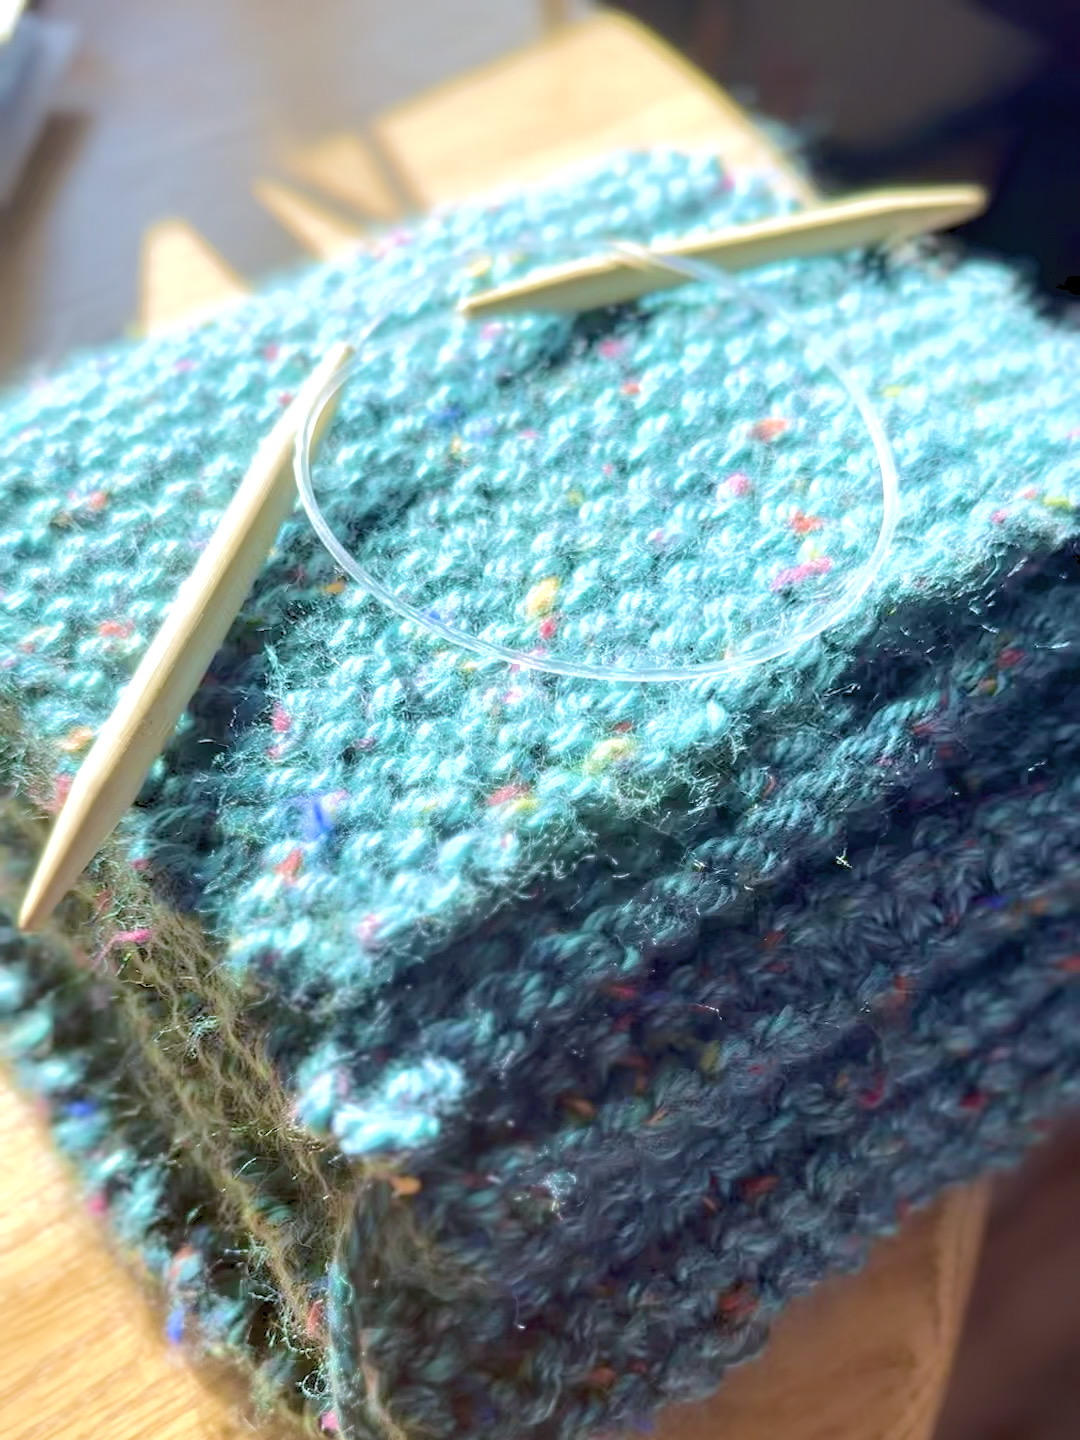
But what happens when you pick up a circular knitting needle? Technically, it is one tool: a flexible cord with two needle tips attached. You buy it as one piece, and you can knit flat projects or tubes with it. It has two ends, but it is not really a “pair.”
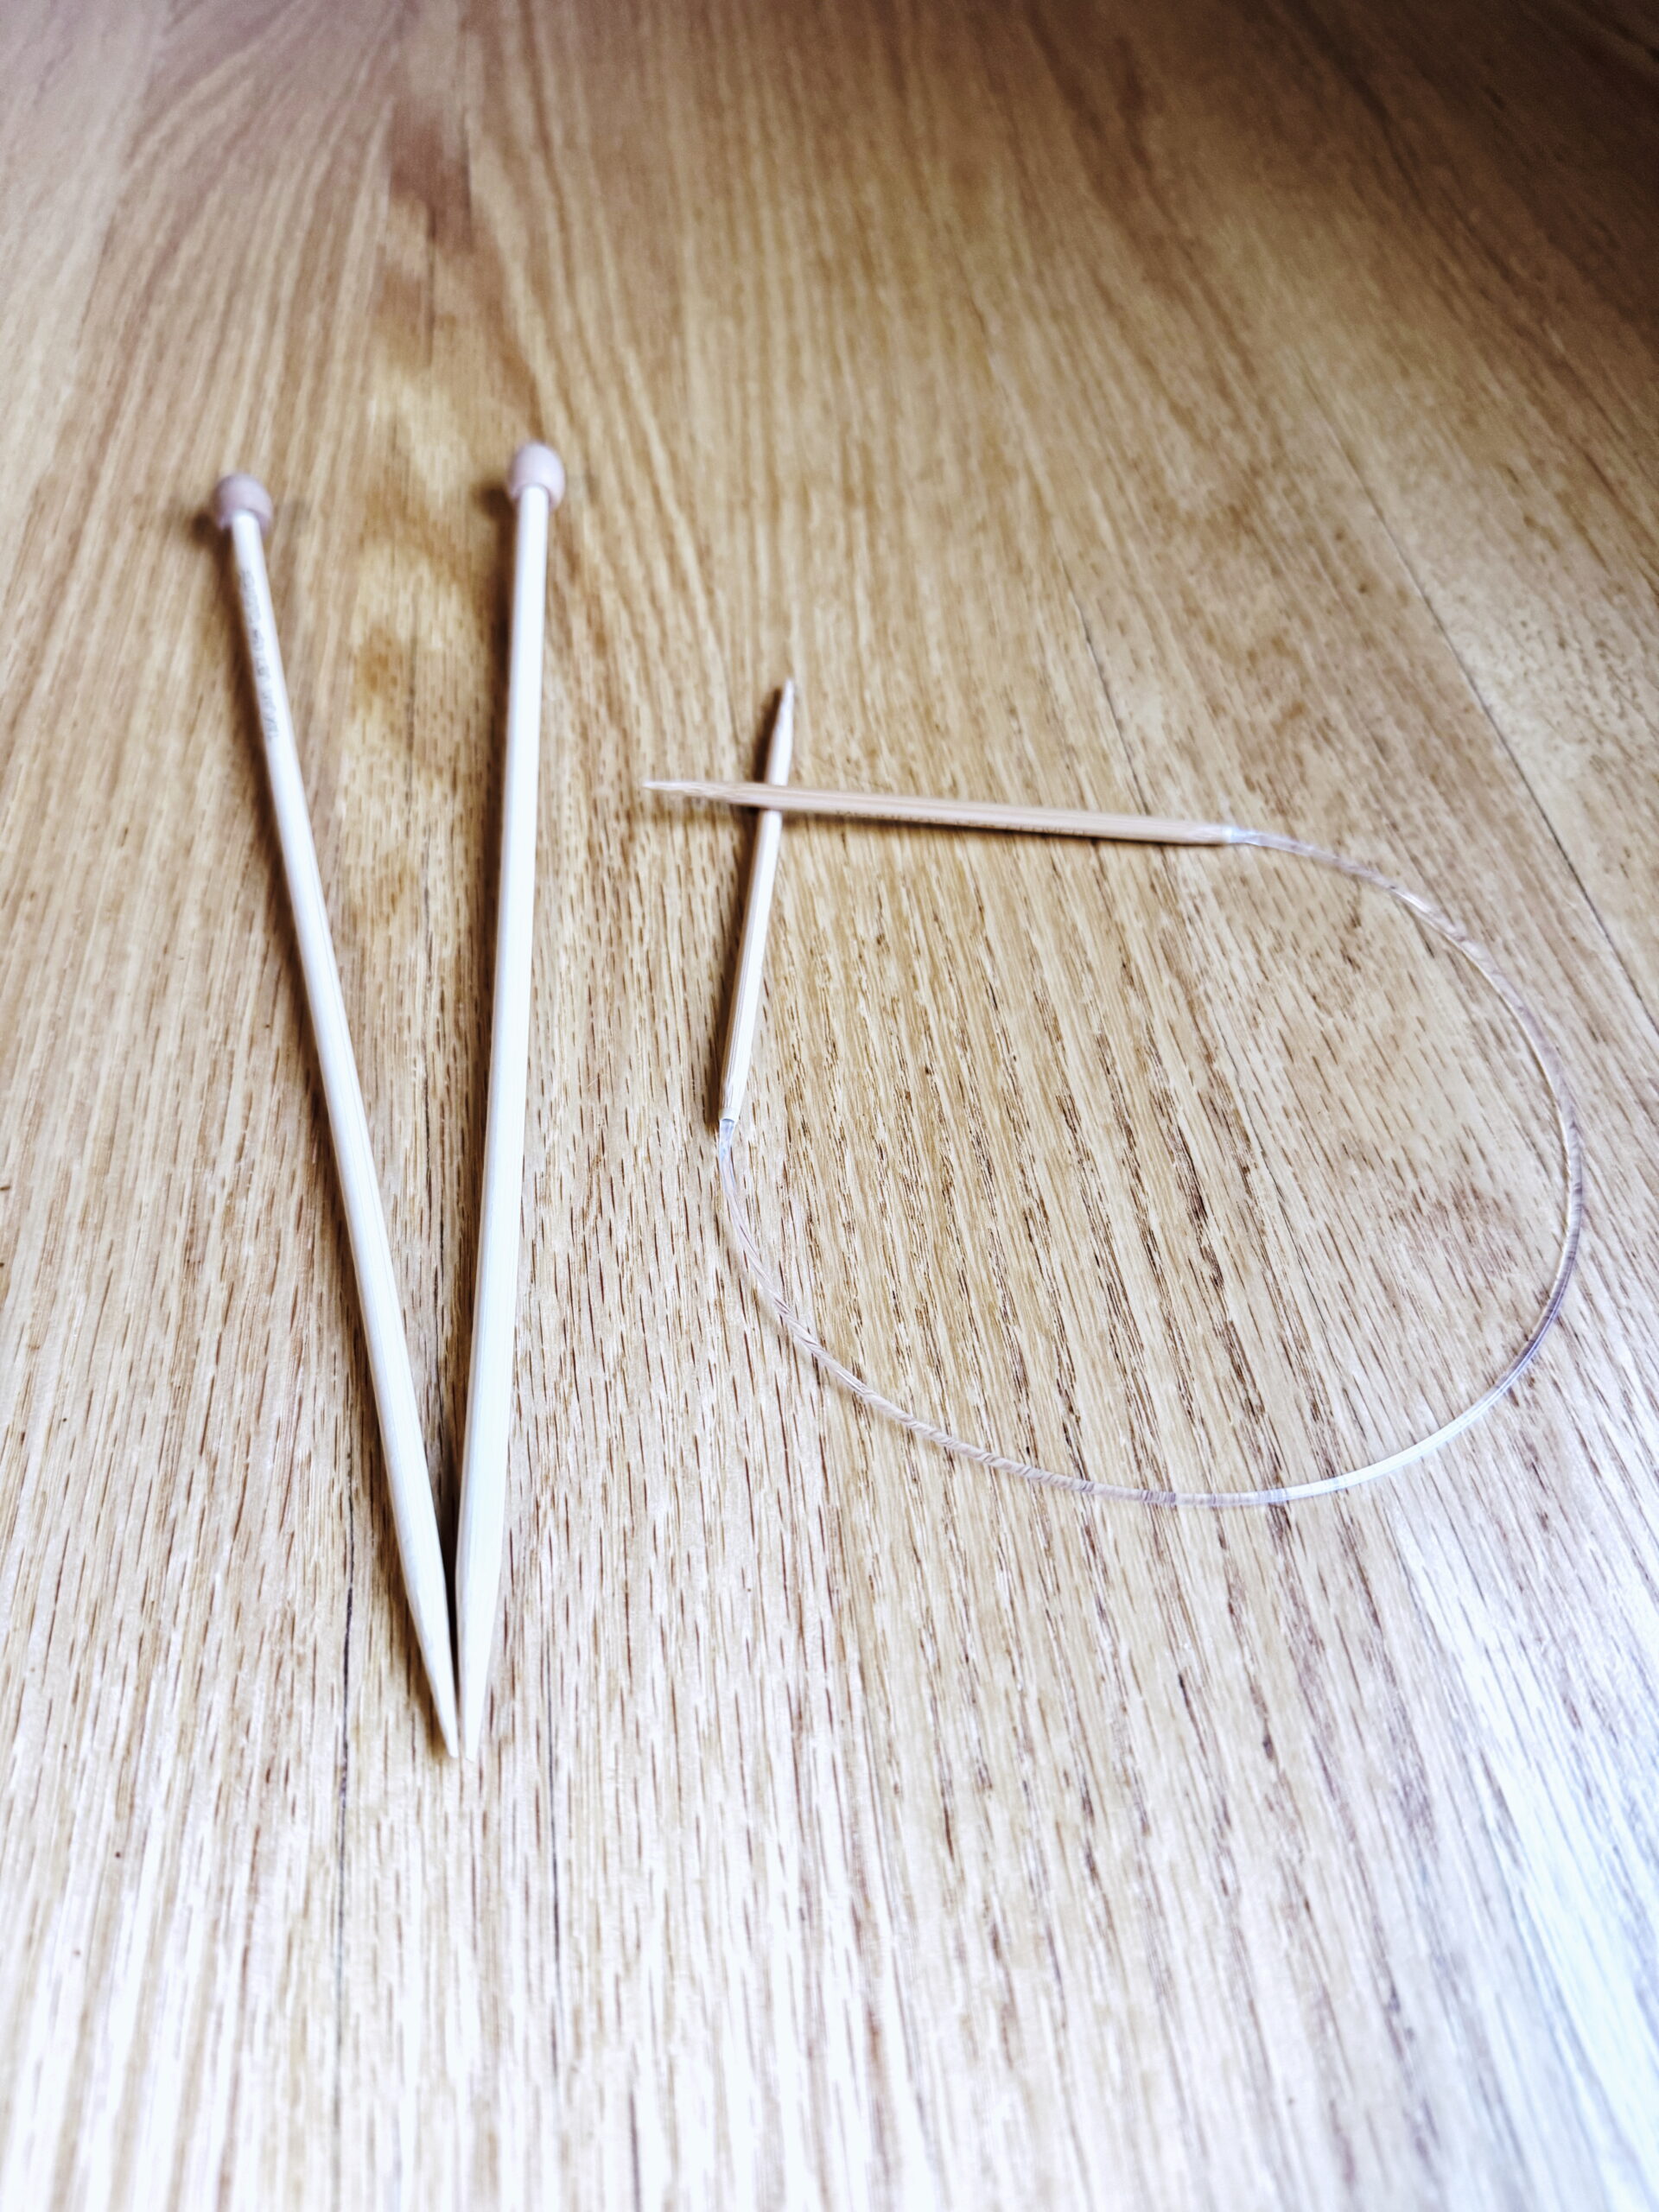
So is it one needle, or two? Here is the simple way to think about it:
- Straight needles: Always used in pairs, one in each hand.
- Circular needles: One tool, two working tips.
When you teach kids (or beginners of any age), circulars make life easier. No chasing runaway needles, no juggling extra sticks. You can knit small or big projects with the same tool. In fact, for my kids’ book, every single project is knit on just one circular needle from start to finish.
Why this matters
Getting the words right helps beginners feel confident. If I say “pair of needles” while holding one circular, that sounds like a trick. Instead, I explain: this is one circular needle with two ends. That way, beginners know exactly what they are holding and how it works.
A little history
Before circulars came along, knitting almost always meant two straight needles. That is why so many patterns and older books say “a pair of needles.” The first U.S. patent for a circular knitting needle was issued in 1918 (check out the patent to see the original sketches: U.S. Patent US1286125A). Those early versions looked different, but the idea took off in the mid 20th century once flexible cables were easier to make. Today, both straights and circulars are common, but the phrase “pair of needles” stuck around.
And if you have seen modern interchangeable needle sets (where you can swap tips and cords to make whatever length you need), you know the tools are still evolving. One tool, many ways to knit. No needle left behind!
The philosophy
Knitting is full of traditions, but also full of choices. You might grow up hearing one way and then find a different tool that fits you better. Neither is wrong; it just depends on what feels right in your hands. What matters is that the yarn keeps looping and you keep having fun.
So, one needle or a pair?
The answer is: it depends on the type. But if you are holding a circular, you can call it one. Your projects will turn out just as cozy either way. And honestly, no matter what you call them, the stitches do not care; they just keep lining up, happy to become something new. In the end, it is all part of unraveling a mystery that makes knitting fun to learn and even more fun to share.
Find Knitting Needles
Looking for a needle of your own… or maybe two? Find my favorite knitting needles in this Amazon collection (affiliate link).
Related Posts You’ll Love
🧣 Easy Chunky Knit Scarf Pattern: Simple, Quick, and Beautiful
🛁 How to Knit a Washcloth: A Beginner-Friendly Tutorial
🙏 Gratitude Blanket Pattern: Cozy Comfort for Every Home
☕ Easy & Quick Chunky Knit Coffee Cozy: Perfect for Beginners
Don’t Miss a Stitch! 🧶
Love cozy knitting projects? Sign up for my newsletter to get more free patterns, helpful tips, and updates straight to your inbox. 💌