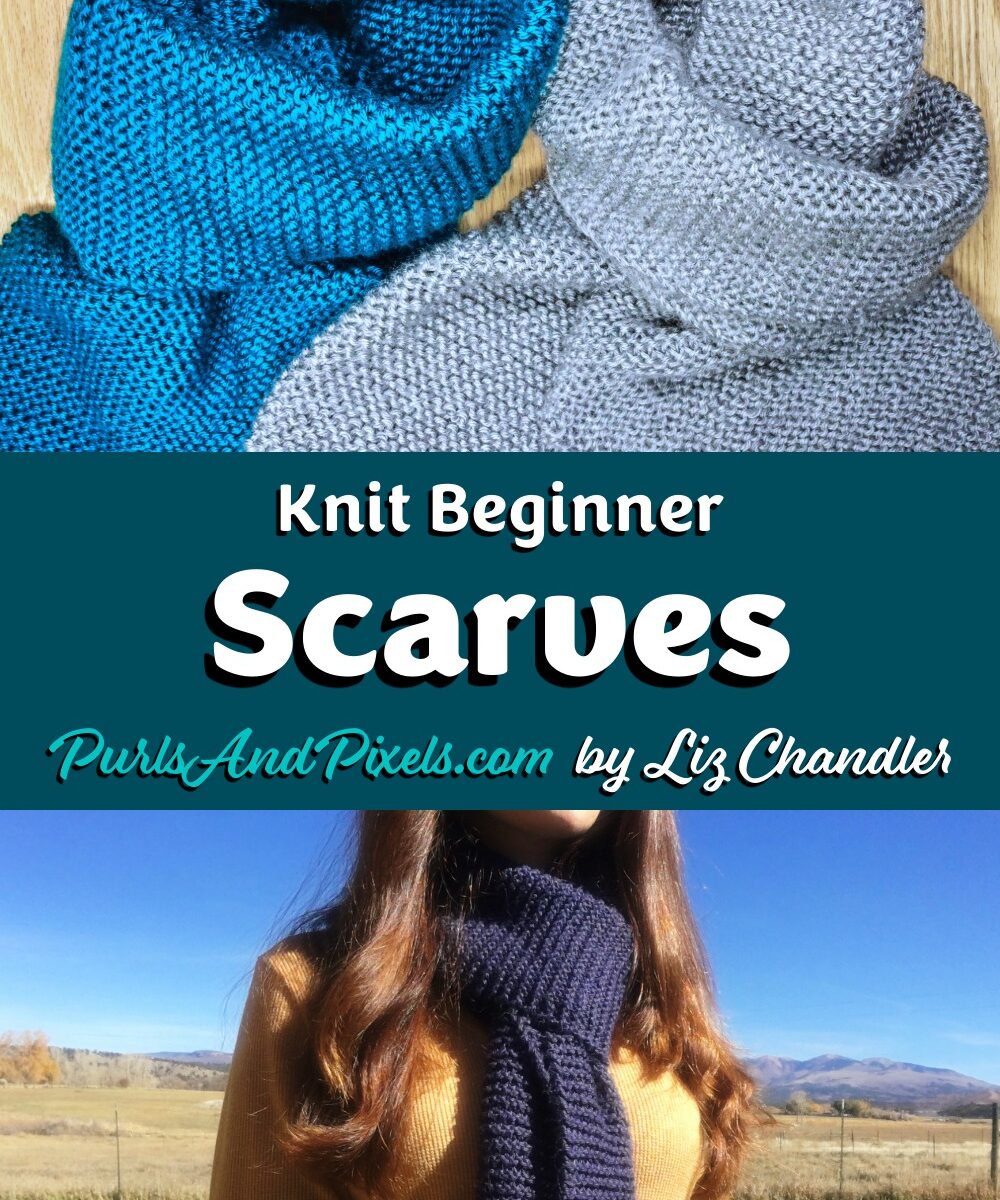
Whether you are a beginner or an advanced knitter, this classic knitting pattern is relaxing to make and cozy to wear. Instructions for three sizes are included, so knit one for everyone you know. You’ll all be warm, comfy, and fashionable, too!
This easy garter stitch scarf pattern is a beginner level knitting pattern and is great for those just learning the knit stitch. It is also a relaxing pattern for knitters of more advanced skill levels. It will not take much concentration to create this adorable scarf once you’ve mastered the knit stitch. 🧶

On this page: About · Materials · Gauge · Skills · Printable PDF · Instructions · Care · Sharing
About Beginner Knit Scarves
My Beginner Knit Scarf Free Knitting Pattern is a great place to start to learn knitting. Below are three patterns. One is for an extra wide scarf – 9 inches in width. The second is for a standard size scarf – 7 inches in width. Plus, find my free mini ornament scarf knitting pattern (great for toys, decorations, or just knitting practice)!
Materials
Yarn
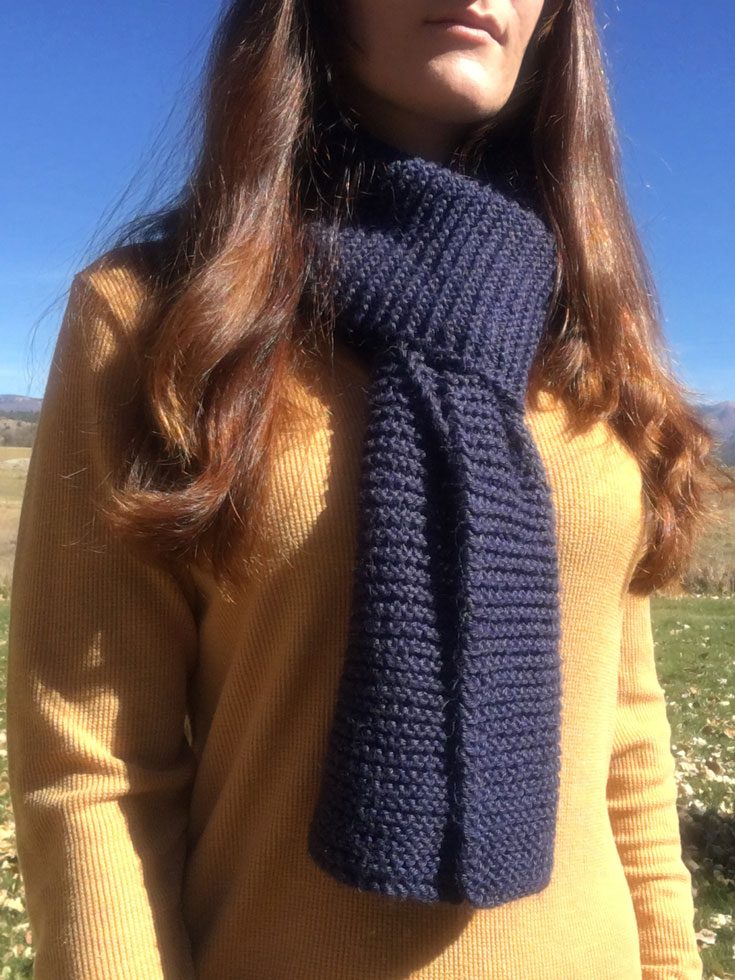
Two (2) 315-yard/6 ounce skeins of Caron Simply Soft yarn in your choice of color (pictured here in Dark Country Blue).
- one standard scarf uses 304.5 yards (5.8 ounces)*
- one extra-wide scarf uses 420 yards (8 ounces)*
*Weights estimated with Caron Simply Soft yarn; other yarn weights may vary.
Knitting Needles
36-inch (91 cm) long US No. 8/5MM circular needle or 9-inch (23 cm) long US No. 8 (5 mm) straight needles (or size needed to obtain gauge)
Notions
Tapestry needle (to weave in ends)
Gauge
18 stitches and 24 rows = 4 x 4 inches in stockinette stitch on No. 8 (5.0 mm) needles. Learn how to check your gauge here.
Abbreviations
k = knit
Skills Used
This knitting pattern is for a simple scarf in garter stitch – a stitch made up completely of the basic knit stitch. This simple scarf pattern requires knowledge of
Practice makes perfect, so repeating the knit stitch as you do in this pattern is a wonderful way to work on your tension, accuracy, and speed.
Whether you are an absolute beginner, or you are trying to master knitting tension, this is a great way to improve your knit stitch. Remember to try and keep all your loops on the needles evenly and tightly, but not so tightly that they don’t slide down the needles. You want to be able to insert your needle into them when you try to knit the next row, so try to find a balance between too tight and too loose.
Want to knit along with me? I’ve created a video lesson, showing you how I make the mini scarf from start to finish. Visit the How to Knit a Scarf Lesson for step-by-step guidance. 🧣

Prefer to knit offline?
This pattern is free to read below, but if you’d rather print it or save it for later, I’ve created a clean, ad-free PDF version for you.
- Includes all three scarf sizes
- Easy to print or use on your tablet
- Supports my small business 💖

Instructions: Extra-Wide Beginner Scarf
(9 inches x 6 feet or [22.86 cm x 1.8288 m] desired length)
Use the Long-Tail Cast On method. Knit flat, turning after each row.
Row 1: Cast on 40 stitches. Turn.
Row 2: k 40. (40 stitches) Turn.
Repeat Row 2 until scarf measures 6 feet or your desired length.
Bind off loosely in knit stitch pattern. Cut yarn, leaving an 8-inch (20.32-cm) tail, and pull through. Weave in ends. Block if desired.
Instructions: Standard-Width Beginner Scarf
(7 inches x 6 feet [17.78 cm x 1.8288 m] or desired length)
Use the Long-Tail Cast On method. Knit flat, turning after each row.
Row 1: Cast on 32 stitches. Turn.
Row 2: k 32. (32 stitches) Turn.
Repeat Row 2 until scarf measures 6 feet or your desired length.
Bind off loosely in knit stitch pattern. Cut yarn, leaving an 8-inch (20.32-cm) tail, and pull through. Weave in ends. Block if desired.
Instructions: Mini Ornament Beginner Scarf
(1.5 inches x 12 inches [3.81 cm x 30 cm] or desired length)
Use the Long-Tail Cast On method. Knit flat, turning after each row.
Row 1: Cast on 6 stitches. Turn.
Row 2: k 6. (6 stitches) Turn.
Repeat Row 2 until scarf measures 12 inches (30 cm) or your desired length.
Bind off loosely in knit stitch pattern. Cut yarn, leaving an 8-inch (20.32-cm) tail, and pull through. Weave in ends. Block if desired.
Save or print this pattern

Get the PDF version of this Beginner Scarf Knitting Pattern.
Care
If you use the materials called for in the pattern, your final product will be machine washable. To keep your scarf looking its best, hand wash or machine wash separately on delicate cycle in cold water. You may tumble dry on low heat or lay flat to dry.
🛁 Read more Knitwear Care Tips
Enjoy your new scarf!
Copyright, Sharing, and Selling Finished Items
©2014, Liz Chandler of PurlsAndPixels. Revised 2017, 2019, 2022, 2023, 2025.
This pattern is for personal use, gifting, and charitable donation of completed items. You may also sell handmade items created using this pattern. Do not copy this pattern and distribute it. If you’d like to share the pattern, refer your friends to my website, purlsandpixels.com so they may obtain a copy.
If you find any errors or have any questions, email purlsandpixels@gmail.com and I will do my best to help.
I’d love to see your finished work! Tag your photos with @PurlsAndPixels on Twitter or Instagram.
More Knitting Patterns You’ll Love
🧣 Easy Chunky Knit Scarf Pattern
🛁 Beginner Garter Stitch Washcloth Free Knitting Pattern
🥳 Classic Knit Beanie Hat Pattern
☃️ Classic Knit Mittens Pattern
Don’t Miss a Stitch 💌
Love cozy knitting projects? Follow along on YouTube, Pinterest, and Instagram,
or join the newsletter for more free patterns and gentle knitting tips.