by Liz Chandler @PurlsandPixels
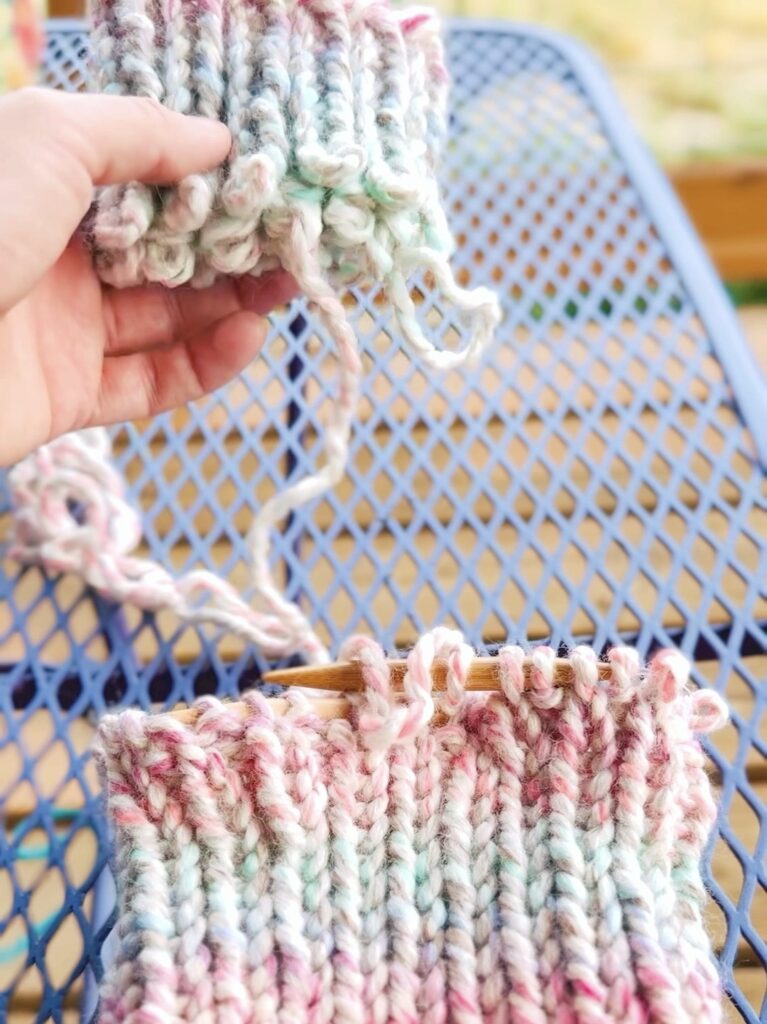
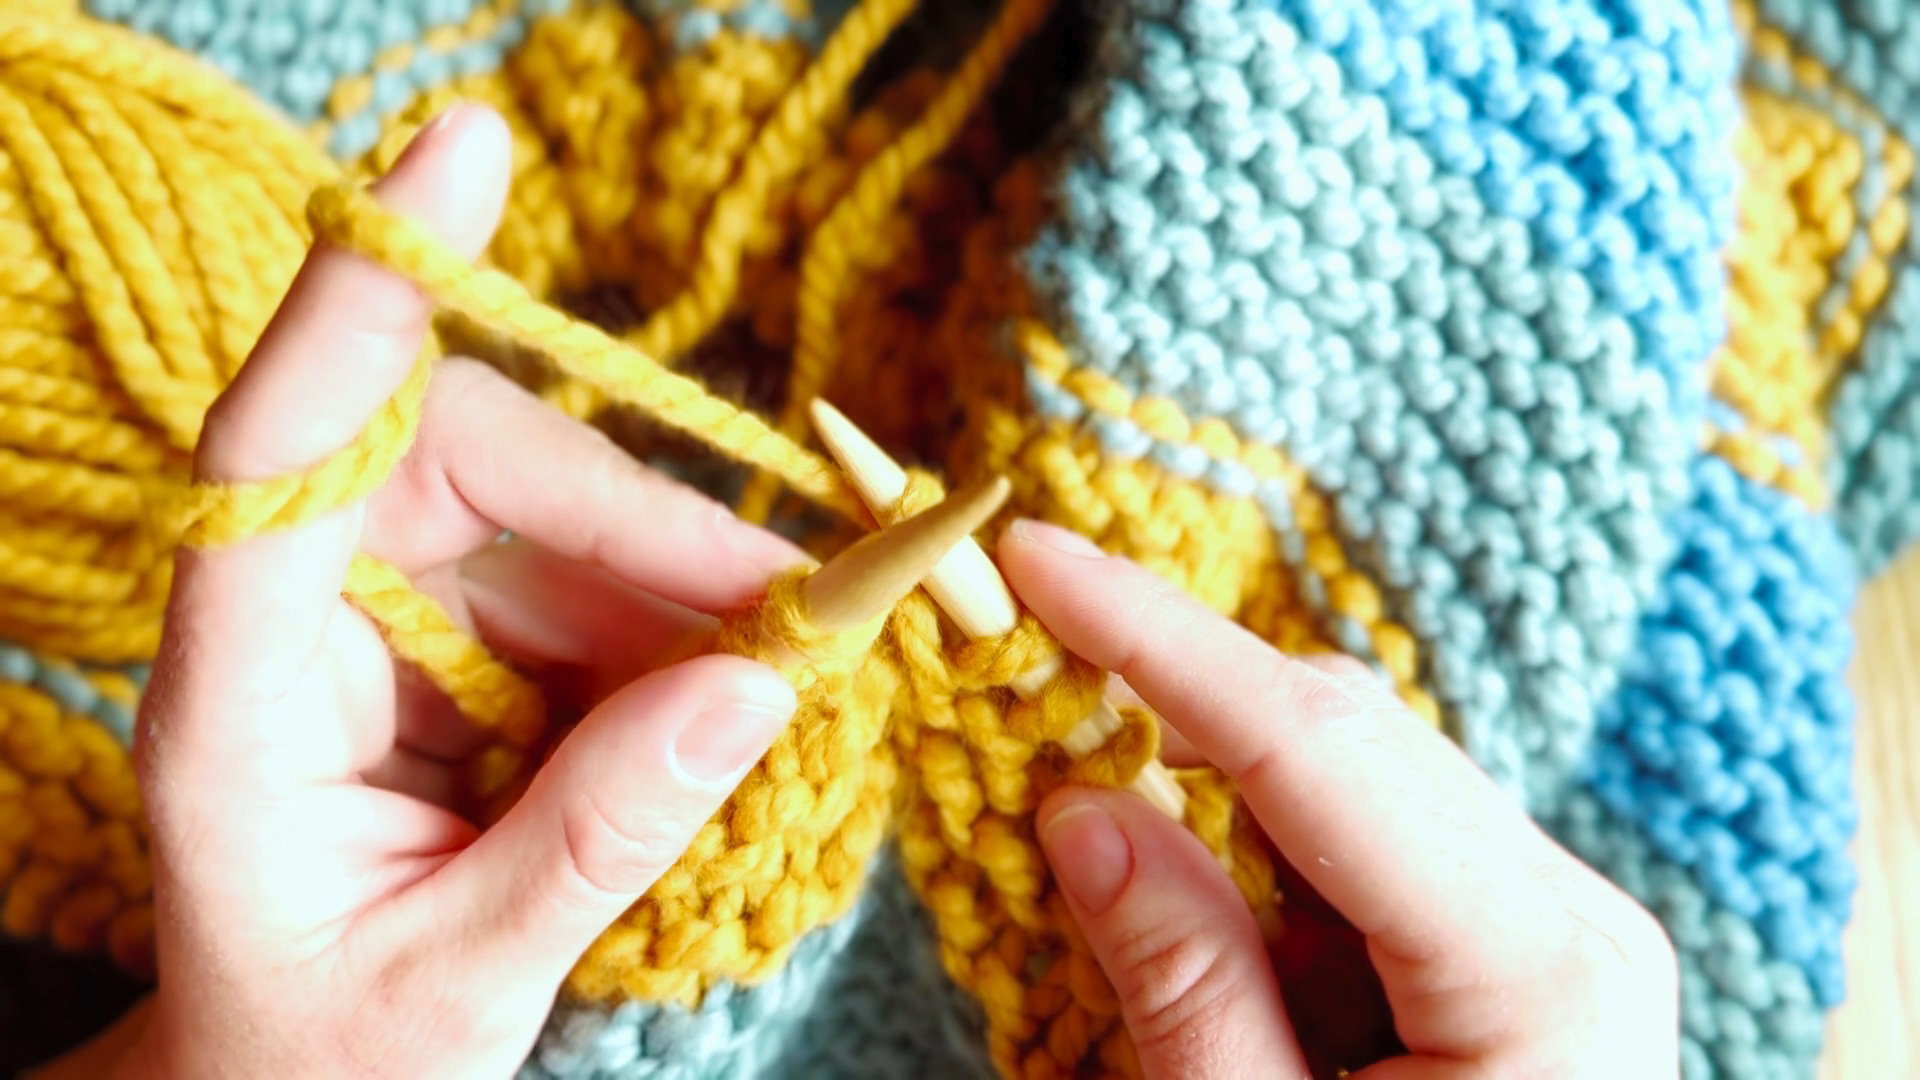
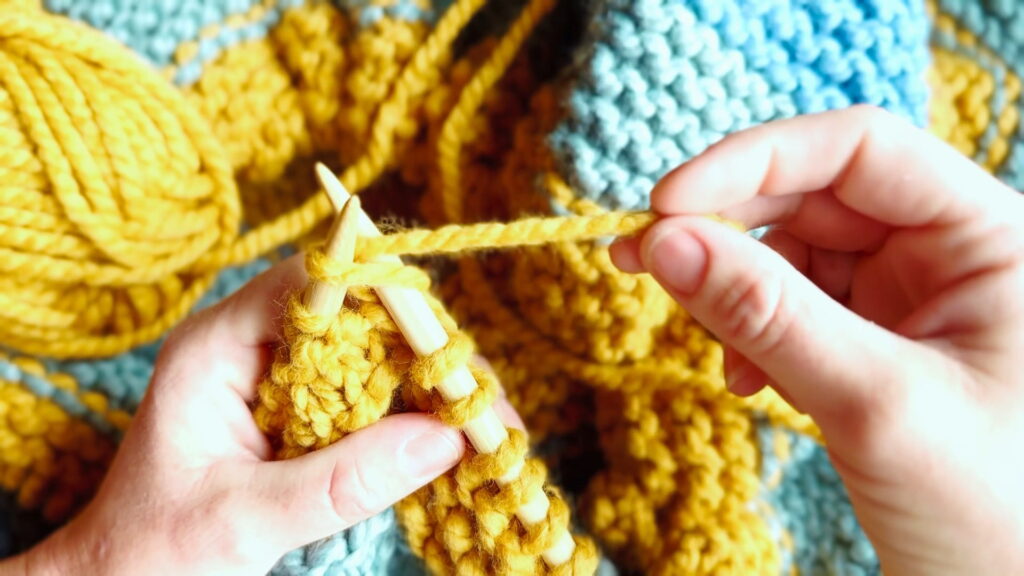
Most stripe patterns make you cut the yarn after each row, turning your scarf into a fringe-factory. But if you’re looking for a way to knit stripes without cutting yarn, here’s the secret: slide your stitches to the other end of your circular needles between rows. This simple trick lets you keep both yarns attached and alternate rows cleanly, with no snipping required.
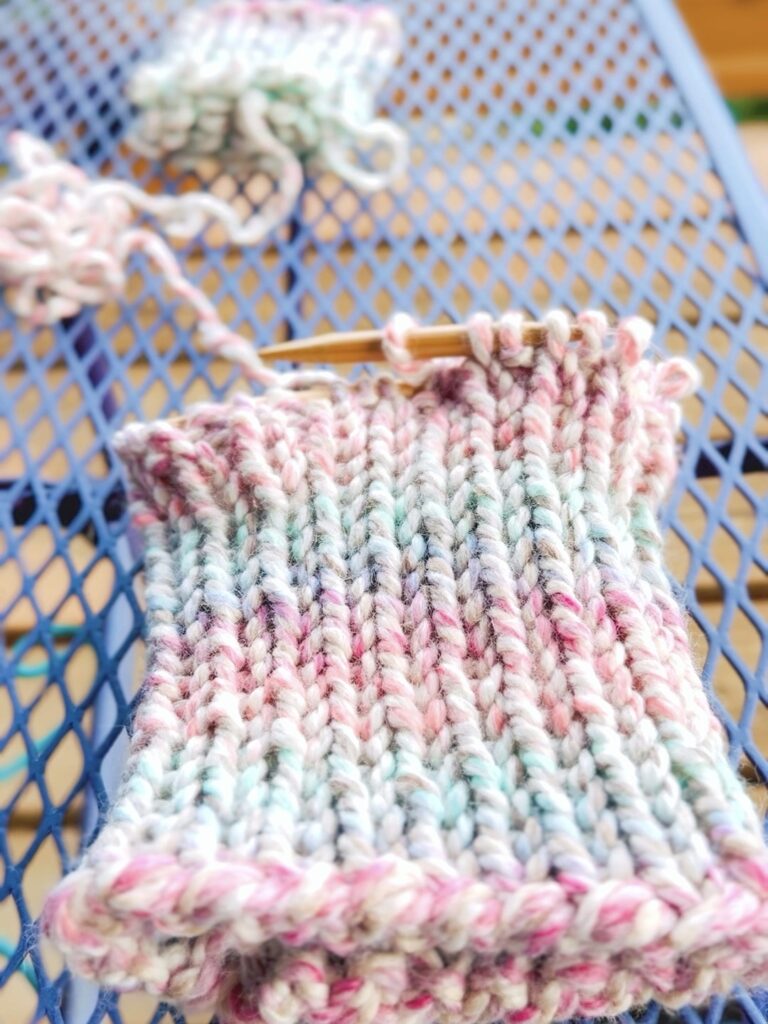
This striped scarf is quick to knit, easy to memorize, and uses just two yarns to make a bold, modern accessory. It’s beginner-friendly but feels a bit magical when you get it right.

Prefer to knit offline?
Download Printable Knitting Pattern
This pattern is free to read below, but if you’d rather print it or save it for later, I’ve created a clean, ad-free PDF version for you.
- Includes complete, row-by-row instructions
- Easy to print or use on your tablet
- Supports my small business 💖

By using my color-changing trick and keeping it simple with garter stitch, this scarf ends up cozy, clever, and easy to finish. It’s the perfect project for gift knitting or stash-busting your favorite color combos.
How this Single-Row Striped Scarf Free Knitting Pattern is Made
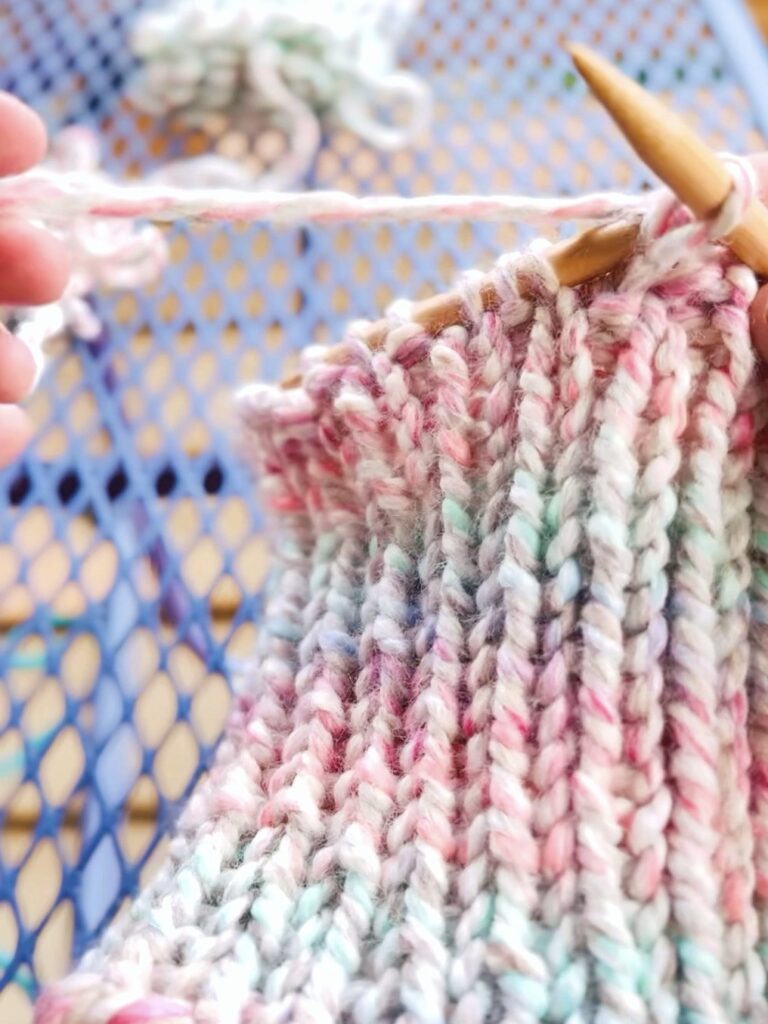
This scarf is knit flat in rows, but the yarn is never cut. Instead, you slide your work to the other end of your circular needles to change colors every row.
You will need to know how to:
Materials
You will need the following materials, which you can purchase at your local yarn shop or on Amazon.com via the affiliate links below:
Knitting Needles:
Long Circular Needles
36-inch (91 cm) long US No. 8 (5.0 mm) circular needle (or size needed to obtain gauge)
Yarn:
Two 315-yard (6 ounce) skeins of worsted weight yarn* (shown in Caron Simply Soft Yarn), in your choice of color.
- one standard scarf uses about 514.5 yards (9.8 oz.)
- one extra-wide scarf uses about 624.75 yards (11.9 oz.)
*Shown in Caron Simply Soft Yarn. Weights estimated with Caron Simply Soft yarn; other yarn weights may vary. Weight does not include gauge swatch. A 4×4 inch gauge swatch with a 2 row by 3 stitch border uses an additional 21 yards (0.4 oz.).
Tools:
A measuring tape and a darning needle.
Gauge
18 stitches x 24 rows = 4 x 4 inches in stockinette stitch on No. 8 (5.0 mm) needles. (Learn how to check your gauge here.)
Abbreviations
k = knit
Instructions: Narrow-Width Striped Scarf Free Knitting Pattern
(5 inches x 6 feet [12.7 cm x 1.8288 m] or desired length)
Knit flat. To help avoid tangling the working yarn, turn your work counterclockwise when instructed to “turn.” Hold Color 1 in front of the work when switching to Color 2.
[With Color 1] Row 1: Cast on 24 stitches. Turn.
[With Color 2] Row 2: k 24. (24 stitches) Do not turn; slide all live stitches to the left-hand needle tip.
[With Color 1] Row 3: k 24. (24 stitches) Turn.
Repeat Rows 2 and 3 until scarf measures 6 feet or your desired length.
[With Color 2] Row 2: k 24. (24 stitches) Do not turn; slide all stitches to the left-hand needle tip.
[With Color 1] Bind off loosely. Cut yarn, leaving an 8-inch tail, and pull through.
Tie off or weave in ends.
Instructions: Standard-Width Striped Scarf Free Knitting Pattern
(7 inches x 6 feet [17.78 cm x 1.8288 m] or desired length)
Knit flat. To help avoid tangling the working yarn, turn your work counterclockwise when instructed to “turn.” Hold Color 1 in front of the work when switching to Color 2.
[With Color 1] Row 1: Cast on 32 stitches. Turn.
[With Color 2] Row 2: k 32. (32 stitches) Do not turn; slide all live stitches to the left-hand needle tip.
[With Color 1] Row 3: k 32. (32 stitches) Turn.
Repeat Rows 2 and 3 until scarf measures 6 feet or your desired length.
[With Color 2] Row 2: k 32. (32 stitches) Do not turn; slide all live stitches to the left-hand needle tip.
[With Color 1] Bind off loosely. Cut yarn, leaving an 8-inch tail, and pull through.
Tie off or weave in ends.
Instructions: Extra-Wide Striped Scarf Free Knitting Pattern
(9 inches x 6 feet [2.7432 cm x 1.8288 m] or desired length)
Knit flat. To help avoid tangling the working yarn, turn your work counterclockwise when instructed to “turn.” Hold Color 1 in front of the work when switching to Color 2.
[With Color 1] Row 1: Cast on 40 stitches. Turn.
[With Color 2] Row 2: k 40. (40 stitches) Do not turn; slide all live stitches to the left-hand needle tip.
[With Color 1] Row 3: k 40. (40 stitches) Turn.
Repeat Rows 2 and 3 until scarf measures 6 feet or your desired length.
[With Color 2] Row 2: k 40. (40 stitches) Do not turn; slide all live stitches to the left-hand needle tip.
[With Color 1] Bind off loosely. Cut yarn, leaving an 8-inch tail, and pull through.
Tie off or weave in ends.

Printable Striped Scarf PDF Knitting Pattern

Care
If you use the materials listed above, your scarf will be machine washable. For best results, hand wash or use a delicate cycle in cold water. Lay flat to dry or tumble dry low.
🛁 Read more Knitwear Care Tips

© 2025, Liz Chandler of PurlsAndPixels.
This pattern is for personal use, gifting, and charitable donation of completed items. You may also sell handmade items created using this pattern. Do not copy this pattern and distribute it. If you’d like to share the pattern, refer your friends to my website, purlsandpixels.com so they may obtain a copy.
If you find any errors or have questions, email purlsandpixels@gmail.com and I’ll do my best to help.
Tag @PurlsAndPixels on Instagram or Twitter to show off your finished scarf!
More Patterns You’ll Love
🧣 Easy Chunky Knit Scarf Pattern: A Warm, Wearable Hug
🙏 Gratitude Blanket Pattern: When You Need Extra-Cozy Knitting Joy
🎉 Basic Slouch Hat Pattern: A Versatile Style Option
🔥 Basic Ear Warmer Pattern: Quick Gift-Ready Project
🧹 All Knitting Patterns by Liz: Learn to Knit All the Things
Read More
Don’t Miss a Stitch!
Love cozy knitting projects? Join me on YouTube, Pinterest, and Instagram! And don’t forget to sign up for my newsletter to get more free patterns, helpful tips, and updates straight to your inbox. 💌