Before you will be able to correct your mistake, you will need to get to the column in which your mistake was made. You can continue working until you’ve come back to the column of stitches in which the mistake was made, as you have seen in prior lessons. Another option, if you have not knit far from your mistake, is to knit backward (“tink”) and undo a few stitches to correct your mistake.
In the following lesson, you will learn to tink and undo a twisted knit stitch. Tinking, however, is handy for more than just twisted stitches. You can knit backward to reach any mistake. Whether you’ve knit where you meant to purl or dropped a stitch, undoing a few stitches can allow you to correct the problem. Then you can resume working on your pattern.
Below you will see both video and written guides to help you learn to knit backward to fix a mistake.
Video Guide: How to Tink
Written Guide: How to Tink
Tink, Step 1:
Spot a mistake in the same row you are working. In this example, there is a twisted stitch two stitches back.

Tink, Step 2:
Begin undoing stitches, one at a time, by inserting your left-hand needle tip into the stitch directly below the last stitch on your right-hand needle. To prevent twisted stitches, insert the left-hand needle from front to back, ensuring the left leg of the stitch is behind the left needle.

Tink, Step 3:
Slide the stitch onto your left needle while removing the loop from your right needle.

Tink, Step 4:
One stitch has now been undone. Repeat steps one through three until you reach the mistake.

Tink, Step 5:
Undo the mistaken stitch. Because the mistake is a twisted stitch in this example, insert your left-hand needle tip into the twisted stitch (the stitch below the last loop on the right-hand needle) from back to front, ensuring the right leg is in front of the left-hand needle tip.

Tink, Step 6:
Once you have slipped the mistaken stitch back onto your left-hand needle, ensure the legs are not twisted; the left leg should be behind the left-hand needle and the right leg should be in front of the left-hand needle. The mistake should now be corrected. You can retry the stitches and continue your pattern.


Practice With My Knitting Patterns

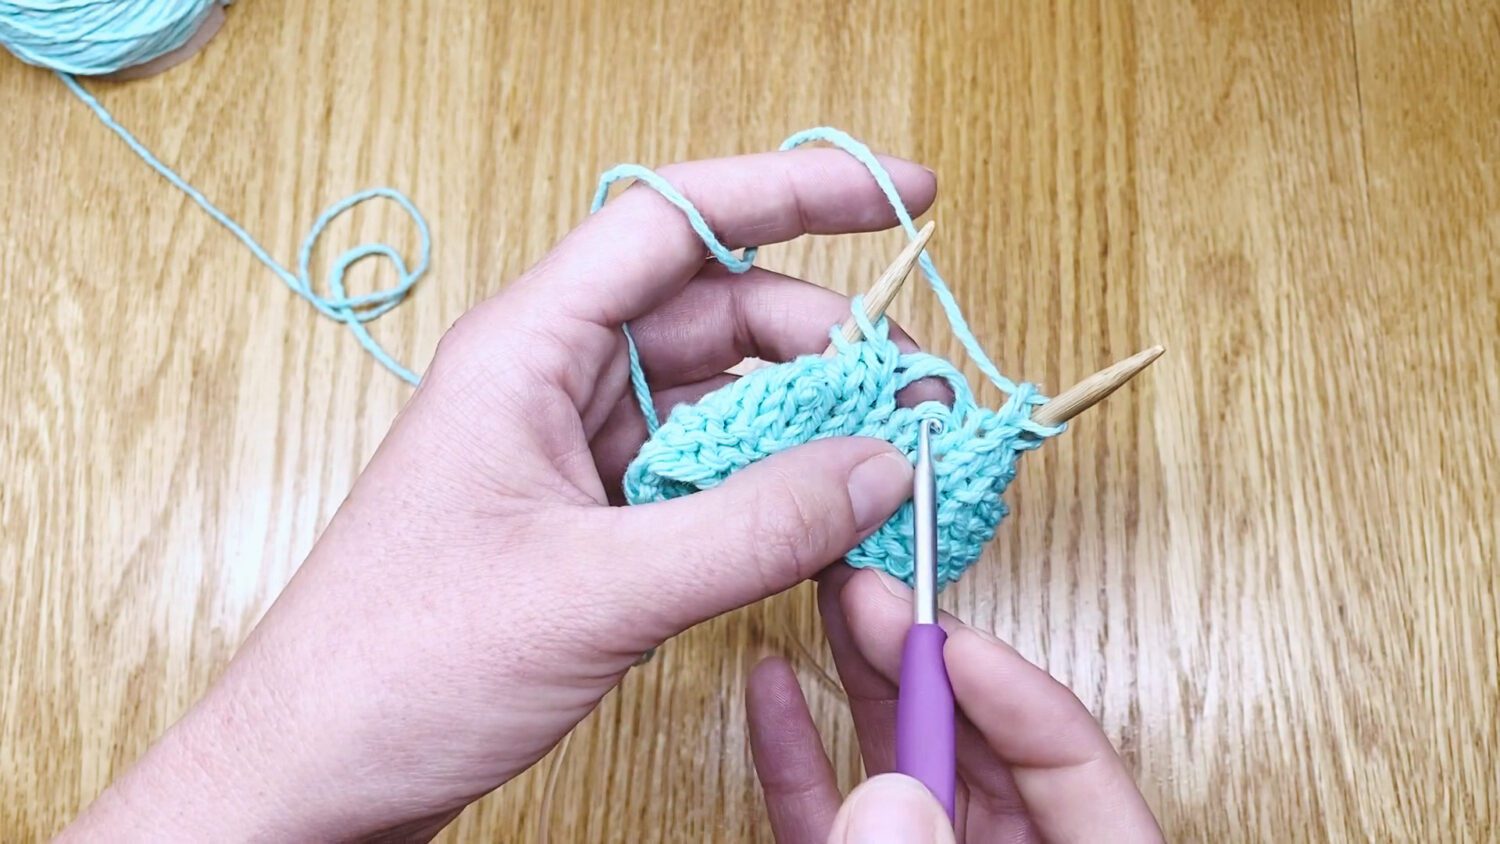
In this guide I was making a Simple Face Scrubby. Knit along with me. This pattern is part of my Simple Washcloth Knitting Pattern Collection.

Up Next
After you have learned to fix knitting mistakes, you may want to know how to unravel a few rows to correct a problem. Or undo an entire knitting project to reuse the yarn. Either way, knitters call this “frogging,” and I will show you how in the next tutorial.