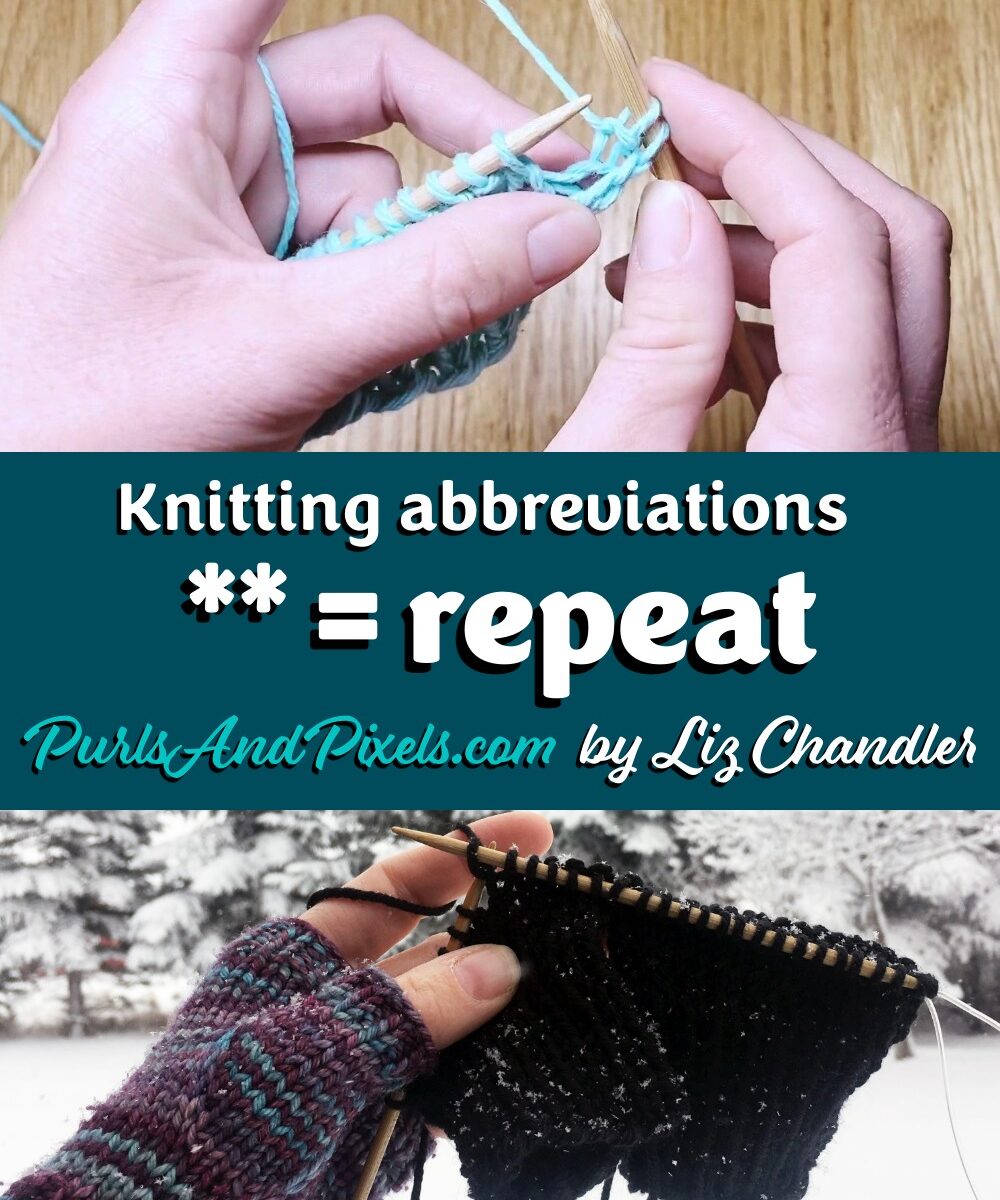
In knitting patterns, * * marks a repeat. Whenever you see instructions framed by asterisks, it means “do this bit again.” 👉 Example: In a pattern written as *k, p* x 4, you would knit one stitch, purl one stitch, then repeat that pair four times total.
The Real Meaning of * * in Knitting
The asterisks are shorthand for repetition. Instead of writing the same directions over and over, designers put instructions between two stars and tell you to repeat them.
This is how you get ribbing, lace, cables, and all sorts of beautiful textures without filling pages with repeated text.
Repeats can feel like déjà vu, but think of them like hitting replay on your favorite song. You already know the beat, you already love the rhythm, and now you’re just vibing while your needles do their thing.
Each repeat brings your project closer to harmony. It is muscle memory, rhythm, and a little bit of art all rolled into one.
So when you see * *, think of your knitting whispering: Replay This Part. Because sometimes, the best parts are worth doing again. 🎶
Why Repeats Matter for Beginners
Repeats are what make patterns flow. Once you can follow the stars, you can handle anything from a simple ribbed scarf to a detailed lace shawl.
✨ Want to practice? Try these projects with easy repeats:
Now that you know * * = repeat the pattern (and sometimes replay this part), you are ready to keep exploring knitting shorthand. Next up: more abbreviations that unlock advanced textures and designs.
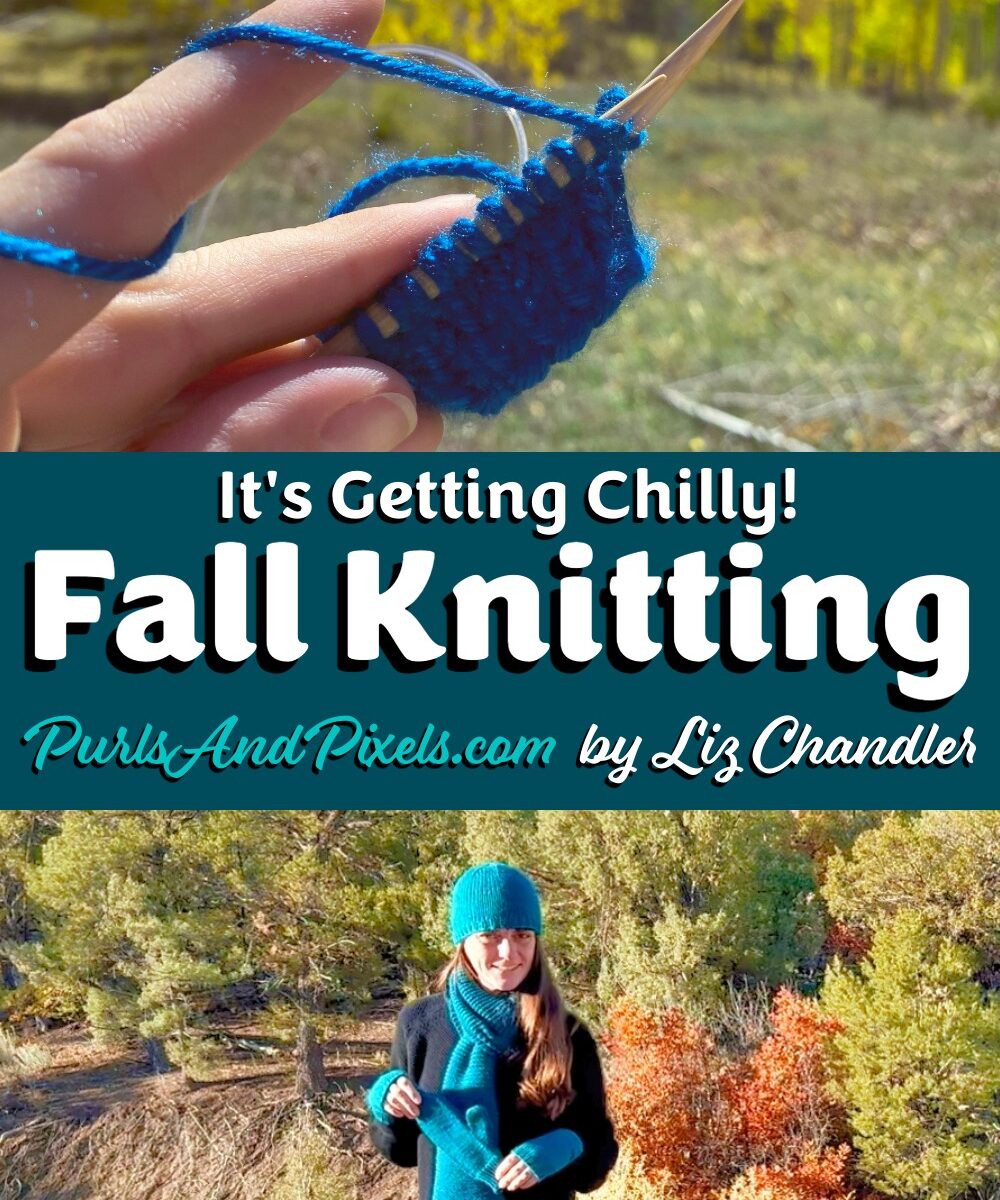
You feel that, right? That first spark of cold that sneaks under your sleeves and makes you gasp, “Oh wow, it’s happening.” The trees are turning, your coffee’s steaming, your dog’s giving you that “you first” look at the door, and somewhere deep inside, your yarn starts calling, “Pick me! Pick me!”
This is our season, knitters. The moment we’ve been waiting for since June. The air is crisp, the sweaters are calling, and your needles? They’re about to get busy.
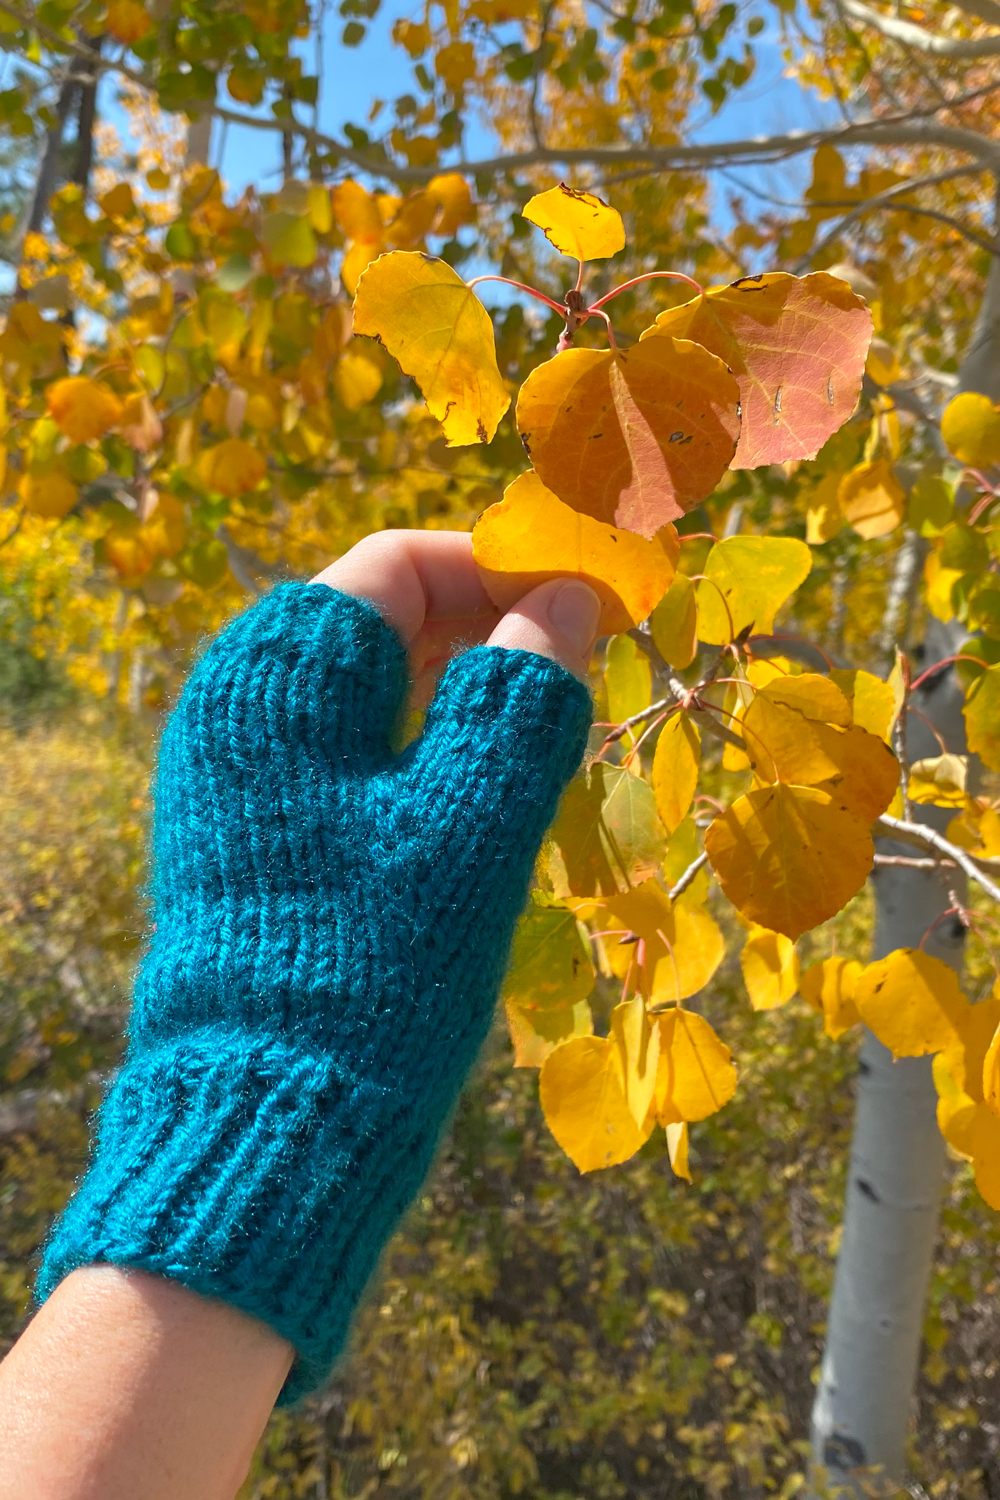
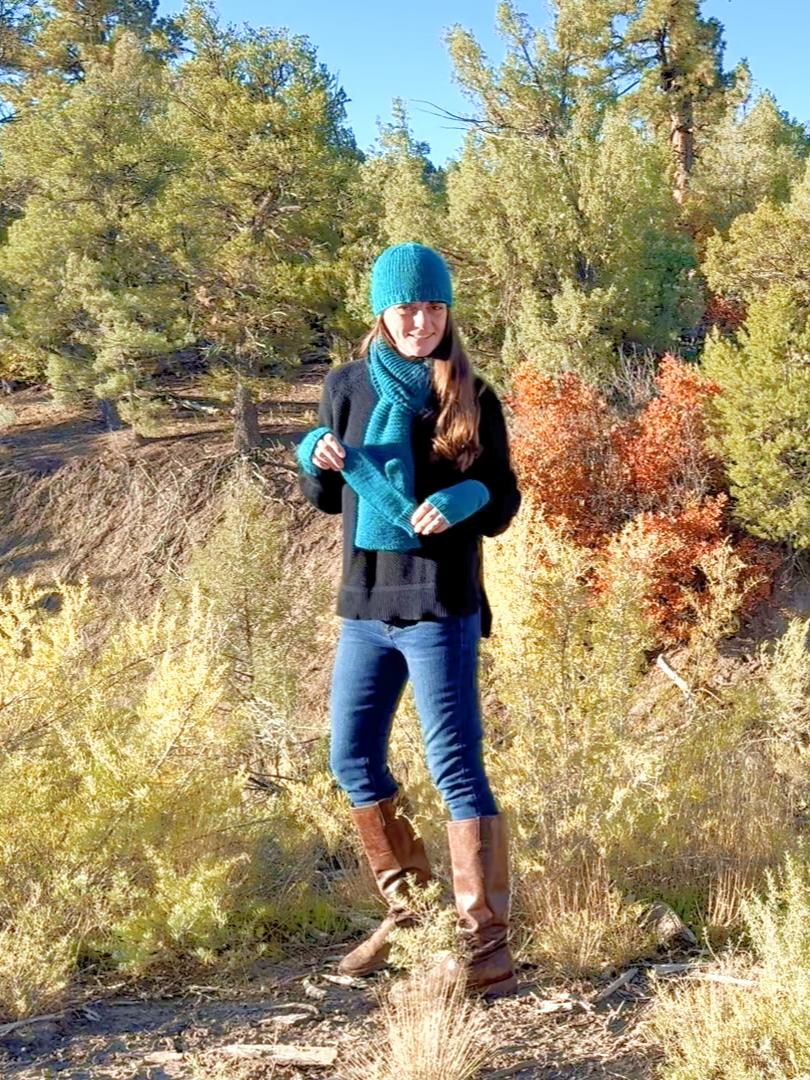
Before we get too far, check out my Fall Classics Bundle. It’s perfect for knitters of every level. This collection includes all the warm, cozy favorites for fall: scarves, beanies, mittens, and fingerless gloves. Mix, match, and layer your projects, and knit sizes for the whole family. It’s the perfect way to bundle up before the cold really hits!
At PurlsAndPixels, we’re not letting winter sneak up on us; we’re grabbing it by the wool and turning it into something soft, snuggly, and spectacular. So pick out your favorite skein, pour something warm, and let’s cast on.
🧤 Quick Projects (Because Instant Gratification Is Self-Care)
If you need a quick burst of accomplishment, start here:
Simple Beanie Hat: The world’s easiest way to look pulled together. One evening. One skein. Endless compliments.
Simple Mittens: Soft, warm, and surprisingly addictive. Fair warning: you’ll want to make them in every color.
Seed Stitch Washcloths: Textured, practical, and quick enough to make between cups of tea. They also make perfect gifts if you can bear to give them away.
Every pattern is ad-free, printer-friendly, and written in my “real human” language; no decoding required. Just you, me, and the click-clack of needles doing their thing.
🧶 Slow Knits, Big Payoffs
For the knitters who like to take their time (or just love an excuse to stay on the couch):
Rice Stitch Blanket: Cozy on day one, masterpiece by the end. Knit this and become the hero of your own snow day.
Single Row Striped Scarf: Chill, rhythmic, and perfect for a long movie marathon. The scarf that practically knits itself.
Subtle Cable Mittens: A little fancy, a lot of fun. Impress everyone without breaking a sweat.
☕ Why Start Now?
Because “later” never kept anyone warm, and procrastination won’t knit you a scarf.
Cast on tonight, and by the time that first snowflake falls, you’ll be ready with something handmade, beautiful, and uniquely yours. Every stitch is a love letter to your future self, saying, I’ve got you covered.
Now grab your yarn, light that candle, and knit like the world’s depending on your coziness. Because around here, we don’t just survive the season; we style it.
✨ Come Get Cozy with Me
Want to dive right in? My Fall Classics Bundle is the perfect place to start – packed with easy, cozy projects to build skills fast while keeping you warm and happy.
If you’re a layering fan, these patterns are perfect for building your cold-weather wardrobe. Mix and match your makes: mittens, beanies, scarves, and blankets that work together to keep you stylish and warm. And if you’ve got leftover yarn from past projects, turn it into something new! Every one of these makes a fantastic stash-buster and helps reduce waste while keeping your creativity rolling.
Explore All My Knitting Patterns
All these patterns, and dozens more live in the PurlsAndPixels Pattern Library. You’ll find lessons, printable PDFs, and enough cozy chaos to keep your needles dancing all season long.
💌 Want in on the fun? Join my email list for new patterns, cheeky tips, and exclusive deals. No spam, no fluff, just stitches, sass, and cozy energy. Sign up for newsletters ⬇️
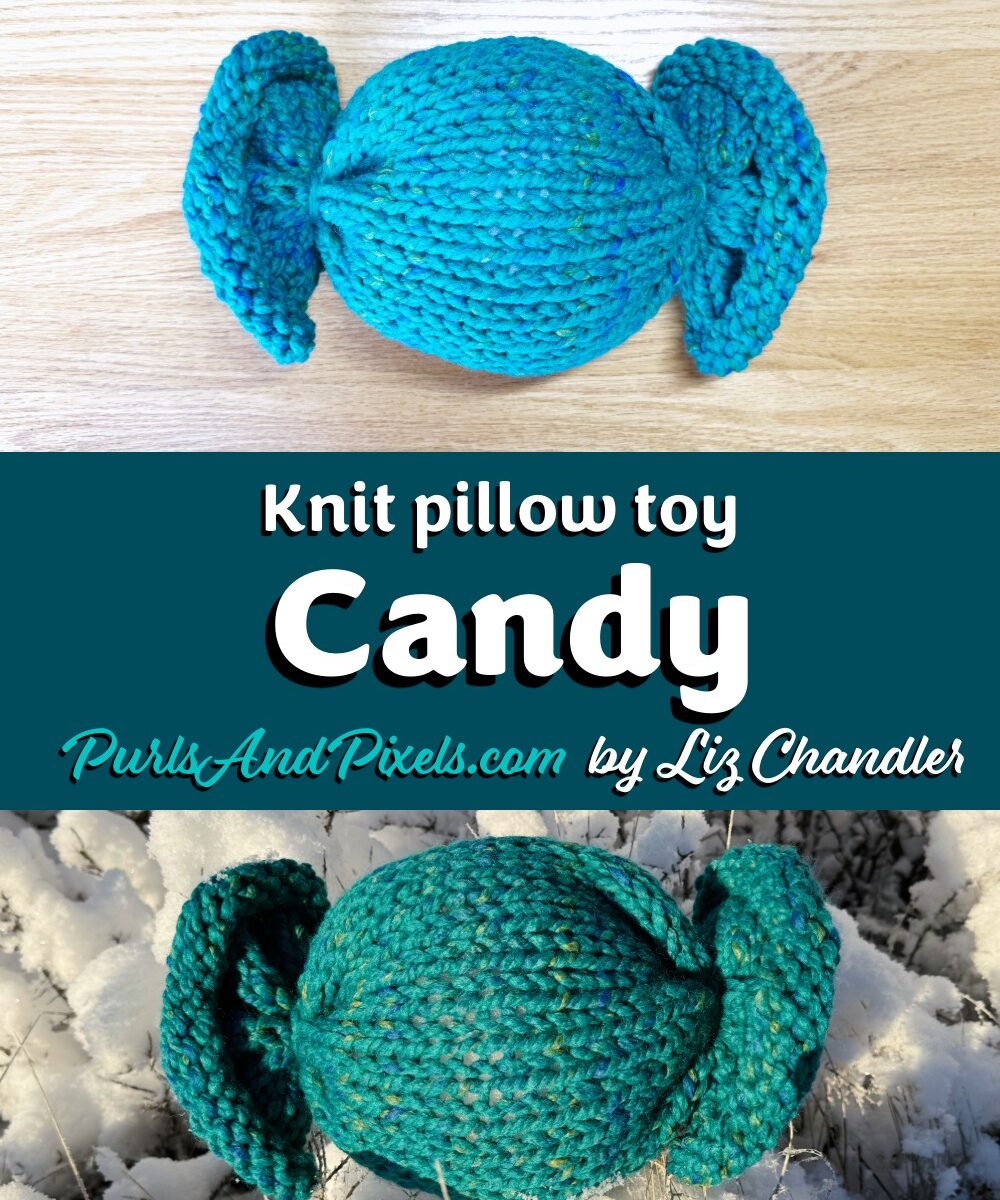
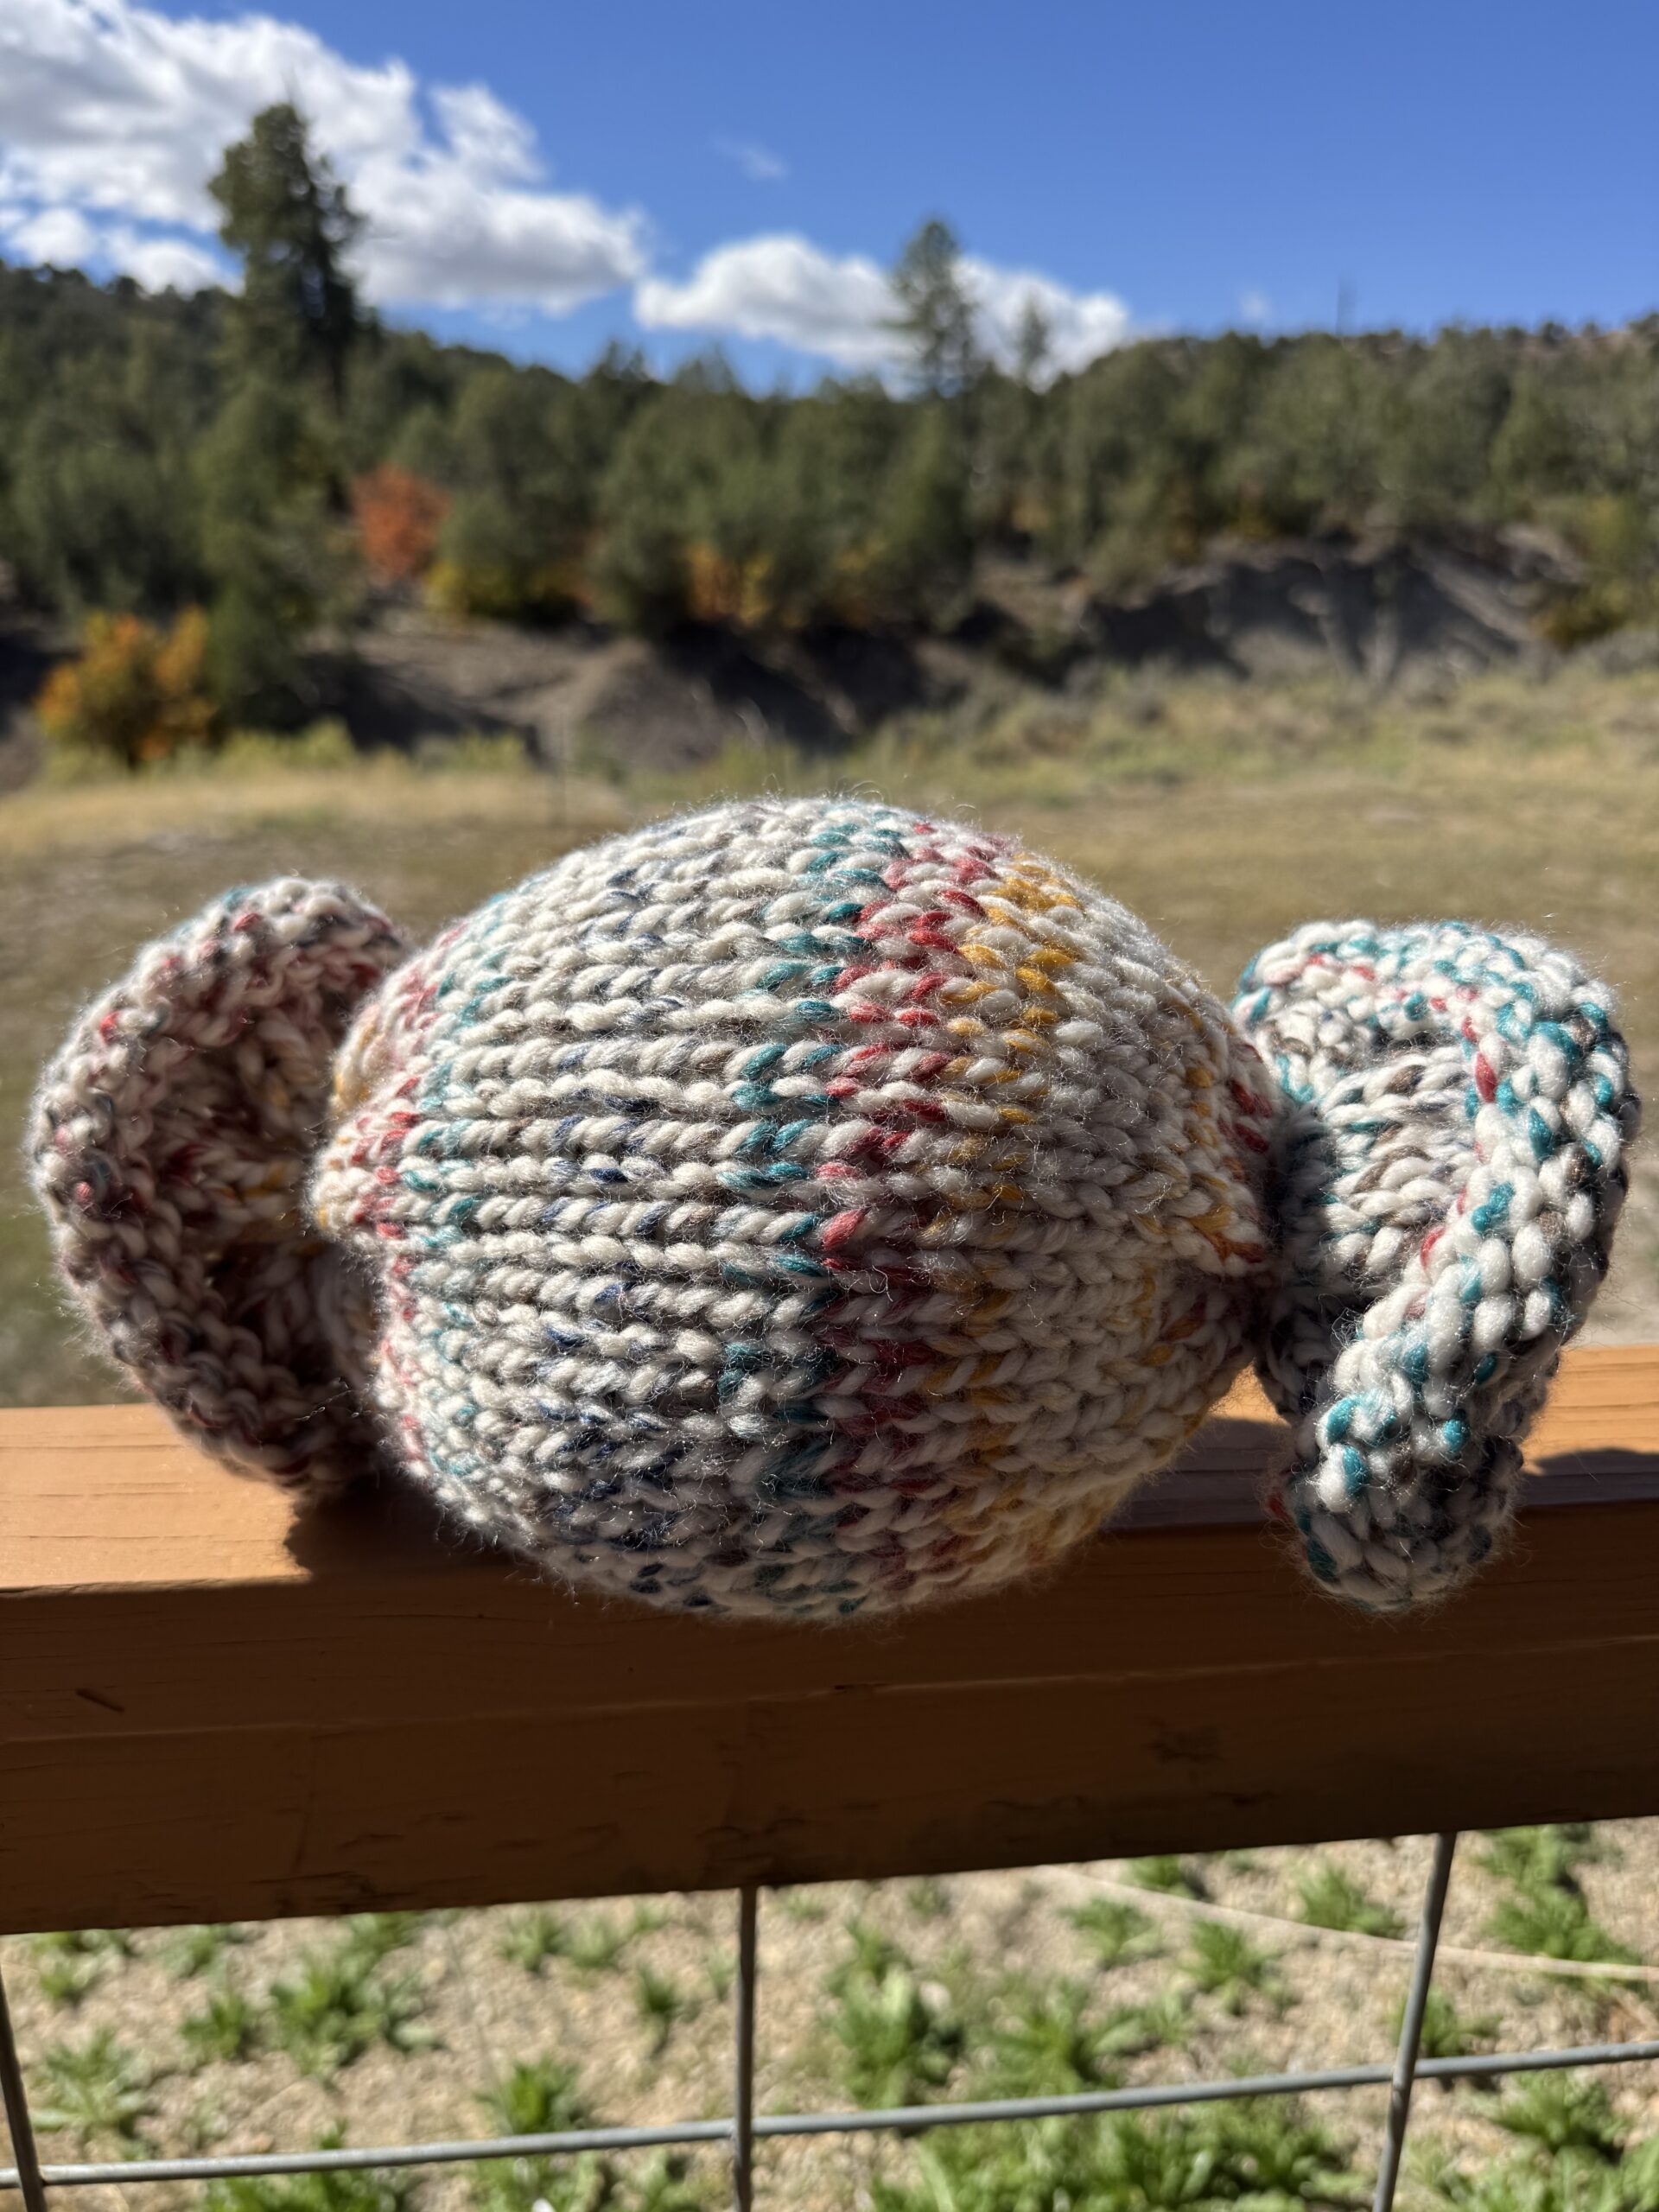
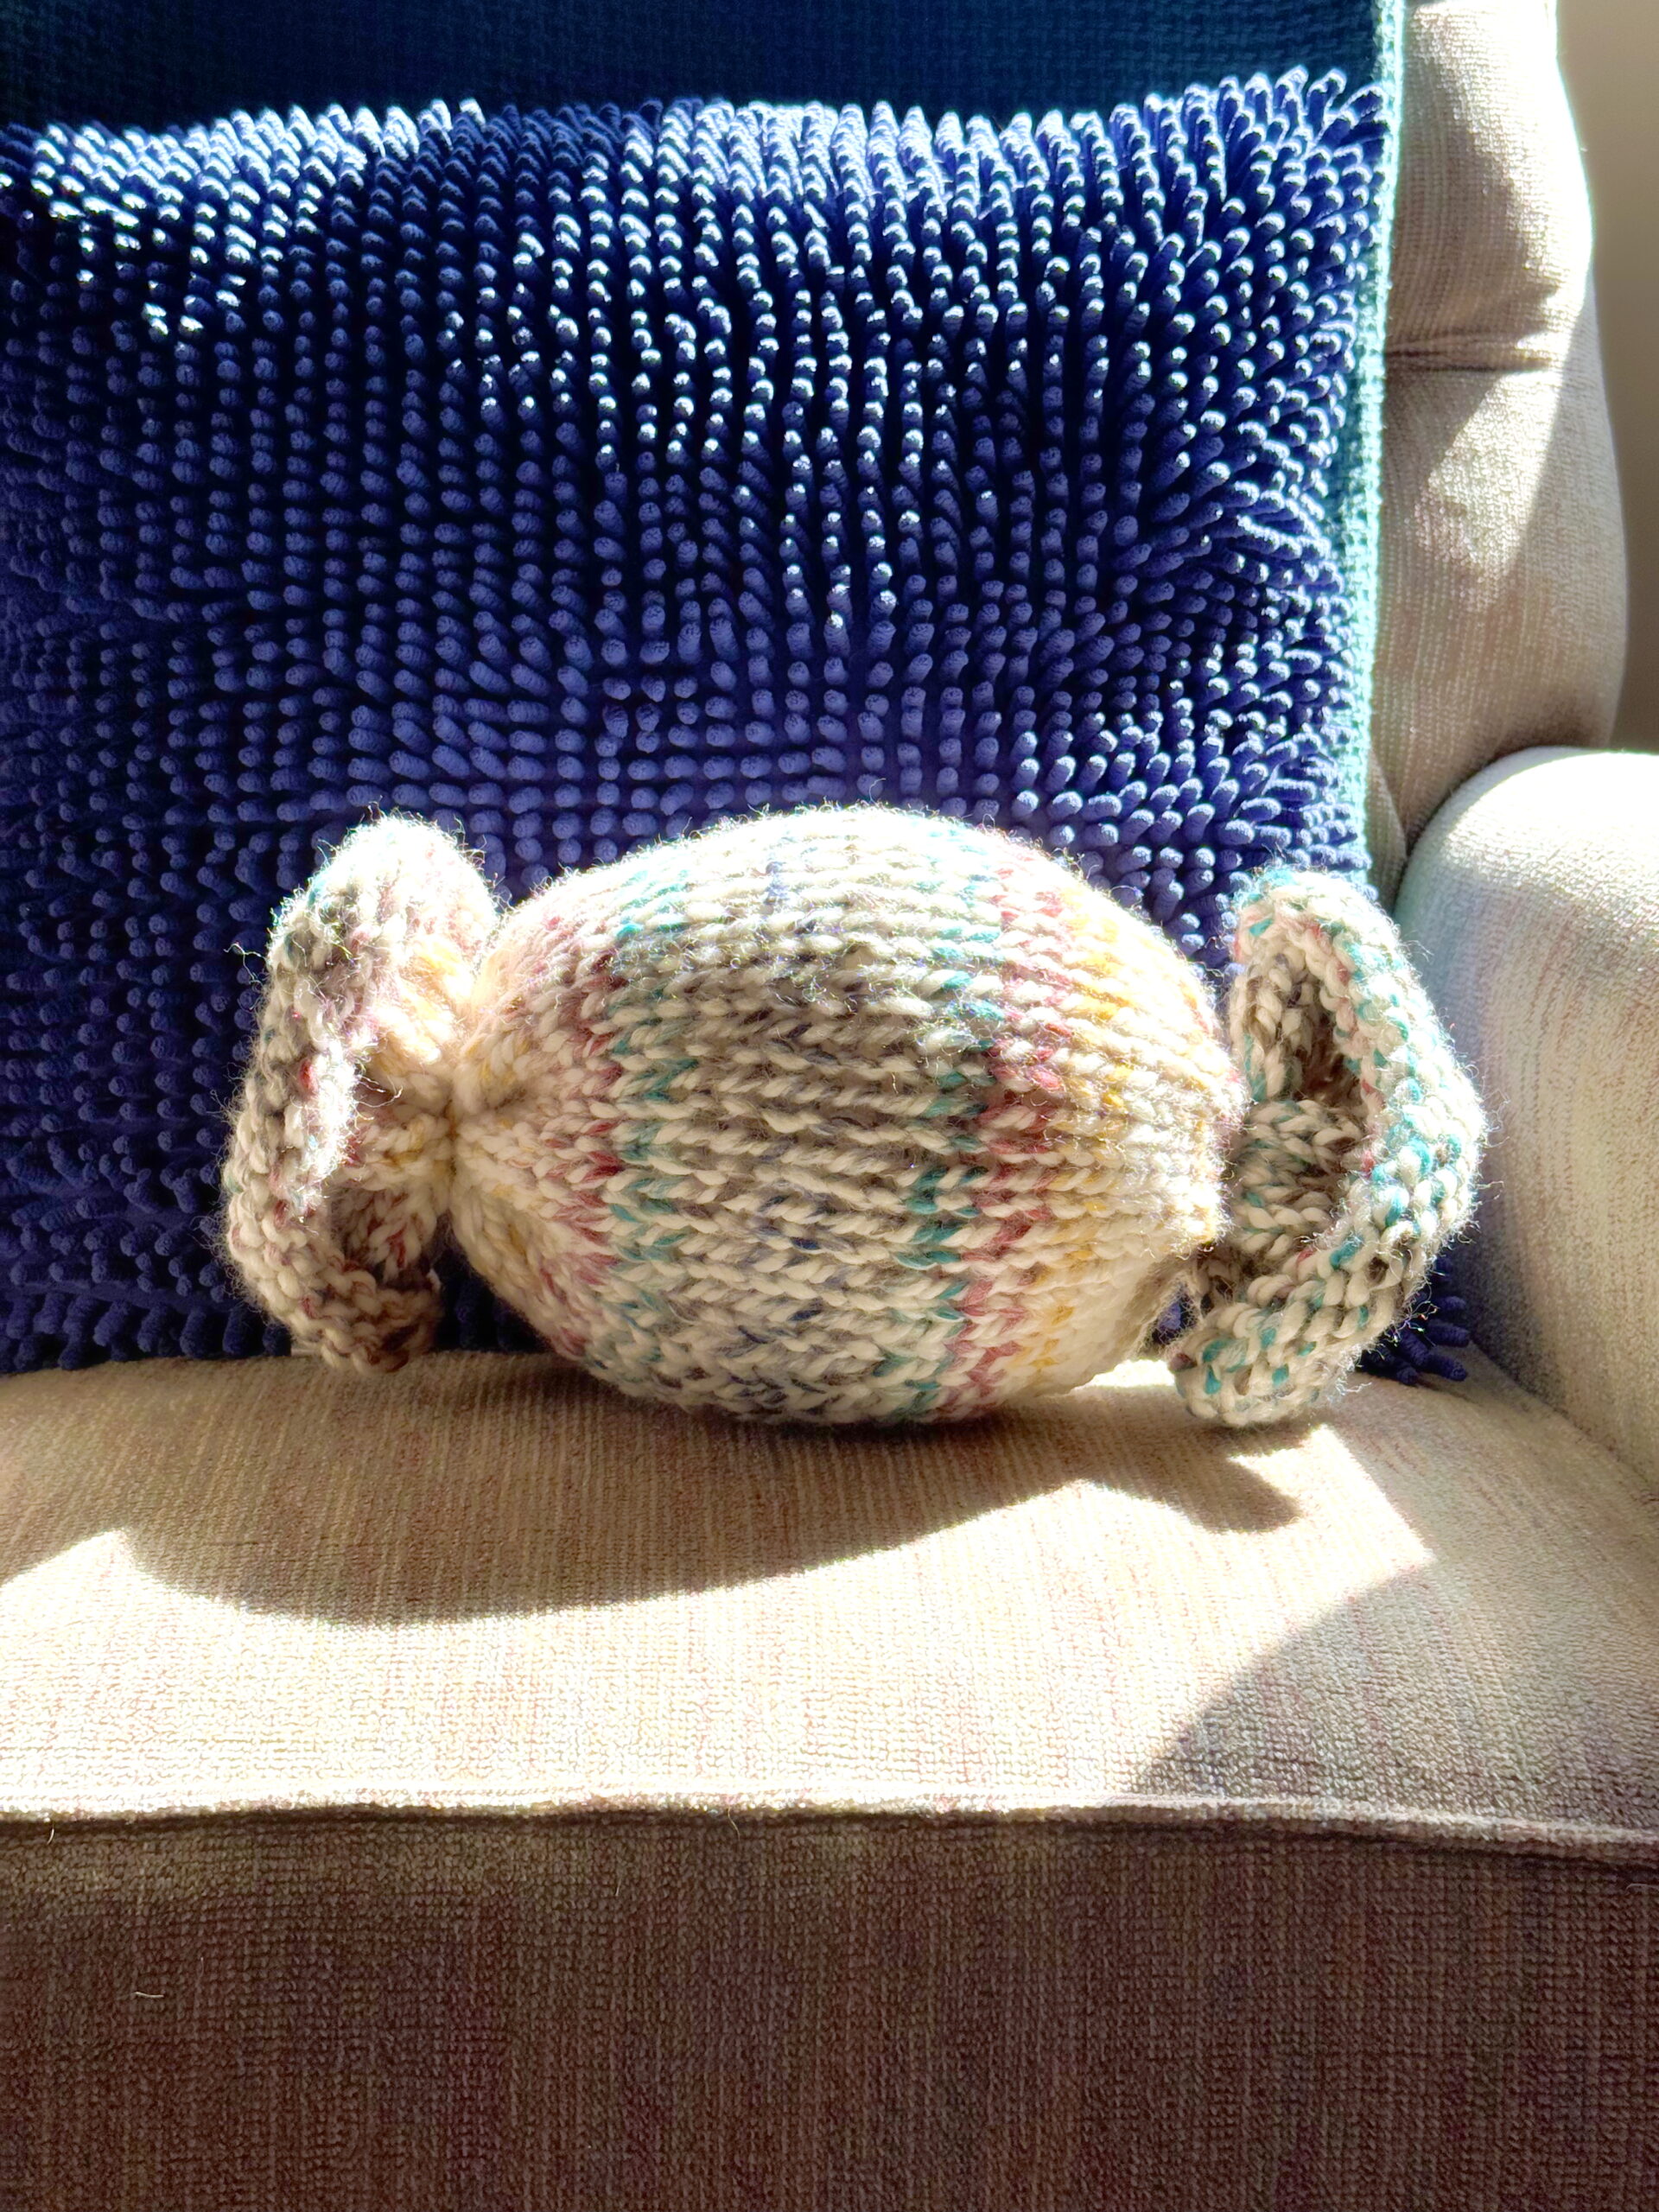
This super-bulky candy toy pillow is intentionally designed as a final confidence-building project for beginner knitters and has been used successfully by kids and adult beginners completing their first series of knitting projects. The pattern limits techniques to the knit stitch, uses simple tube construction worked in the round, and works with thick yarn so stitches remain easy to see while reinforcing consistency over a longer piece. There is no purling, no stitch pattern changes, and no shaping during the main body of the project.
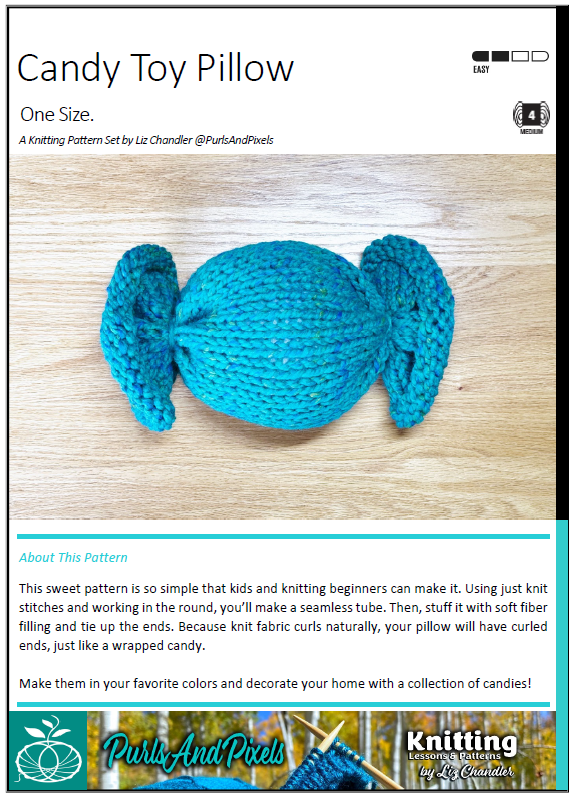
This article explains how to knit a super-bulky candy-shaped toy pillow, with step-by-step instructions suitable for complete beginners. You will knit a tube in the round using only the knit stitch, stuff the pillow, and tie the ends closed to create a soft, playful toy pillow that feels substantial and rewarding to finish.
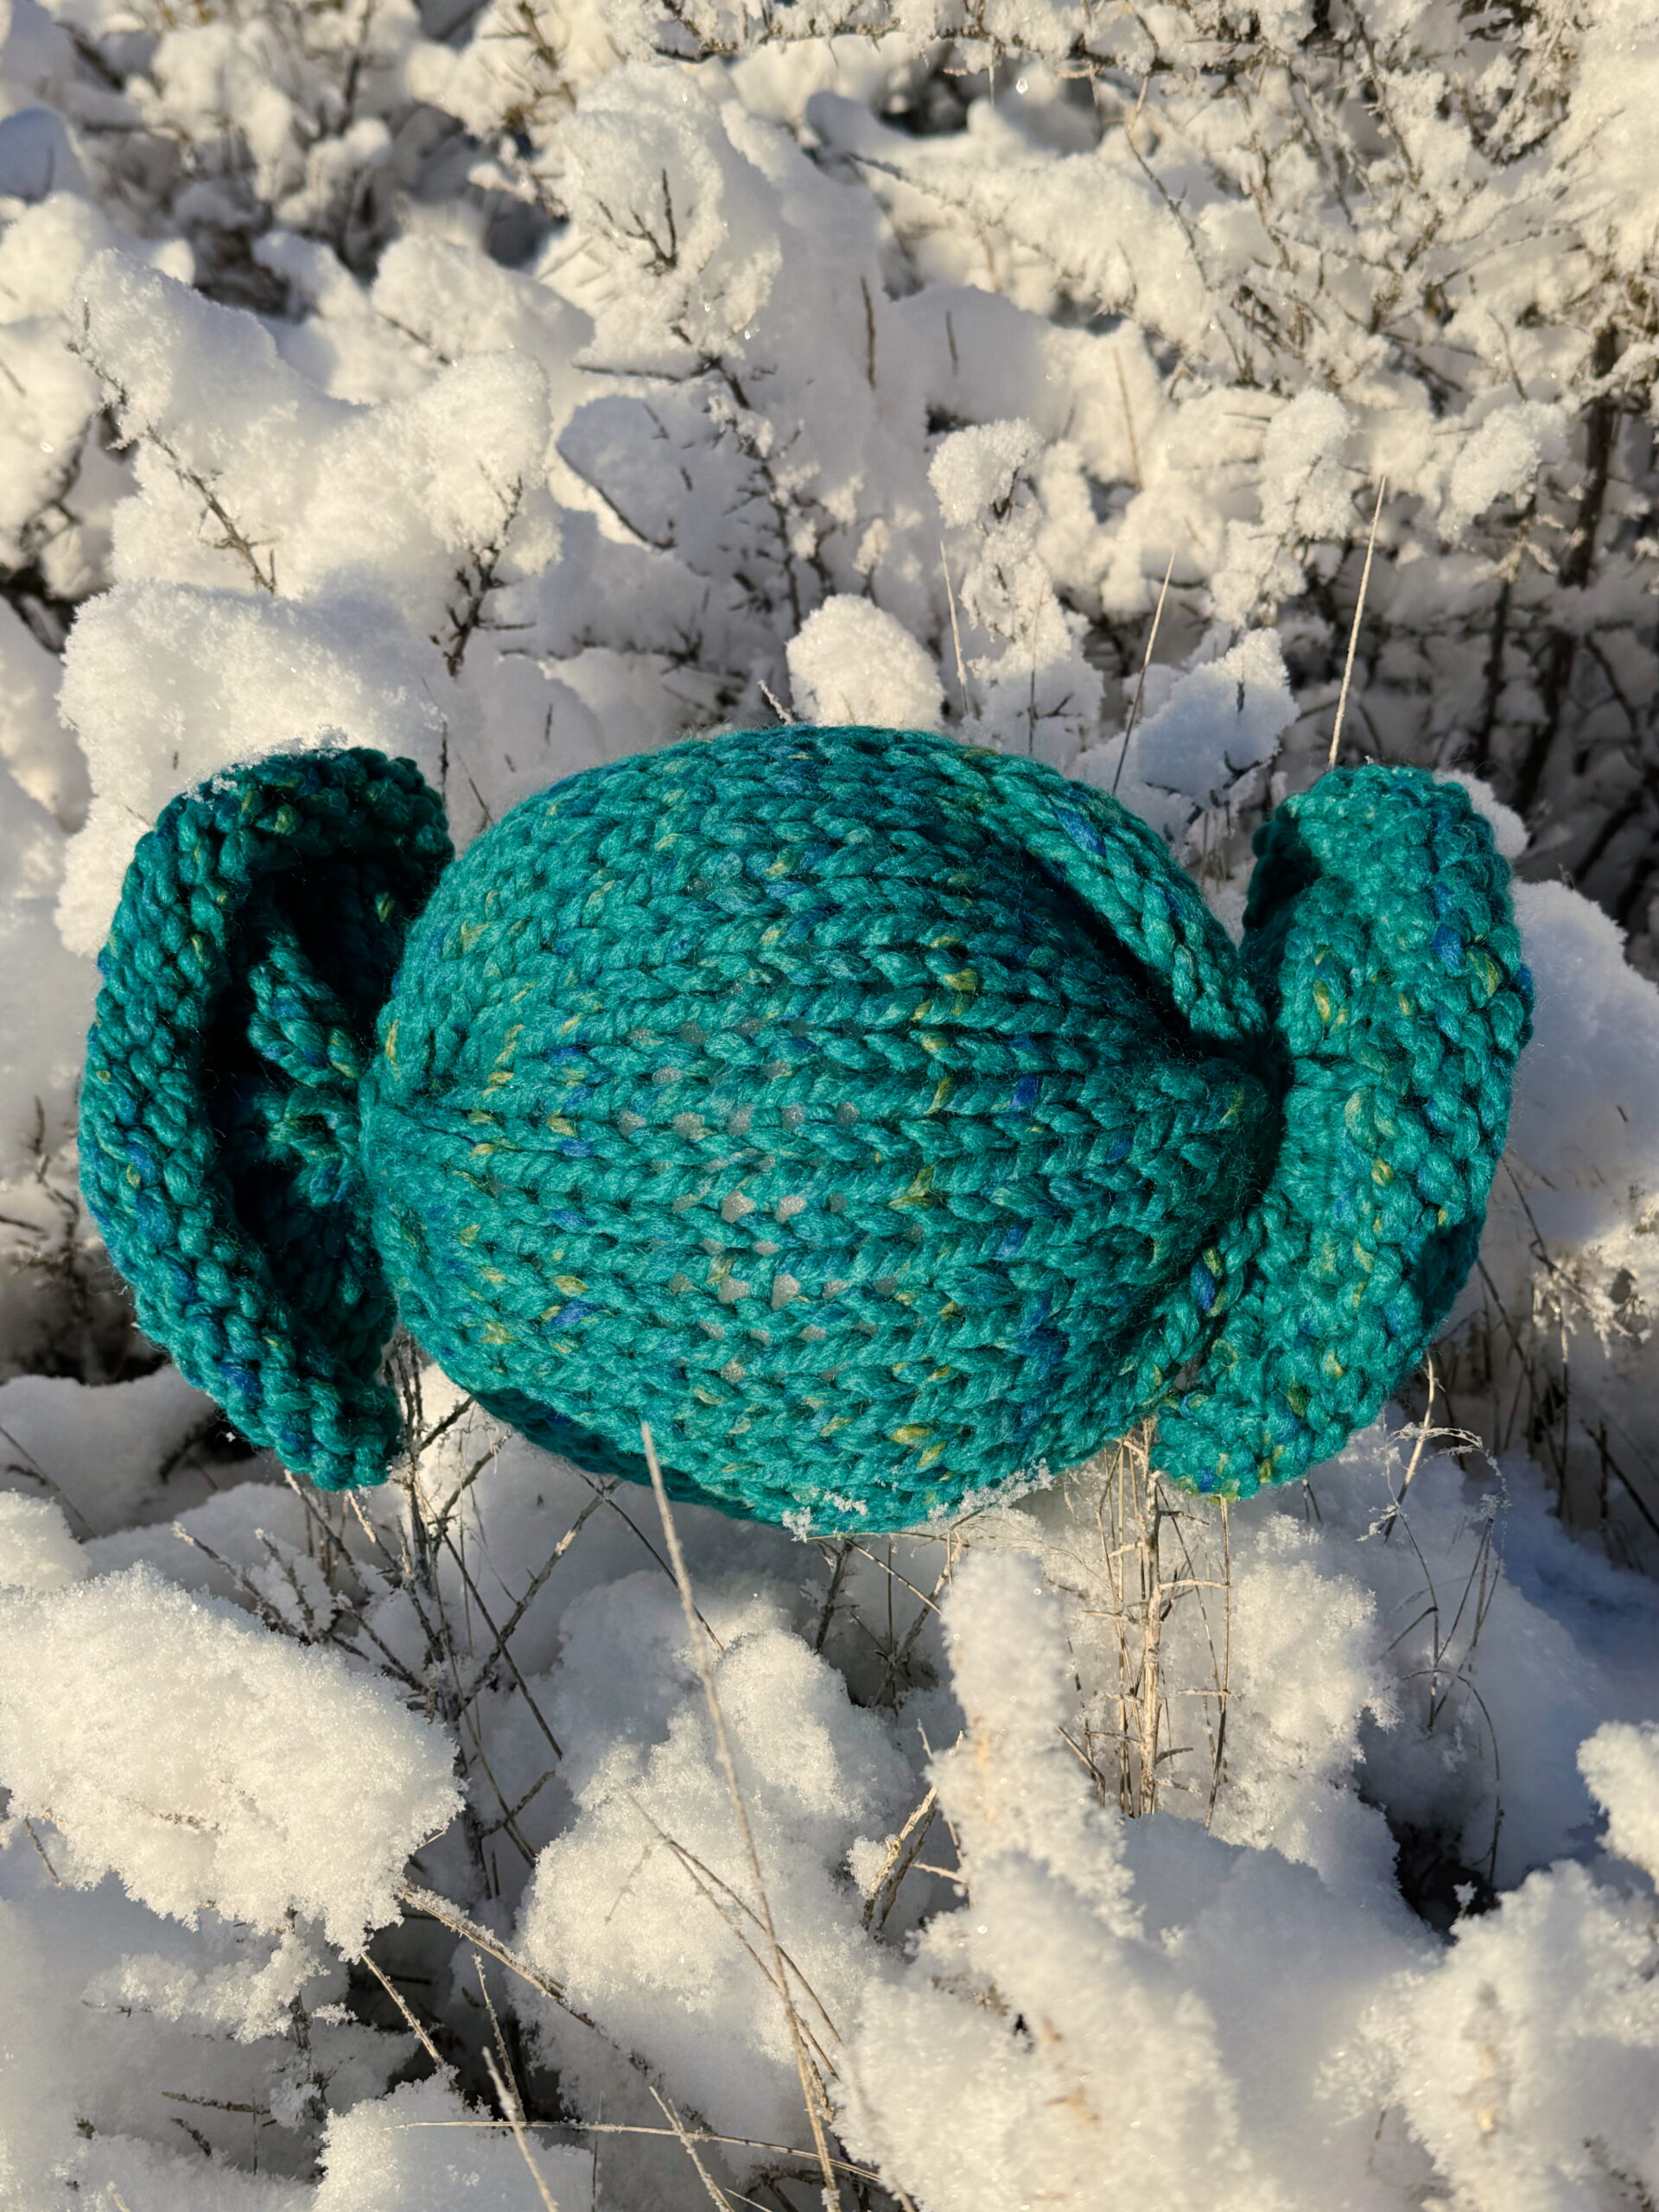
This toy is designed to feel simple and doable. The tube grows quickly, the stitches are easy to see, and the finishing steps are straightforward. When you are done, you will have a soft candy-shaped pillow that can be used for pretend play, room decor, or a silly gift.
This pattern is knit in the round using only the knit stitch. There is no sewing. You will close the ends by tying them with yarn, then fluff the center into shape.
10 stitches x 18 rows = 4 x 4 inches in garter stitch on No. 13 (9.0 mm) needles. Gauge is typically measured in stockinette stitch, and because this toy is worked in the round using only the knit stitch, the finished fabric is stockinette. However, gauge is measured in garter stich here for consistency with the other kids’ knitting patterns. Exact gauge is not critical for this project.
This toy is knit in the round using only the knit stitch. Repeating the same motion over a short project like this is a great way to build confidence and get comfortable with tension.
Try to keep your stitches snug, but not tight. They should slide easily on the needle so you can insert your needle into each loop without forcing it. This pattern is a simple place to practice finding that balance.
Want to knit along with me? I’ve linked a video lesson on this page that shows the full project from cast on to finishing. 🧶
Prefer to knit offline?
This pattern is free to read below, but if you’d rather print it or save it for later, I’ve created a clean, ad-free PDF version for you.
Care depends on your yarn and stuffing. Most super-bulky acrylic yarns can be spot cleaned or gently hand washed and laid flat to dry. If this is a toy for a child, choose a washable yarn and follow the yarn label instructions.
This pattern is for personal use, gifting, and charitable donation of completed items. You may also sell handmade items created using this pattern. Do not copy this pattern and distribute it. If you’d like to share the pattern, refer your friends to my website, purlsandpixels.com so they may obtain a copy.
If you find any errors or have any questions, email purlsandpixels@gmail.com and I will do my best to help.
I’d love to see your finished work! Tag your photos with @PurlsAndPixels on Twitter or Instagram.
Here is the truth: I hate my so-called “smart” phone. Everyone treats it like a lifeline, but to me, it feels more like a leash. It is supposed to connect me to the world, yet it mostly makes me slower. Instead of thinking for myself, I tap a screen and wait for the answers to appear. Instead of enjoying the quiet click of knitting needles, the smell of bread baking, or the calm of watering plants, I stack pressure I do not need. I take photos of every row, snap shots of every loaf, and churn out “content” for half a dozen platforms before the moment even cools in my hands.
Simple joys used to be my pause button. Now they feel like a book report. Someone please take my smart phone away from me.
Always On, Never Free
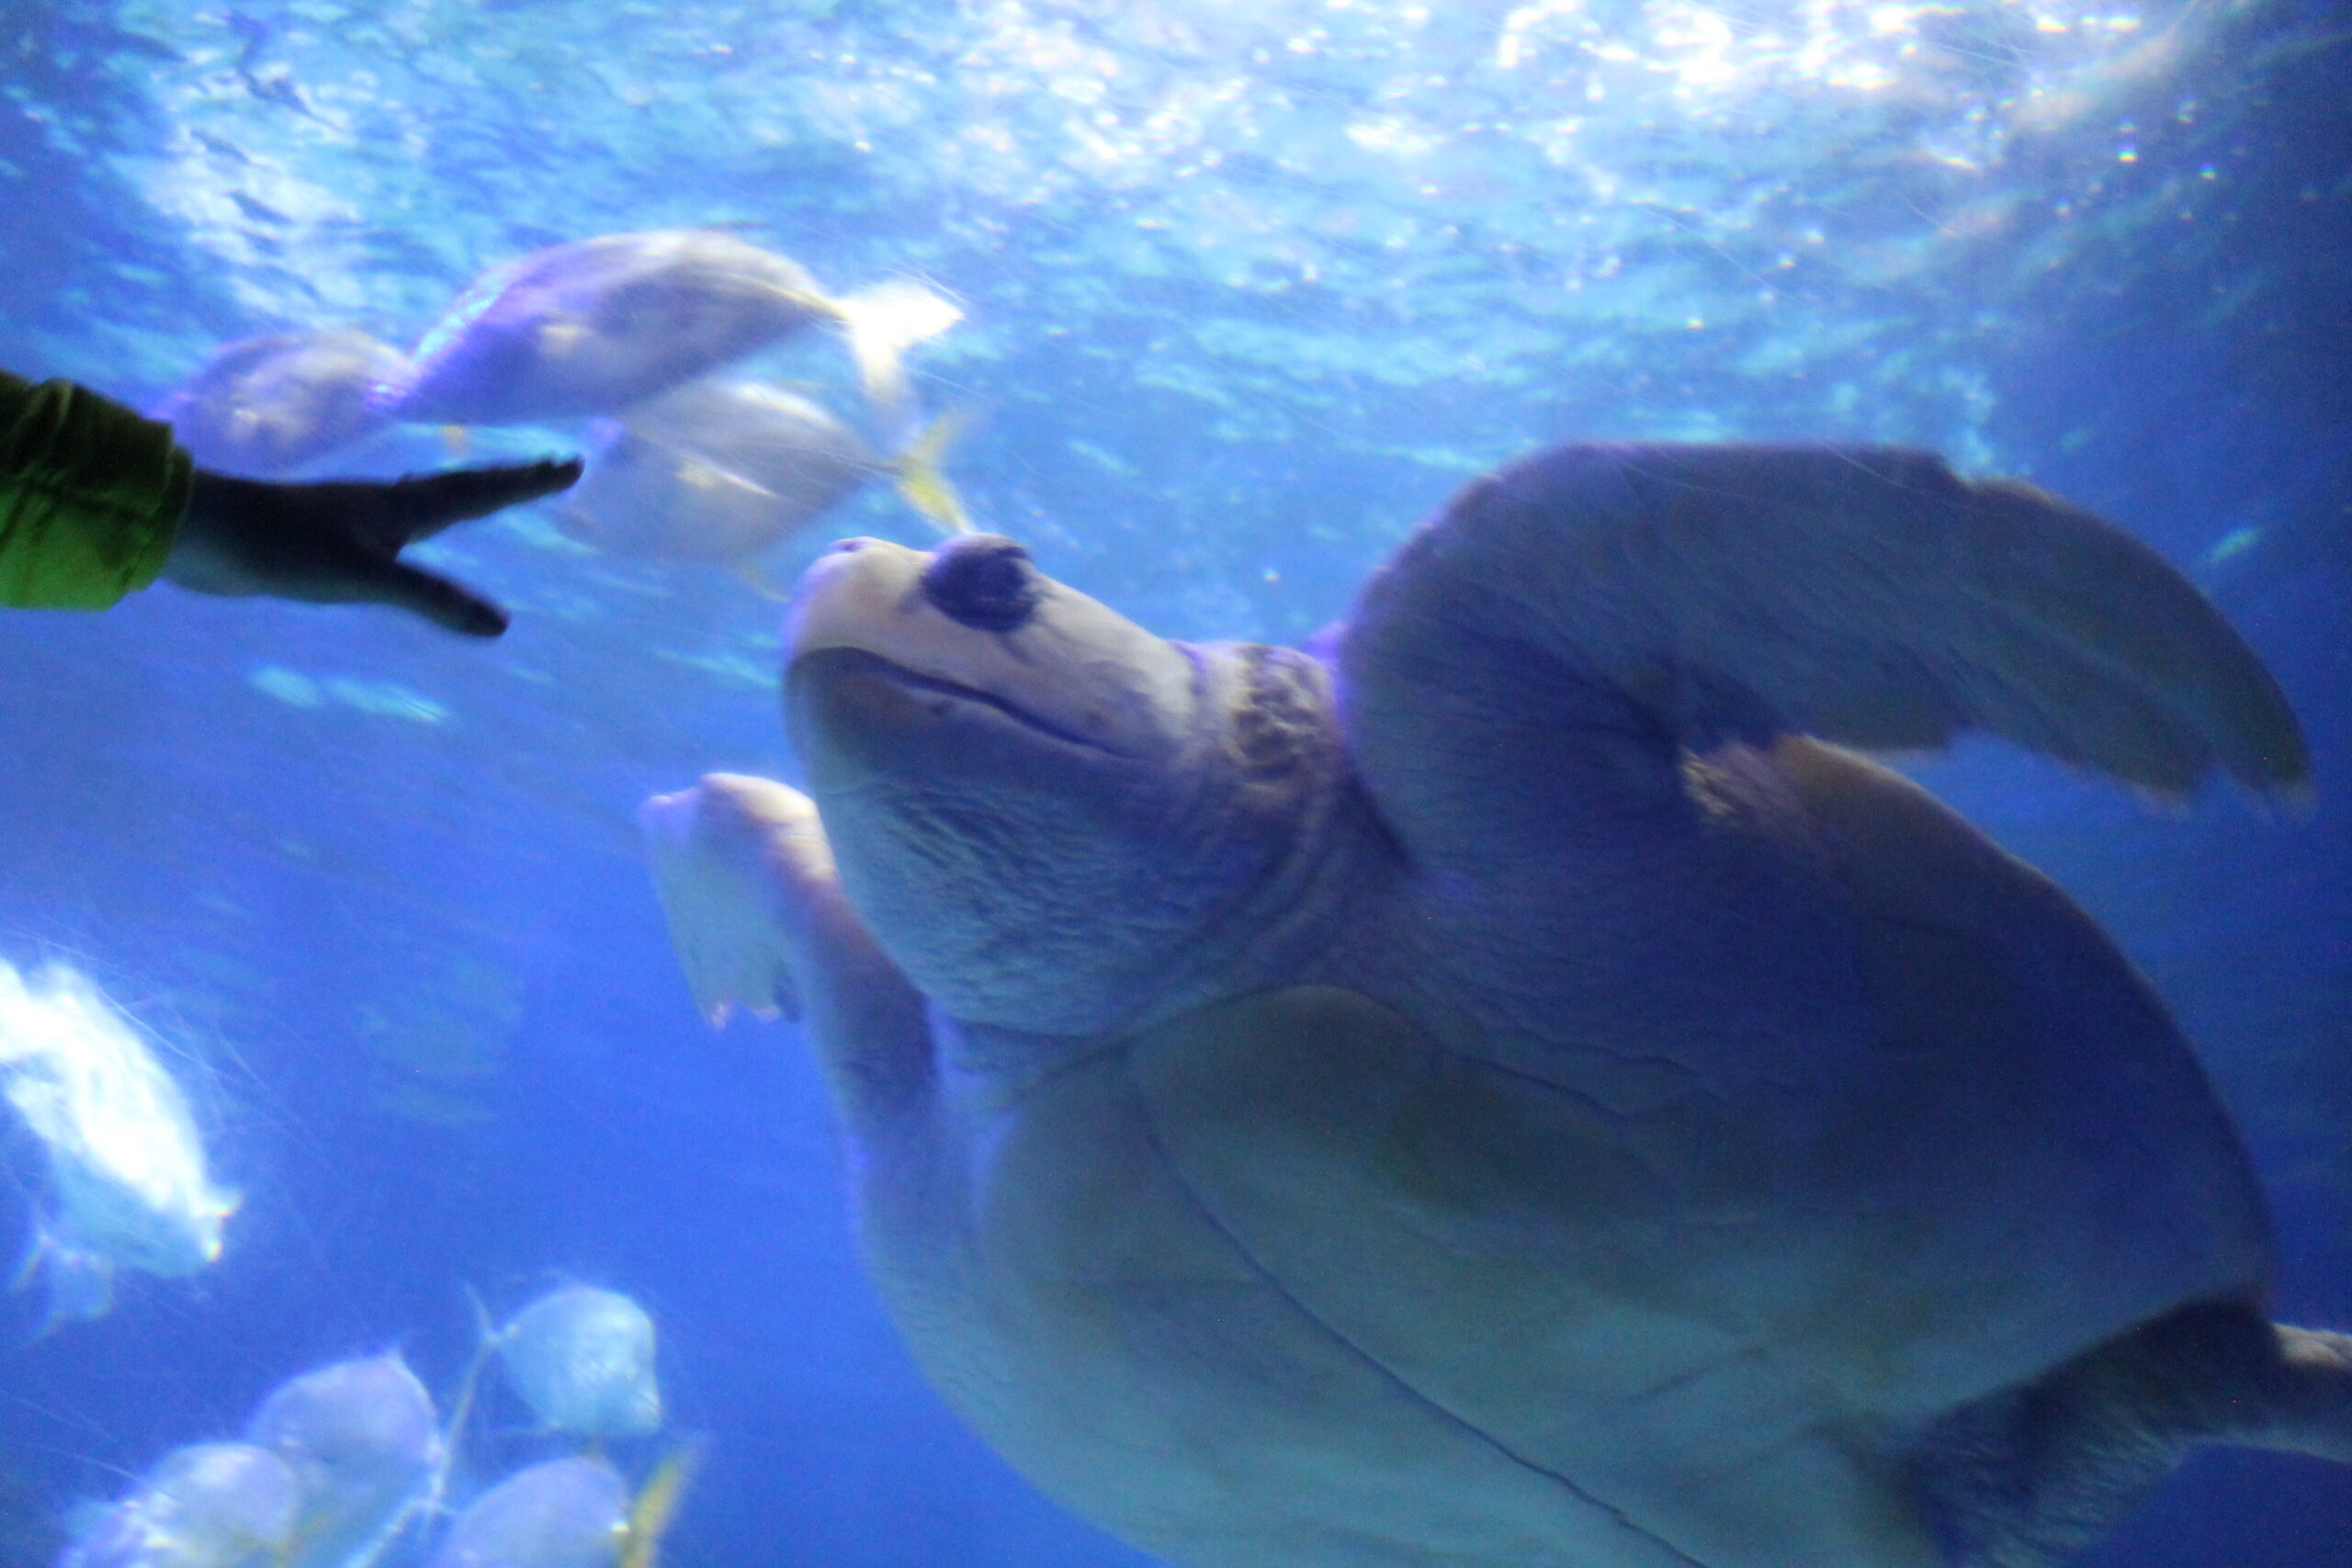
Some days it feels like I am on call for the internet. Miss a call? People think I have disappeared. Do not answer a text in five minutes? Someone is convinced I am gone. Meanwhile, my cousin tracks me like I am a tagged sea turtle (and while it is nice that someone cares I am alive, it also means I am never truly unattended). The “freedom” of being connected everywhere really just means I am never left alone.
I want to knit on my porch without guilt. I want to cook dinner without someone buzzing in my pocket. I want to just be. I want to hear silence instead of the constant ding of reminders telling me I am behind.
The End of Wonder
I remember when I could look up at the sky and say, “I wonder what that star is called?” and then just… wonder. Now my instinct is to shove the question into a search bar. The mystery vanishes before it has time to become magical. Technology killed wonder. The internet gave me every answer, but in exchange it stole the fun of thinking about it first.
Even my brain feels slower. I type clumsily now, because autocorrect babysits my spelling and AI tries to predict what I will say. It is too easy to just select the prediction. The more I use it, the less sharp I feel. Technology is stealing not just my attention, but my skills.
What I Do (My Little Secret) 🤫
It is not enough, but here is what I do. I put my phone on sleep mode early and keep it there until late. That way, I get time without the constant buzzing and chirping. People think I am lazy or sleeping too much, but really I am sneaking in a bite of pre-smartphone freedom. Giving myself permission to step away has helped me feel calmer and sharper.
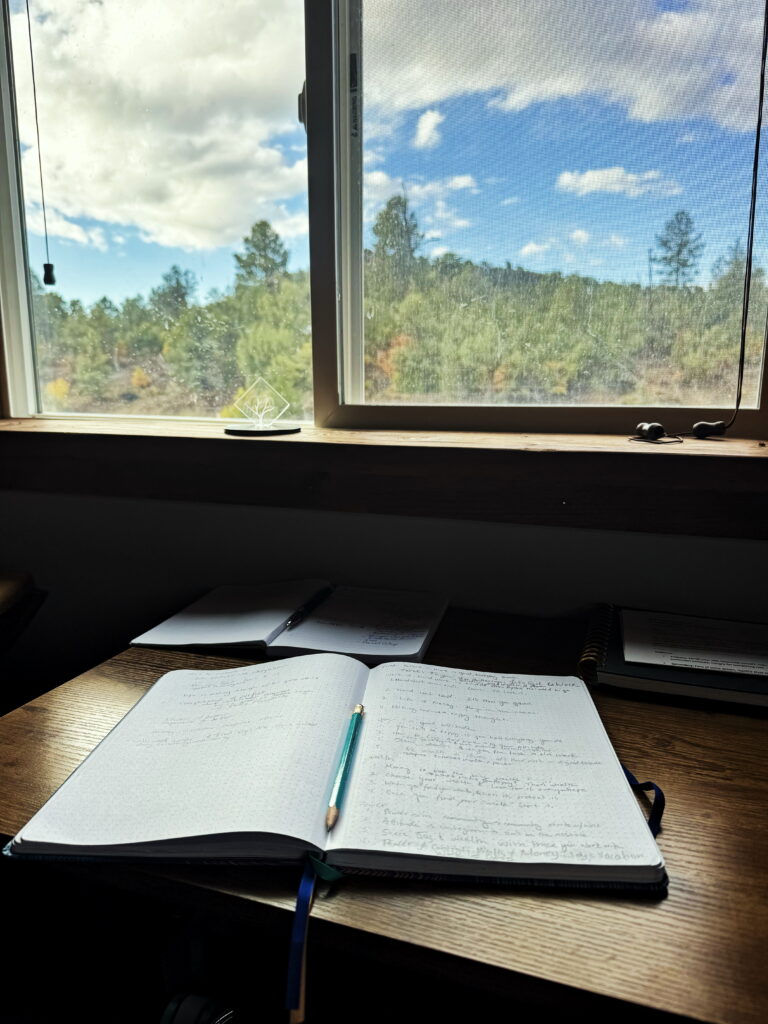
When the phone is asleep, I go analog. I keep a real pencil and a real notebook handy. I jot down ideas on paper before I ever hand them over to a screen. When I start uninfluenced, I stay in charge of my own voice. Then, if I decide to share later, it is truly mine (not something tech tried to write for me). Is it perfect that way? No. Is it me? Absolutely.
Choosing Joy, Not Chains
I do not want my joy filtered through a screen. I want it to come from wool running through my fingers, bread cooling on the counter, dirt under my nails after a day in the garden, or the satisfaction of “just one more row.” And, I want to enjoy these things because I love them, not because the algorithm demands proof of them this week.
Technology is here to stay, but that does not mean I have to let it own me. Some days, the bravest thing I can do is shut off the stupid smart phone, pick up the needles, knead the dough, or water the tomatoes. And sometimes the most radical act is choosing not to post proof that it happened.
Because freedom is not in the palm of my hand. It is in my hands (wrapped in yarn, covered in flour, or smudged with soil). And that is enough.
And maybe that is the good news: the choice is mine. I can keep my skills sharp, protect my wonder, and find real connection in the things I make with love. The phone will still be there when I need it. But my hands remind me who I am when I put it down.
And if you happen to call while my phone is off, you will need to leave me an old-school voicemail or send a text. Otherwise, I will not even know you tried. (Consider this your friendly reminder that my digital detox comes with caller ID amnesia.) 😉 ☎️
Want more cozy calm?
You can read my other posts or learn to knit with me here at PurlsAndPixels.com. Start small, grab a pattern, or just peek at my free beginner lessons. The yarn, the needles, and the quiet are waiting for you.
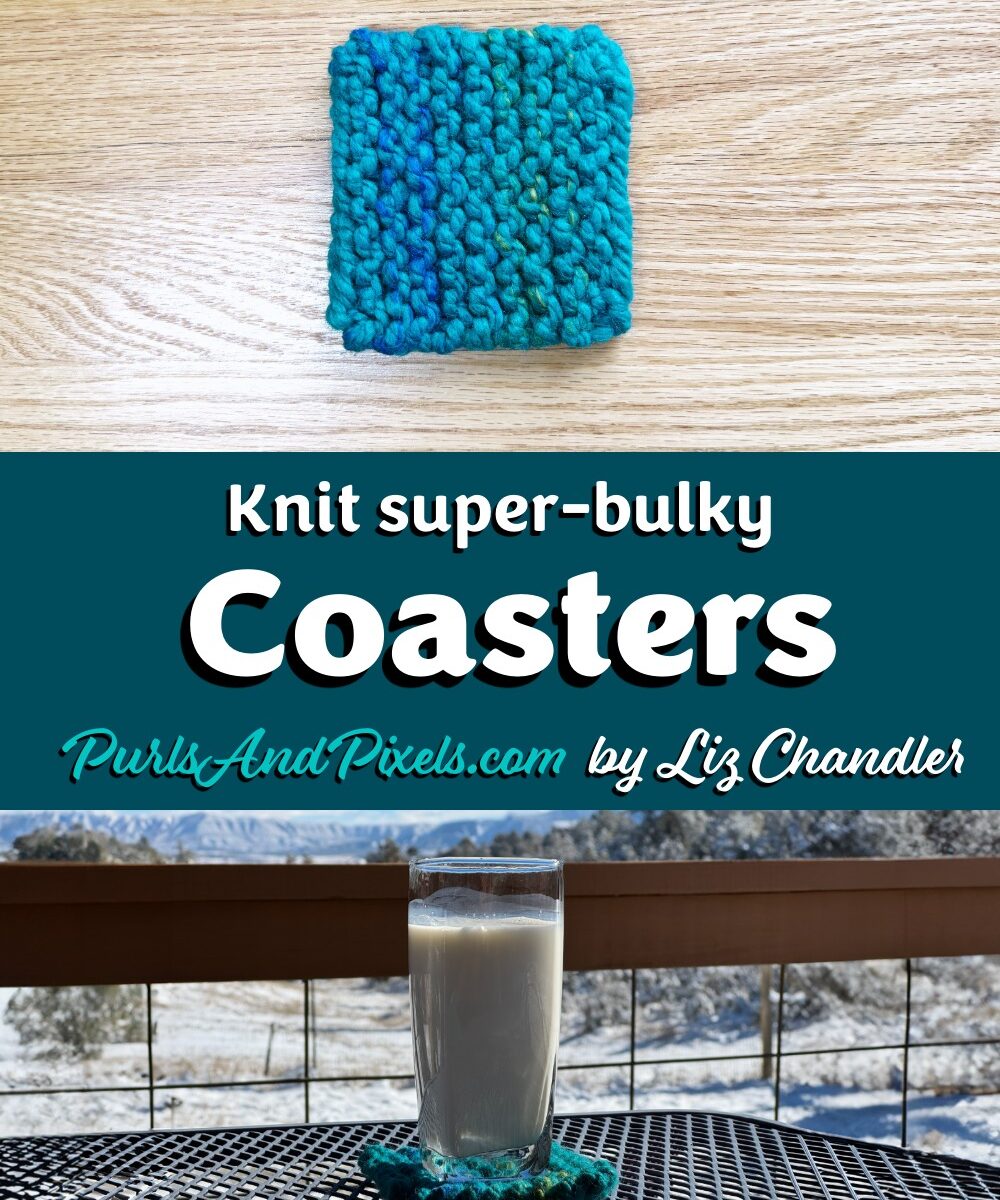
This super-bulky knit coaster is intentionally designed as a first knitting project and has been used successfully by kids and adult beginners learning to knit. The pattern limits techniques to one stitch (the knit stitch), uses a flat square shape, and works with thick, easy-to-see yarn so beginners can practice tension and stitch counting without getting overwhelmed. There is no shaping, no stitch pattern changes, and no decisions to make once you begin knitting.
This article explains how to knit a super-bulky coaster, with step-by-step instructions suitable for complete beginners. You will knit a small flat piece using only the knit stitch, then bind off and weave in your ends to create a finished coaster you can use every day.
This simple knit coaster is intentionally small, forgiving, and repetitive. As Project 1 in my Kids’ Knitting Guide, the beginner super-bulky knit coaster introduces how knitting feels in your hands and how stitches stack row by row, without asking beginners to switch stitches or manage complicated shaping.
Using super bulky yarn allows new knitters to see each stitch clearly and finish projects quickly. The goal is not perfection, but comfort and familiarity with the knitting process.
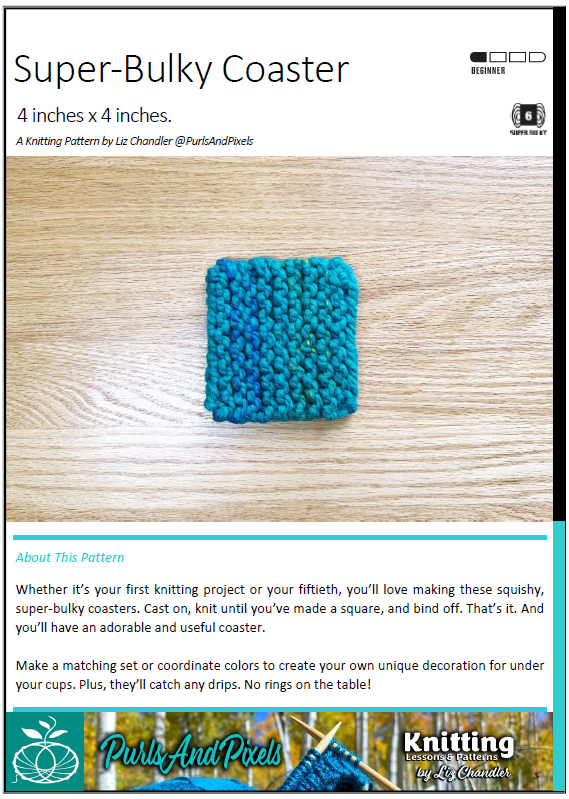
10 stitches x 18 rows = 4 x 4 inches in Garter Stitch on No. 13 (9.0 mm) needles. Gauge is typically measured in stockinette stitch, but this project uses garter stitch throughout, so gauge is measured in garter stitch to reflect the finished fabric. Exact gauge is not critical for this project. And, honestly, if you’re a brand new beginner, don’t worry about it. Just start following the pattern.)
This super bulky knit coaster is a great first knitting project because it’s simple, fast, and easy to finish in one sitting. To make the super bulky knit coaster, you’ll only need to know how to:
This coaster is worked in garter stitch, which means every row is made using the knit stitch. Repeating the same stitch over a short project like this is a great way to practice and build confidence.
As you knit, try to keep your stitches even on the needles. They should be snug, but not tight. The stitches should slide easily so you can insert your needle into each loop without forcing it. Finding that balance takes practice, and this small project makes it easier to learn.
Want to knit along with me? I’ve made a video lesson that shows how to knit this coaster from cast on to bind off. Visit the How to Knit a Coaster lesson for step-by-step help. 🧶
Prefer to knit offline?
This pattern is free to read below, but if you’d rather print it or save it for later, I’ve created a clean, ad-free PDF version for you.
Includes materials list and complete knitting instructions
If you use the materials called for in the pattern, your final product will be machine washable. To keep your coasters looking their best, hand wash or machine wash separately on delicate cycle in cold water. Lay flat to dry.
This pattern is for personal use, gifting, and charitable donation of completed items. You may also sell handmade items created using this pattern. Do not copy this pattern and distribute it. If you’d like to share the pattern, refer your friends to my website, purlsandpixels.com so they may obtain a copy.
If you find any errors or have any questions, email purlsandpixels@gmail.com and I will do my best to help.
I’d love to see your finished work! Tag your photos with @PurlsAndPixels on Twitter or Instagram.
Love cozy knitting projects? Follow along on YouTube, Pinterest, and Instagram, or join the newsletter for more free patterns and gentle knitting tips.
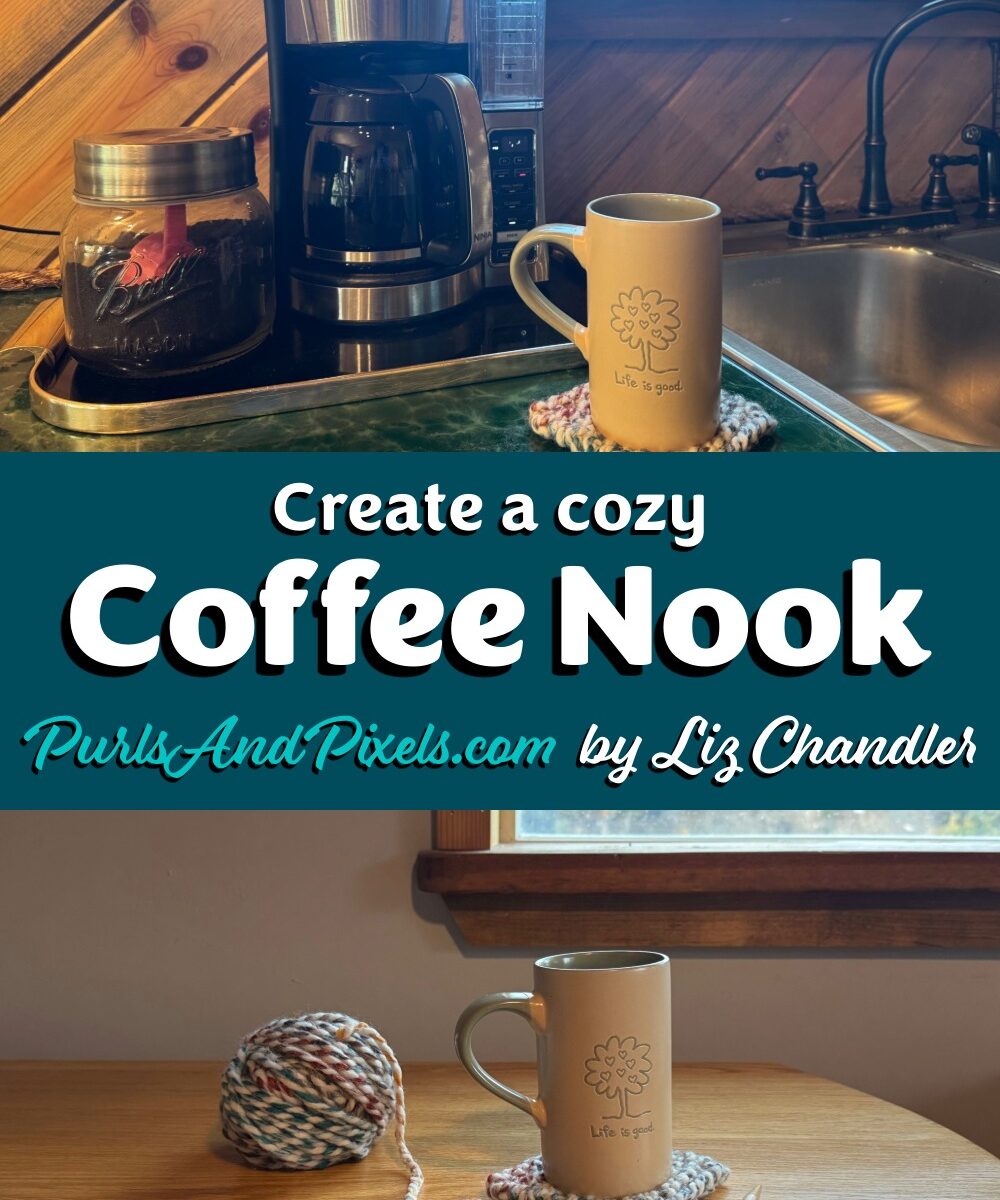
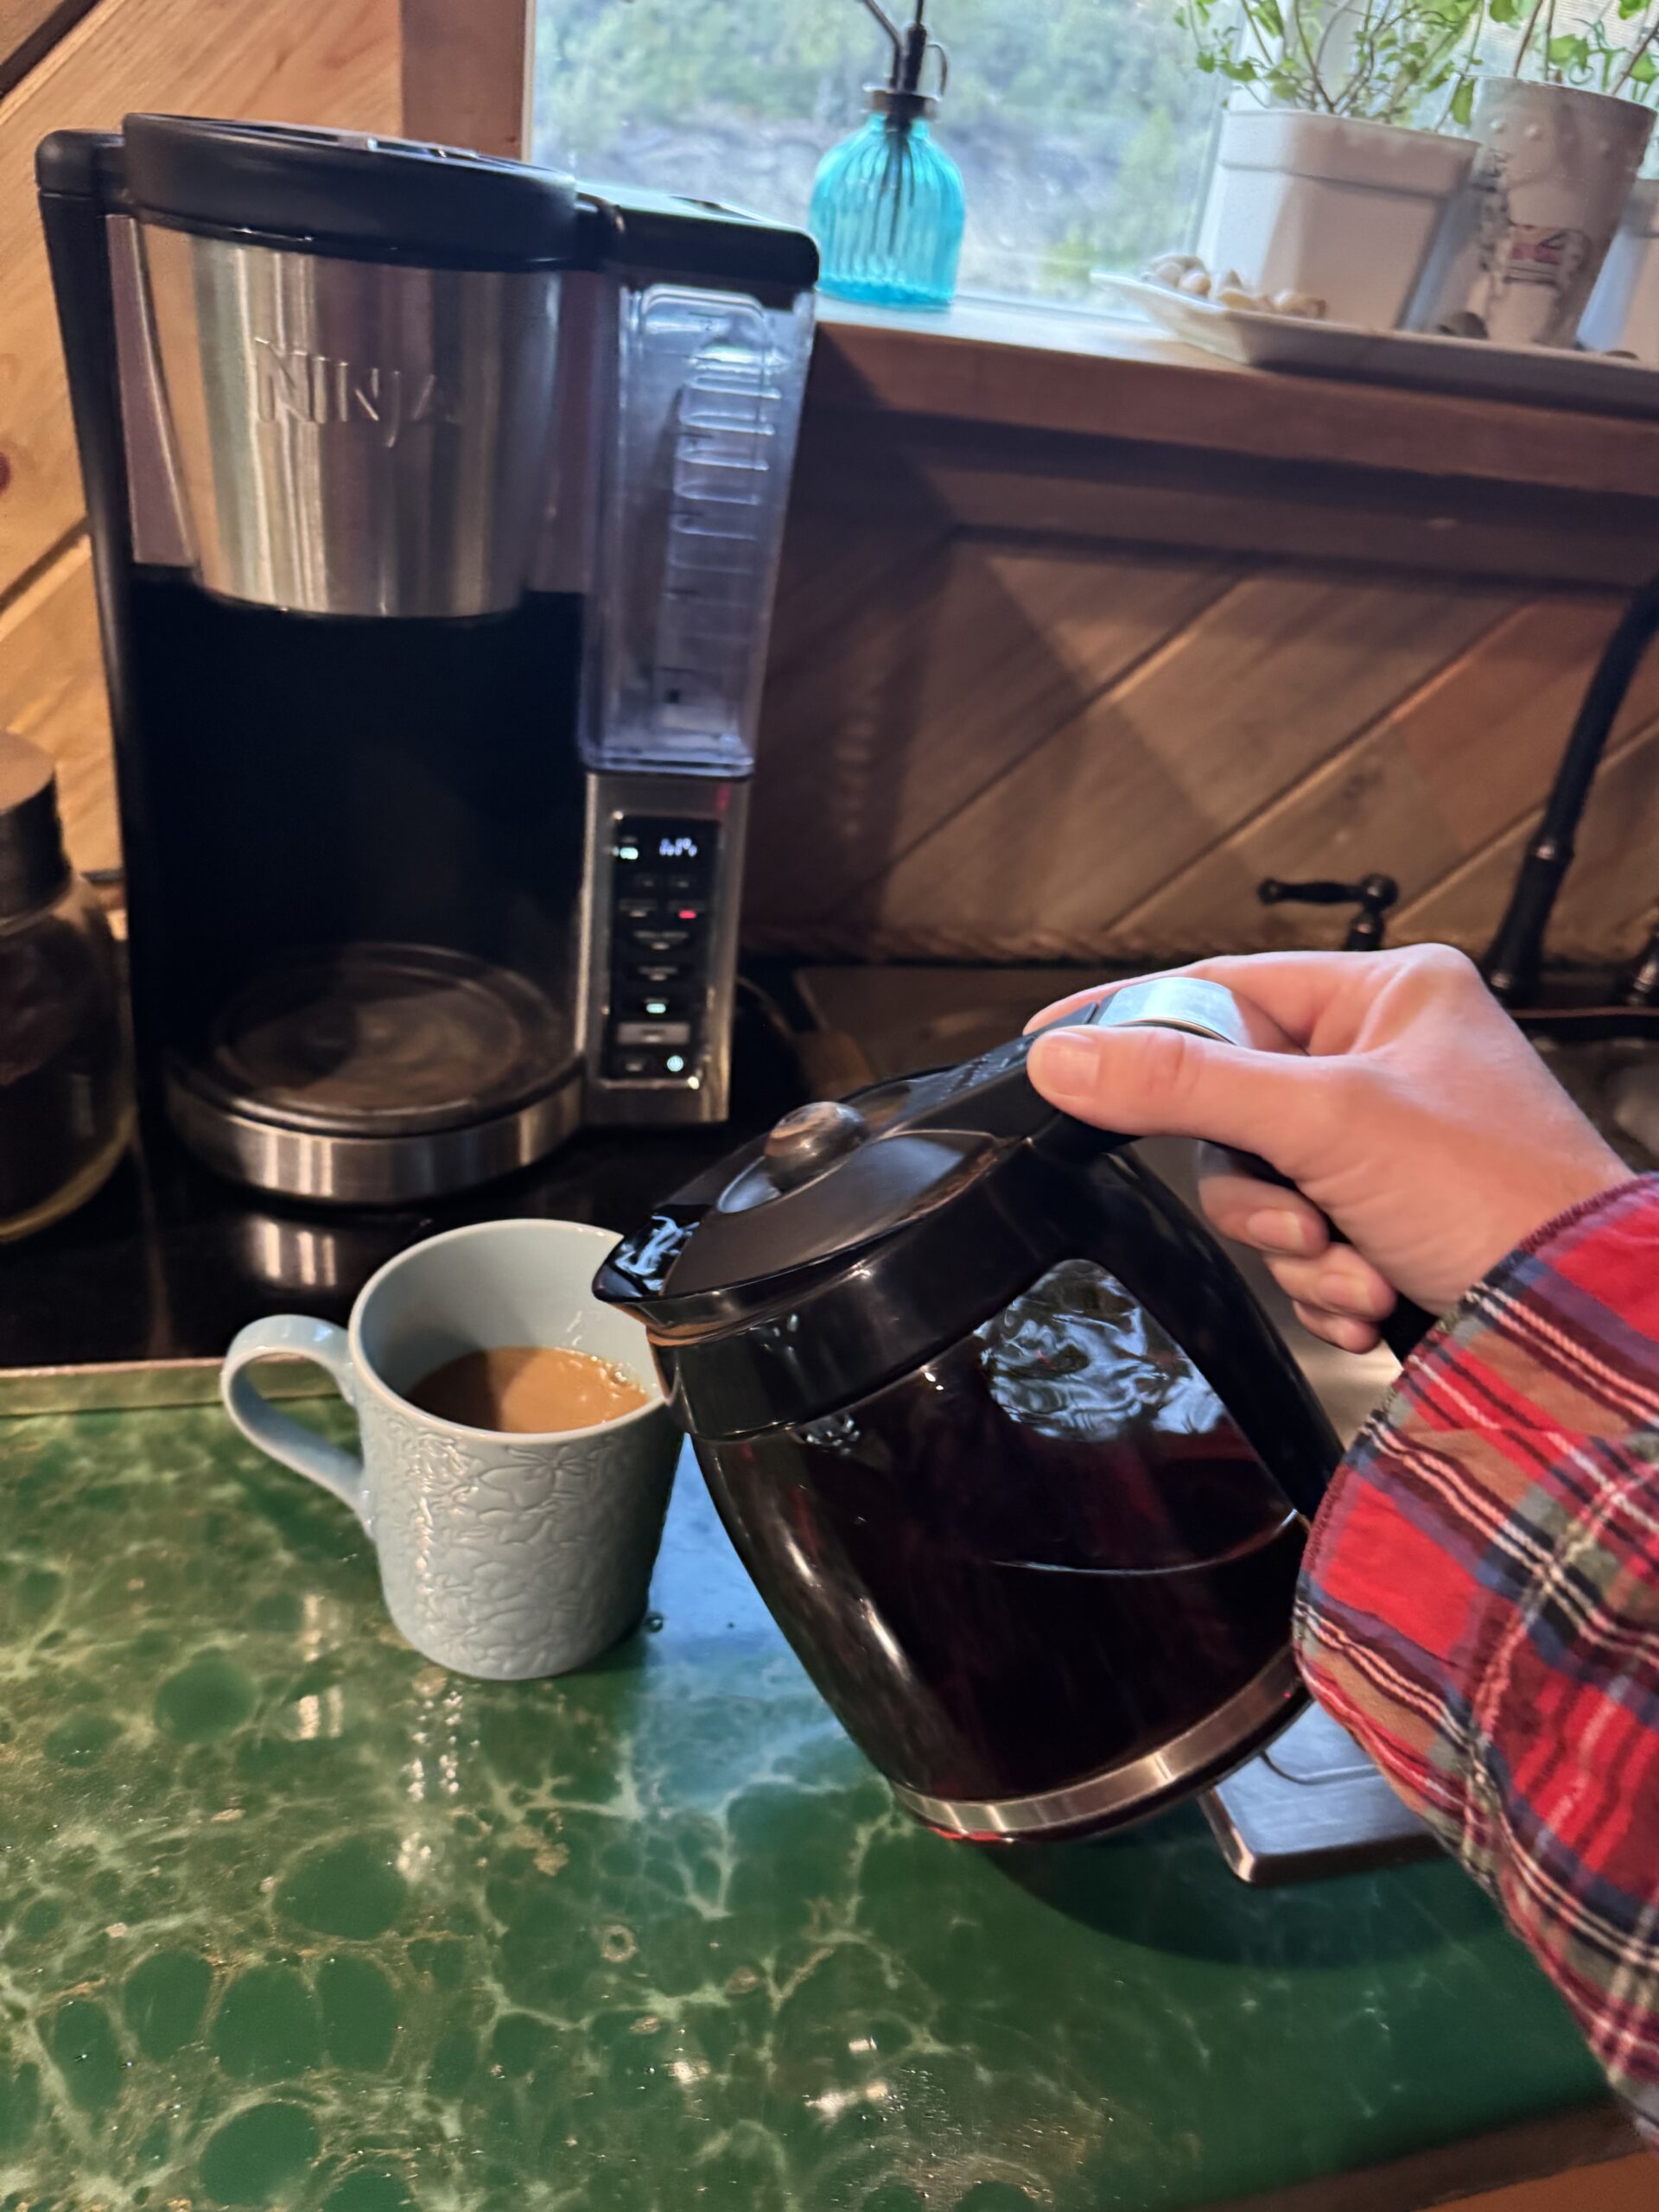
Happy National Coffee Day! 🎉 Today is the perfect excuse to pause, pour, and claim a corner of your home that feels like yours alone. A cozy coffee nook should not be just a place to caffeinate. It should feel like slipping on your favorite sweater: warm, familiar, and just a little indulgent.
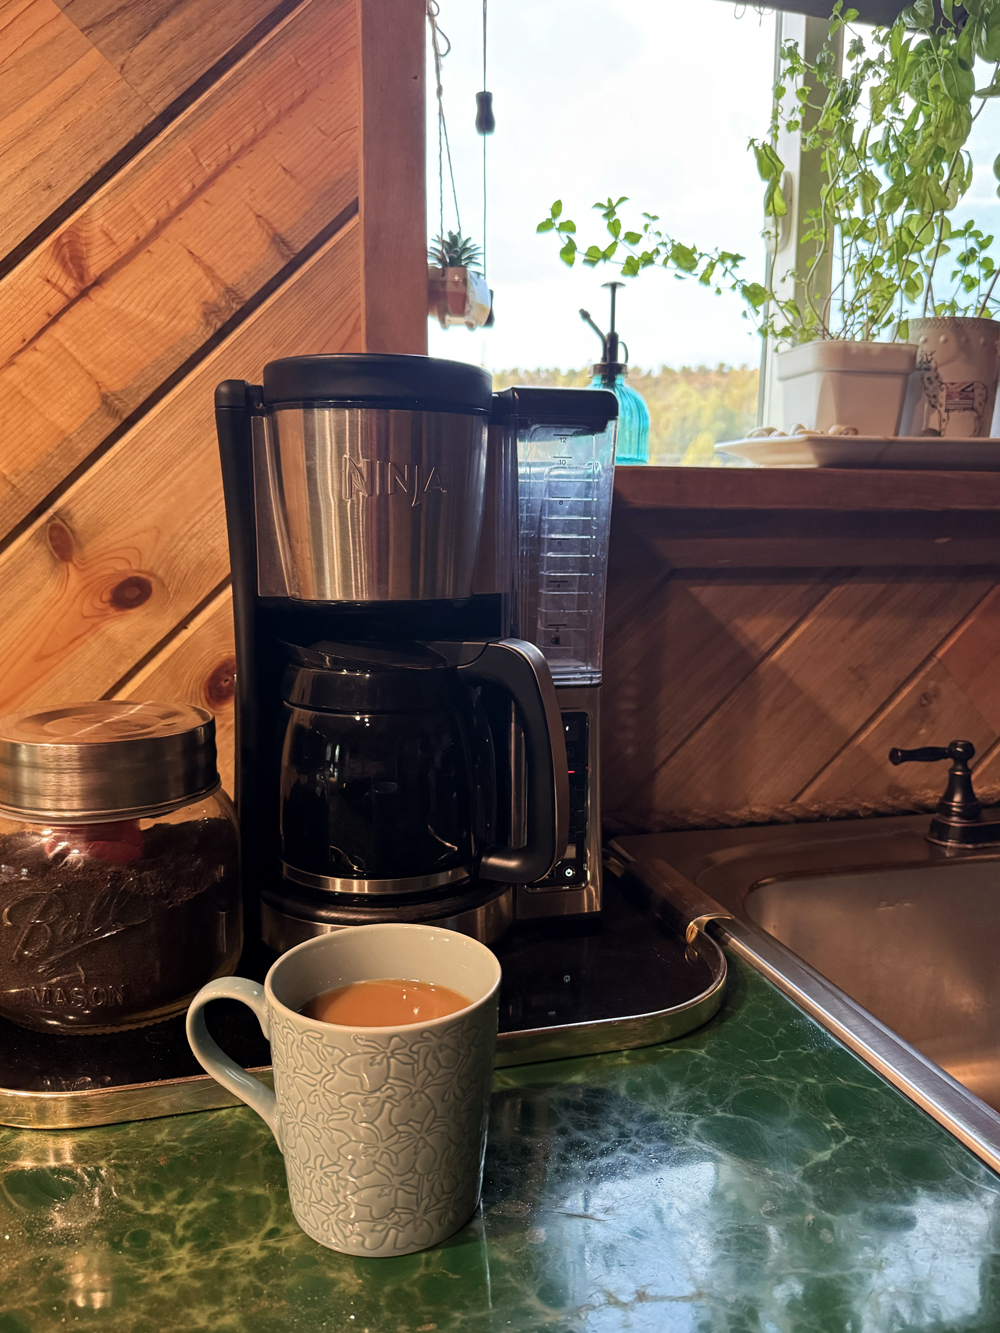
Forget those glossy catalog spreads with identical white mugs in perfect rows. Cozy does not mean sterile. Cozy is mismatched mugs, a countertop with coffee rings that refuse to wipe away, and brewing your morning cup while your messy hair insists on defying gravity. My own coffee nook is simple: a large Mason jar for storing coffee, a Ninja coffee maker (my most prized possession), and a thrifted serving tray. (Amazon a On the window sill I keep a few herbs, and nearby sit a couple of cute decorations that were gifted to me. Imperfect, practical, and full of heart. That is real rustic luxury.
Pick a Mug that Fits Your Mood
Coffee tastes better when you are drinking from a vessel that makes you smile. Retire the chipped mug from that fundraiser you never went to. This is Coffee Day, not Sad Tuesday.
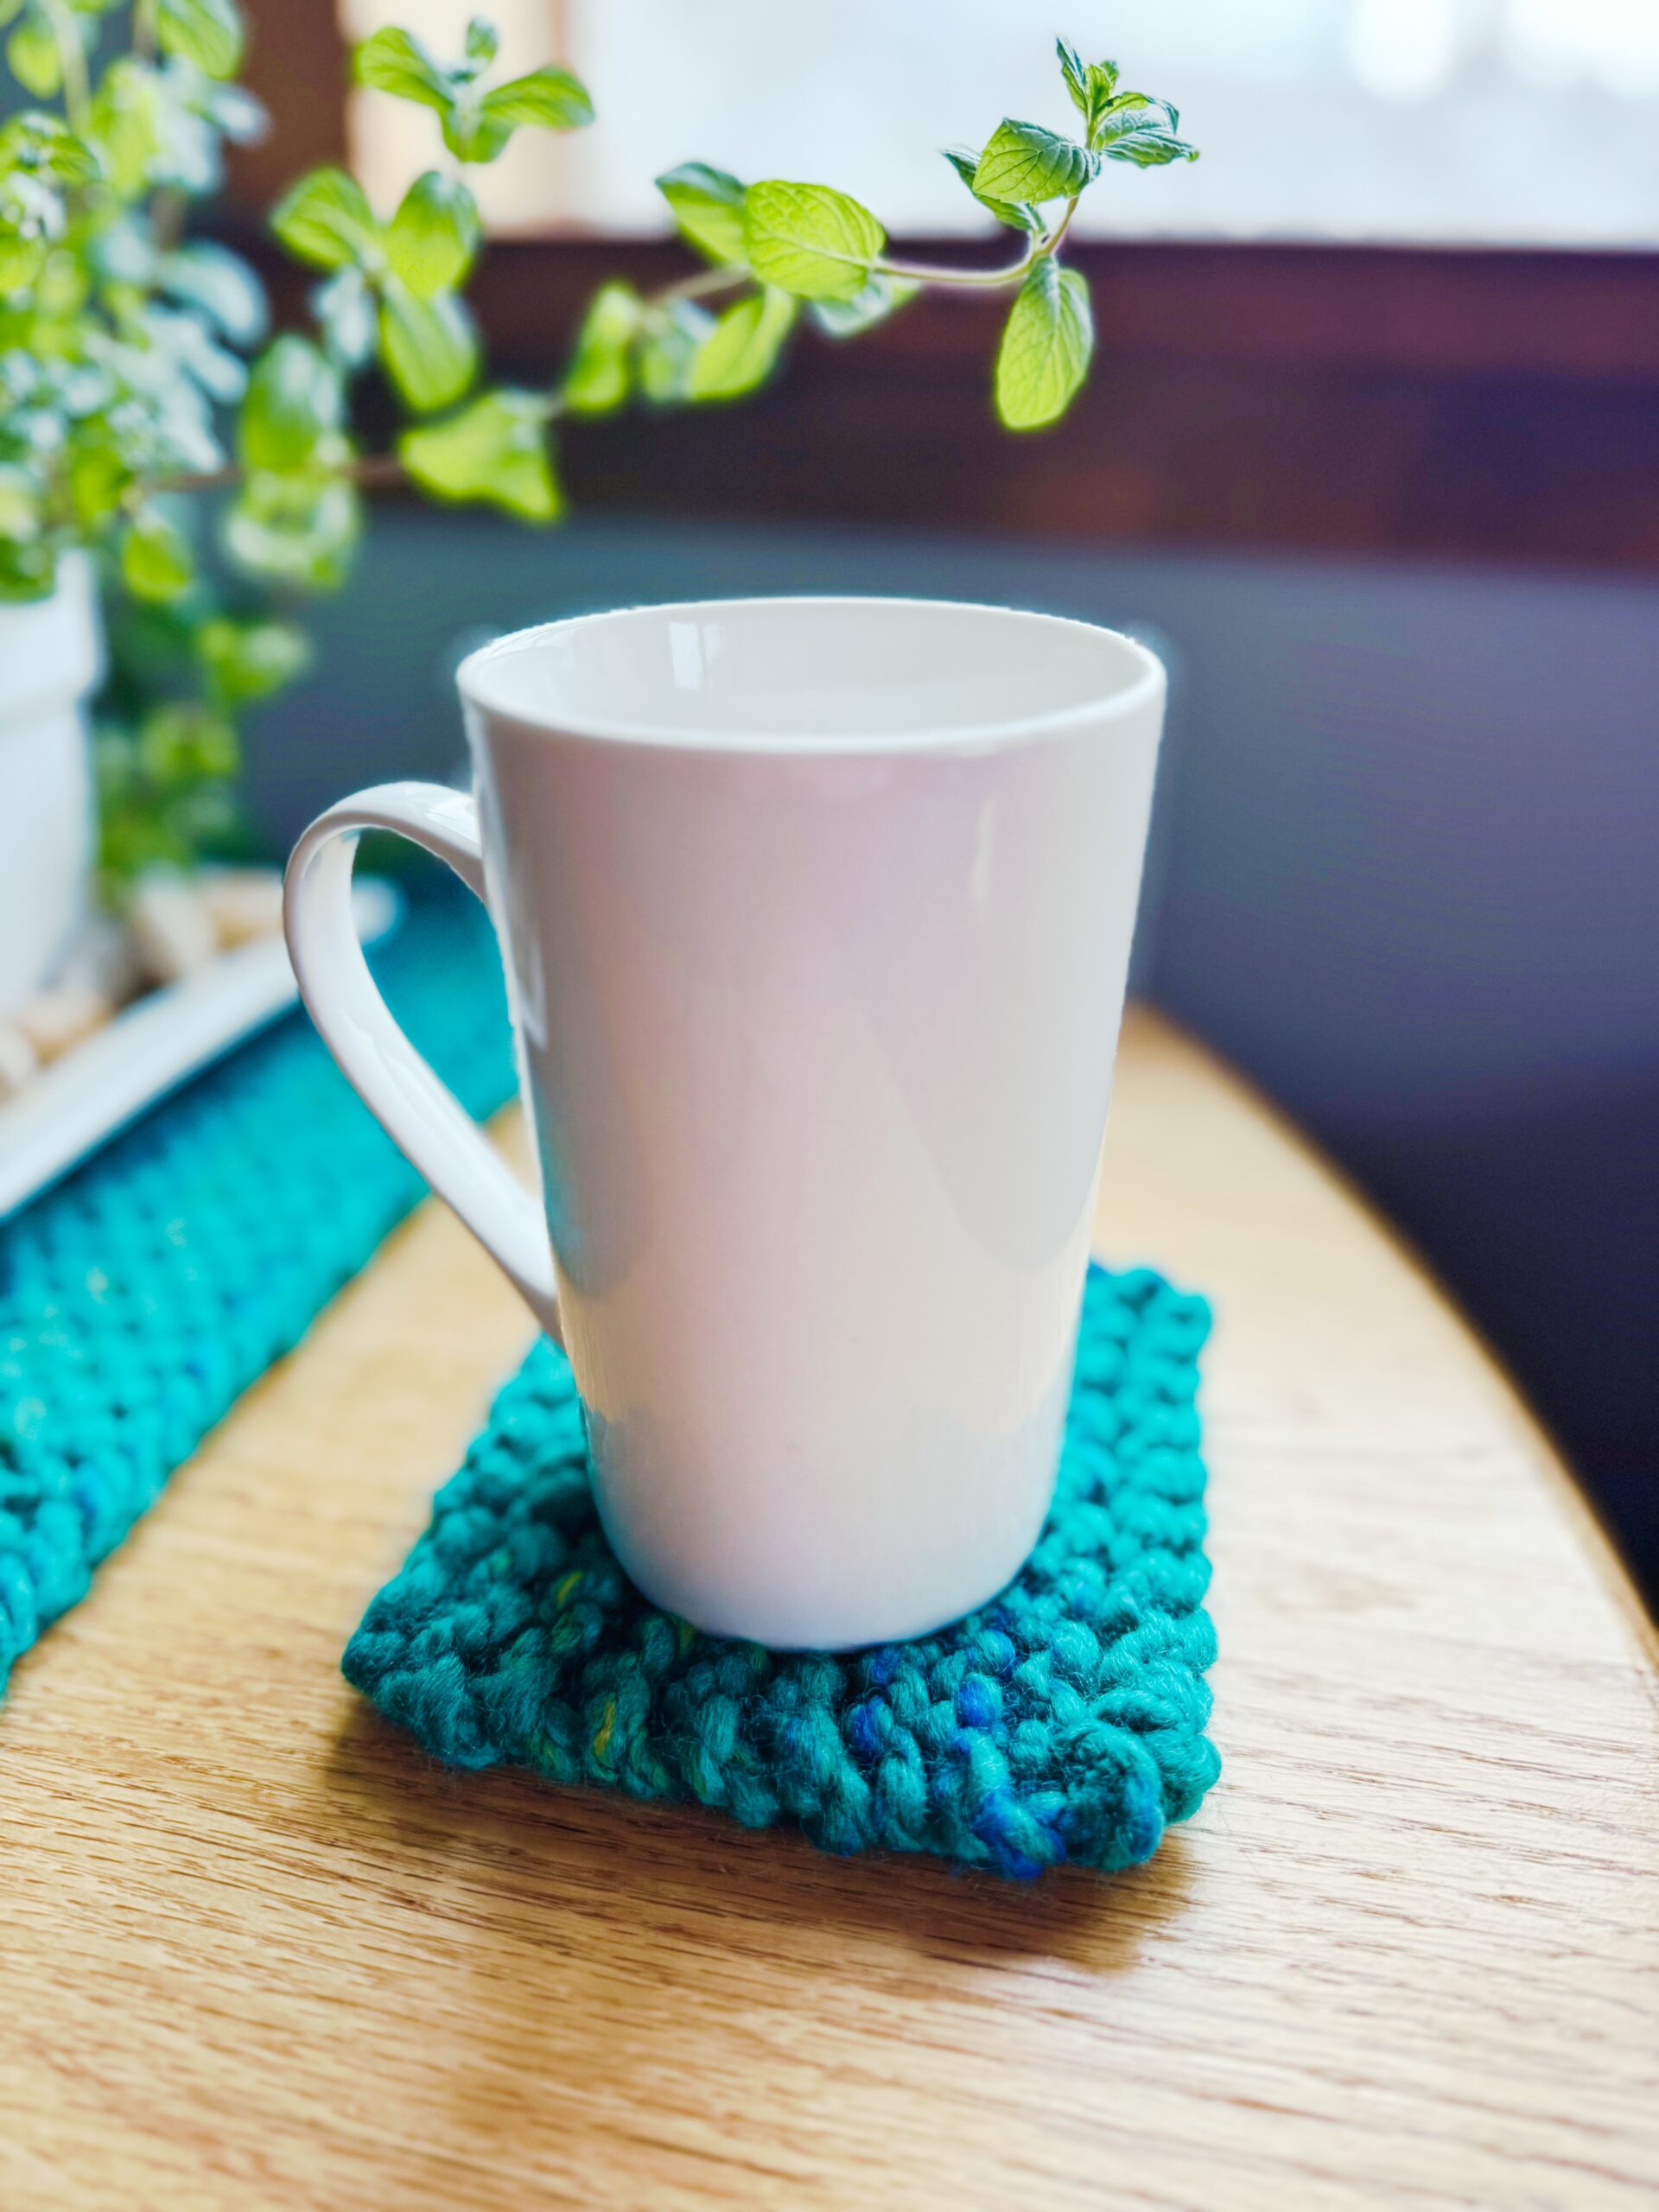
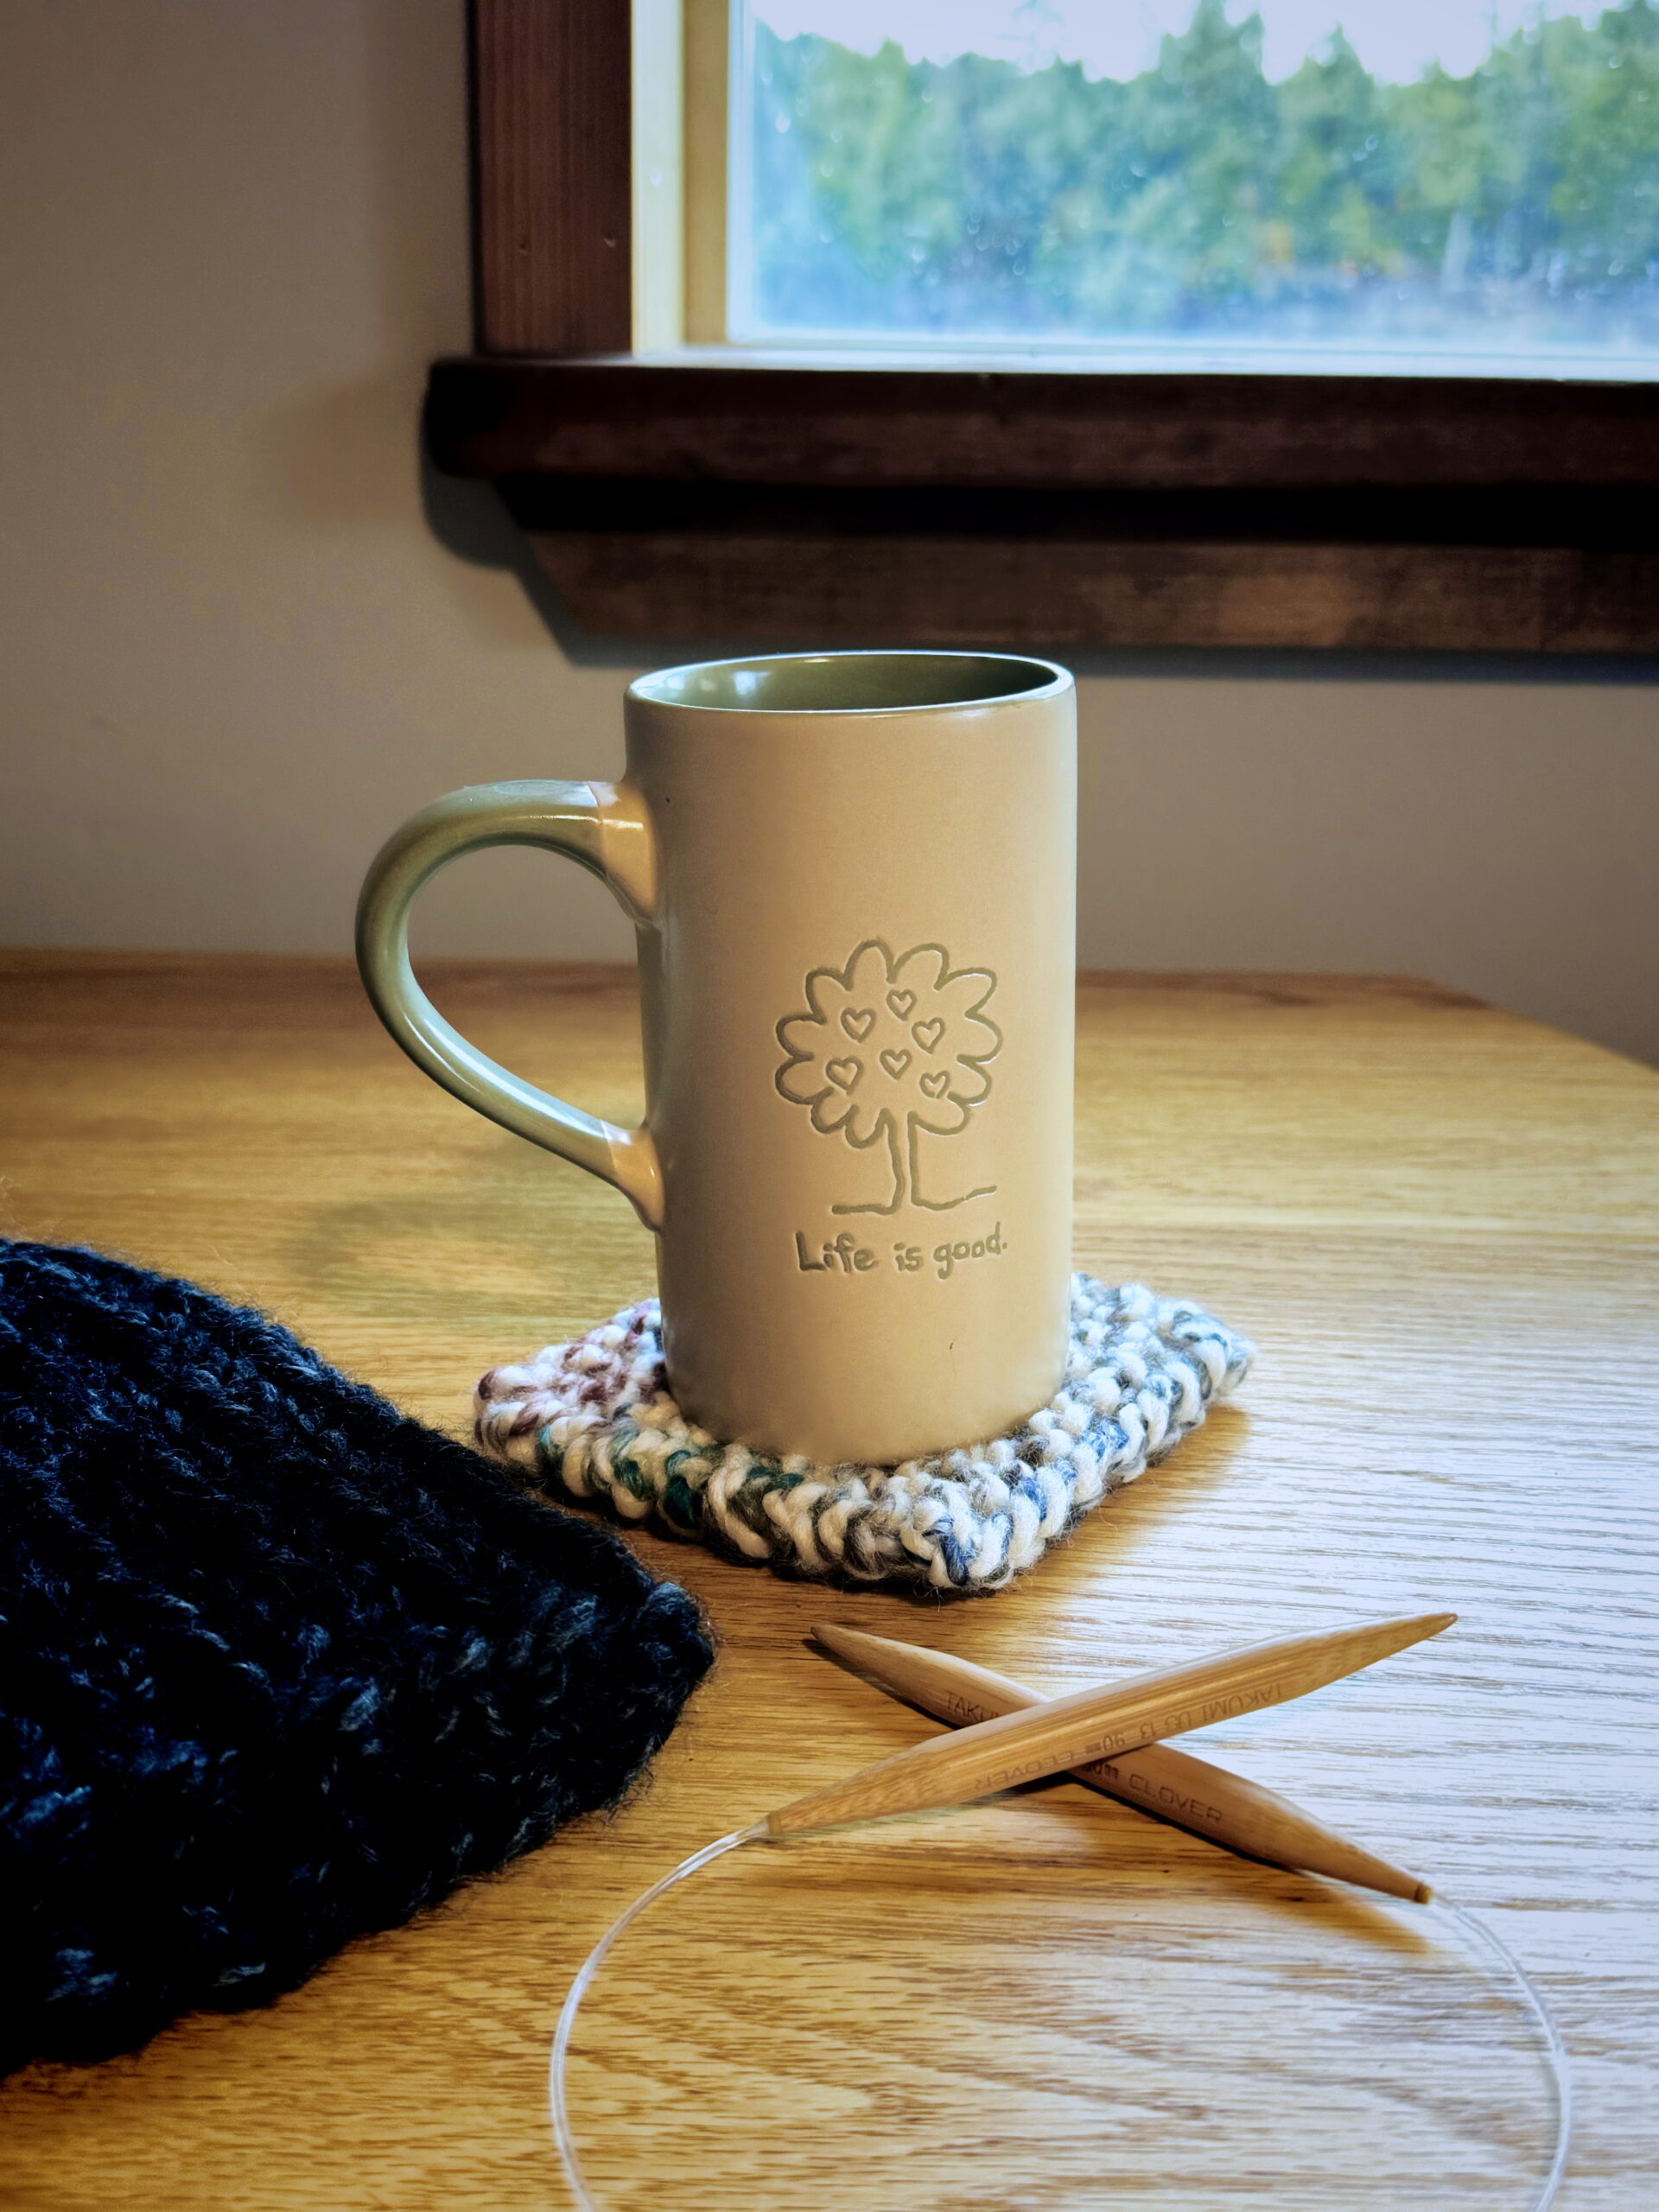
Switching mugs with the seasons? Even better. Pair each one with a hand-knit coaster. I just wrote a brand new chunky yarn coaster pattern for my upcoming kids’ book. It is available now and makes the perfect first knitting project. You can find it here: Chunky Coaster Free Knitting Pattern. Suddenly you are running your own boutique café.
Add Texture with Knits and Natural Materials
Knitting is not just about scarves. Handmade pieces can bring warmth and charm right into your coffee nook.
Knit a chunky placemat for your French press or pour over.
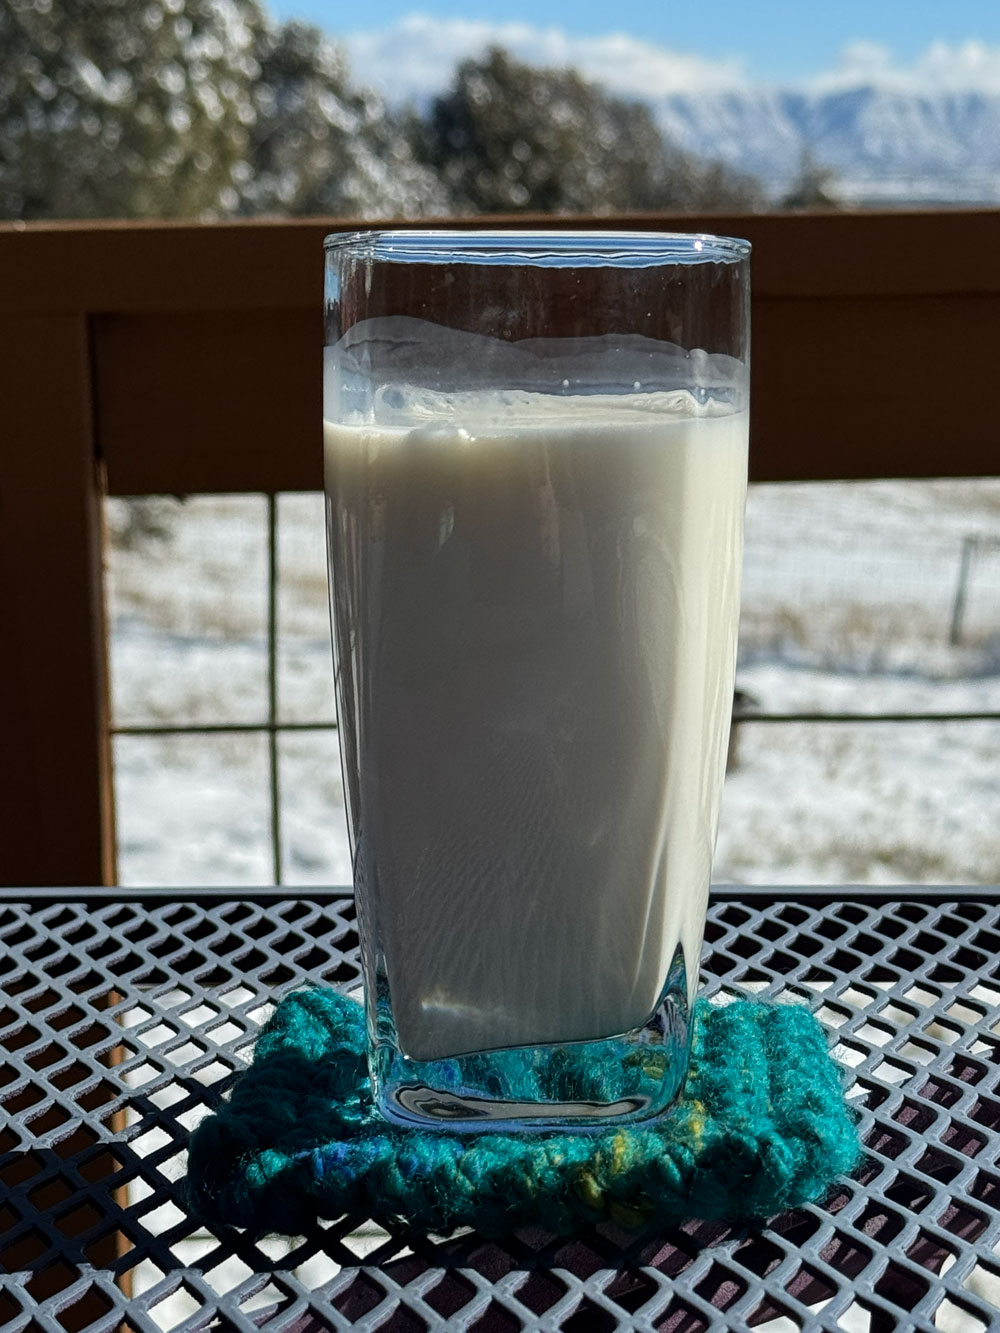
Use hand-knit coasters to catch those inevitable coffee rings.
Drape a cozy throw over the chair closest to your nook.
If you are feeling clever, even a handmade basket can corral beans and syrups.
Rule of thumb: if you think it’s cute and cozy, it is.
Organize Without Over-Organizing
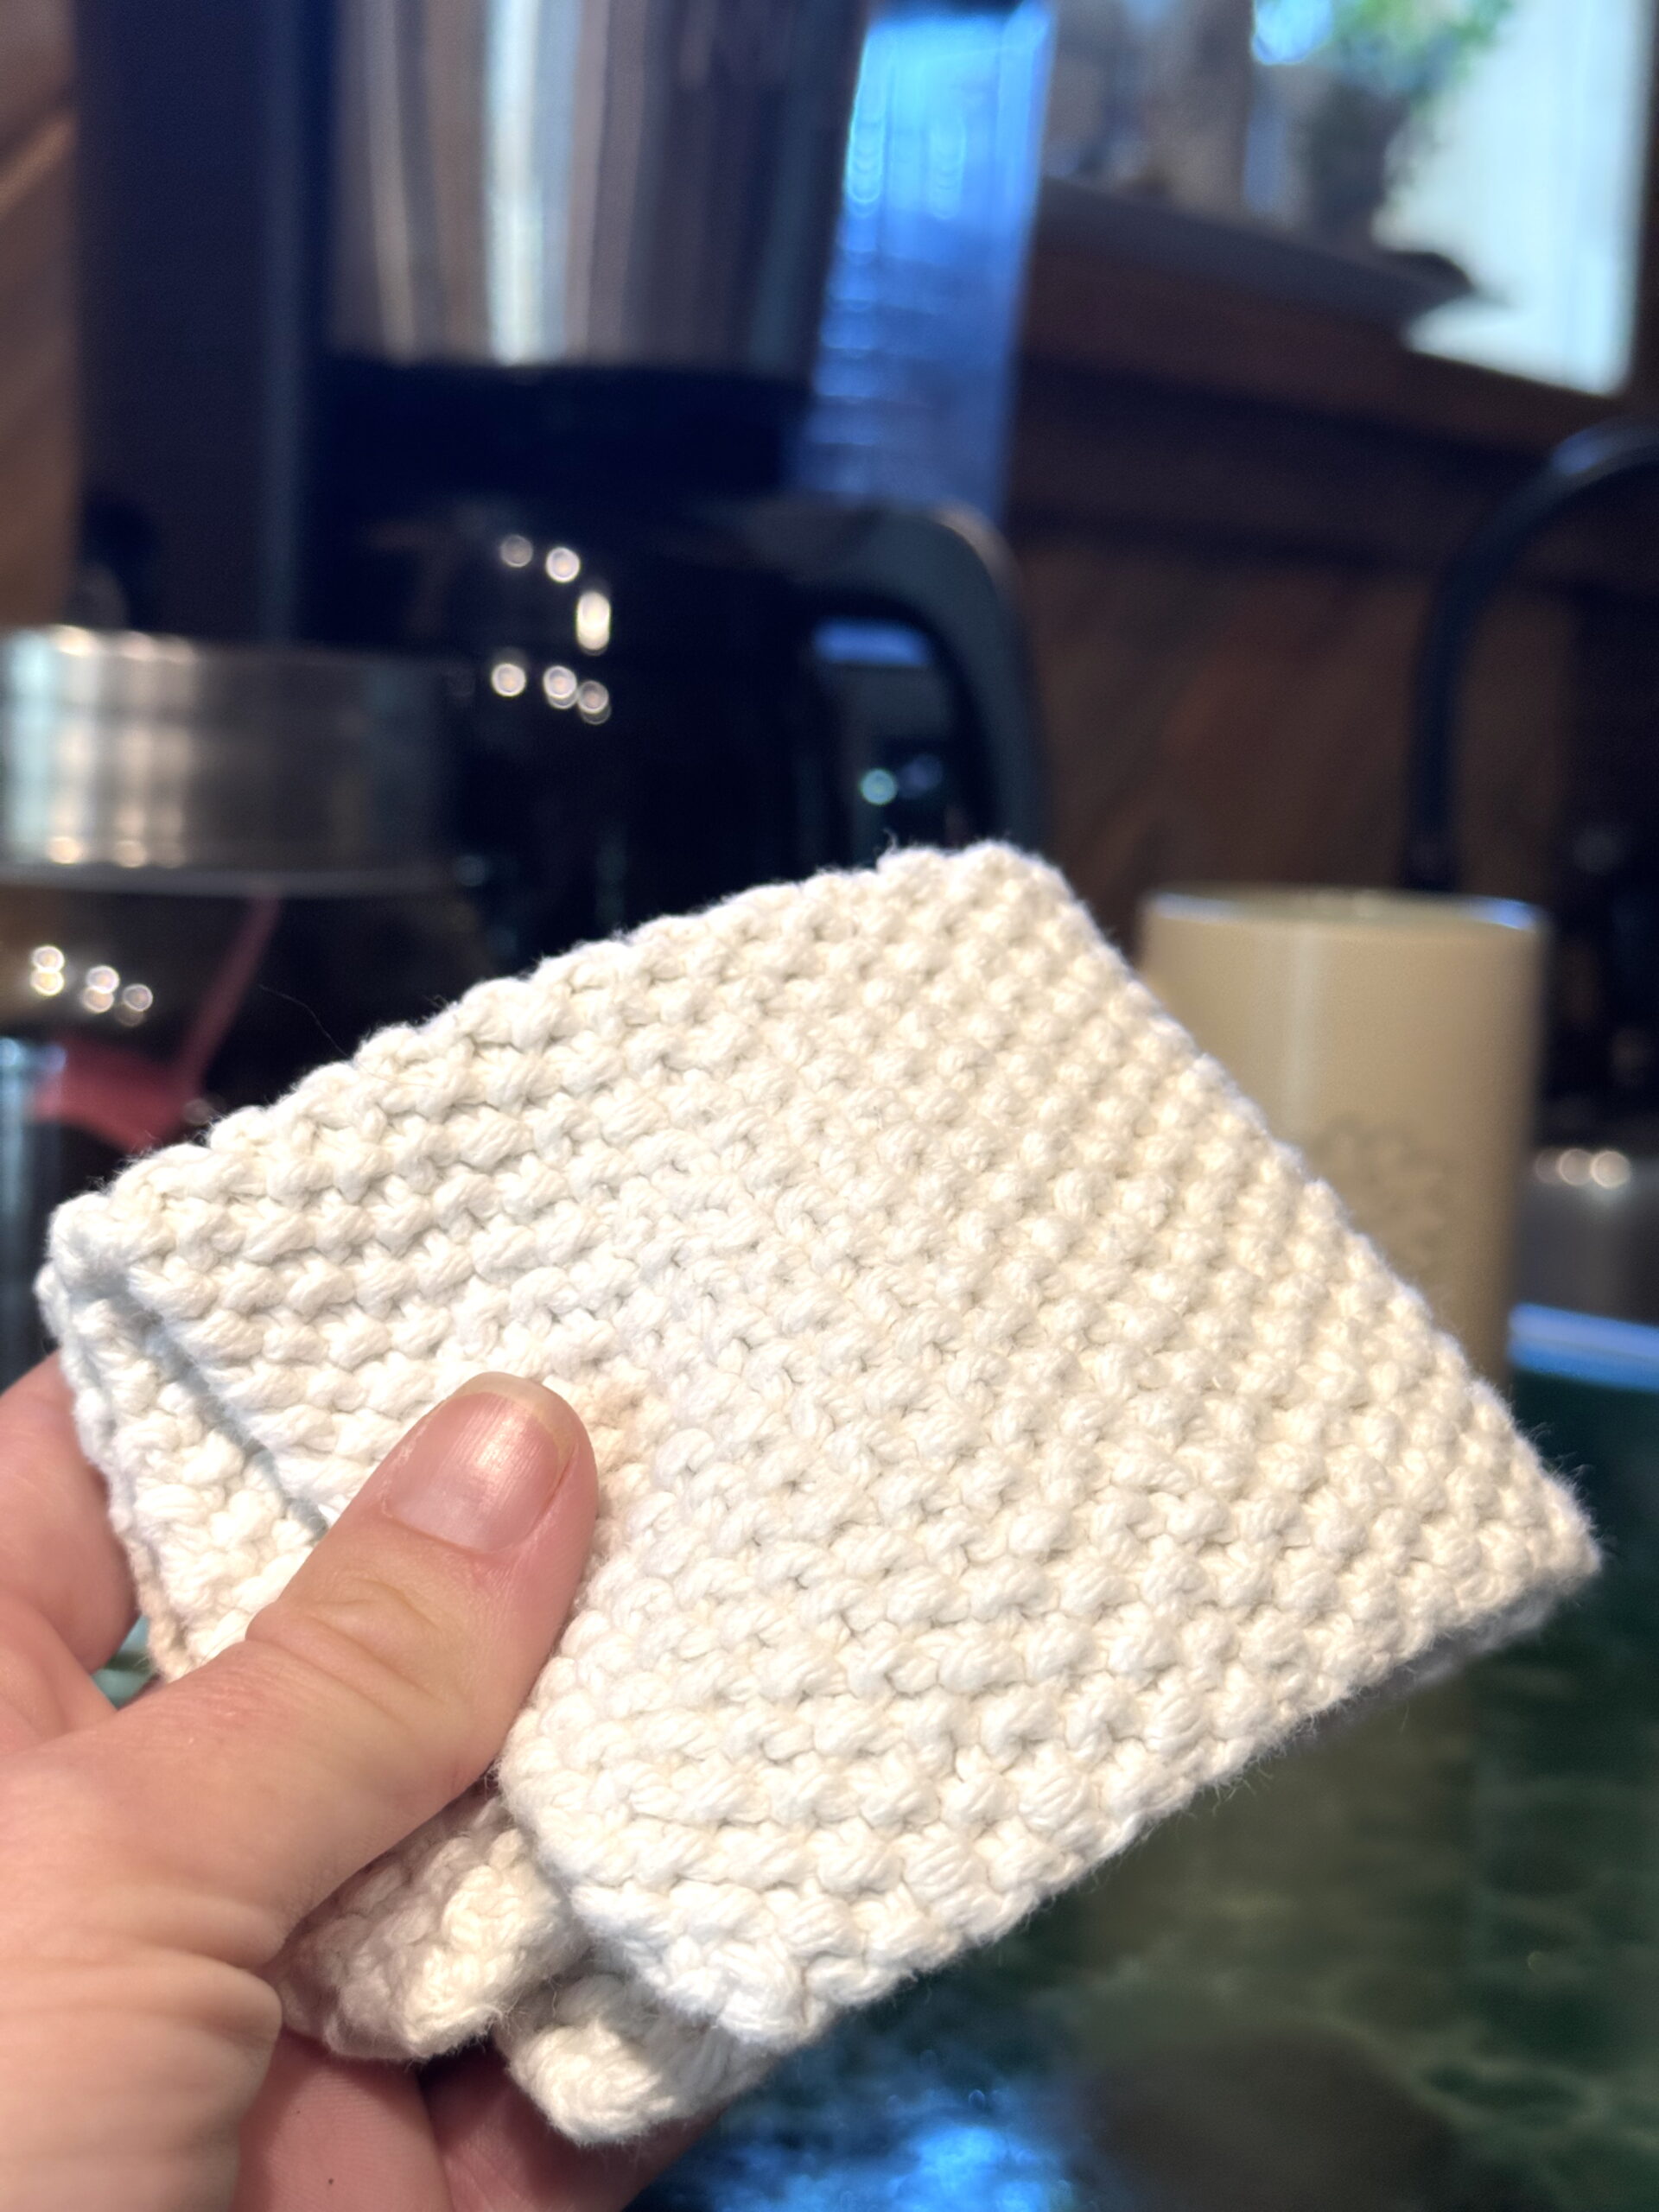
Your cozy coffee nook does not need to look staged for an Airbnb photoshoot. A little intentional mess feels real. Coffee rings on the counter? That just means the nook is being used. And a handmade washcloth will clean it right up. (Browse my free dishcloth knitting patterns here.)
Why should mugs have all the fun? Let the yarn set the tone.
Fall: Pumpkin orange mug cozies.
Winter: A wool runner under your kettle.
Spring: Light lacey coasters.
Summer: Cotton mats that laugh at iced coffee rings.
Scraps of yarn are not leftovers. They are décor.
Why a Cozy Coffee Nook Matters
Your cozy coffee nook is more than décor. It is a daily rebellion against rushing. It is a reminder that peace, coziness, and creativity are worth claiming. Hair unbrushed, mug slightly stained, counter imperfect. Still perfect in its own way. That is the heartbeat of PurlsAndPixels.
So today, skip the drive-thru latte. Brew slow. Sip slower. Let the ritual be the reward.
Keep the Cozy Going
Want more ways to knit coziness into your everyday?
Love cozy knitting projects? Join me on YouTube, Pinterest, and Instagram! And don’t forget to sign up for my newsletter to get more free patterns, helpful tips, and updates straight to your inbox. 💌
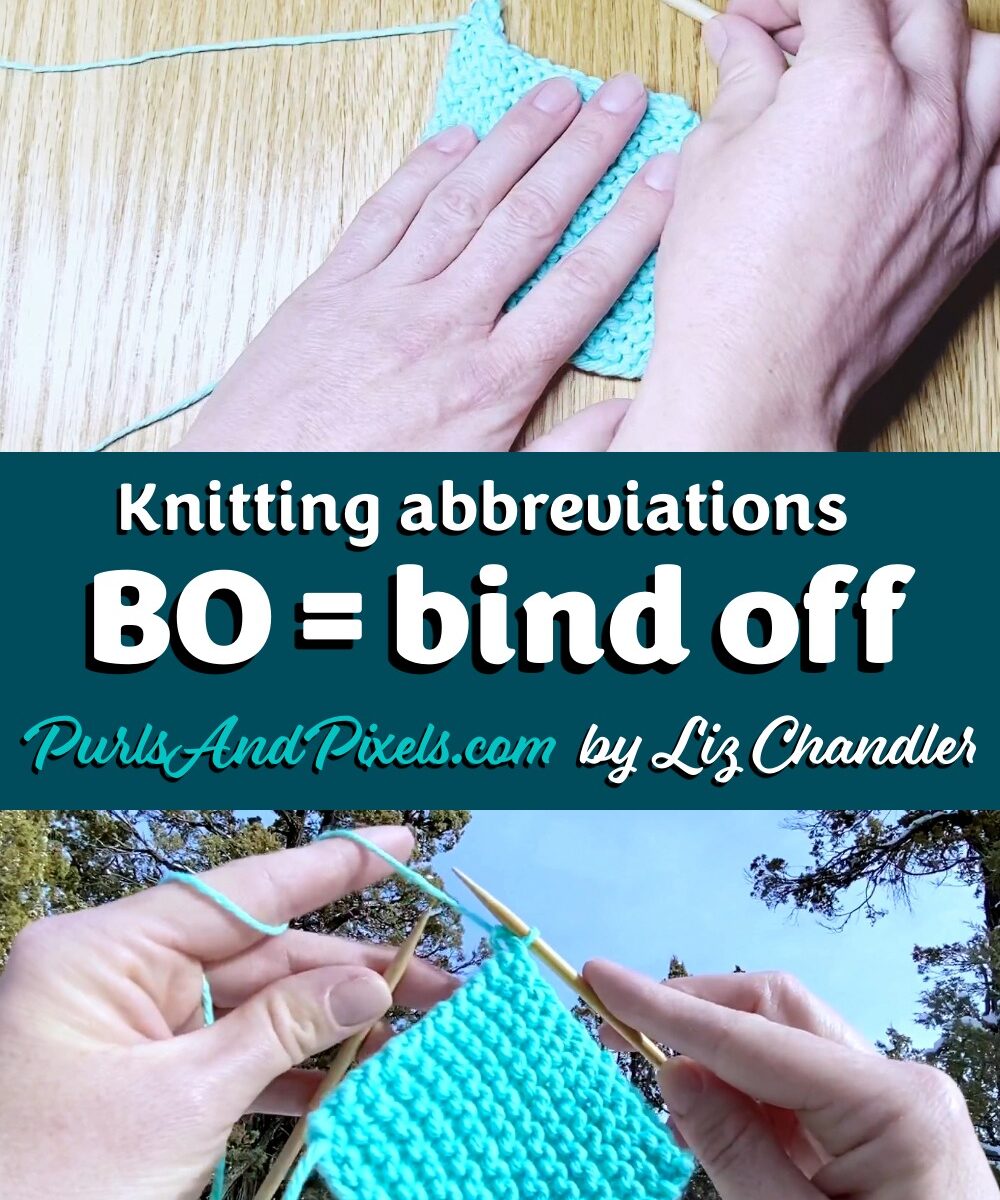
Every knitting project eventually needs to end, and that is where BO comes in. In a pattern, BO = bind off.
It is the instruction that tells you how to finish your stitches so they do not unravel. Think of it as plating up your dish after cooking—it seals everything together so it is ready to enjoy.
👉 Example: “BO all sts” means “bind off all stitches.”
The Real Meaning of BO in Knitting
Binding off closes the stitches on your needle. Without it, your work would quickly unravel. Just as casting on is the start, binding off is the finish line.
How to Take Knitting Stitches Off the Needles – Bind Off Knit Stitches
There are different bind off methods (standard, stretchy, sewn), but they all secure your stitches so your project is complete.
Sometimes the best part of a project is finishing it. When you bind off that last stitch, it means the counting, the tangles, and the endless rows can finally be over. 🥳
So remember: BO = Be Over. The project is done, ready to show off or wrap up as a gift.
Why BO Matters for Beginners
Binding off is what makes a project usable. Without it, you just have loose loops. With it, you have something finished, secure, and ready to wear or gift.
✨ Want to practice? Try these beginner-friendly projects:
Now that you know BO = bind off (and sometimes be over), you are ready to keep exploring the knitting shorthand. Next up: **= repeat the pattern between the asterisks.
👉 Don’t miss the rest of the series. Sign up for my email updates below and I will send the next lesson straight to your inbox!
I was just working on my upcoming kids’ knitting book when I froze mid sentence. Wait a second. If you are knitting with circulars, is it one needle or two? That little question stopped me in my tracks, and it might have you wondering too.
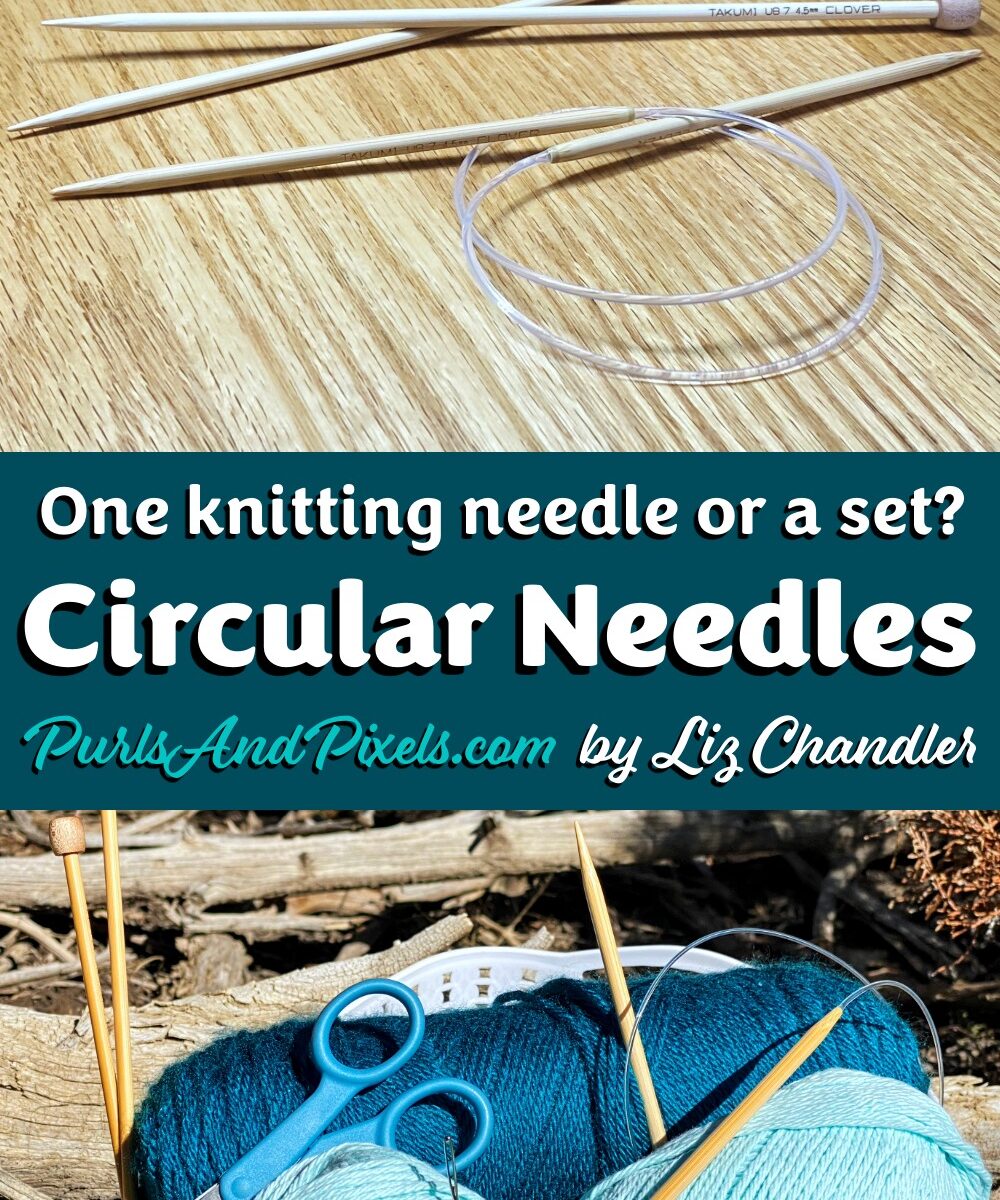
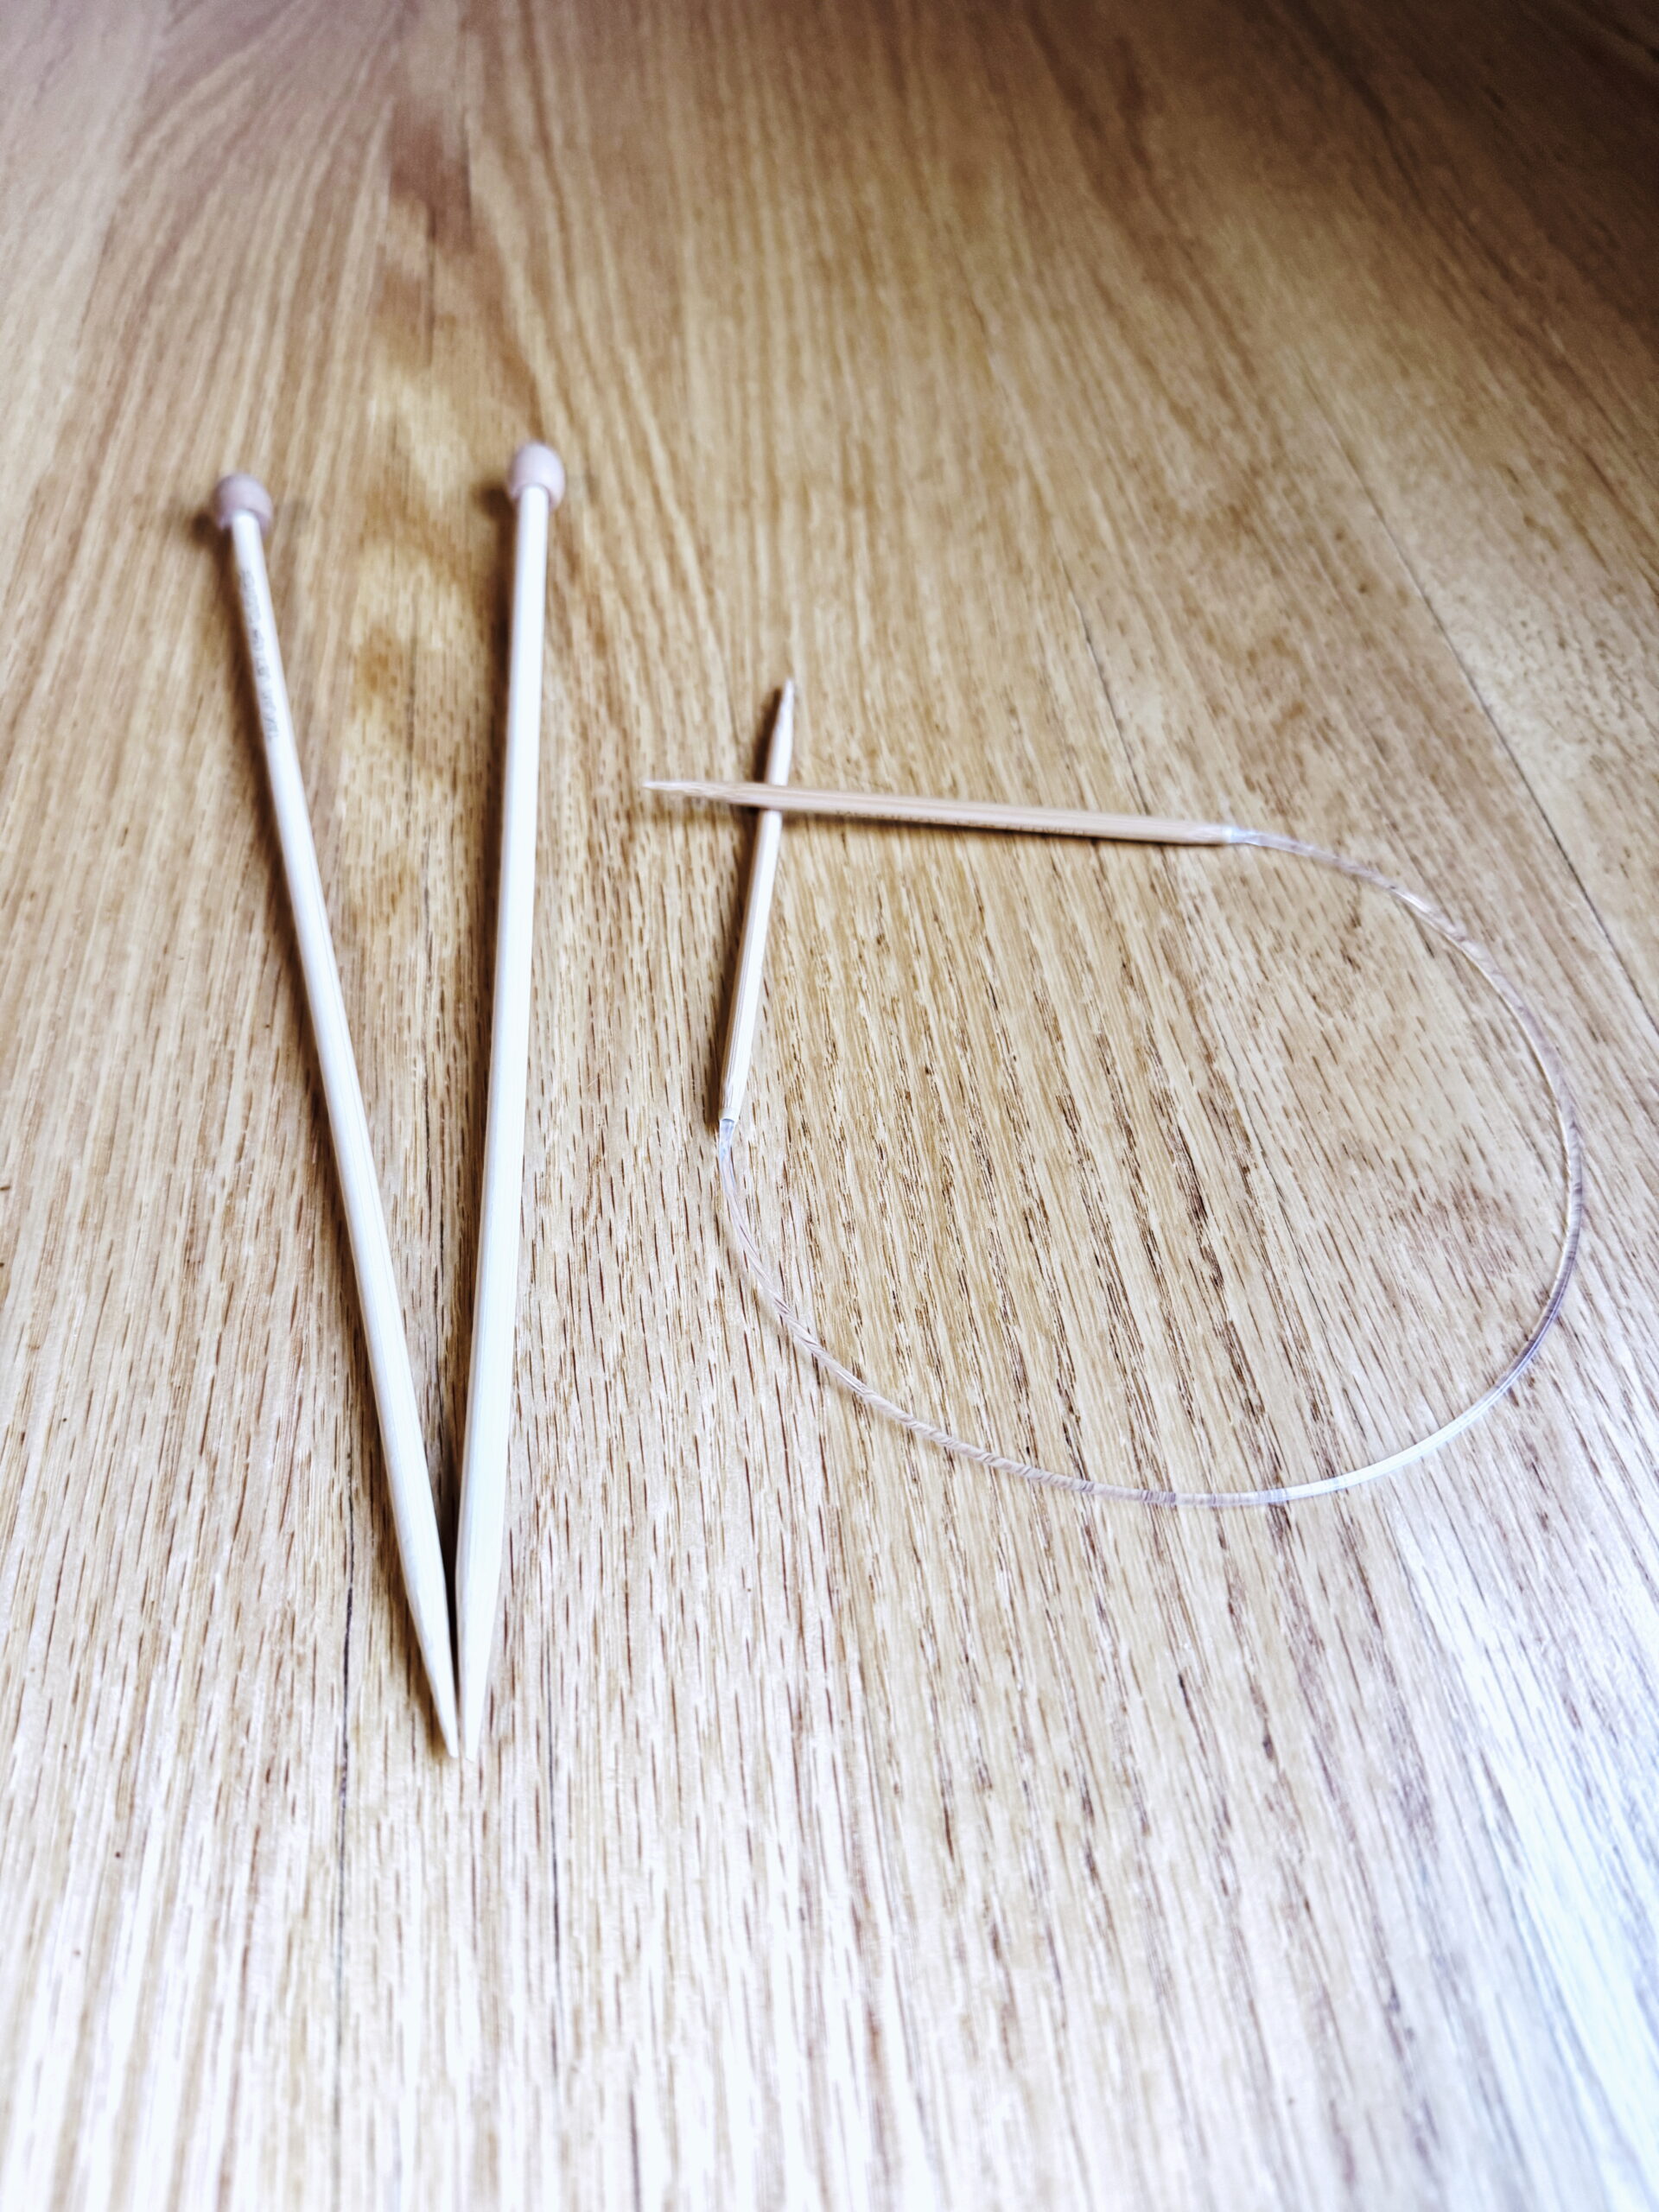
If you are brand new to knitting, the tools can be a little confusing. People often talk about “a pair of knitting needles” (two sticks that work together to hold stitches and make fabric). That is the classic picture most of us carry in our heads when we think of knitting.
But what happens when you pick up a circular knitting needle? Technically, it is one tool: a flexible cord with two needle tips attached. You buy it as one piece, and you can knit flat projects or tubes with it. It has two ends, but it is not really a “pair.”
So is it one needle, or two? Here is the simple way to think about it:
Straight needles: Always used in pairs, one in each hand.
Circular needles: One tool, two working tips.
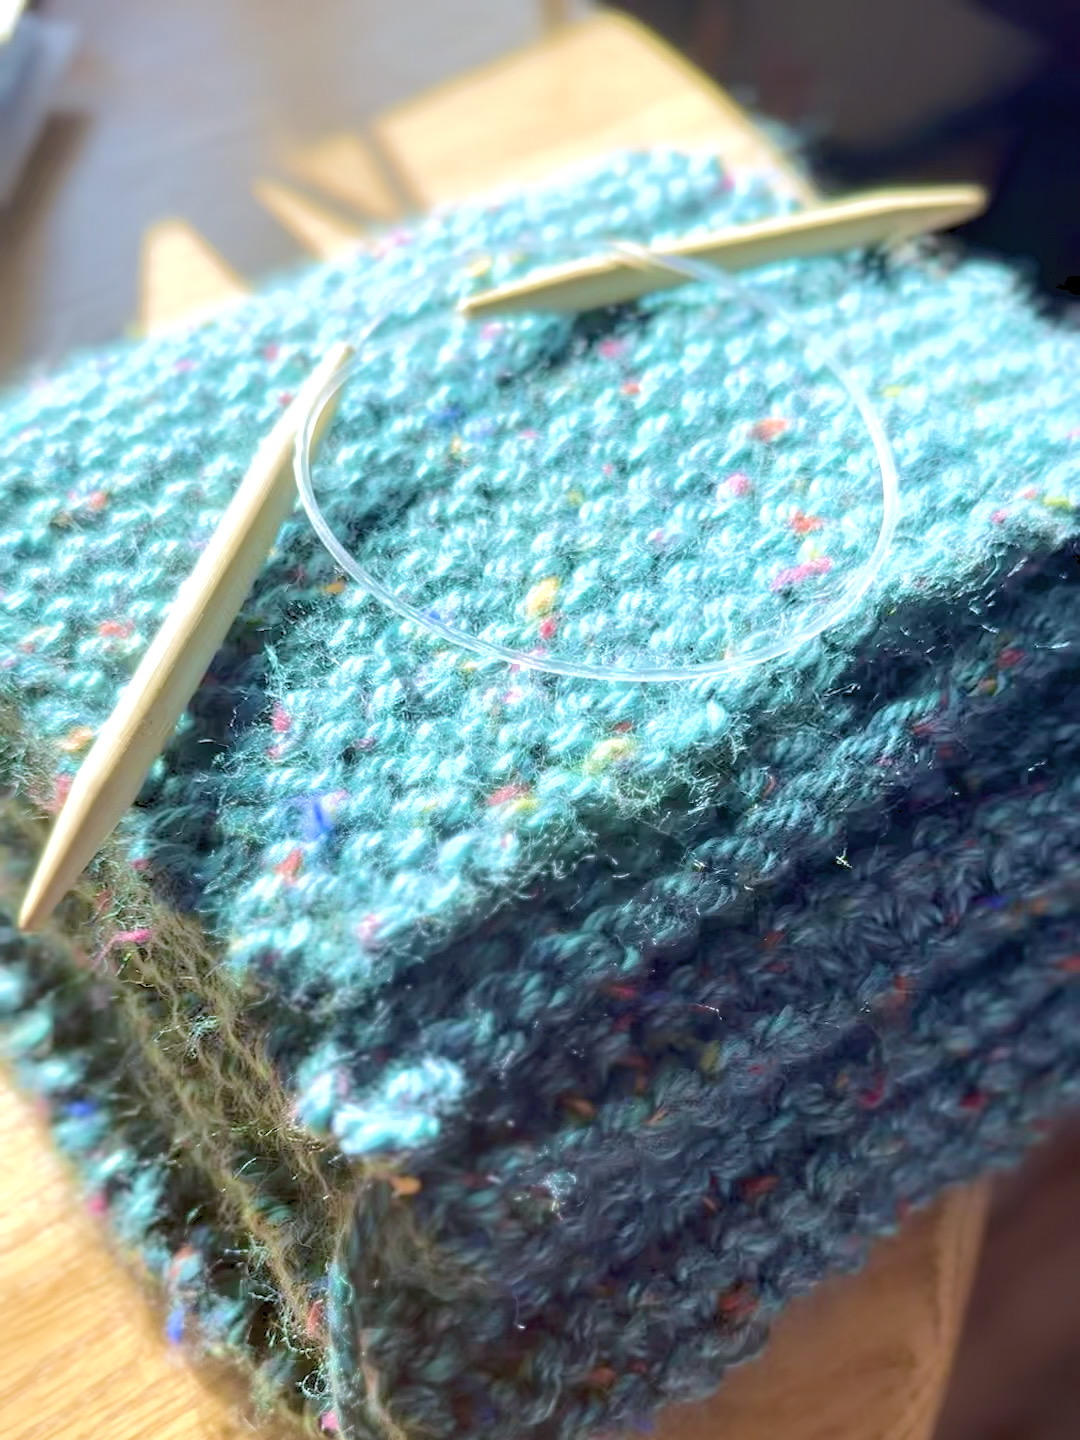
When you teach kids (or beginners of any age), circulars make life easier. No chasing runaway needles, no juggling extra sticks. You can knit small or big projects with the same tool. In fact, for my kids’ book, every single project is knit on just one circular needle from start to finish.
Why this matters
Getting the words right helps beginners feel confident. If I say “pair of needles” while holding one circular, that sounds like a trick. Instead, I explain: this is one circular needle with two ends. That way, beginners know exactly what they are holding and how it works.
A little history
Before circulars came along, knitting almost always meant two straight needles. That is why so many patterns and older books say “a pair of needles.” The first U.S. patent for a circular knitting needle was issued in 1918 (check out the patent to see the original sketches: U.S. Patent US1286125A). Those early versions looked different, but the idea took off in the mid 20th century once flexible cables were easier to make. Today, both straights and circulars are common, but the phrase “pair of needles” stuck around.
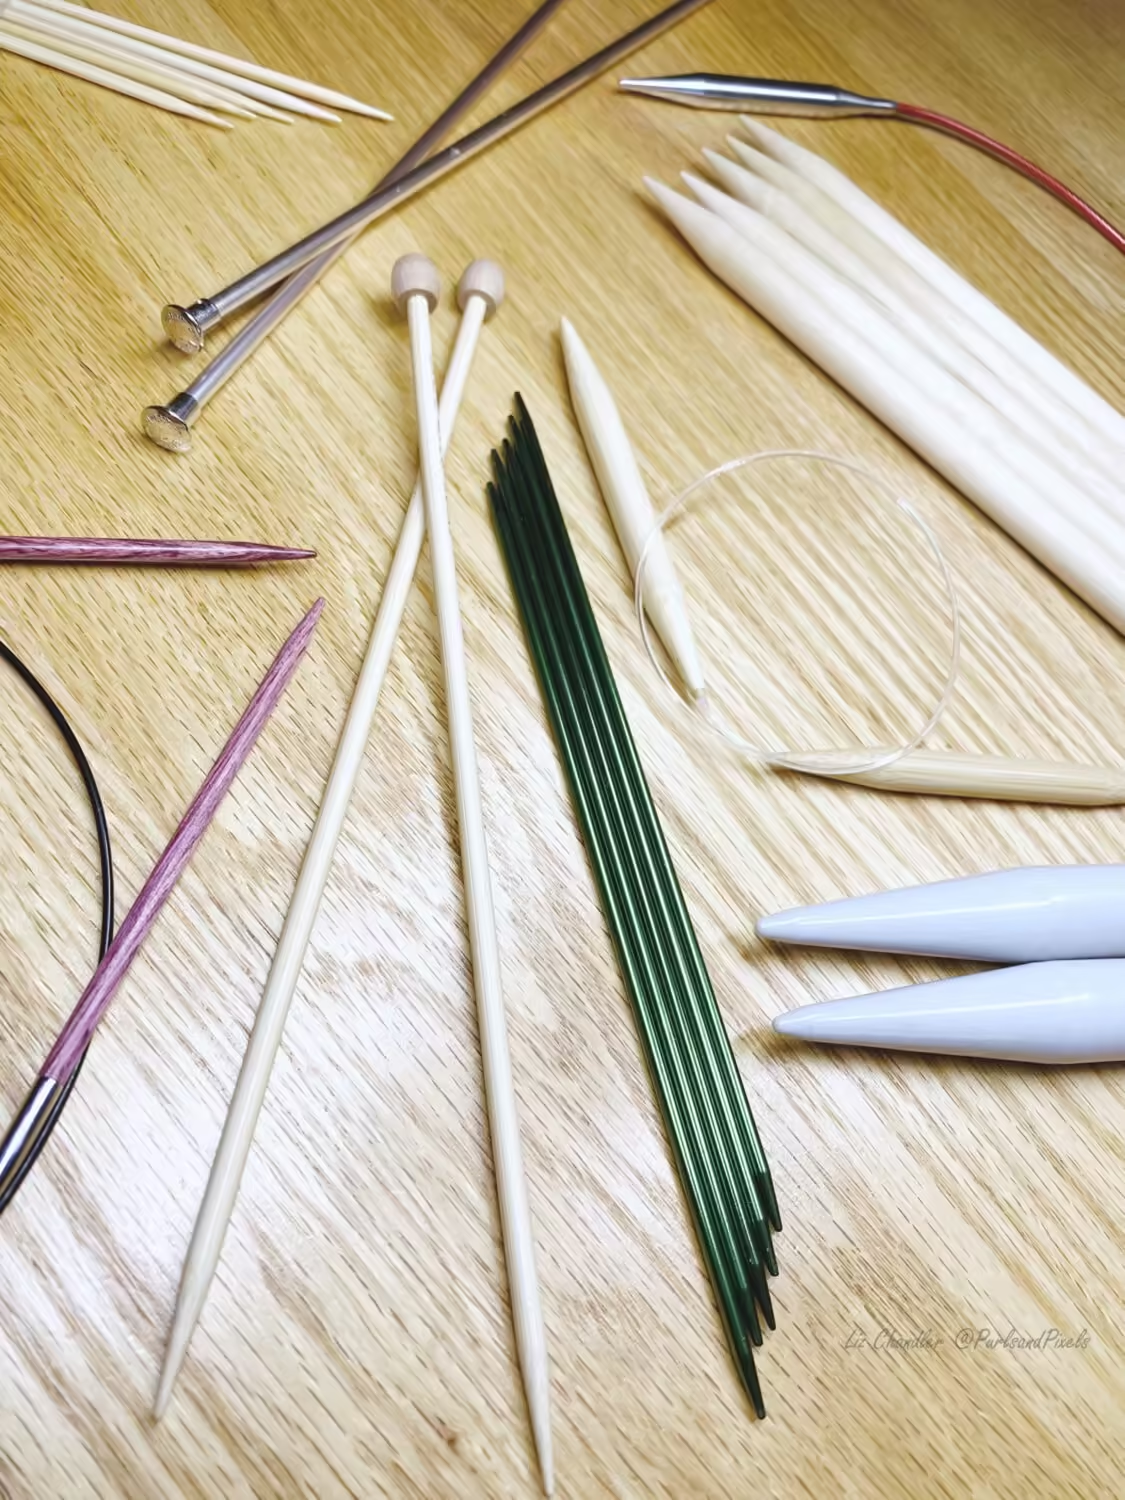
And if you have seen modern interchangeable needle sets (where you can swap tips and cords to make whatever length you need), you know the tools are still evolving. One tool, many ways to knit. No needle left behind!
The philosophy
Knitting is full of traditions, but also full of choices. You might grow up hearing one way and then find a different tool that fits you better. Neither is wrong; it just depends on what feels right in your hands. What matters is that the yarn keeps looping and you keep having fun.
So, one needle or a pair?
The answer is: it depends on the type. But if you are holding a circular, you can call it one. Your projects will turn out just as cozy either way. And honestly, no matter what you call them, the stitches do not care; they just keep lining up, happy to become something new. In the end, it is all part of unraveling a mystery that makes knitting fun to learn and even more fun to share.