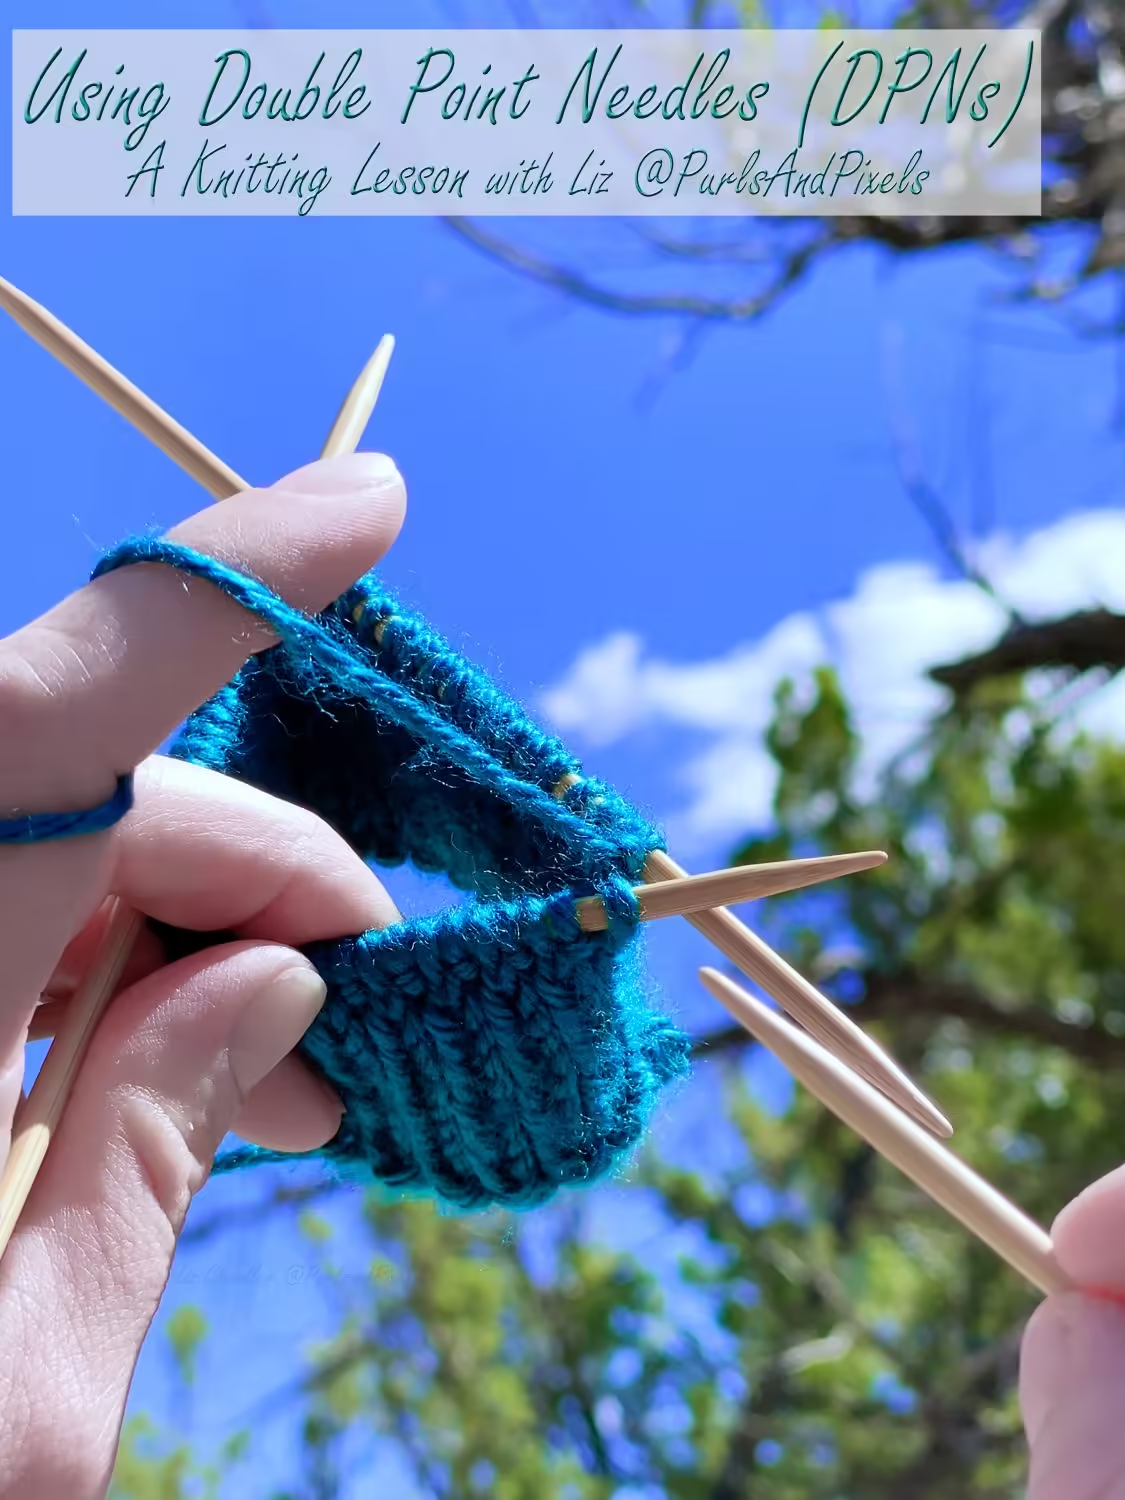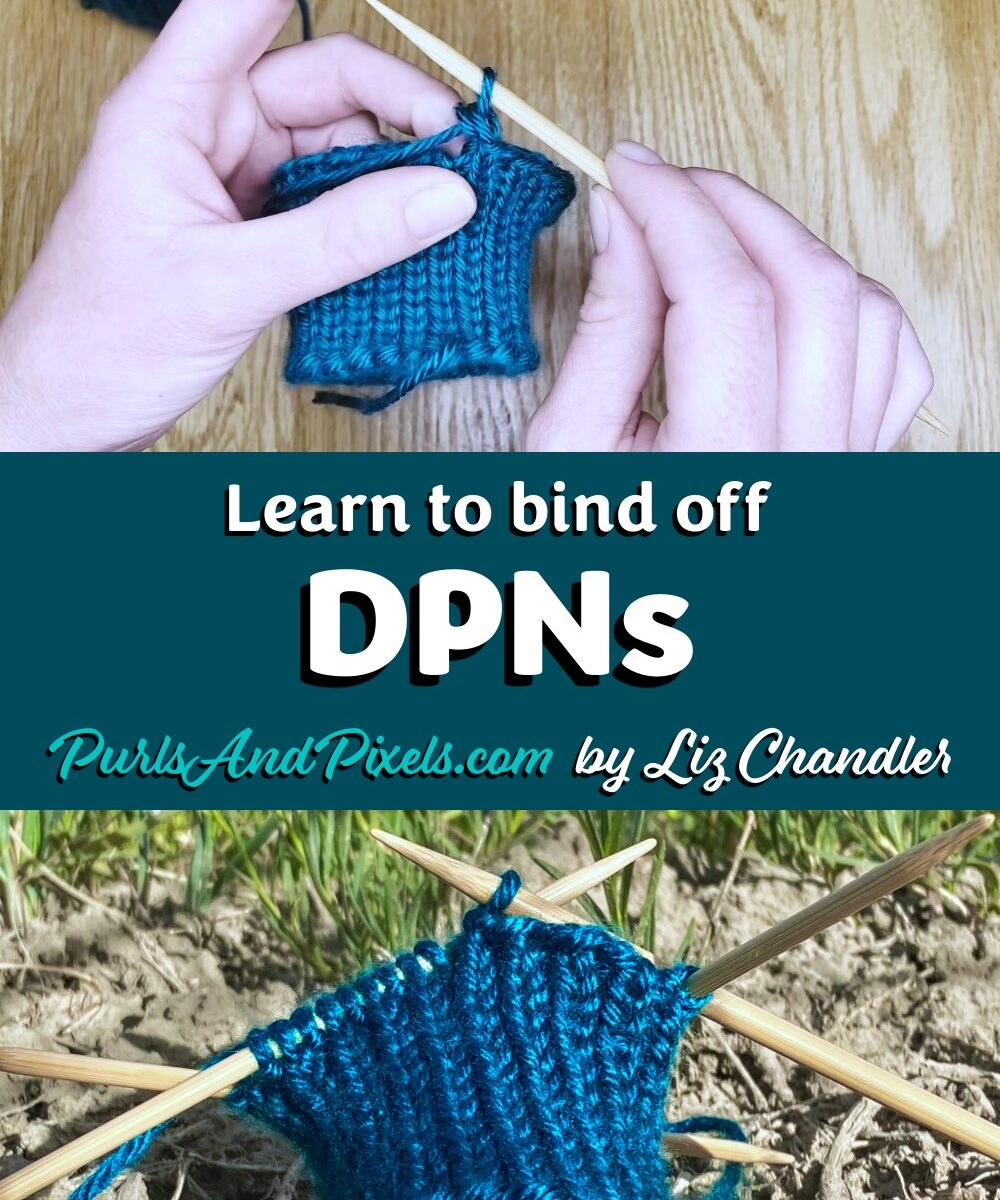
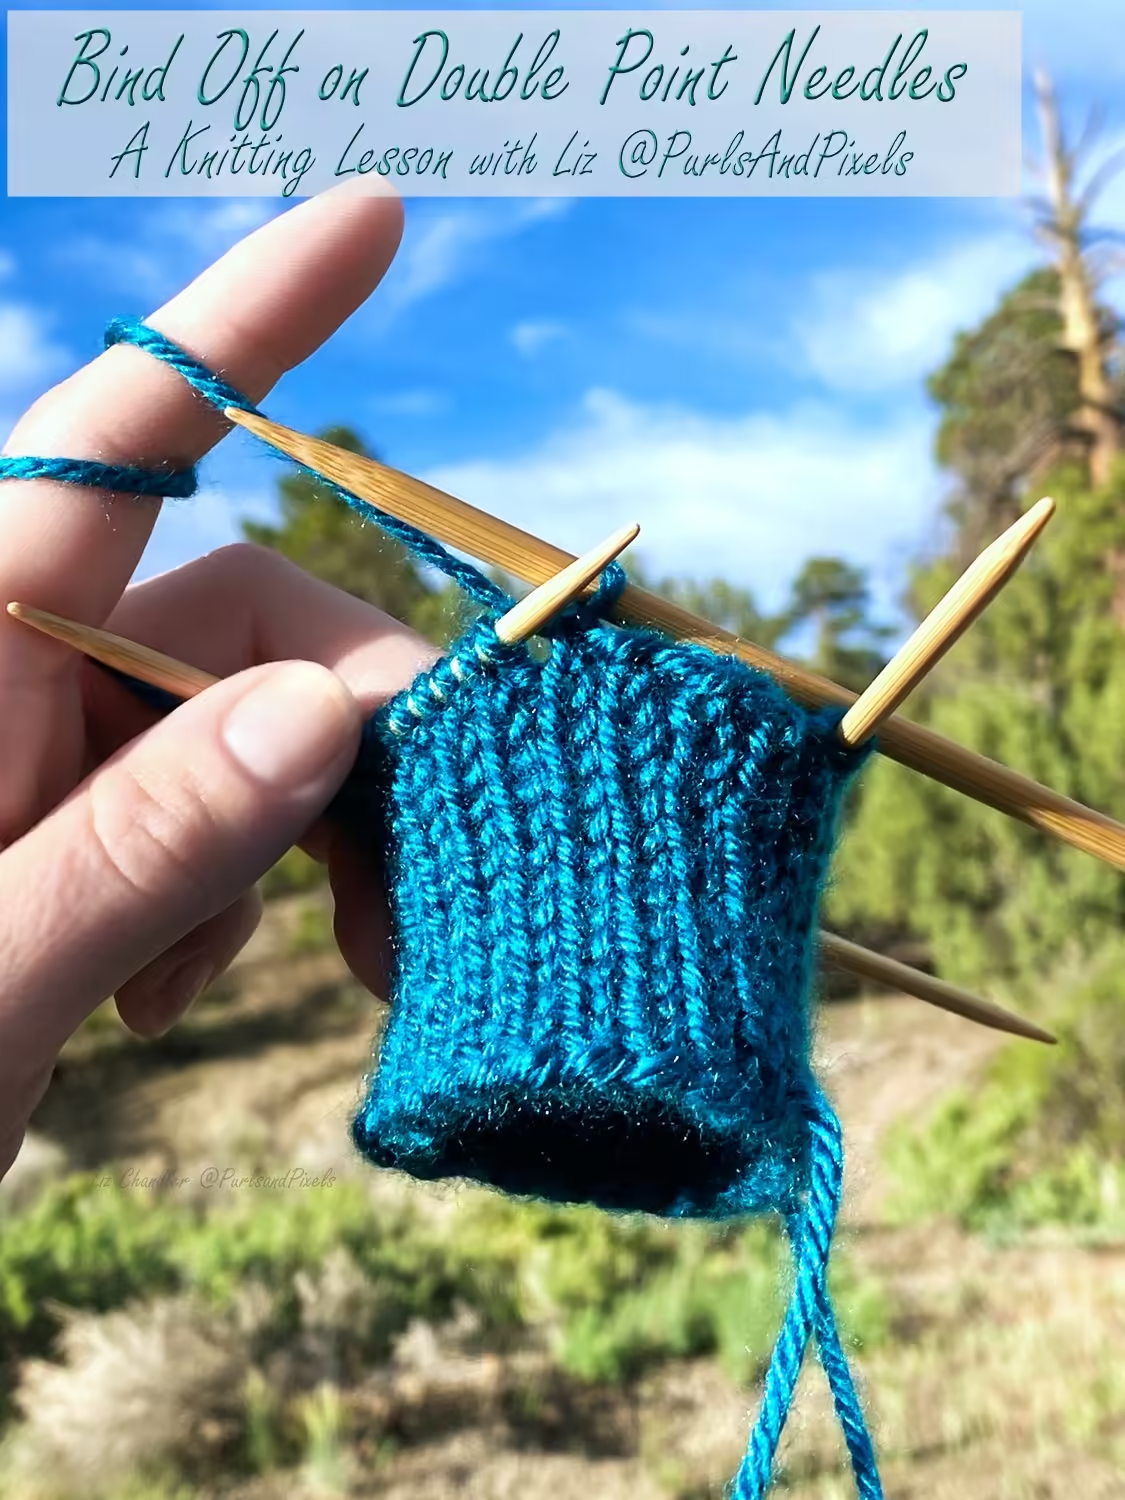
To bind off in the round on DPNs (double point needles), you can use the same “Standard Bind Off” that you learned when knitting flat pieces. Just as before when we made a flat bind off, you will chain the stitches in your last row (round) together. On double point needles, you will bind the live stitches off one needle at a time, until there is only one stitch left to anchor in. This will create a smooth, flat edge at the end of your knit round.
Before you start, remember to loosen up:
Keep in mind that this bind off tends to be a bit tight, so you may want to loosen up your tension when knitting this last row. Many patterns will specifically tell you to “bind off loosely,” to remind you to adjust the tightness of the stitches.
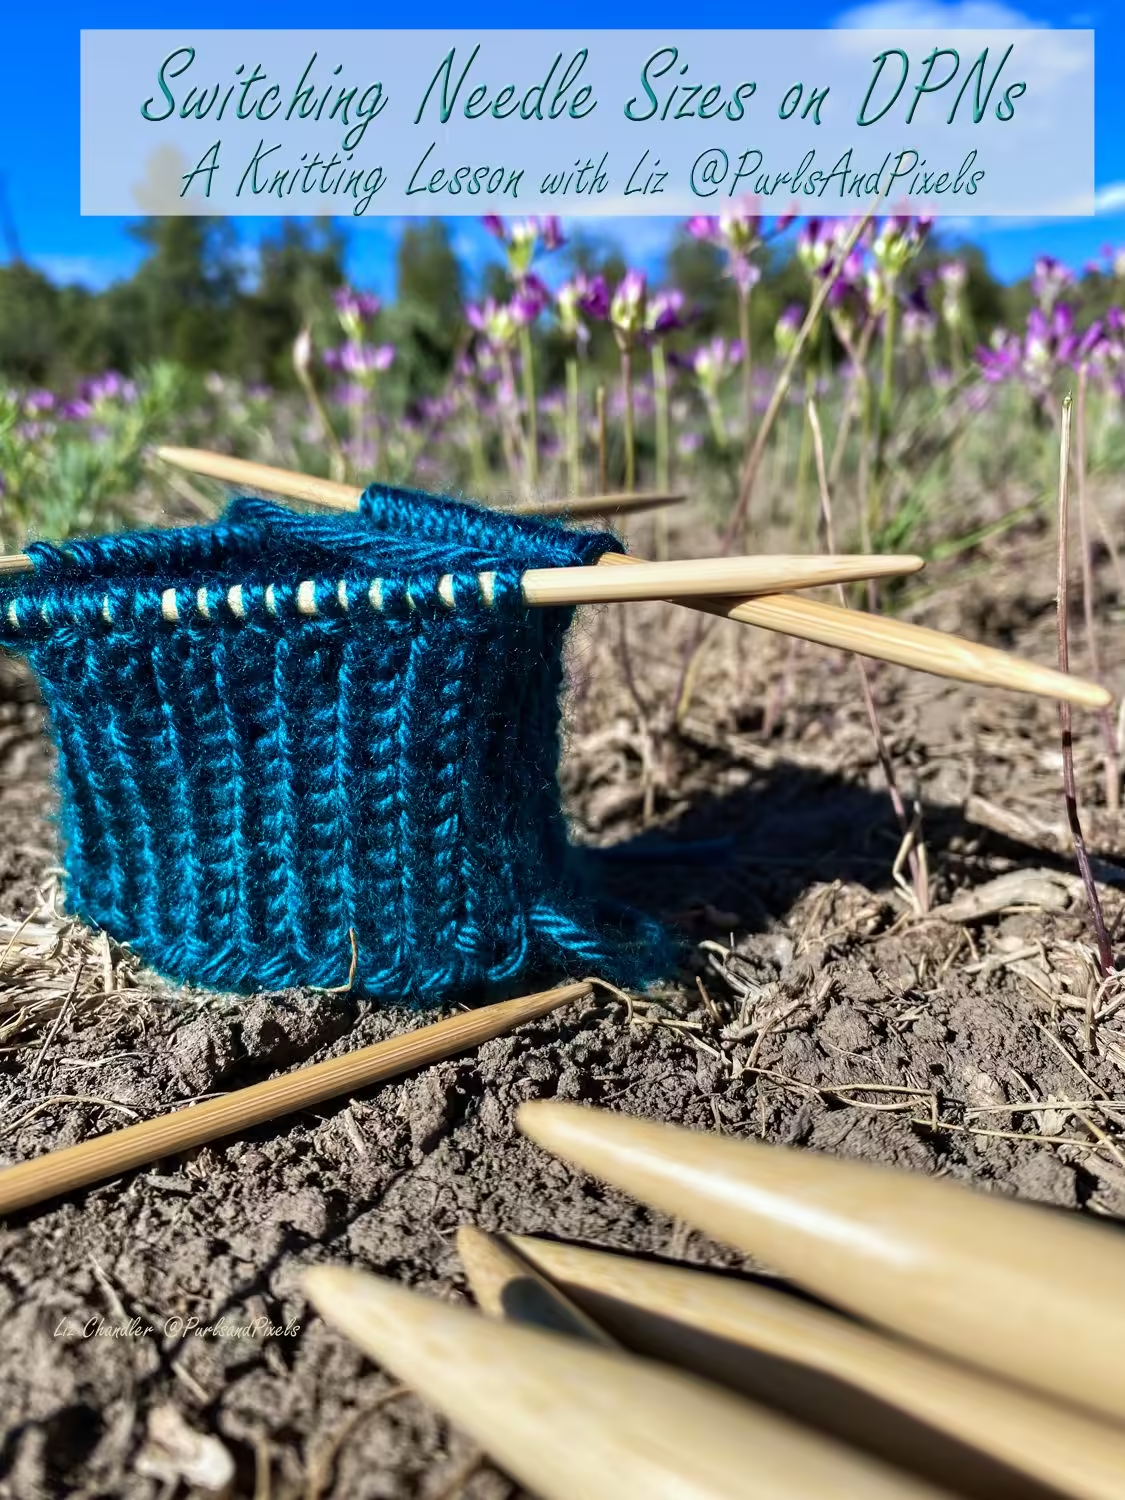
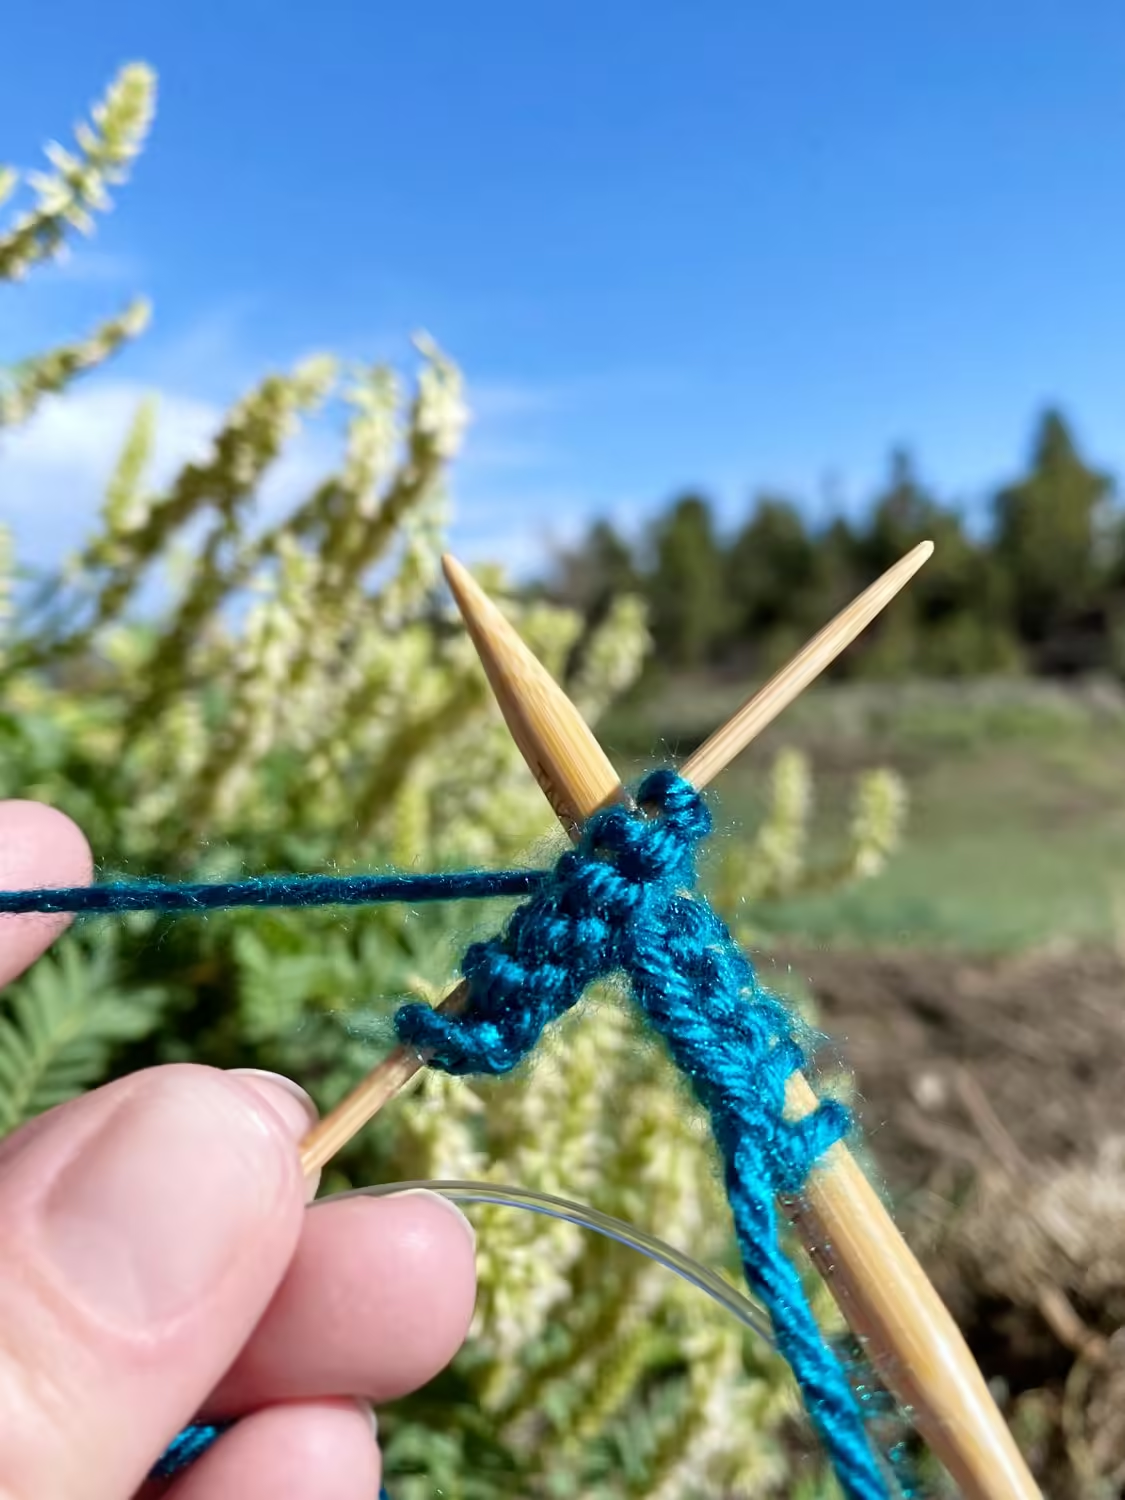
Or, go up two or three needle sizes:
Instead of adjusting how tightly you knit, you can also switch needle sizes. Try moving to a needle that is two or three sizes larger than the one you have been using for the rest of the pattern. This allows you to keep the same knitting tension in your yarn as you cast off, while still loosening the bind off stitches enough to match the rest of the piece. Some patterns instruct you to switch needle sizes for the last row, to help you ensure your ends are more even.
Below you will find both video and written guides to help you learn how to bind off on double point needles (DPNs).
Video Guide: How to Bind Off on Double Point Needles
Written Guide: How to Bind Off on Double Point Needles
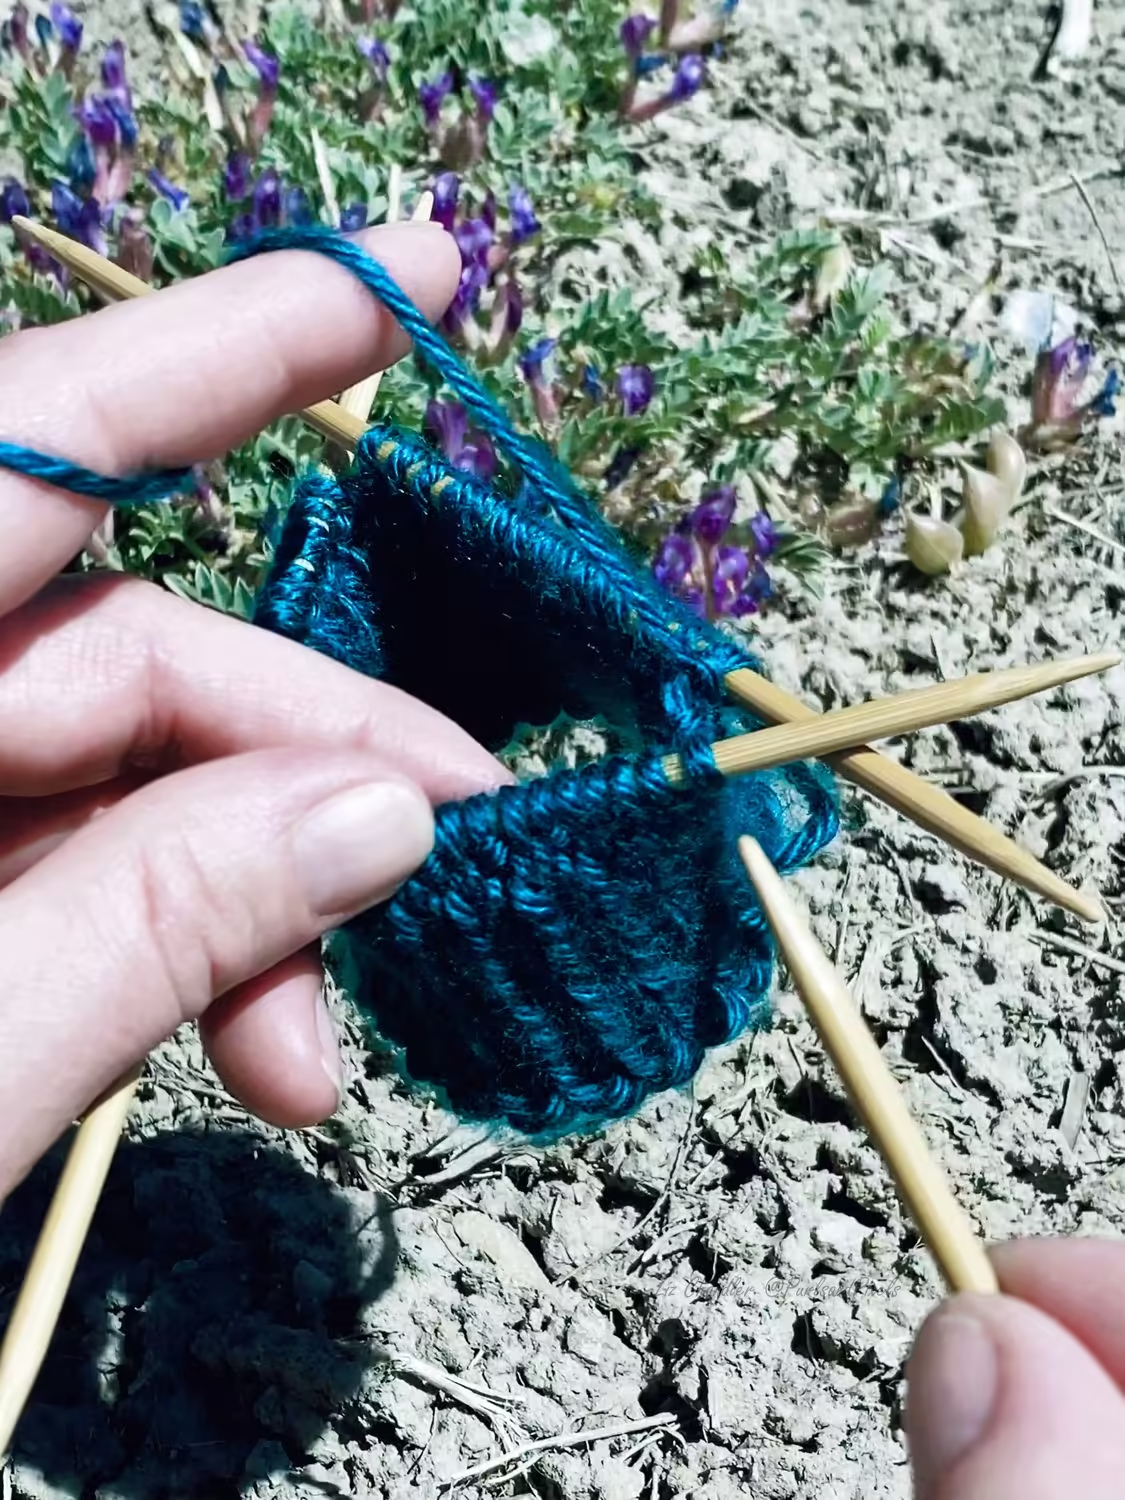
Bind Off on DPNs, Step 1:
Following the pattern you have been using for previous rows, make the first two stitches of your last row. In this example, knit one, then purl one.

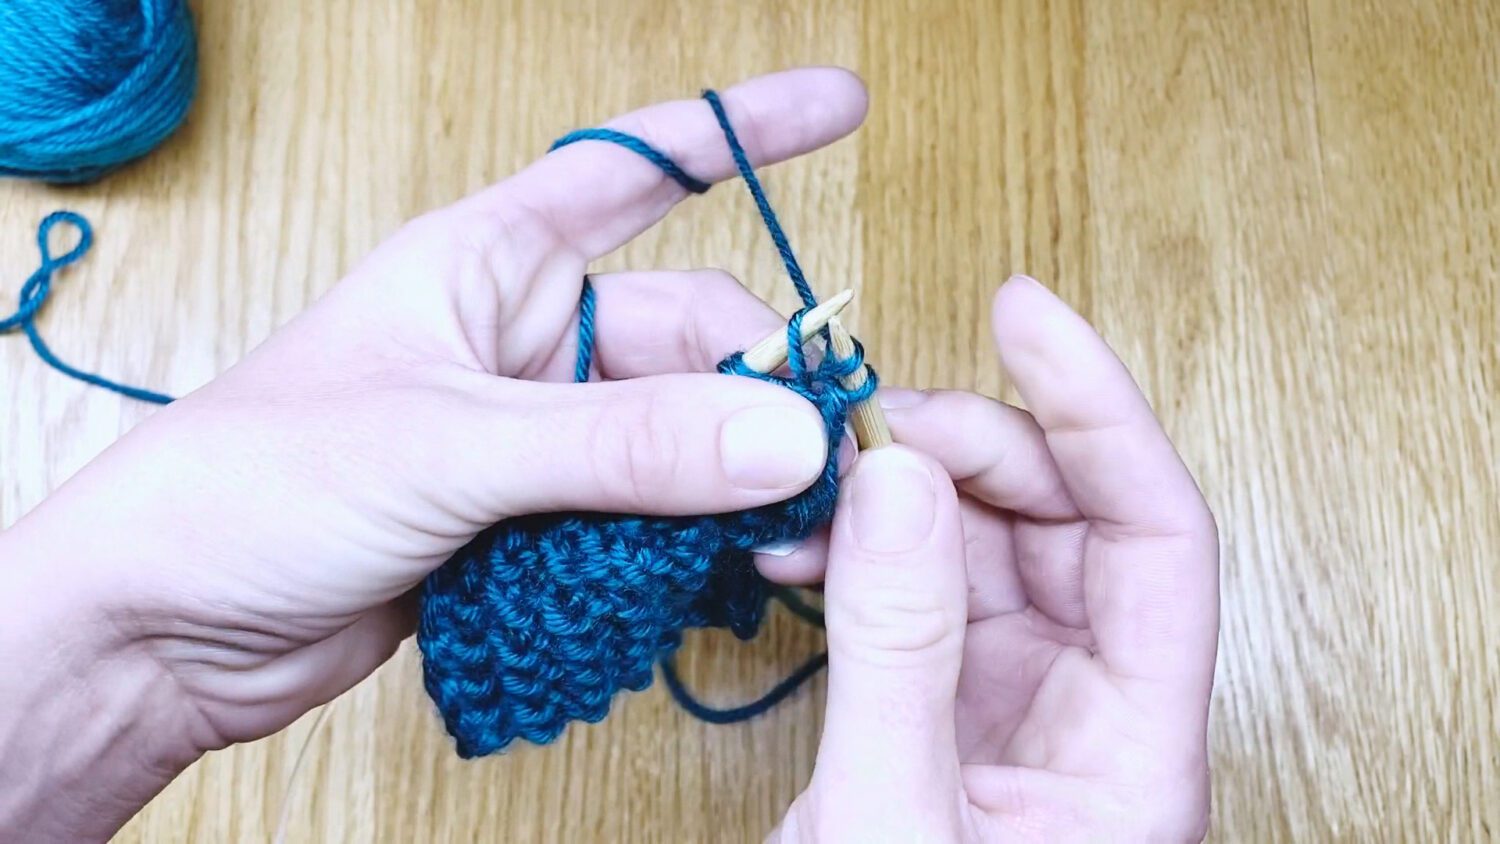
Bind Off on DPNs, Step 2:
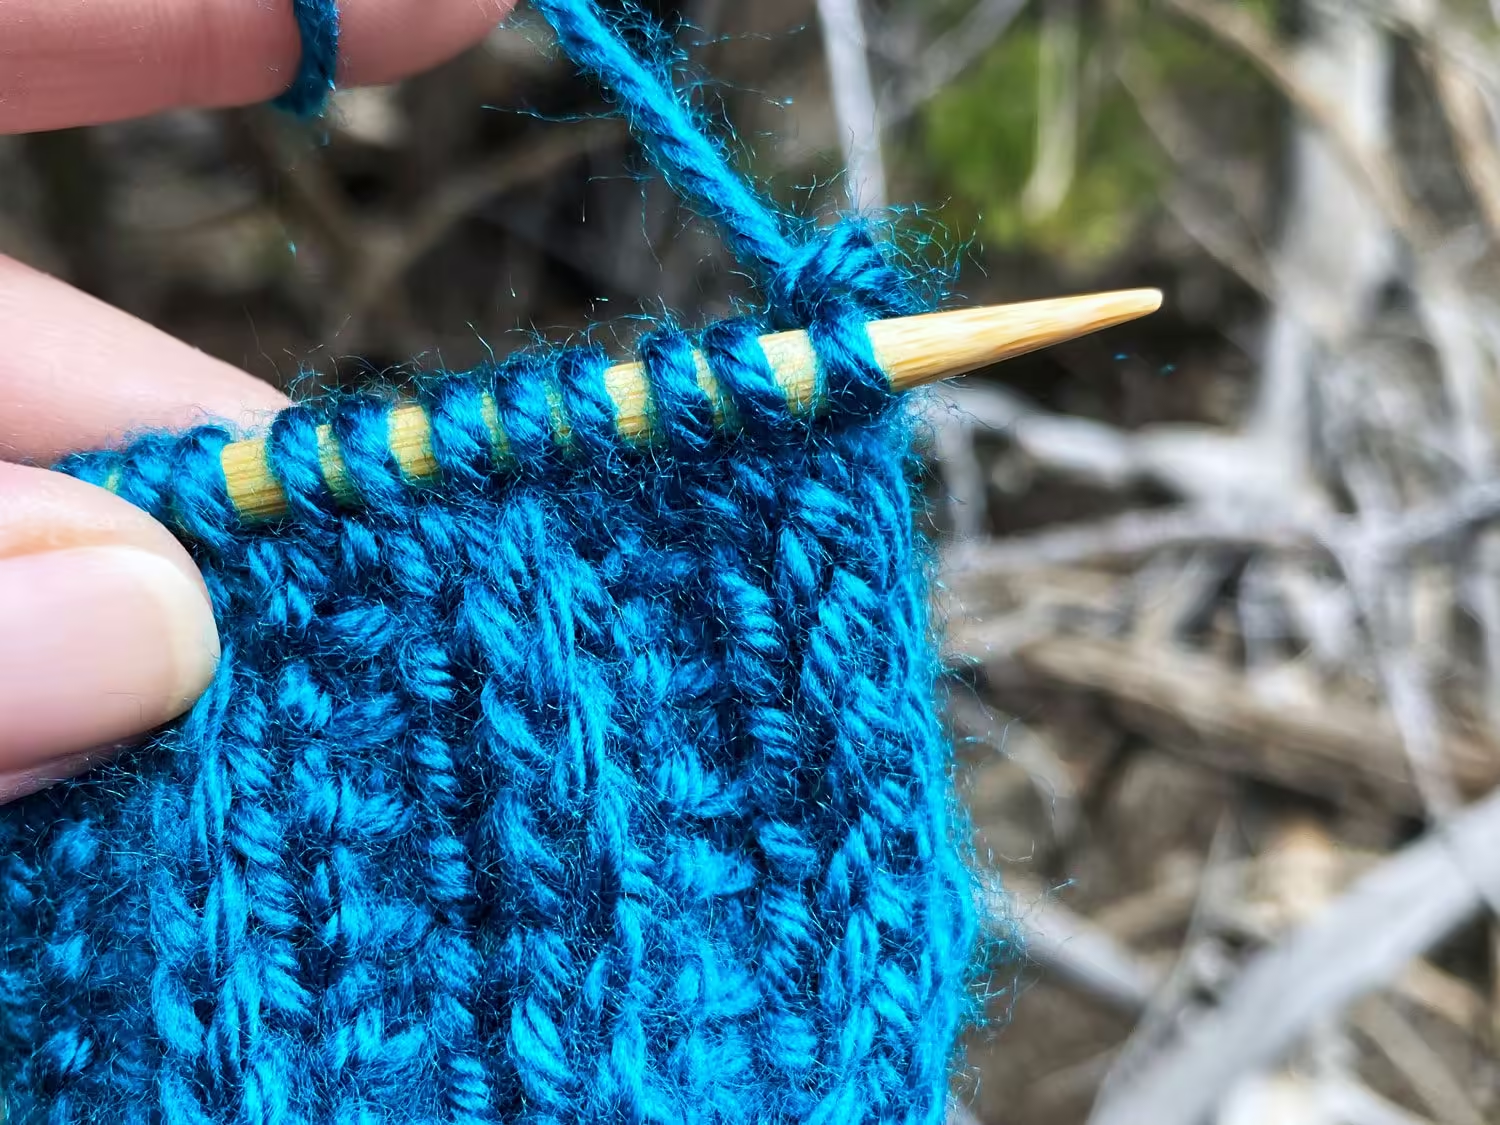
Insert the left needle tip into the front loop of the first stitch on your right needle from front to back.

Bind Off on DPNs, Step 3:
Lift the first stitch on the right needle up and over the second stitch on the right needle.

Bind Off on DPNs, Step 4:
Pull the second stitch on the right needle through the first stitch on the right needle.

Bind Off on DPNs, Step 5:
Slide the left needle out of the stitch on the right needle.

Bind Off on DPNs, Step 6:
At this point, the first stitch should be anchored onto the second, and only one loop should remain on your right-hand needle.

Bind Off on DPNs, Step 7:
Following your pattern, work the next stitch off your left needle and onto the right needle.

Bind Off on DPNs, Step 8:
In the same manner as before, lift the first stitch on your right-hand needle over the second stitch, drawing the second stitch through the first, leaving only one stitch on your right-hand needle.

Bind Off on DPNs, Step 9:
Repeat steps seven and eight until you have reached the last two stitches and freed the first left-hand needle from your work.

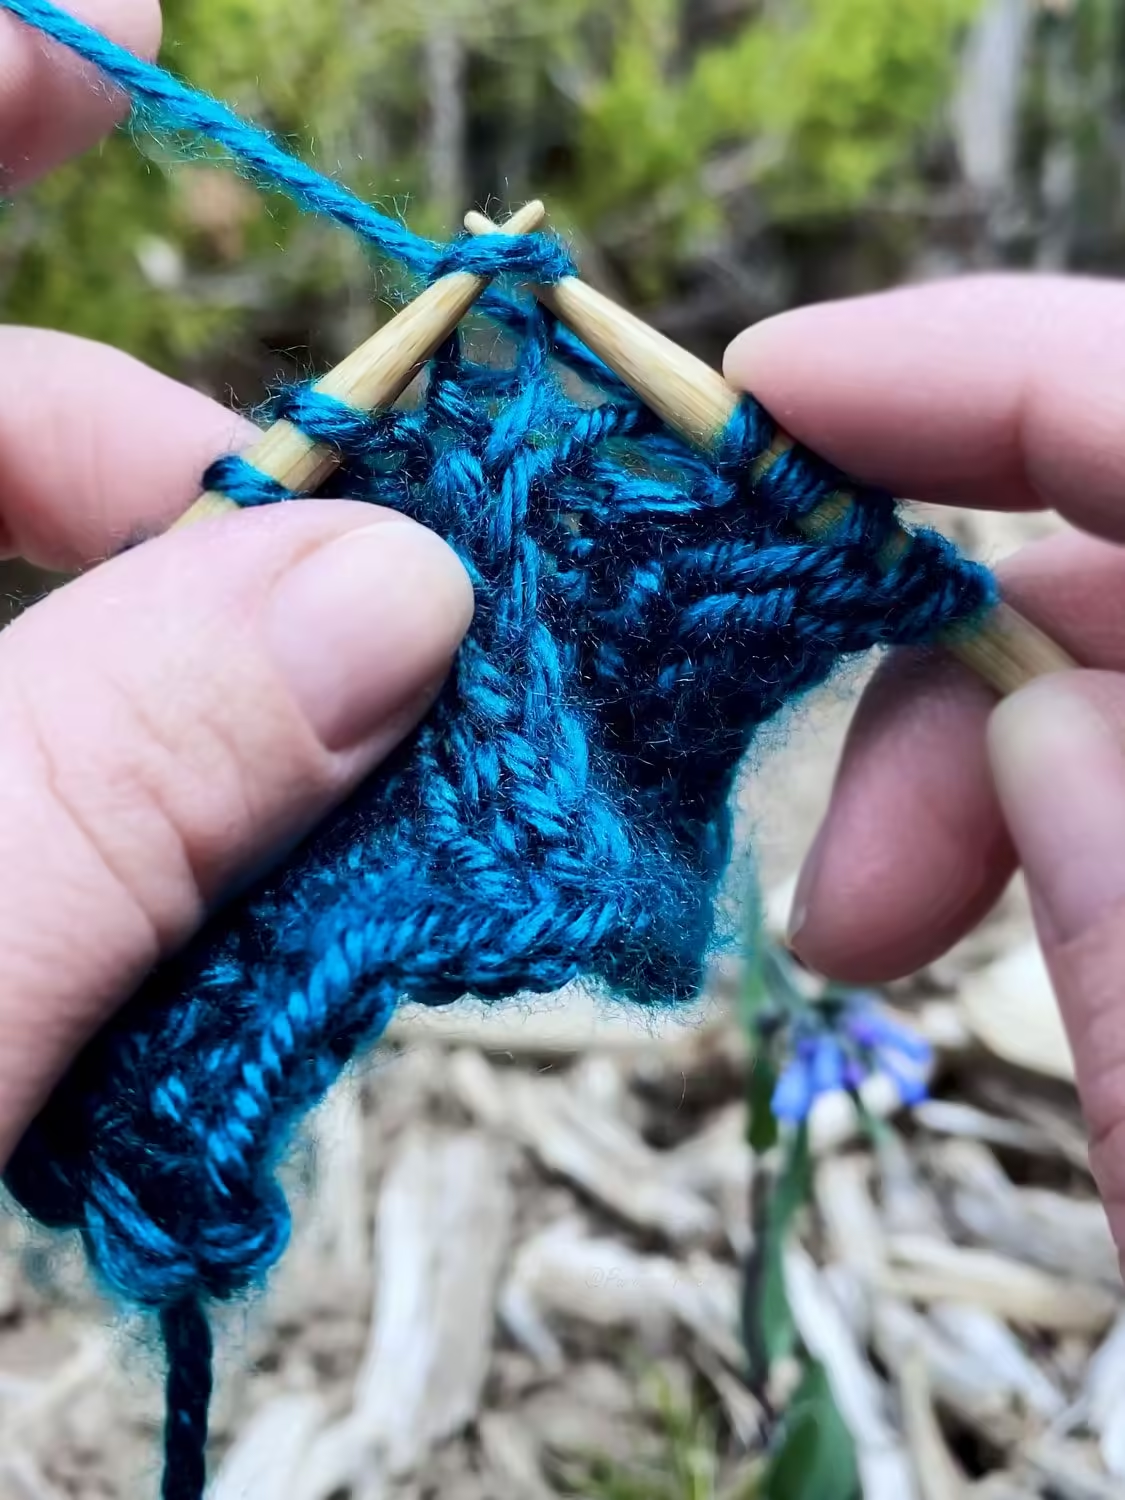
Bind Off on DPNs, Step 10:
Lift the first stitch on the right needle over the second, leaving only one stitch on your right-hand needle. Set aside the second empty DPN from your left hand. Rotate the work in your left hand so that you can continue working off the next left-hand needle.

Bind Off on DPNs, Step 11:
Repeat steps seven and eight until you have freed the second left-hand needle from your work. Set aside the third empty DPN from your left hand. Rotate the work in your left hand so that you can continue working off the next left-hand needle.

Bind Off on DPNs, Step 12:
Repeat steps seven and eight until you have freed the third left-hand needle from your work. Set aside the third empty DPN from your left hand.

Bind Off on DPNs, Step 13:
Set your work down, leaving the knitting needle in the last stitch. With very sharp scissors, clip the working yarn about eight or ten inches away from your last stitch. This will free your work from the ball of yarn.

Bind Off on DPNs, Step 14:
Pull the yarn tail through to anchor it in; do this by enlarging the last stitch with your knitting needle until the tail slides completely through. The loop will become a straight loose end.


Practice With My Knitting Patterns

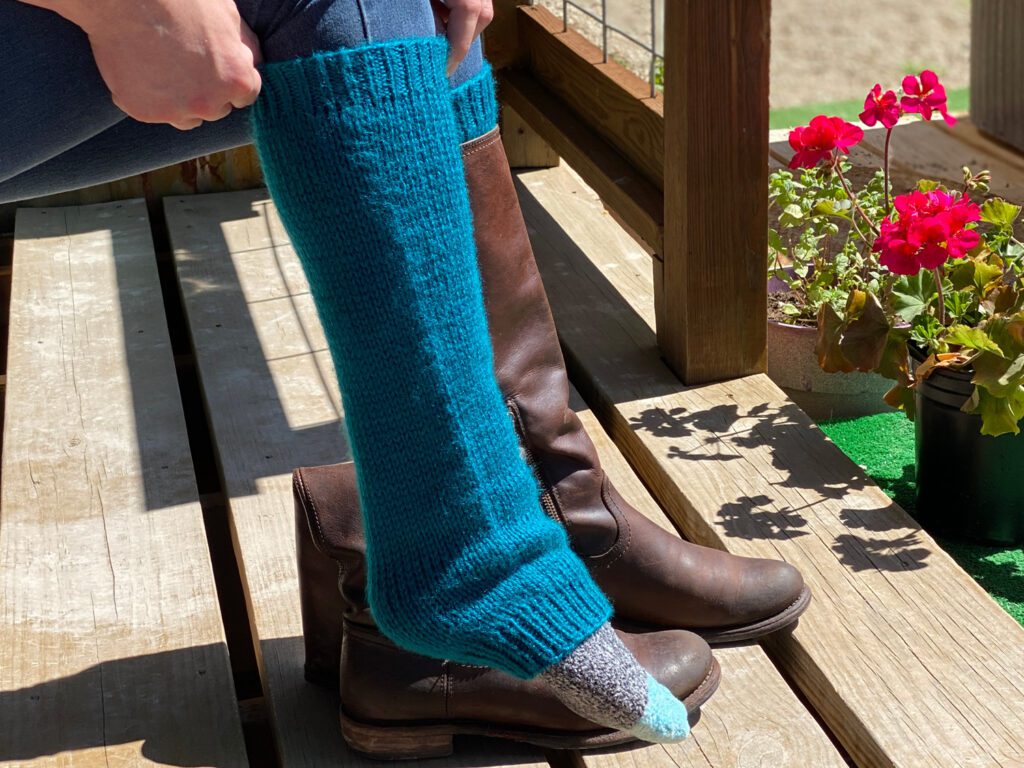
If you’ve been following my lessons, you now have enough information to knit your own Beginner Ear Warmers. Get the pattern here.

Up Next
Learning to use circular needles can help speed up your knitting in the round. Find out how to knit with circular needles in the next lesson.