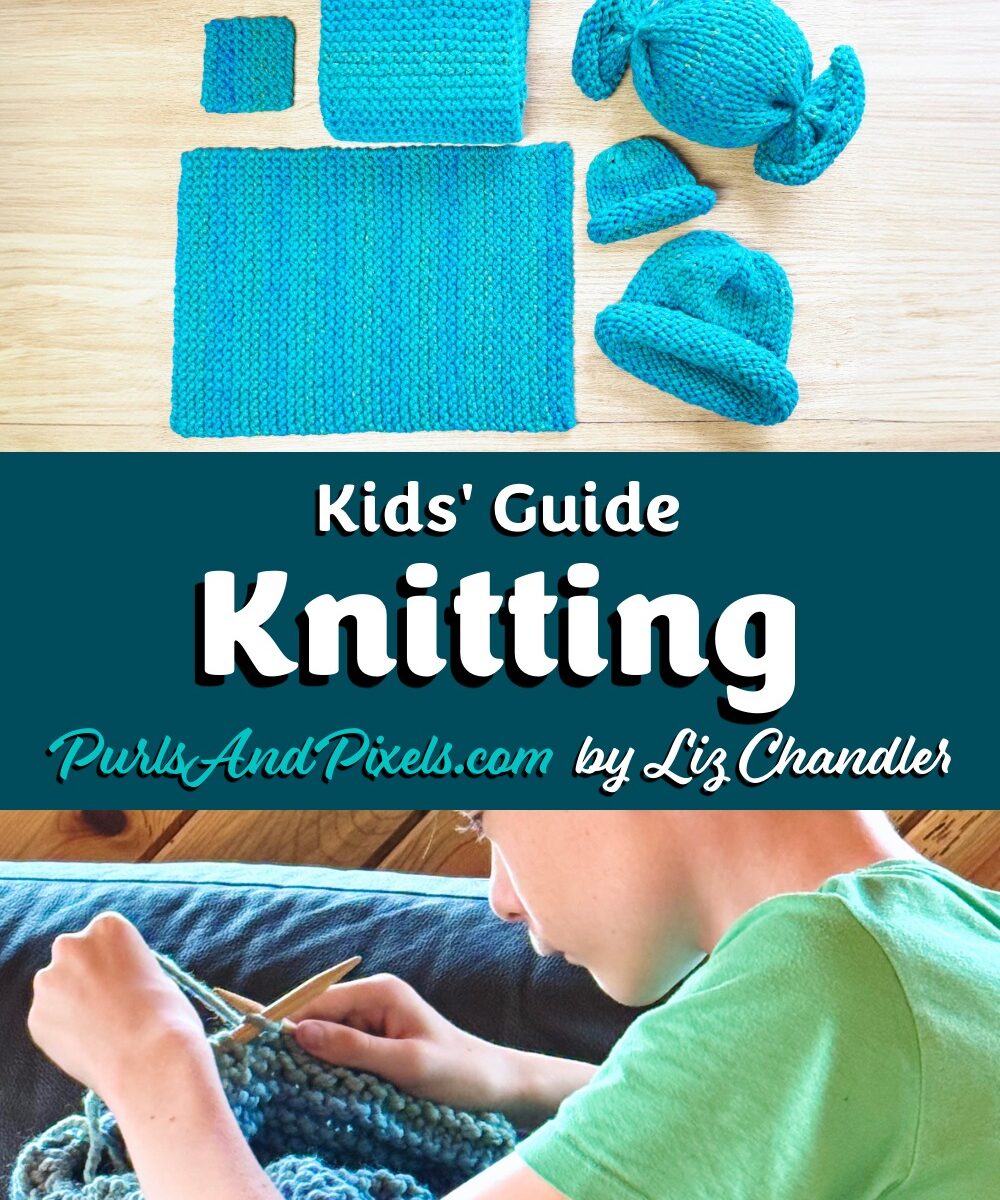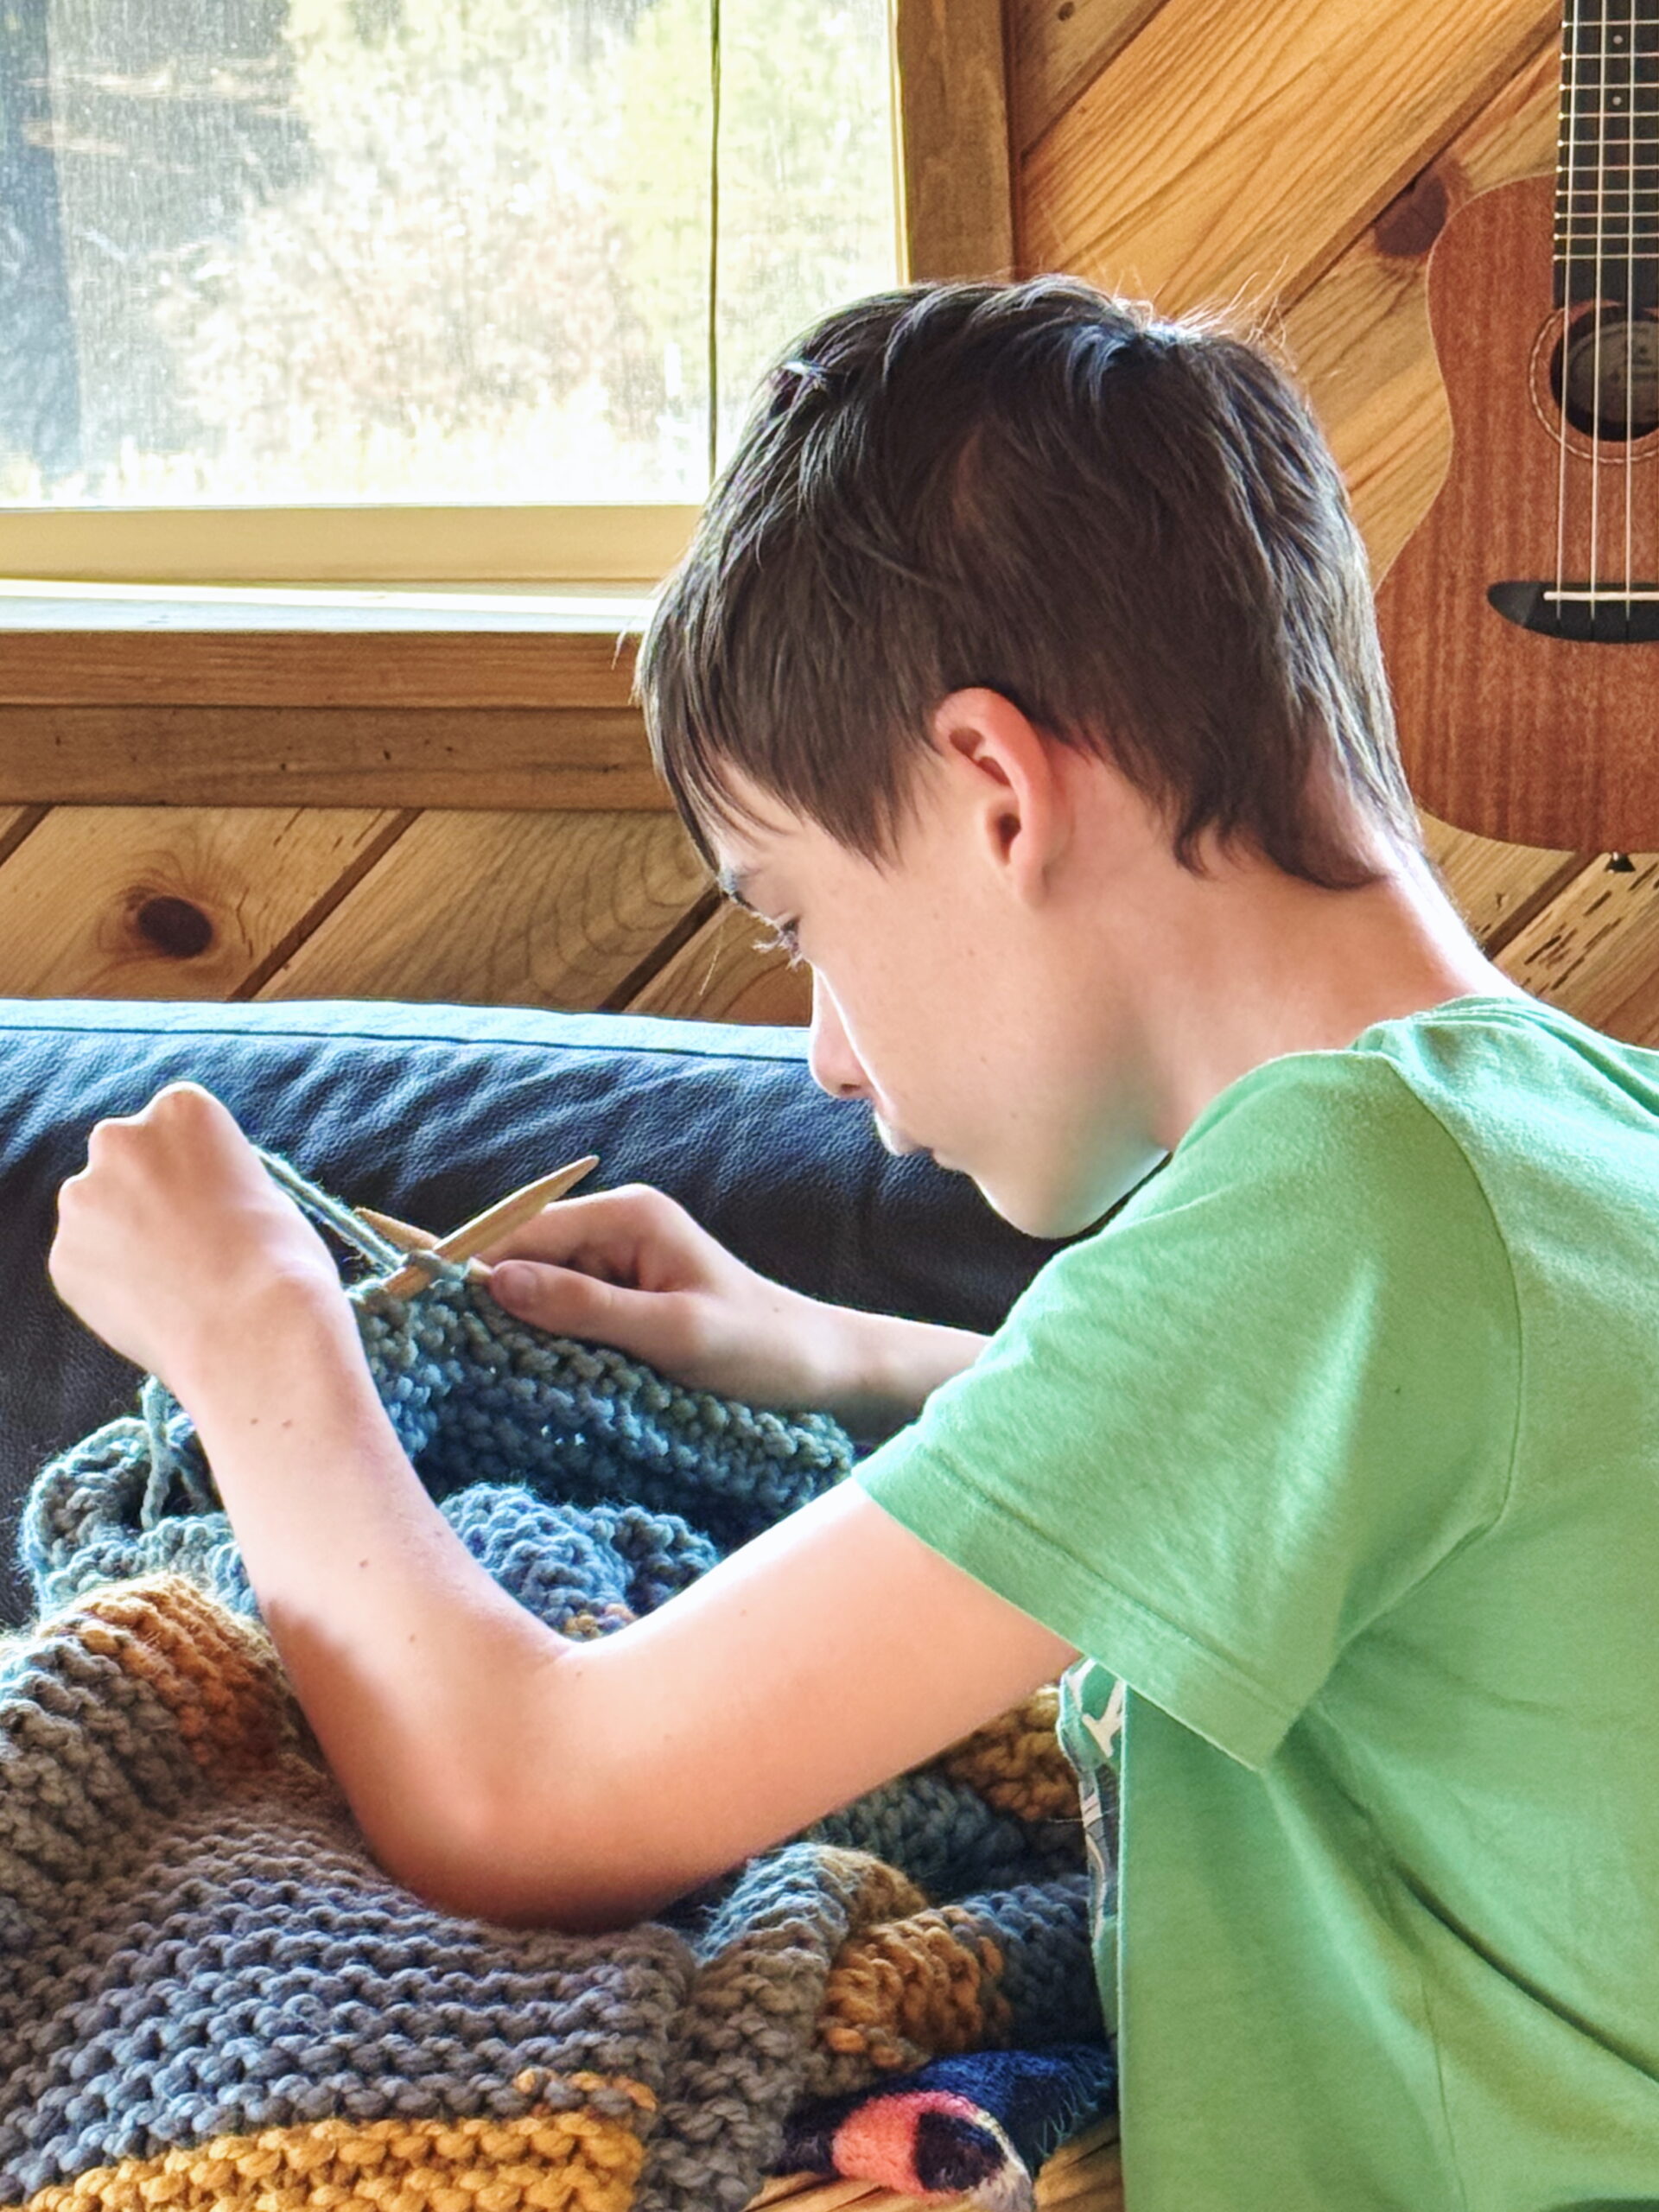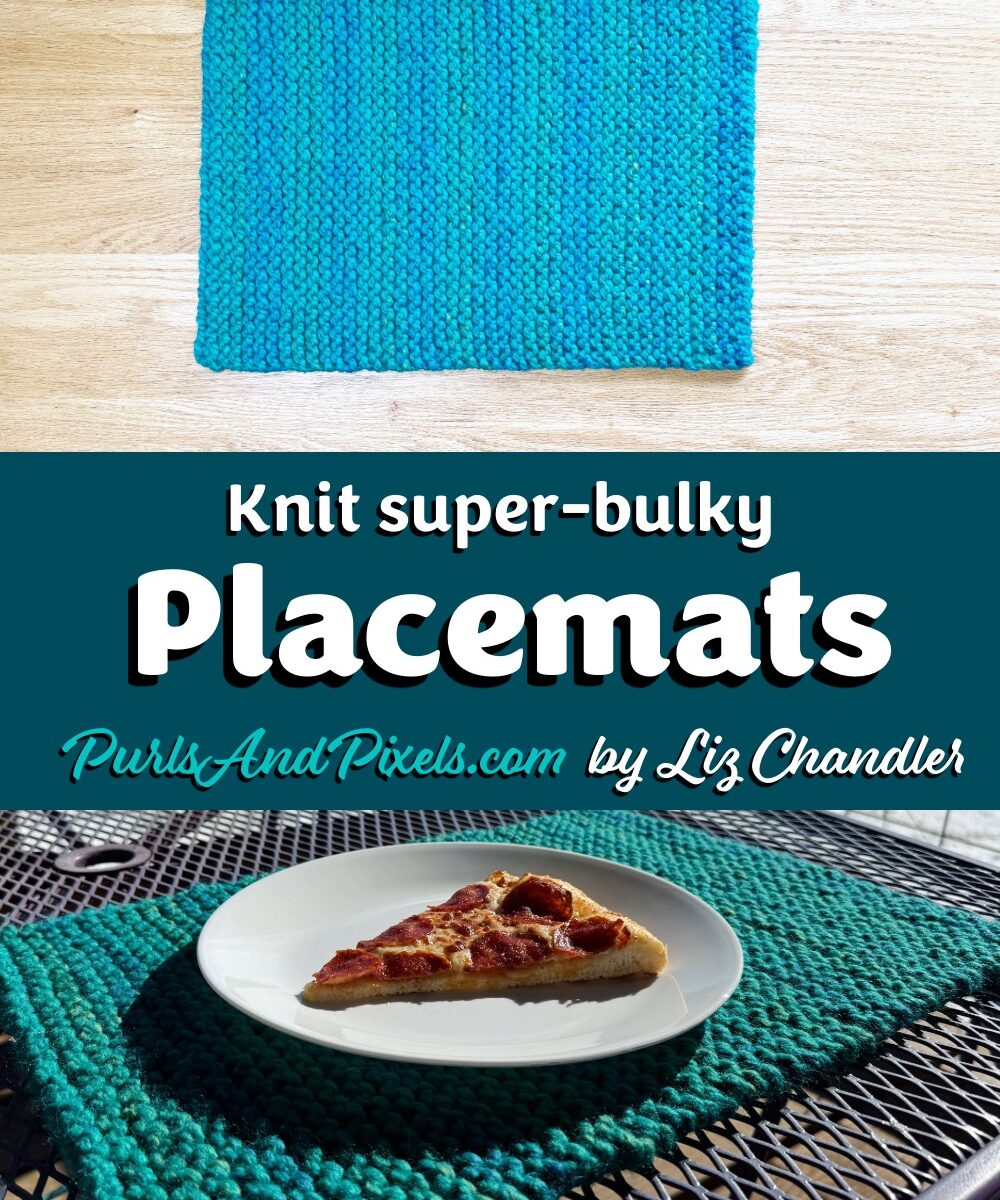
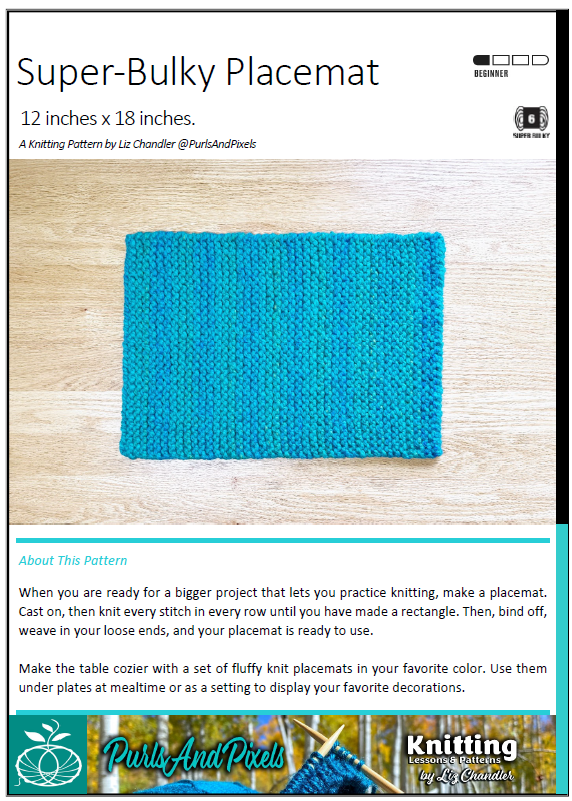
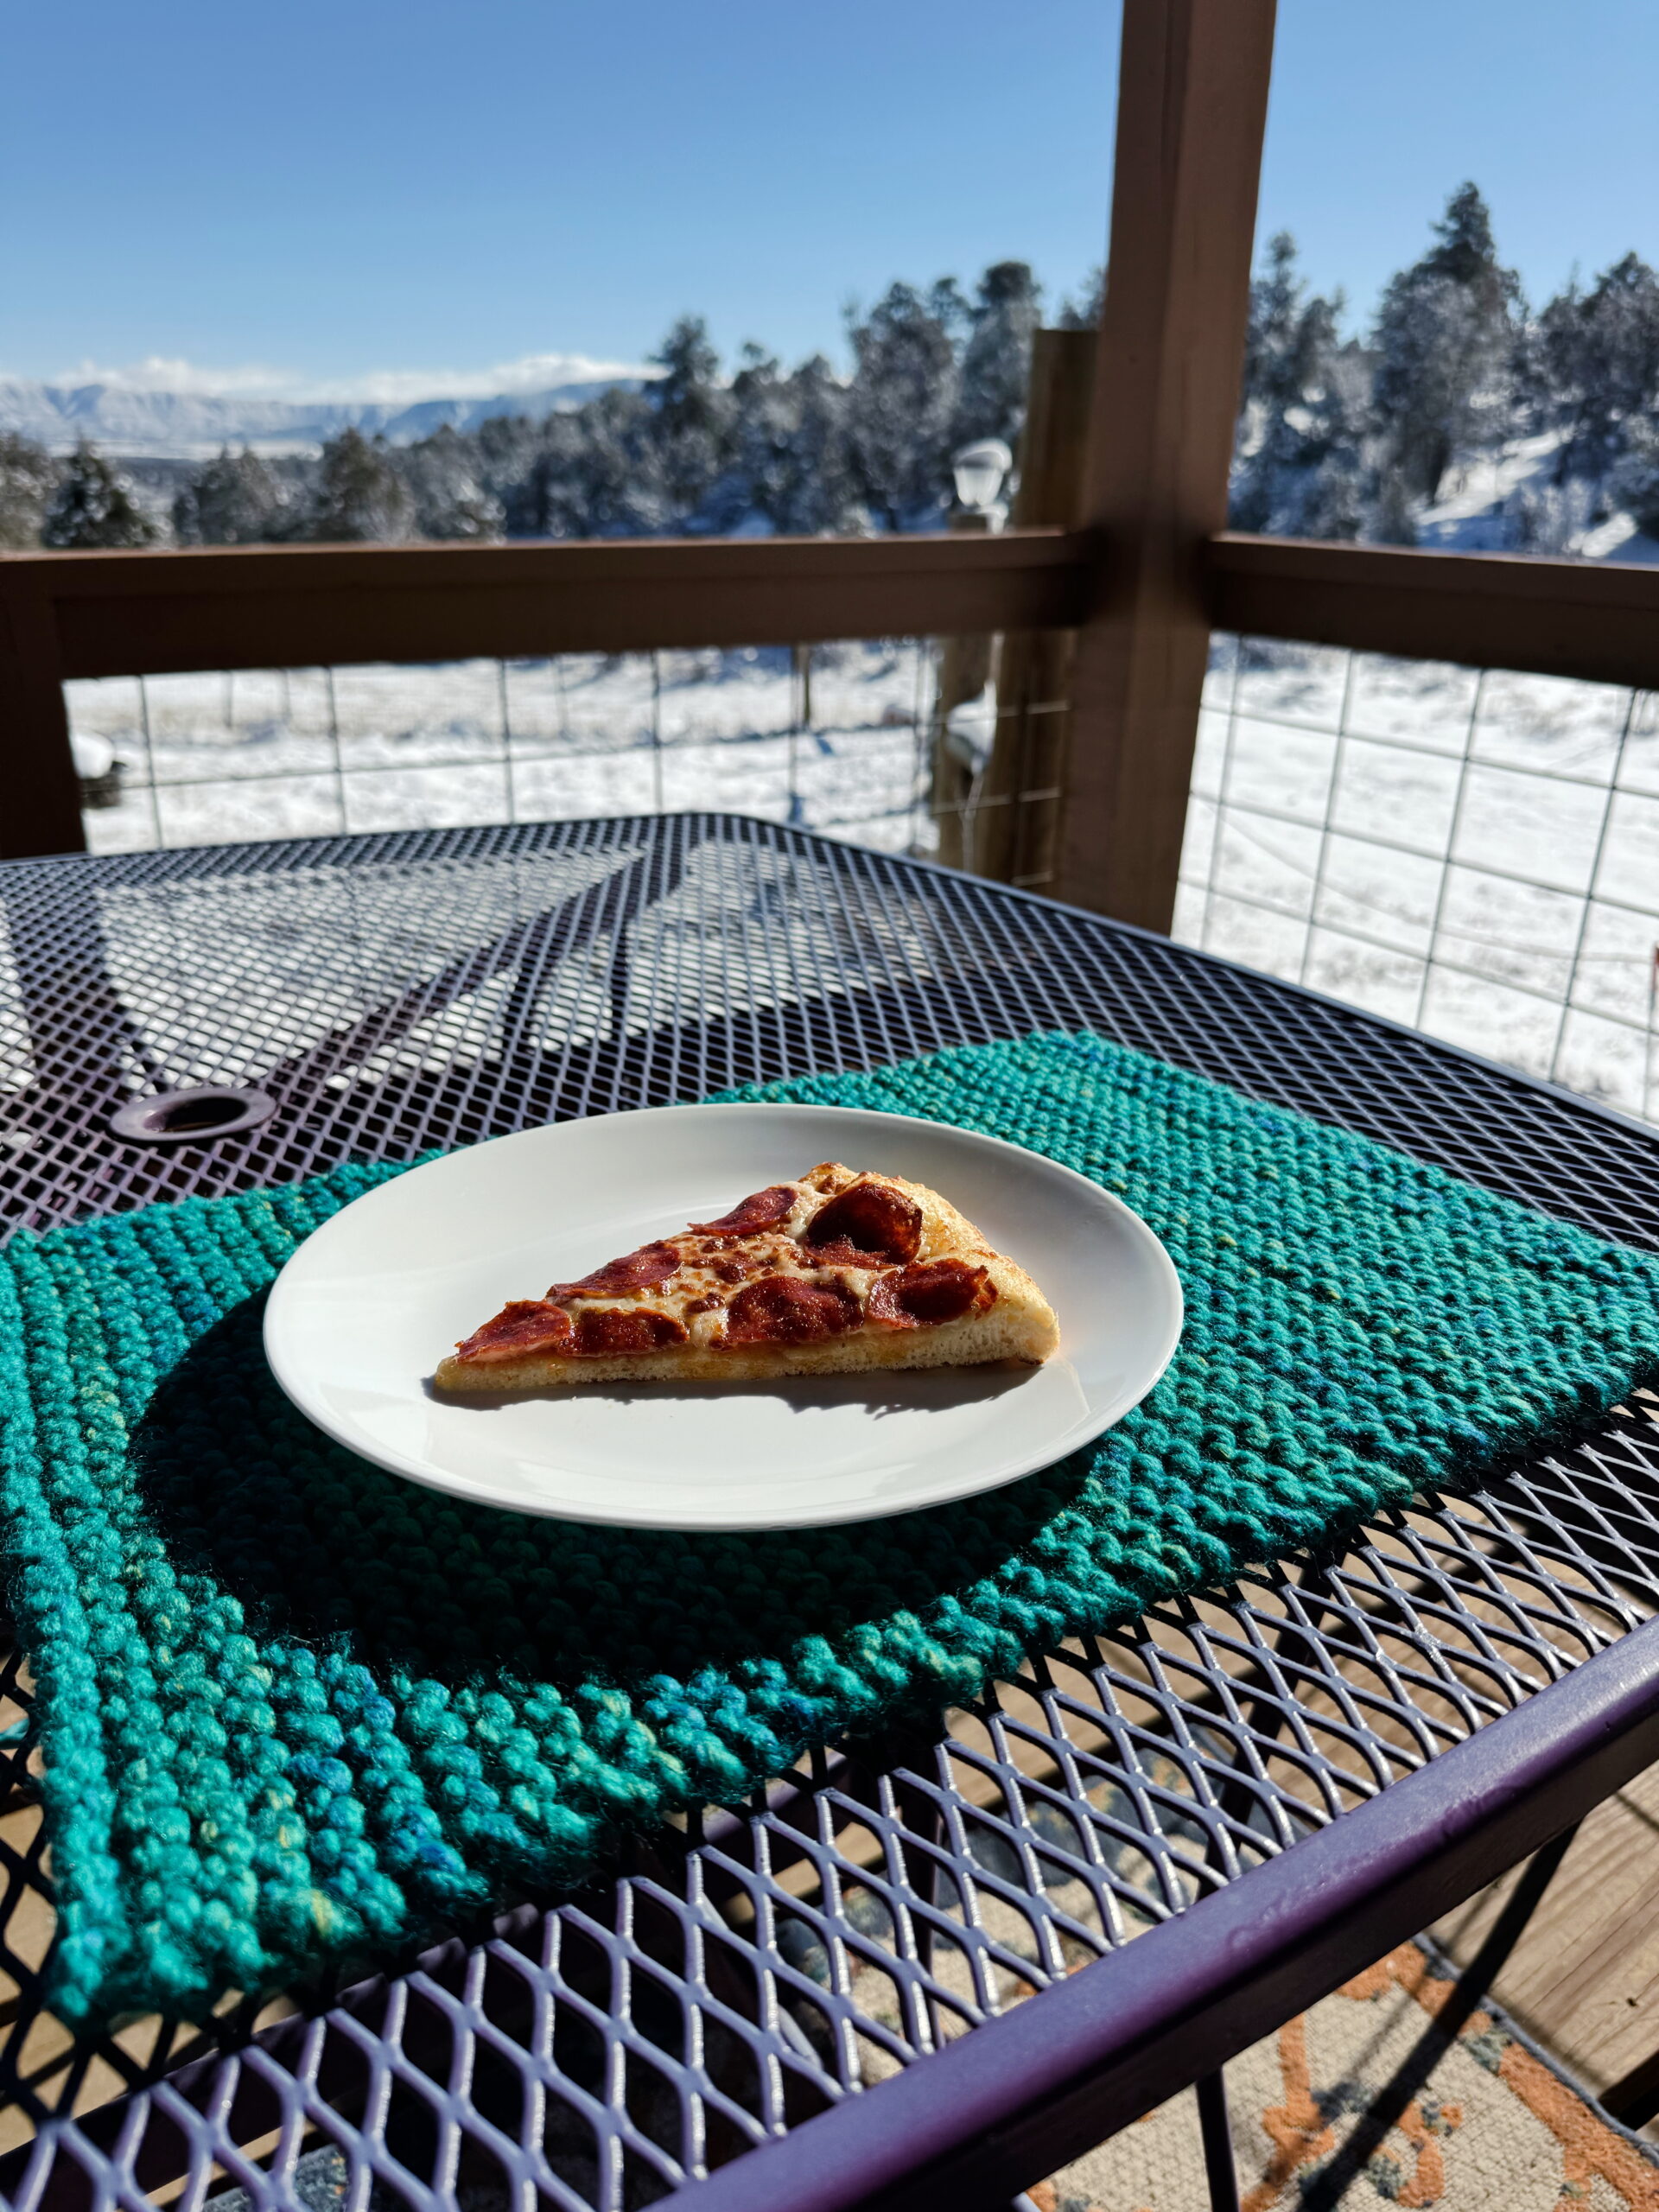
This super-bulky knit placemat is intentionally designed as a first knitting project and has been used successfully by kids and adult beginners learning to knit. The pattern limits techniques to one stitch (garter stitch), uses a flat rectangular shape, and works with thick yarn so stitches are easy to see and common beginner mistakes are avoided. There is no shaping, no stitch pattern changes, and no decisions to make once you begin knitting.
This article explains how to knit a super-bulky placemat, with step-by-step instructions suitable for complete beginners. You will knit a simple rectangle in garter stitch (knit every row), then bind off and weave in your ends to create a sturdy, usable placemat.
On this page: About · Materials · Gauge · Printable PDF · Instructions · Care · Sharing
About This Super-Bulky Knit Placemat
The super-bulky placemat is Project 2 in the guided kids’ lessons here at PurlsAndPixels.
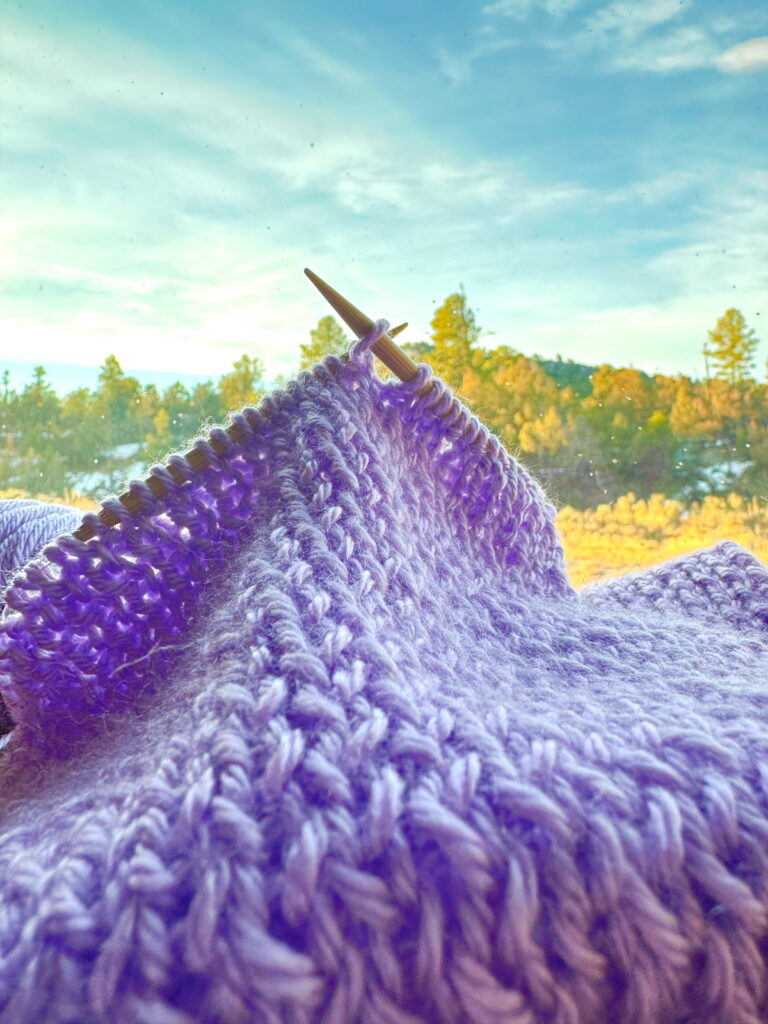
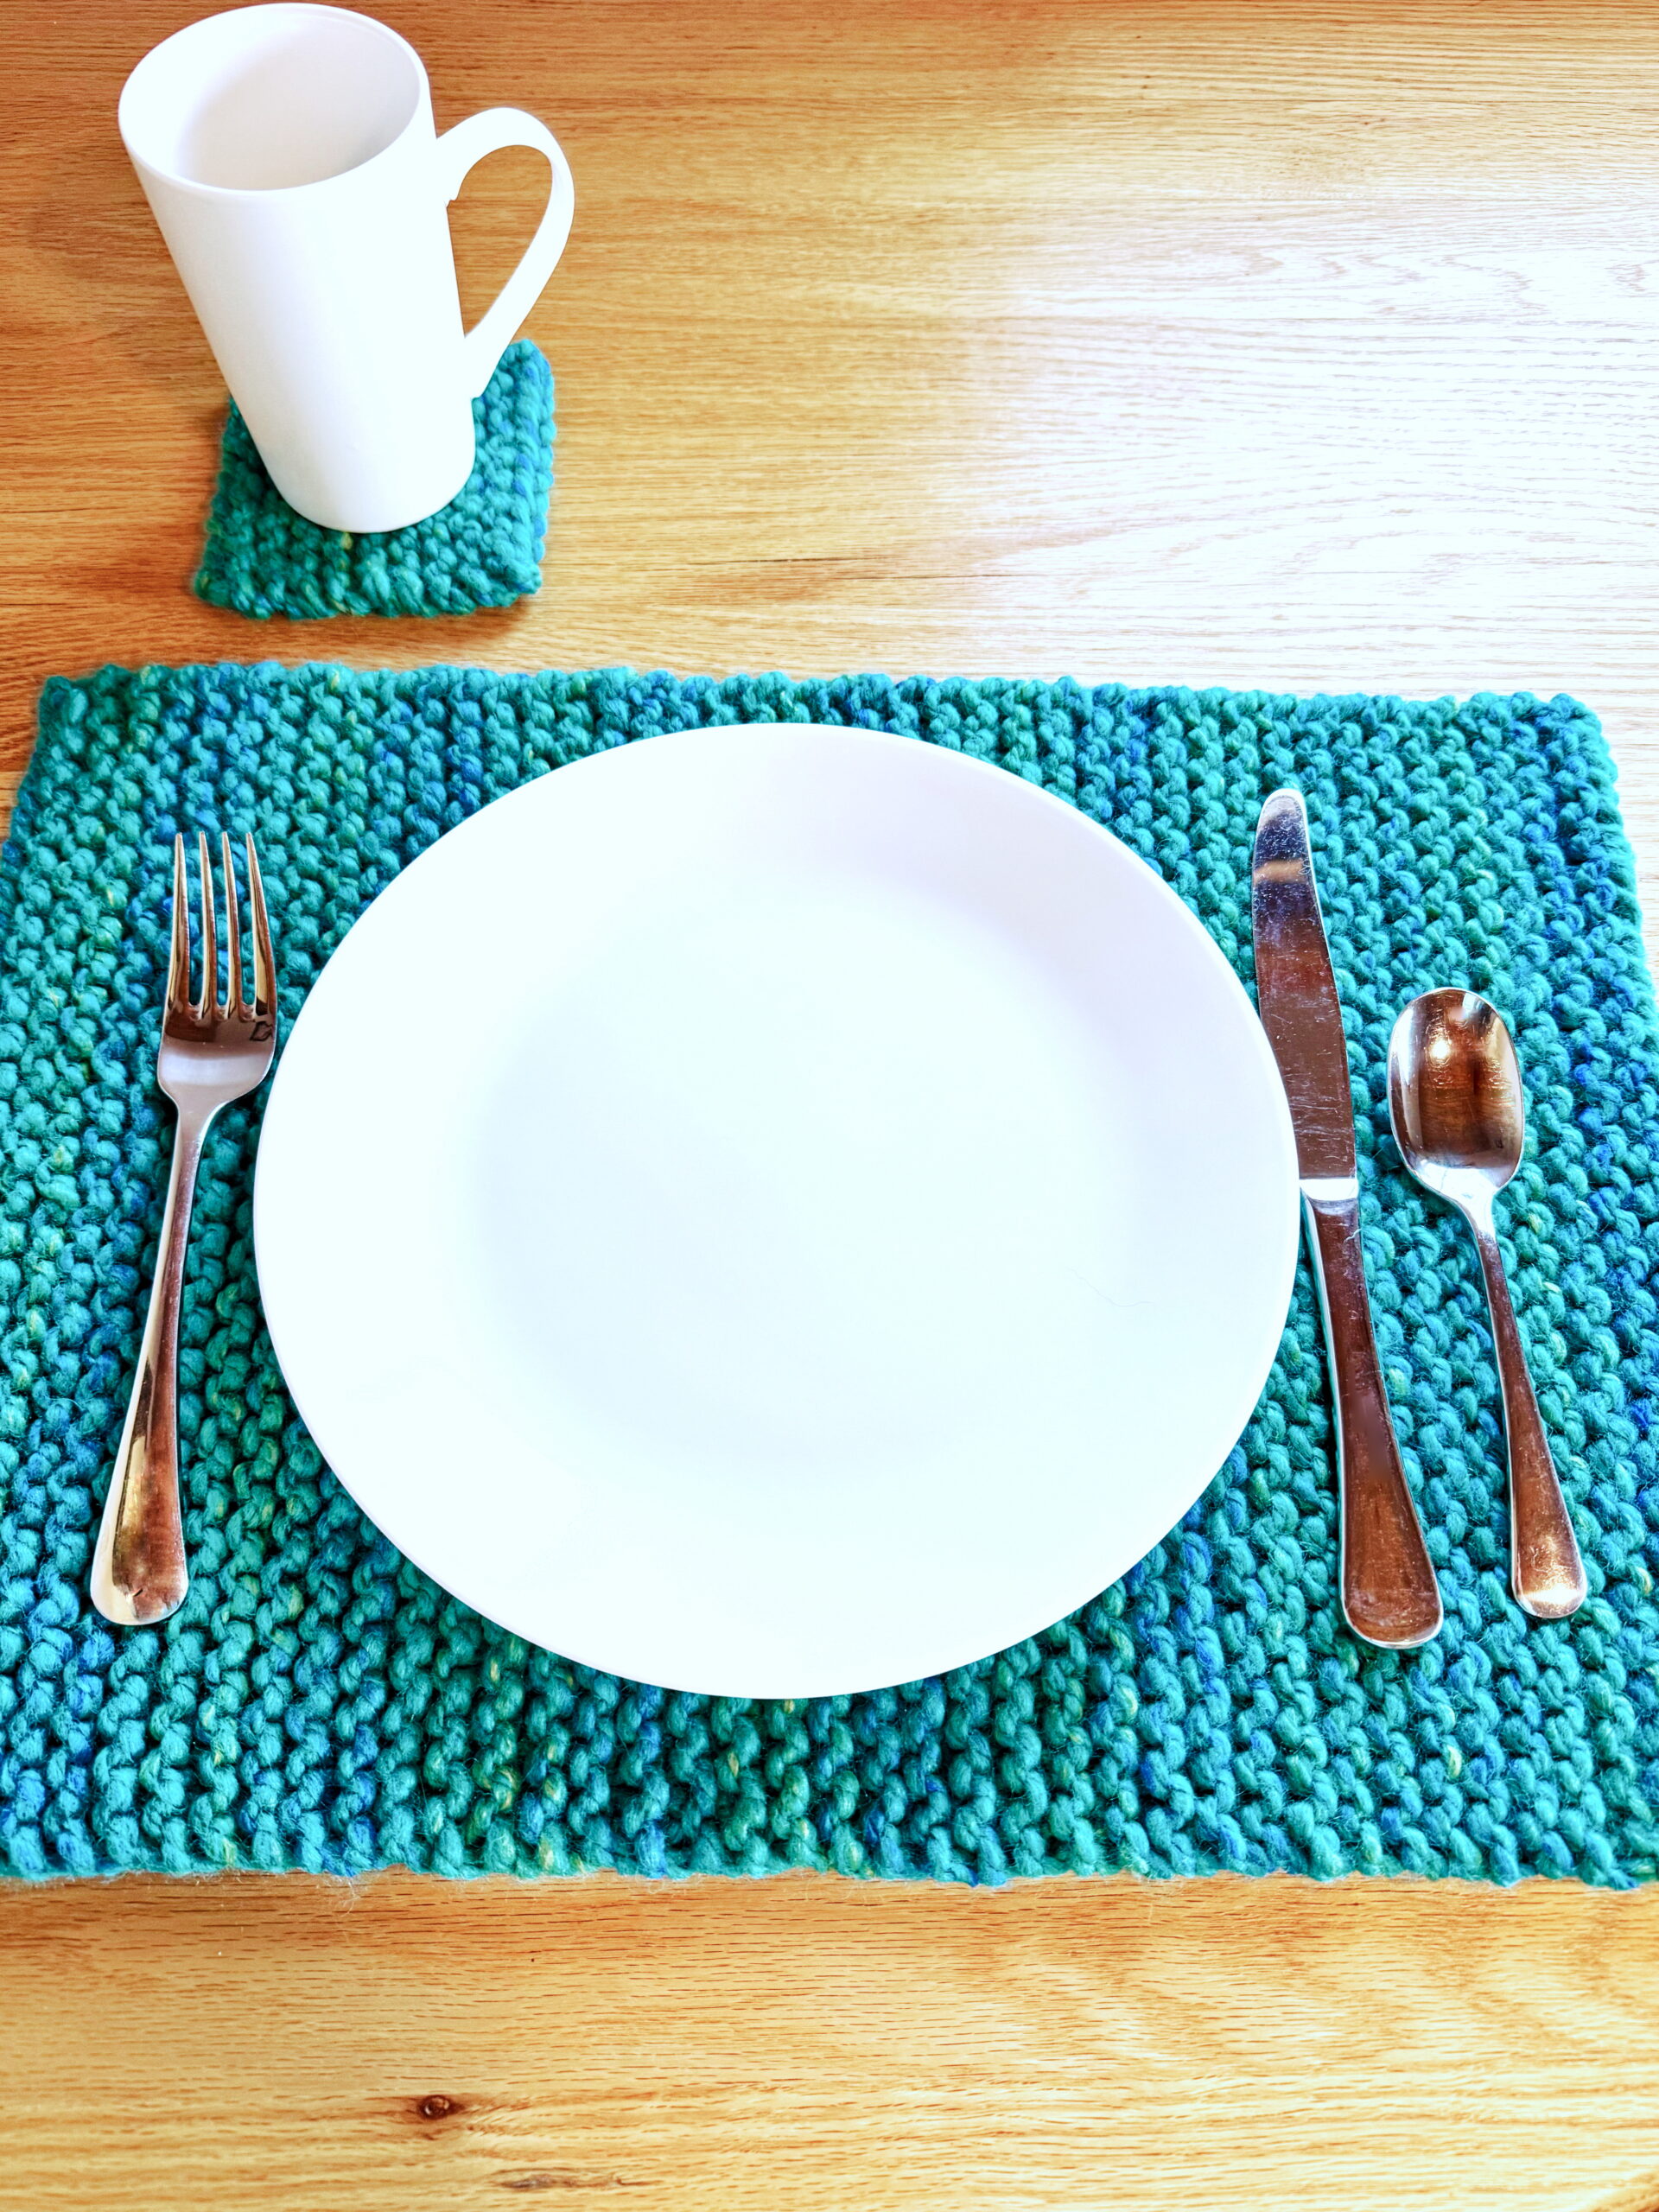
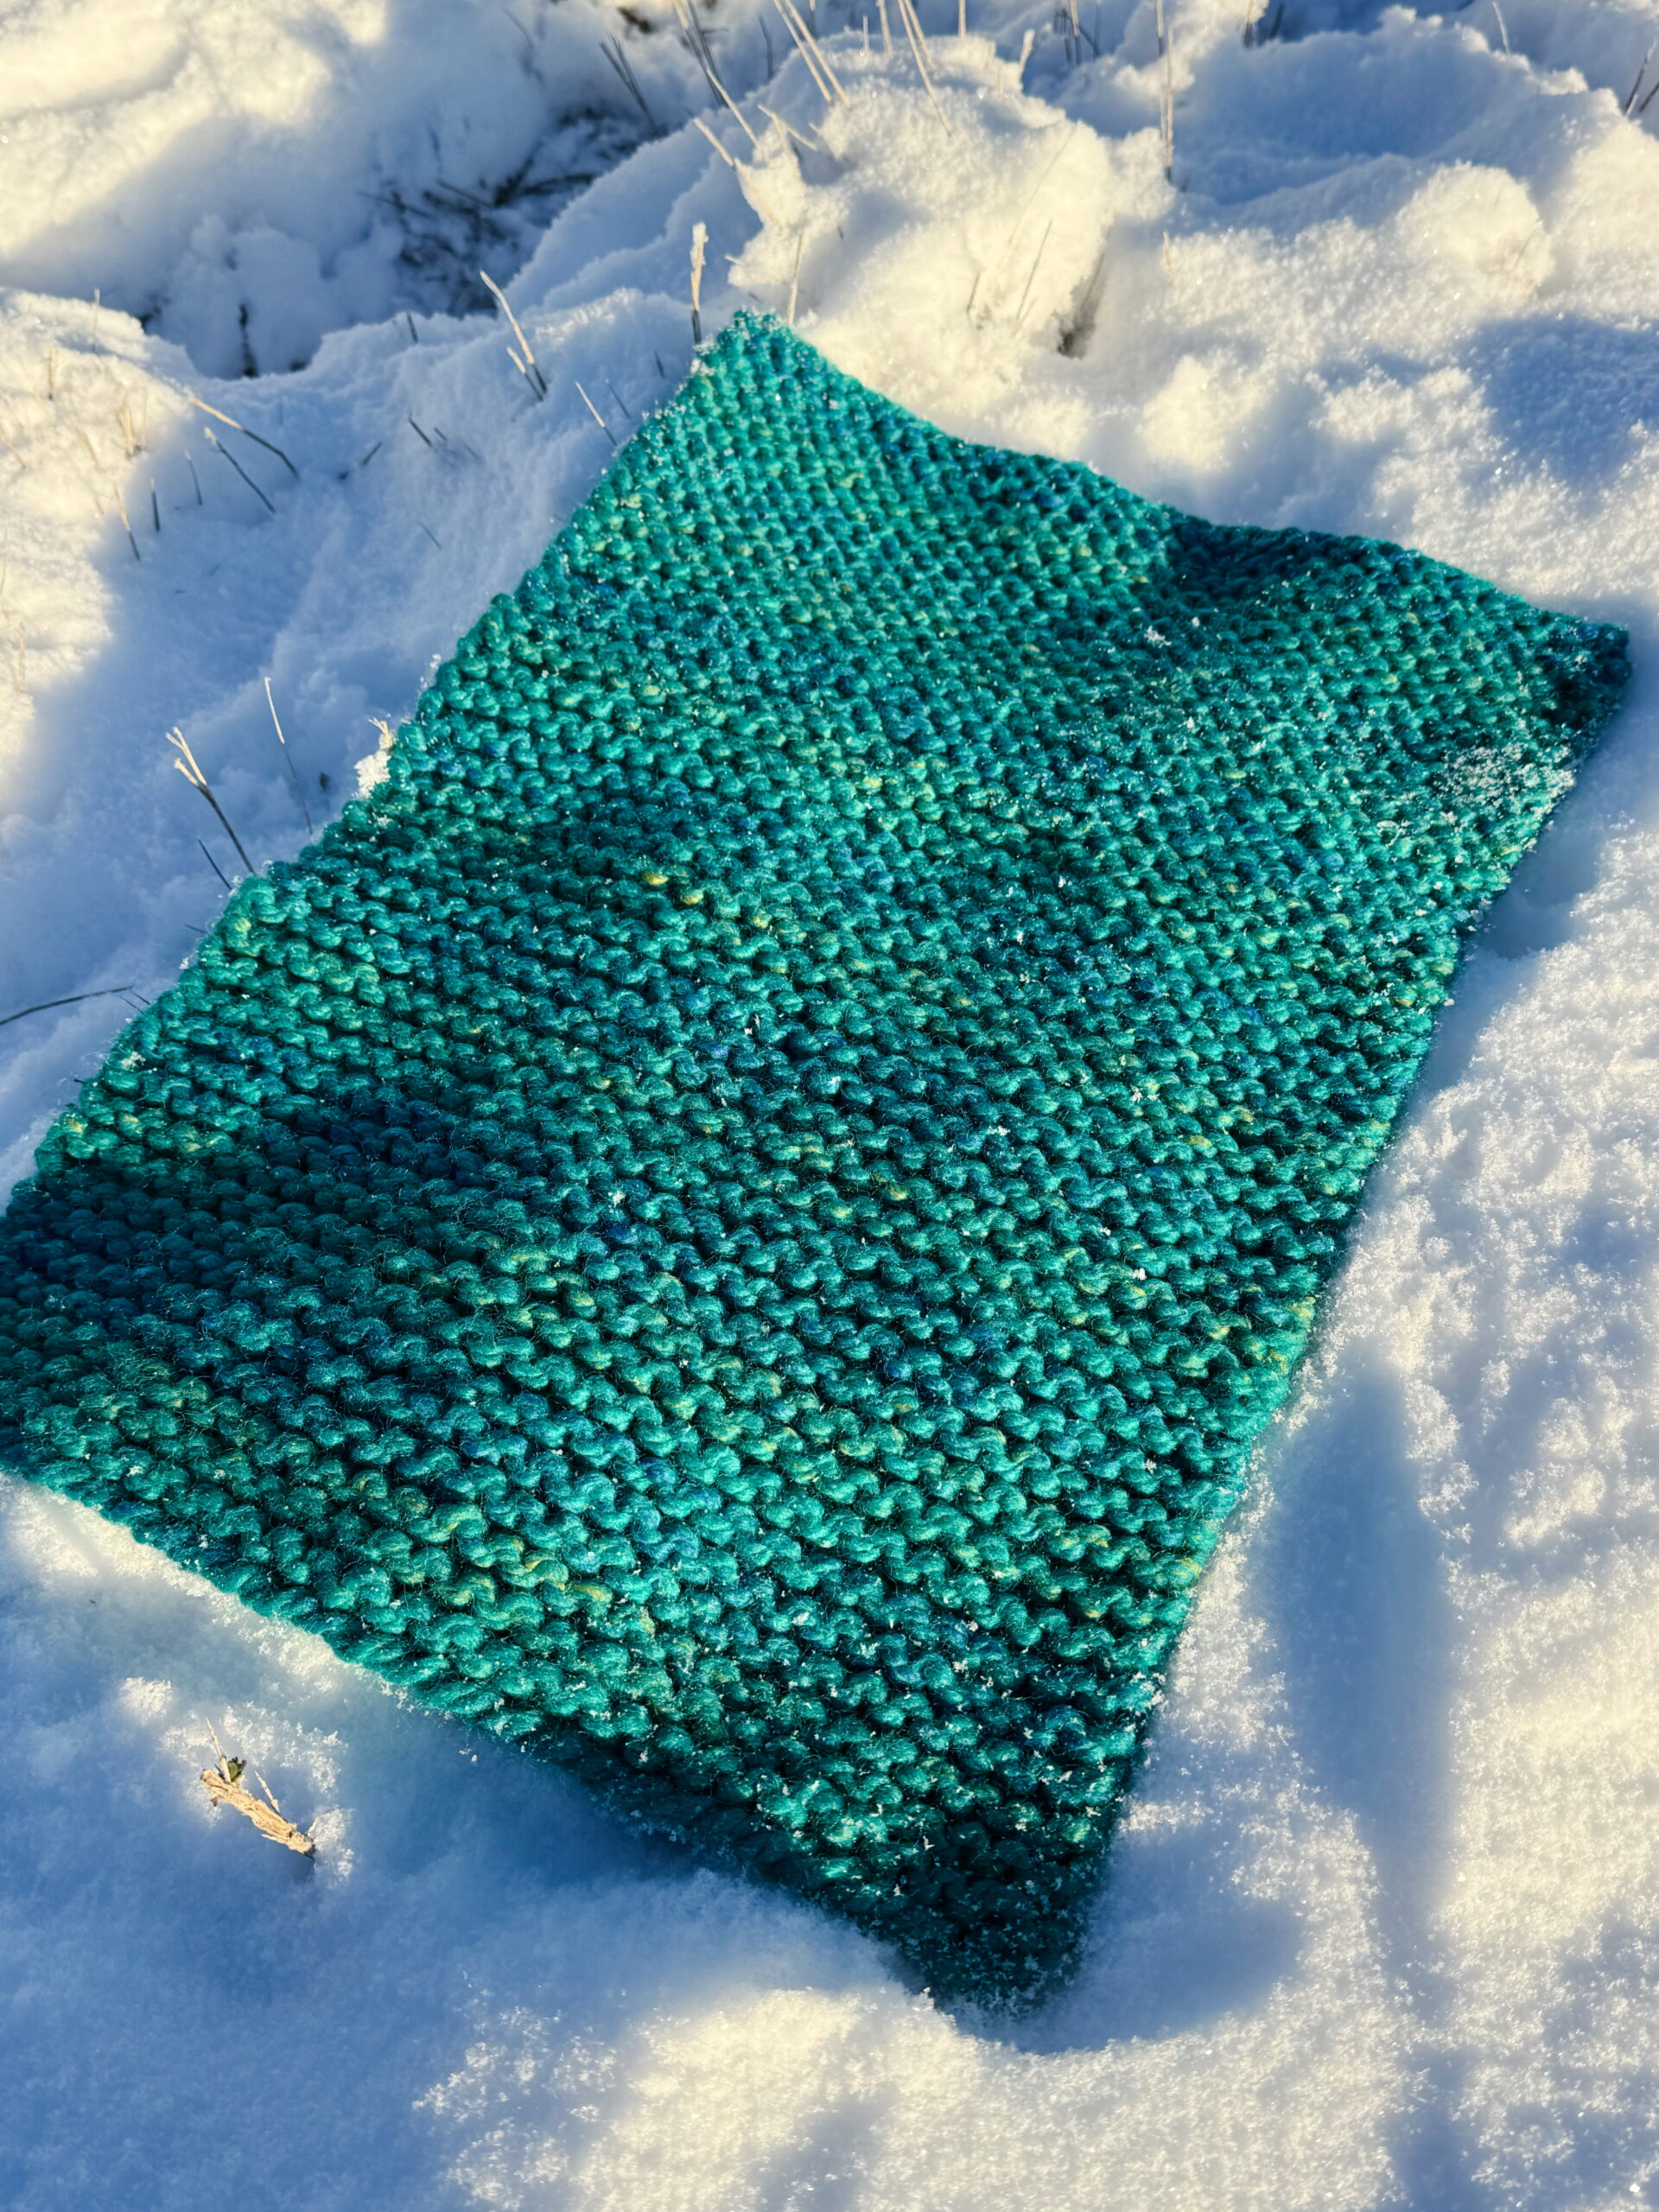
This placemat is designed to feel simple and doable. You will repeat the knit stitch over and over, and the fabric will grow quickly because the yarn is thick. When you are done, you will have a sturdy placemat you can use at the table, for crafts, or as a cozy landing spot for snacks and hot cocoa.
This pattern is knit flat in garter stitch (knit every row). There is no shaping, no color changes, and no tricky steps. It is a great way to practice tension and learn how to make neat edges.
Materials
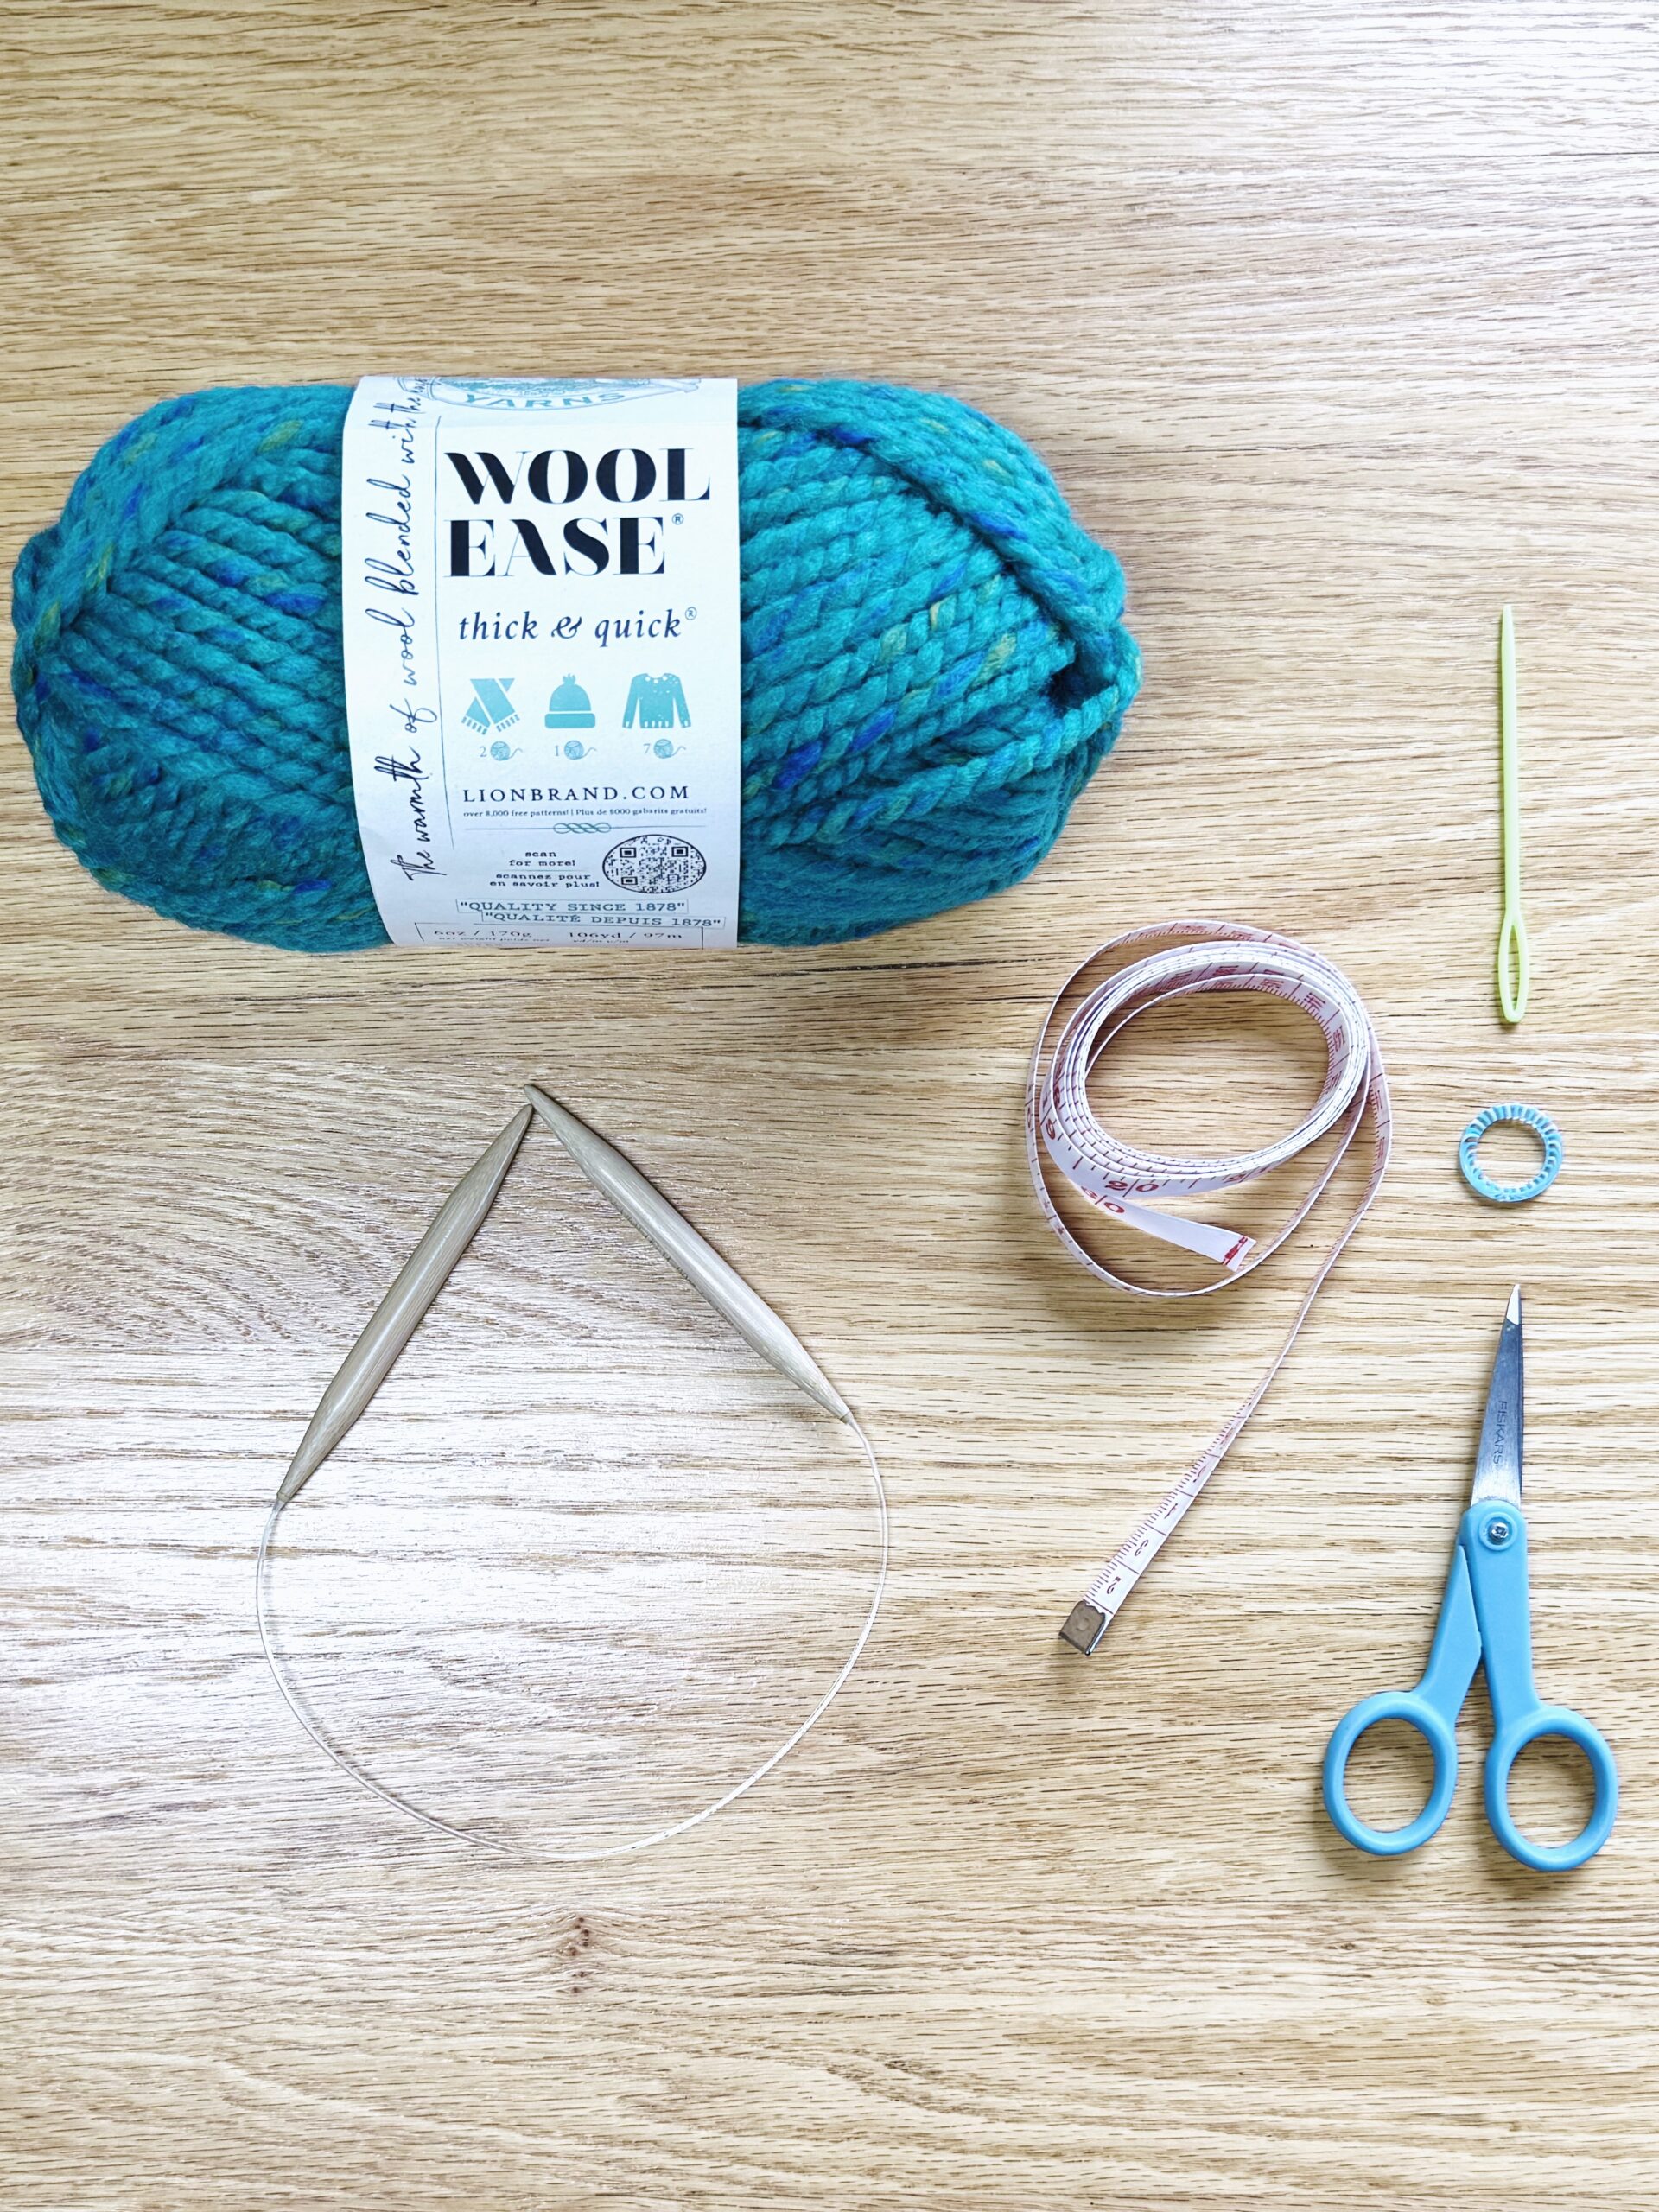
Knitting Needles
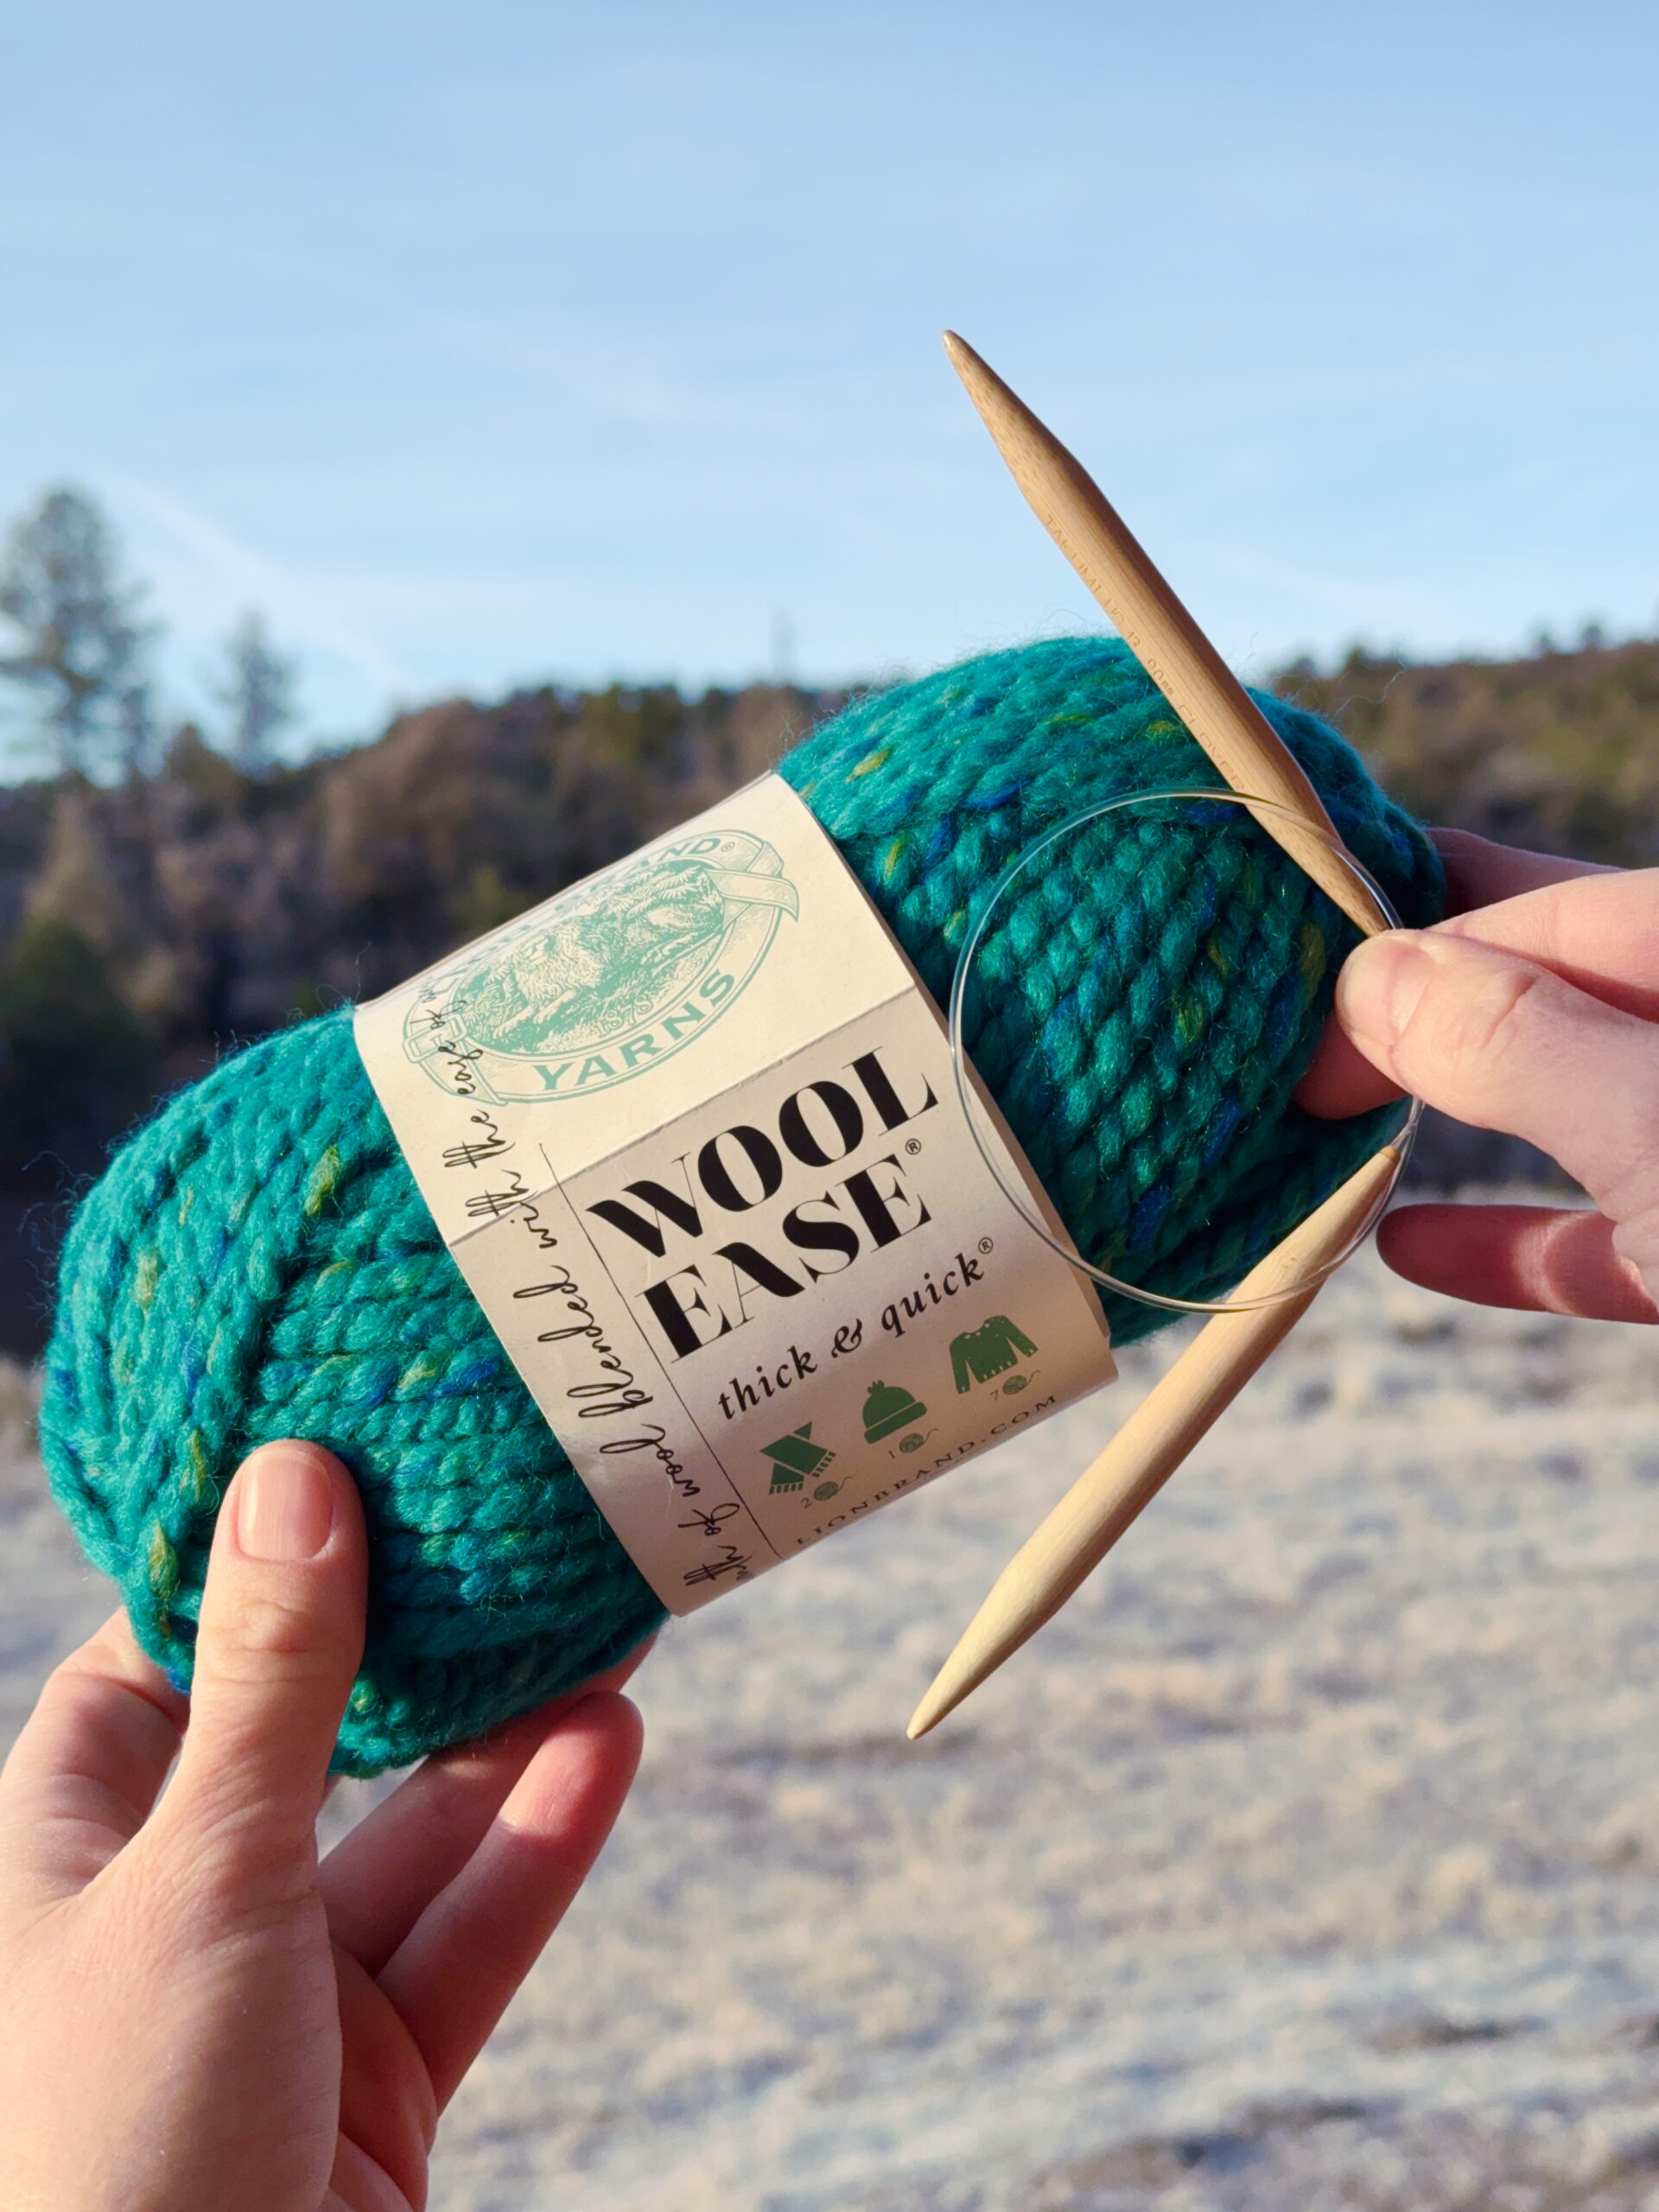
16-inch (41 cm) long US No. 13 (9 mm) circular needle (or size needed to obtain gauge)
Yarn
Two 106-yard (6-ounce) skein of super-bulky (No. 6) yarn* (shown in Wool-Ease Thick and Quick by Lion Brand Yarn “Bluegrass”), in your choice of color).
- One placemat uses approximately 123.7 yards (7.0 oz. or 1.2 skeins)
*Weights estimated with Wool Ease Thick & Quick by Lion Brand Yarn; other yarn weights may vary.
Notions
Gauge
10 stitches x 18 rows = 4 x 4 inches in Garter Stitch on No. 13 (9.0 mm) needles. Gauge is typically measured in stockinette stitch, but this project uses garter stitch throughout, so gauge is measured in garter stitch to reflect the finished fabric. Exact gauge is not critical for this project.
Abbreviations
k = knit
Skills used
This super-bulky knit placemat is a great first flat project because it is simple, fast, and easy to see as it grows.
To make the super-bulky knit placemat, you’ll only need to know how to:
If you need help, there are instructions and video tutorials here on PurlsAndPixels for every step you’ll take.
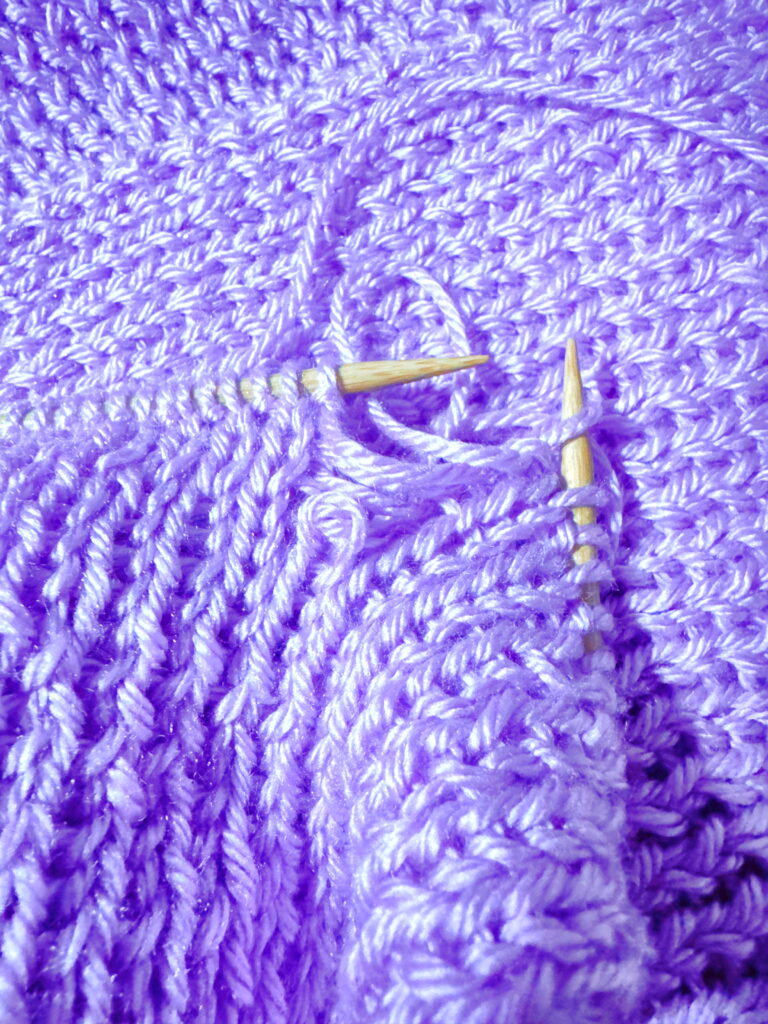
This placemat is knit in garter stitch, which means you will knit every stitch in every row. Repeating the same motion over a wide piece like this is a great way to build confidence and get comfortable with even tension across the row.
Try to keep your stitches snug, but not tight. They should slide easily on the needle so you can insert your needle into each loop without forcing it. This pattern is a simple place to practice finding that balance.
Want to knit along with me? I’ve linked a video lesson that shows the full project from cast on to finishing. 🧶
Prefer to knit offline?
This pattern is free to read below, but if you’d rather print it or save it for later, I’ve created a clean, ad-free PDF version for you.
- Includes complete, row-by-row instructions
- Easy to print or use on your tablet
- Supports my small business 💖
Instructions: Super-Bulky Knit Placemat
(12 inches [30.48 cm] x 18 inches [45.72 cm] or desired length)
Use the long tail cast on. Knit flat, turning after each row.
Row 1: Cast on 30 stitches. (30 stitches) Turn.
Rows 2 – 84: k 30. (30 stitches) Turn. [Work should measure approximately 18 inches at this point.]
Row 85: Bind off loosely.
Cut yarn, leaving an 8-inch (20.32-cm) tail, and pull through. Weave in ends. Block if desired.
Save or print this pattern

Get the PDF version of this Super-Bulky Placemat Knitting Pattern.
Care
If you use the materials called for in the pattern, your final product will be machine washable. To keep your placemats looking their best, hand wash or machine wash separately on delicate cycle in cold water. Lay flat to dry.
🛁 Read more Knitwear Care Tips
Copyright, Sharing, and Selling Finished Items
©2026, Liz Chandler of PurlsAndPixels.
This pattern is for personal use, gifting, and charitable donation of completed items. You may also sell handmade items created using this pattern. Do not copy this pattern and distribute it. If you’d like to share the pattern, refer your friends to my website, purlsandpixels.com so they may obtain a copy.
If you find any errors or have any questions, email purlsandpixels@gmail.com and I will do my best to help.
I’d love to see your finished work! Tag your photos with @PurlsAndPixels on Twitter or Instagram.
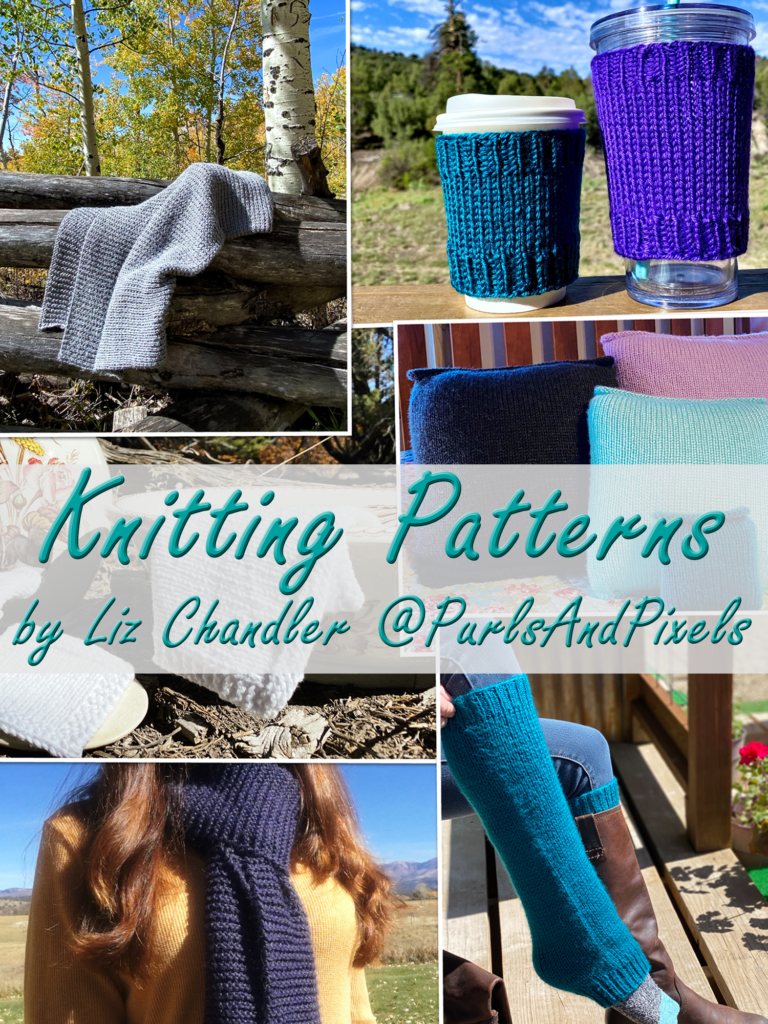
More Knitting Patterns You’ll Love
🧶 Super-Bulky Knit Scarf – Free Pattern
Don’t Miss a Stitch! 🧶
Love cozy knitting projects? Sign up for my newsletter to get more free patterns, helpful tips, and updates straight to your inbox. 💌