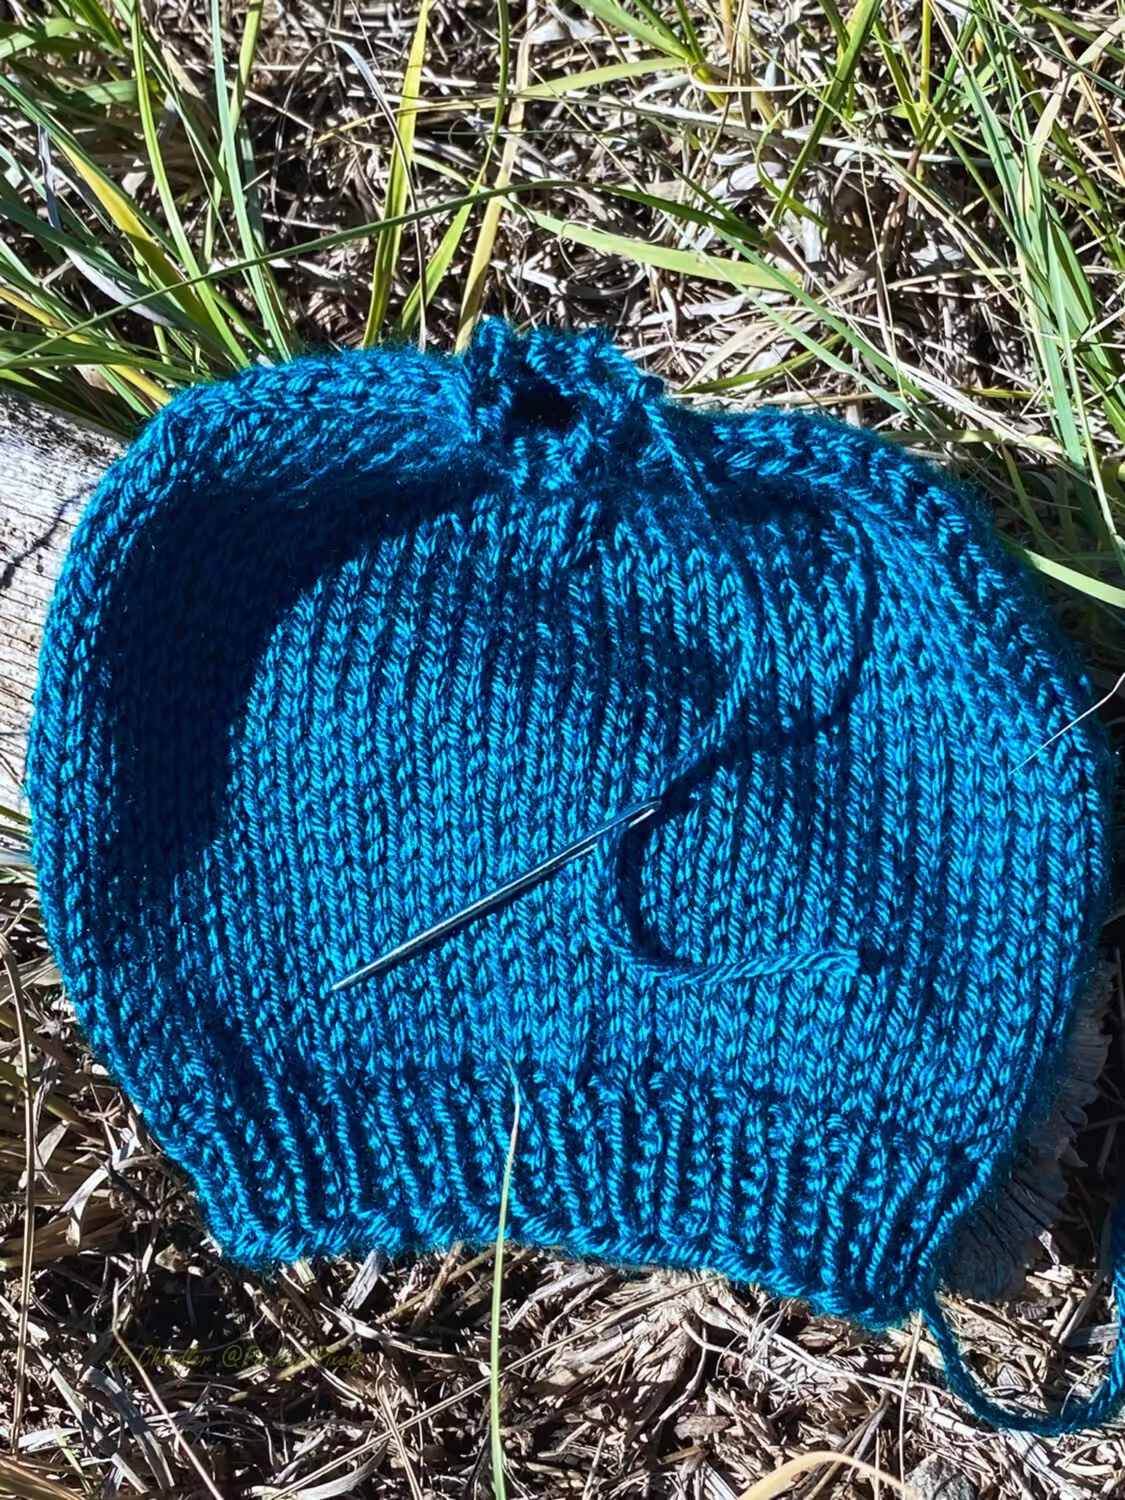
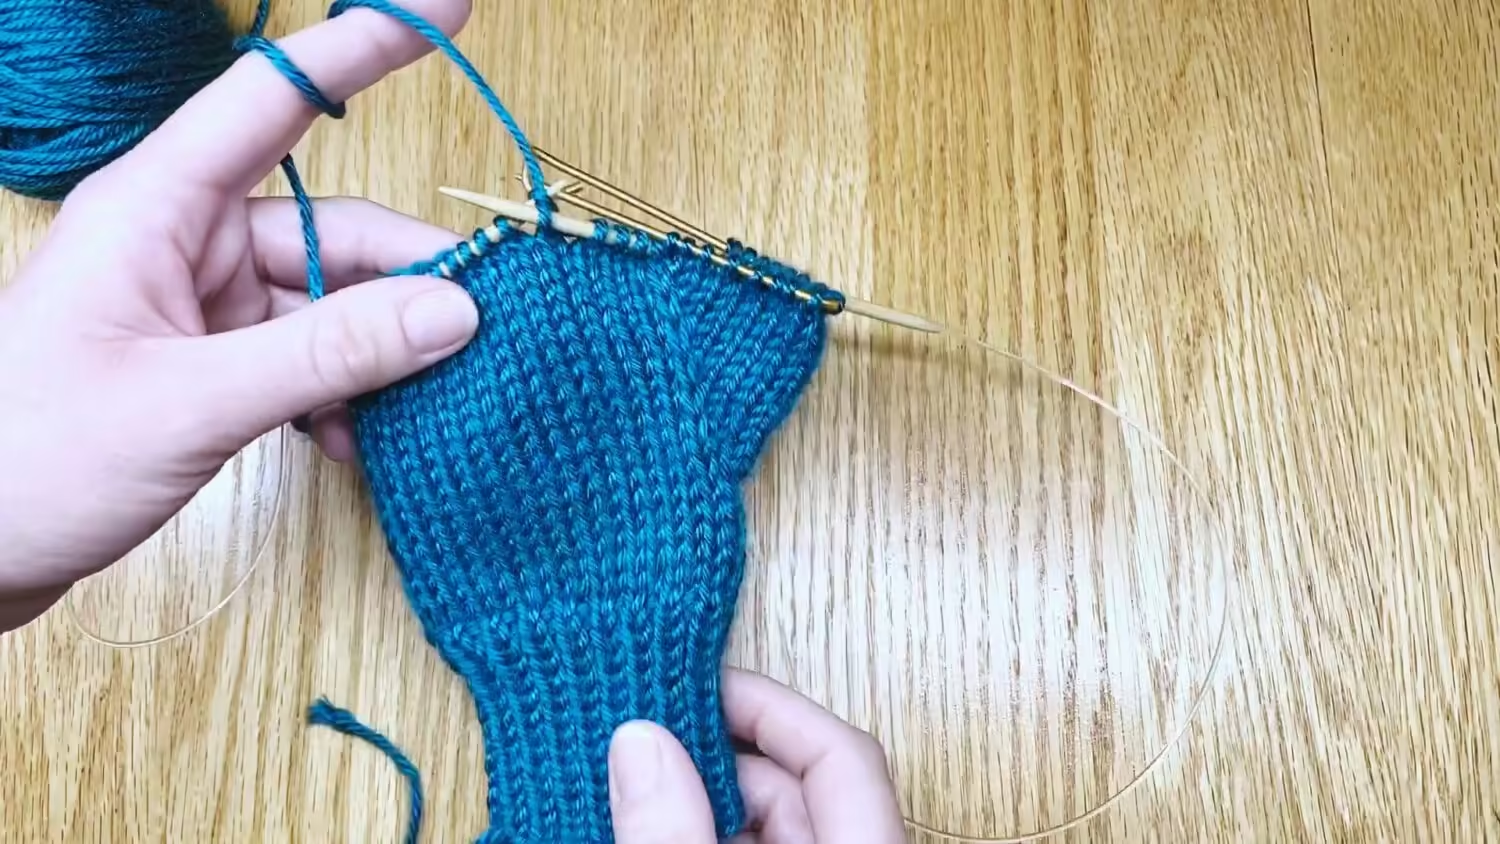
When you are knitting gloves or other shaped knitwear, you may need to separate groups of live stitches. For example, when knitting gloves, you will need to separate the hand section from the thumb. To do this, you can slip some of your live stitches onto a stitch holder to work later.

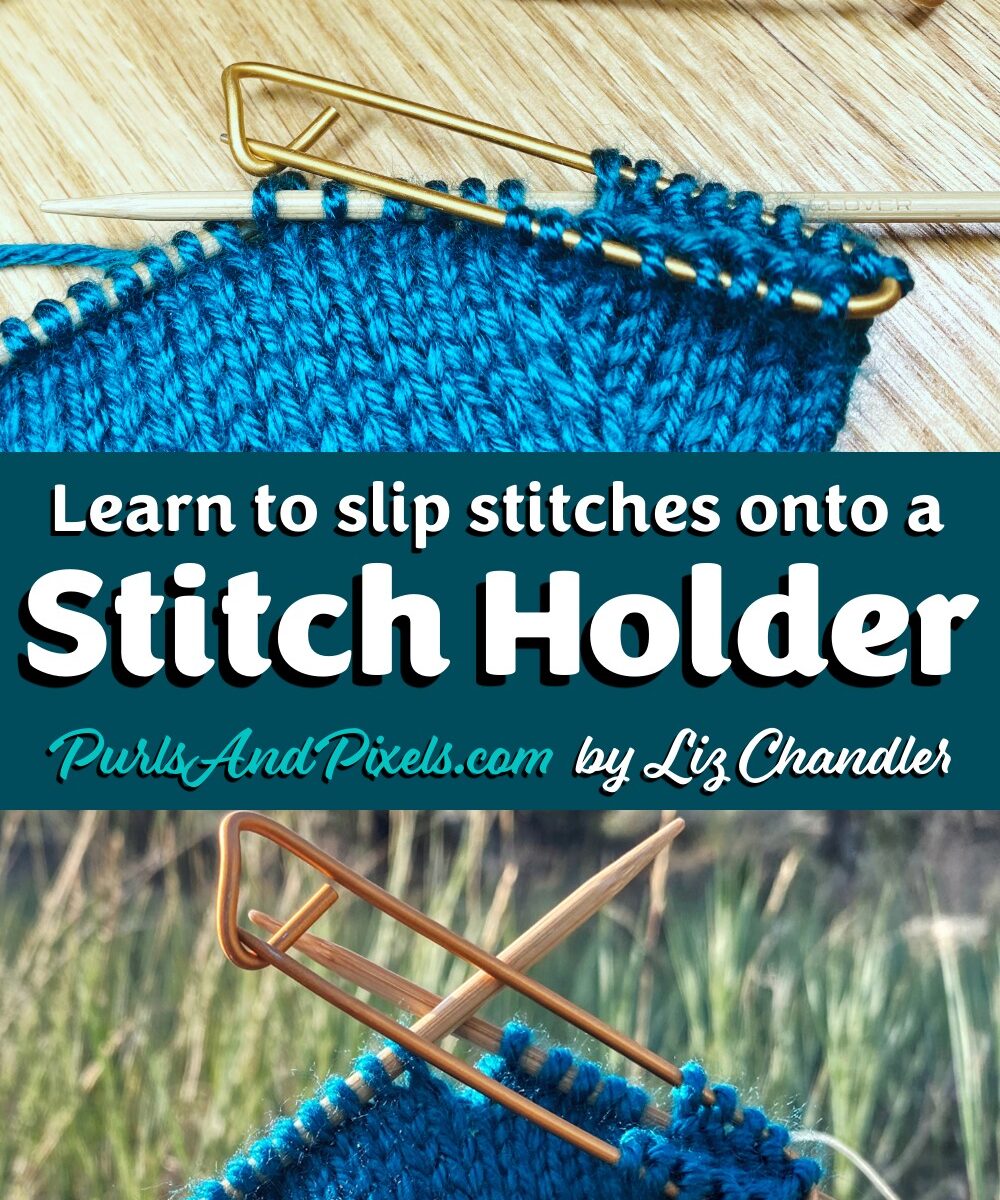
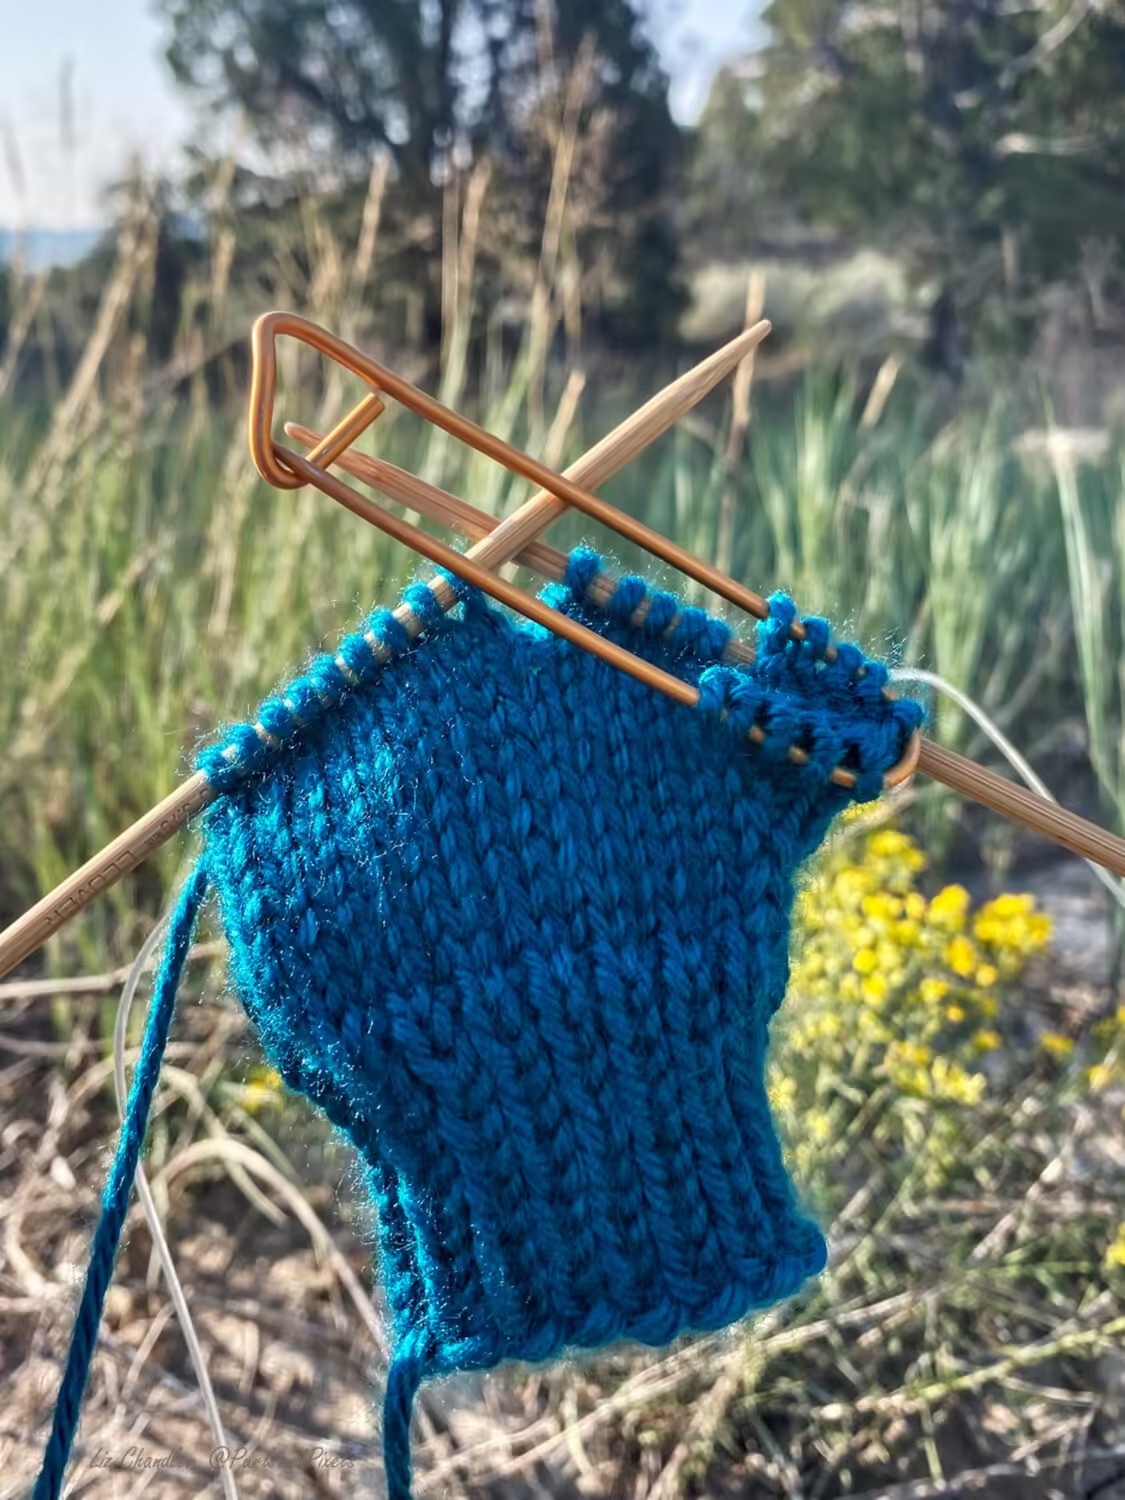
A stitch holder is a clip, which looks a bit like a large safety pin. This tool allows you to take some of your live stitches off your knitting needles and save them to work later. Slide a group of live stitches onto the stitch holder so that you can skip them.

In glove knitting, you will place the thumb stitches onto the stitch holder, then knit the hand portion of the glove. At the end of your project, you will go back and knit the stitches off your stitch holder, turning them into a thumb.
Below you will find both video and written guides to help you learn how use stitch holders. If you do not have a stitch holder available, you can also learn to substitute scrap yarn.
Video Guide: How to Slip Stitches onto a Stitch Holder
Written Guides: How to Slip Stitches onto a Stitch Holder
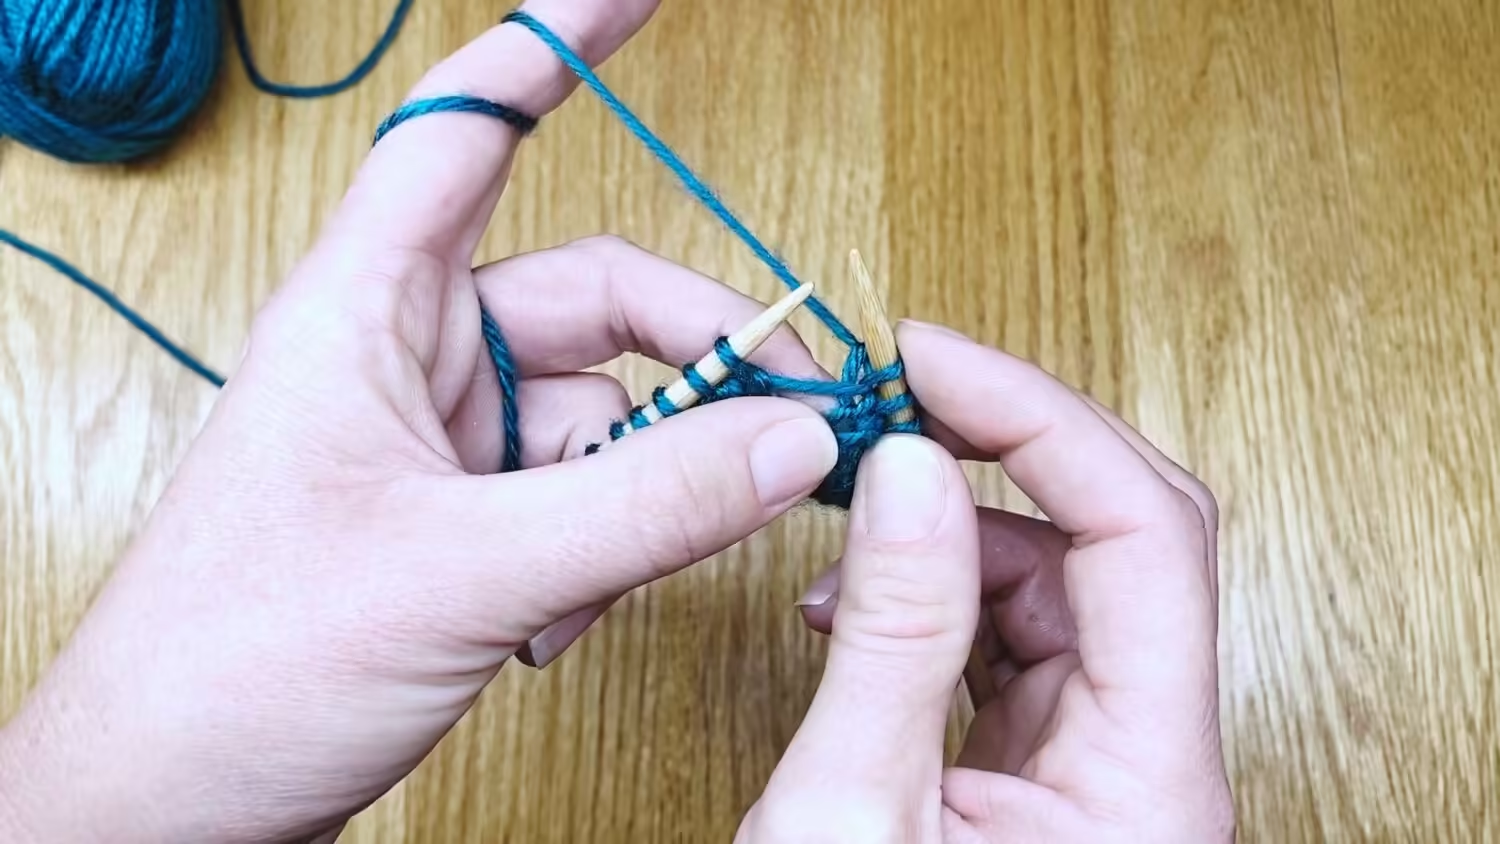
Slip Stitches onto a Stitch Holder, Step 1:
Place the working yarn behind the knitting needles. Let go of the righthand needle and pick up an open stitch holder with your right hand.

Slip Stitches onto a Stitch Holder, Step 2:
Insert the tip of the stitch marker into the front leg of the next live stitch from back to front (as if to purl).

Slip Stitches onto a Stitch Holder, Step 3:
Slip the stitch onto the tip of the stitch marker.

Slip Stitches onto a Stitch Holder, Step 4:
Slip all the stitches your pattern instructs onto the stitch marker in the same manner.

Slip Stitches onto a Stitch Holder, Step 5:
Close the stitch marker.

Slip Stitches onto a Stitch Holder, Step 6:
Gently pull the stitch marker down and out of the way of your knitting needles.

Slip Stitches onto a Stitch Holder, Step 7:
Pick up the working yarn and knit into the next live stitch.

Slip Stitches onto a Stitch Holder, Step 8:
At this point your live stitches will connect behind the stitches on the holder with a single strand.

What if I Don’t Have a Stitch Holder?
If you do not have a stitch holder available you can substitute a piece of scrap yarn. See that lesson here.
You can order the stitch holders I used in this video on Amazon at this link (affiliate link).
Practice With My Knitting Patterns
Ready to try it?

Try knitting Simple Fingerless Gloves, which use stitch holders to shape the thumb opening.

In my pattern for Basic Knit Mittens you will also use stitch holders to make the thumbs.
Up Next
After you finish knitting the hand portion of your fingerless gloves, you will need to it off the needles. In the next lesson we will learn how to bind off when working in the Magic Loop.

Taking Stitches Off the Holders
After you bind off your glove or mitten, you’ll move the stitches from your stitch holder onto knitting needles so that you can make a thumb. You can use double point needles (DPNs) or long circular needles and the magic loop to knit off the stitch holder.