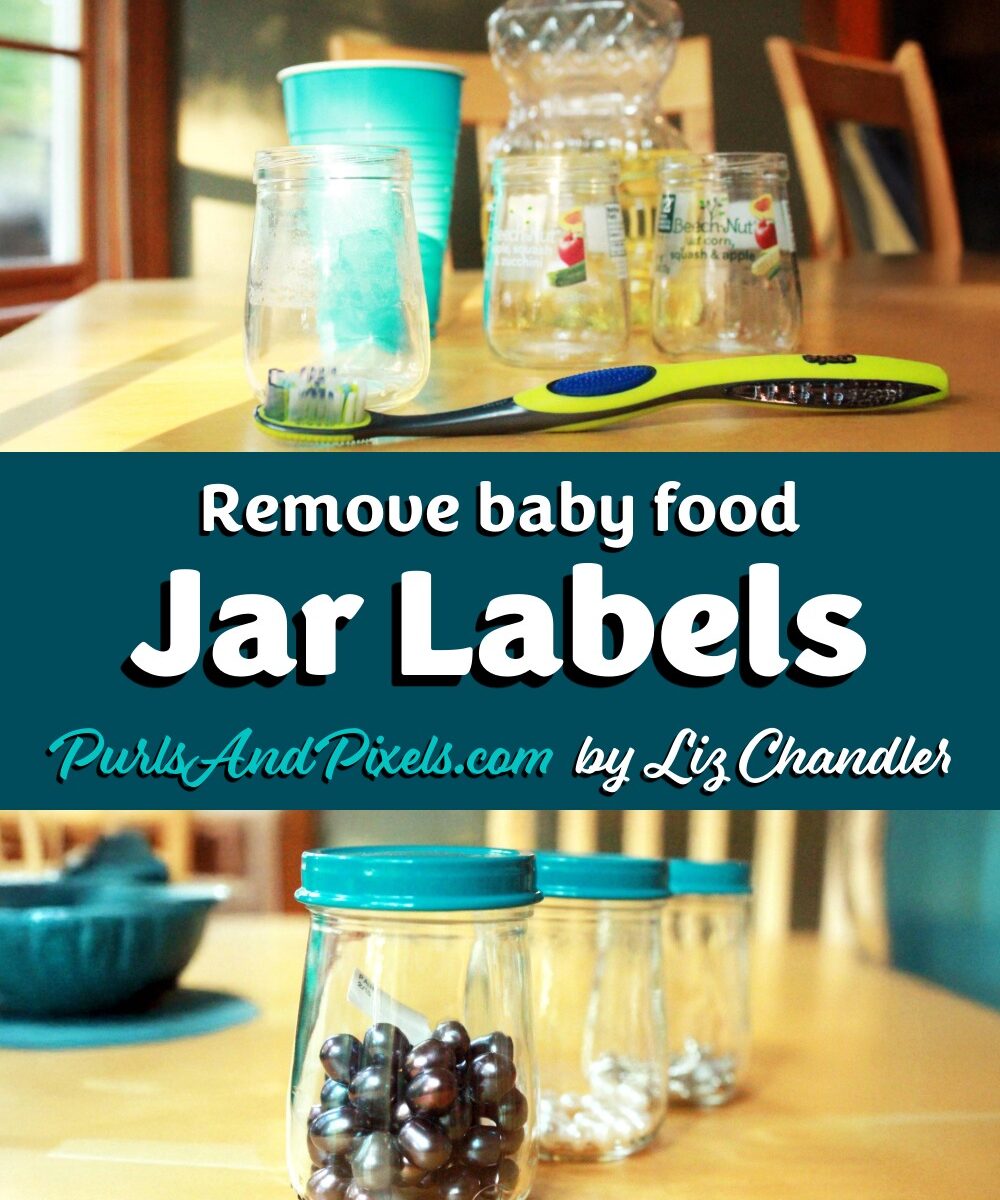
Beechnut baby food jars are some of my favorite little containers. The rounded pear shape is adorable, sturdy, and surprisingly useful. I saved a collection of them for future projects because they felt too charming to toss into the recycling bin.
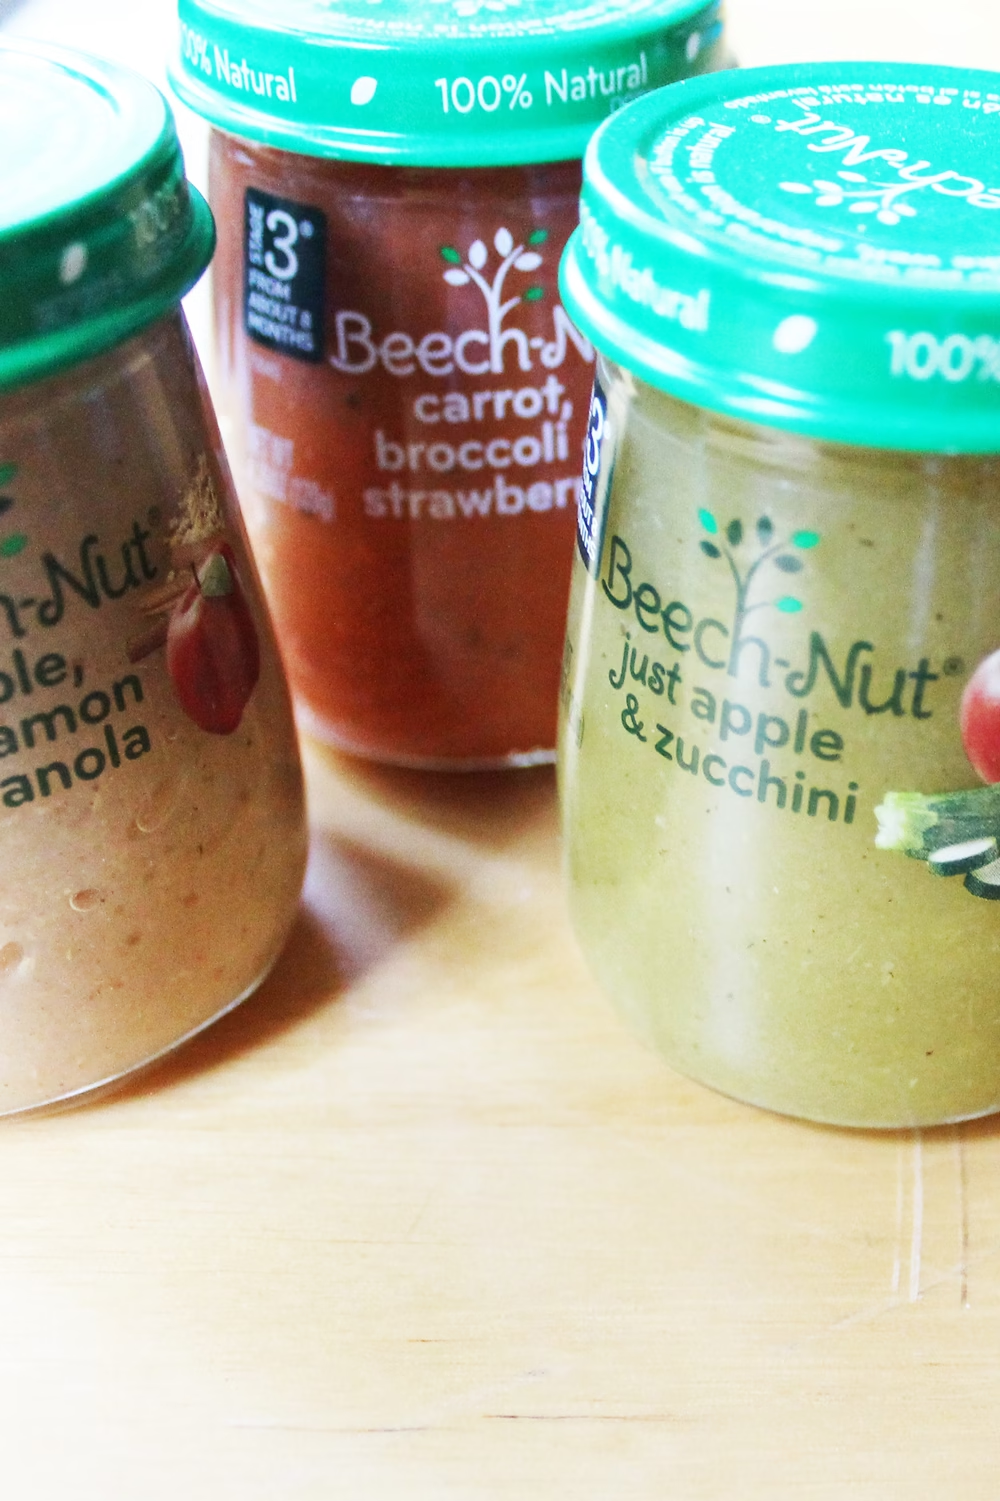
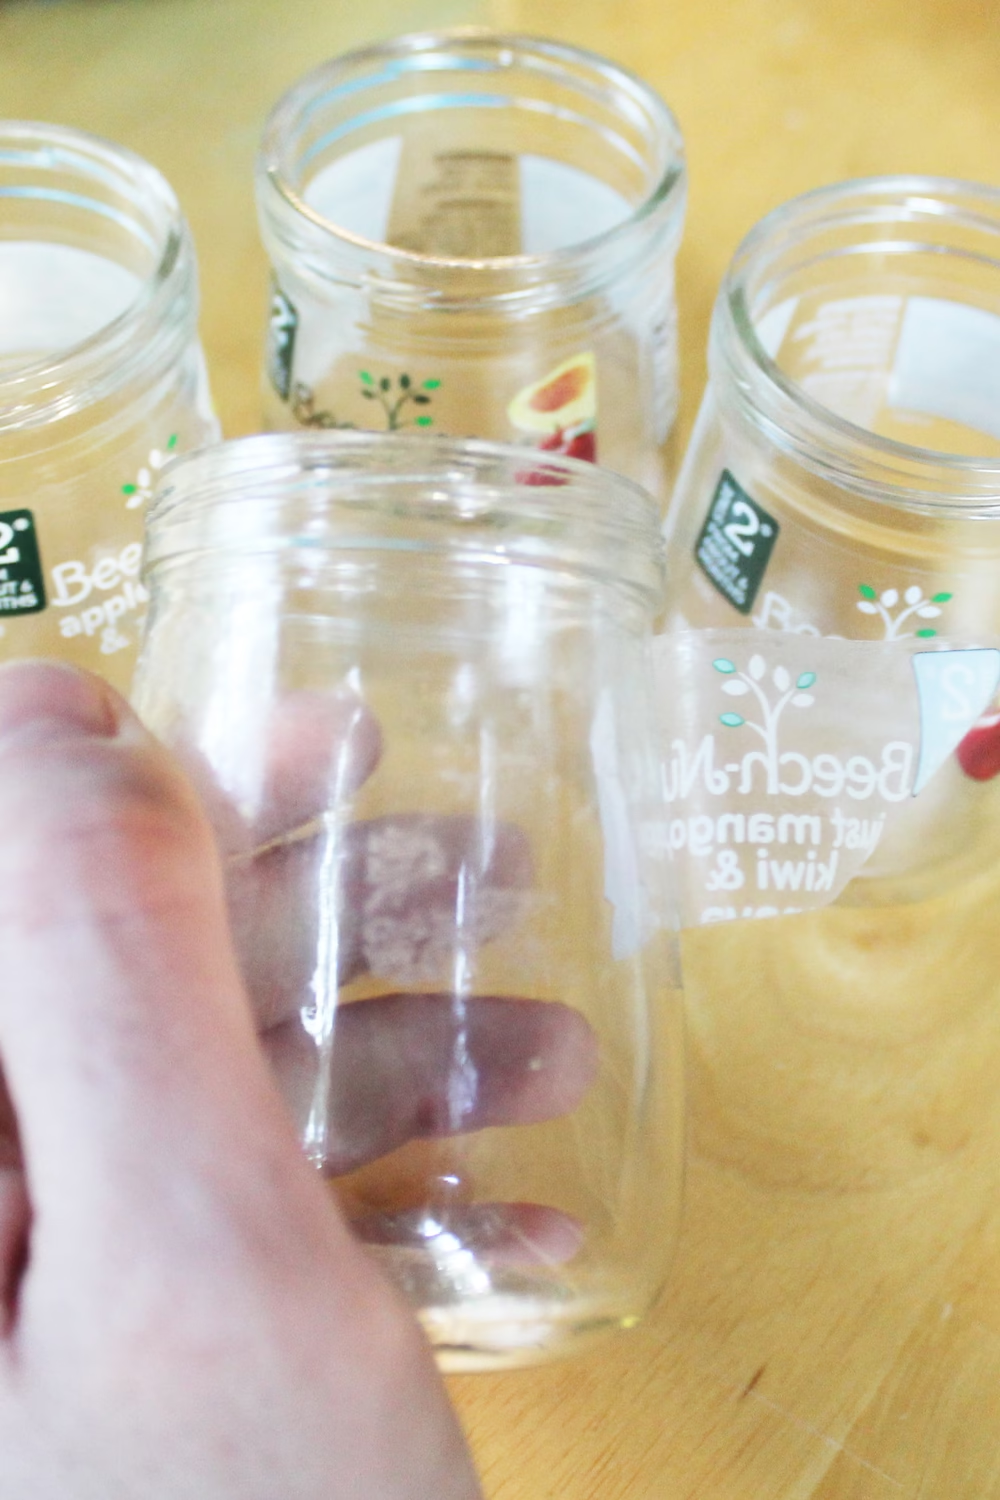
The only problem came later. The clear plastic labels peel off easily, but the glue they leave behind is incredibly stubborn. The jars stayed sticky even after a trip through the dishwasher. That sticky residue collected dust, hair, and crumbs, which made the jars look and feel messy. Since I wanted to use them for a craft project, I needed a way to remove the glue without harsh chemicals.
After a bit of experimenting with what I already had in the kitchen, I found a simple solution that works beautifully. It is gentle, effective, and safe to use around kids.
The Best Way to Remove Glue from Beechnut Baby Food Jars
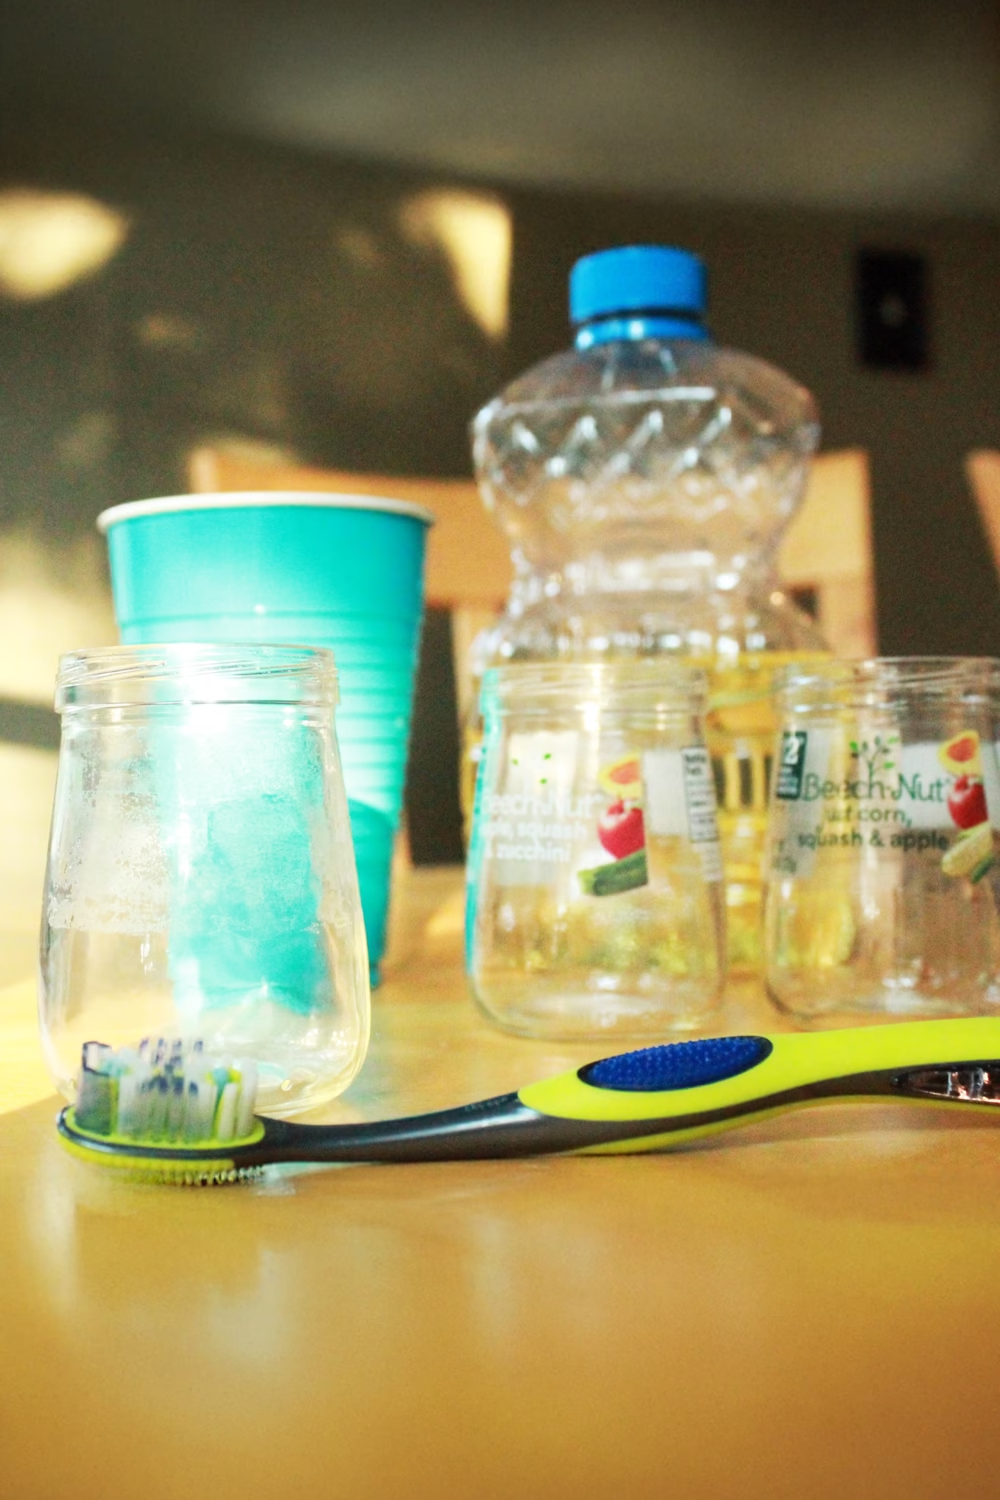
The best way I have found to remove labels from Beechnut baby food jars uses one simple ingredient: vegetable oil. No chemical cleaners, no strong smells, and no special products required.
Here is exactly how I clean the jars.
- Peel off the plastic label and remove as much of the loose glue as you can with your fingers.
- Dip an old toothbrush into vegetable oil.
- Scrub the sticky residue with the oiled toothbrush until the glue begins to loosen.
- Wipe away the glue and excess oil with a paper towel or soft cloth.
- Run the jars through the dishwasher to remove the remaining oil and leave the glass sparkling clean.
It still takes a little elbow grease, but the vegetable oil breaks down the adhesive gently. Once the jars come out of the dishwasher, they are smooth, clear, and ready for your next Cozy DIY project.
What to Make with Beechnut Baby Food Jars
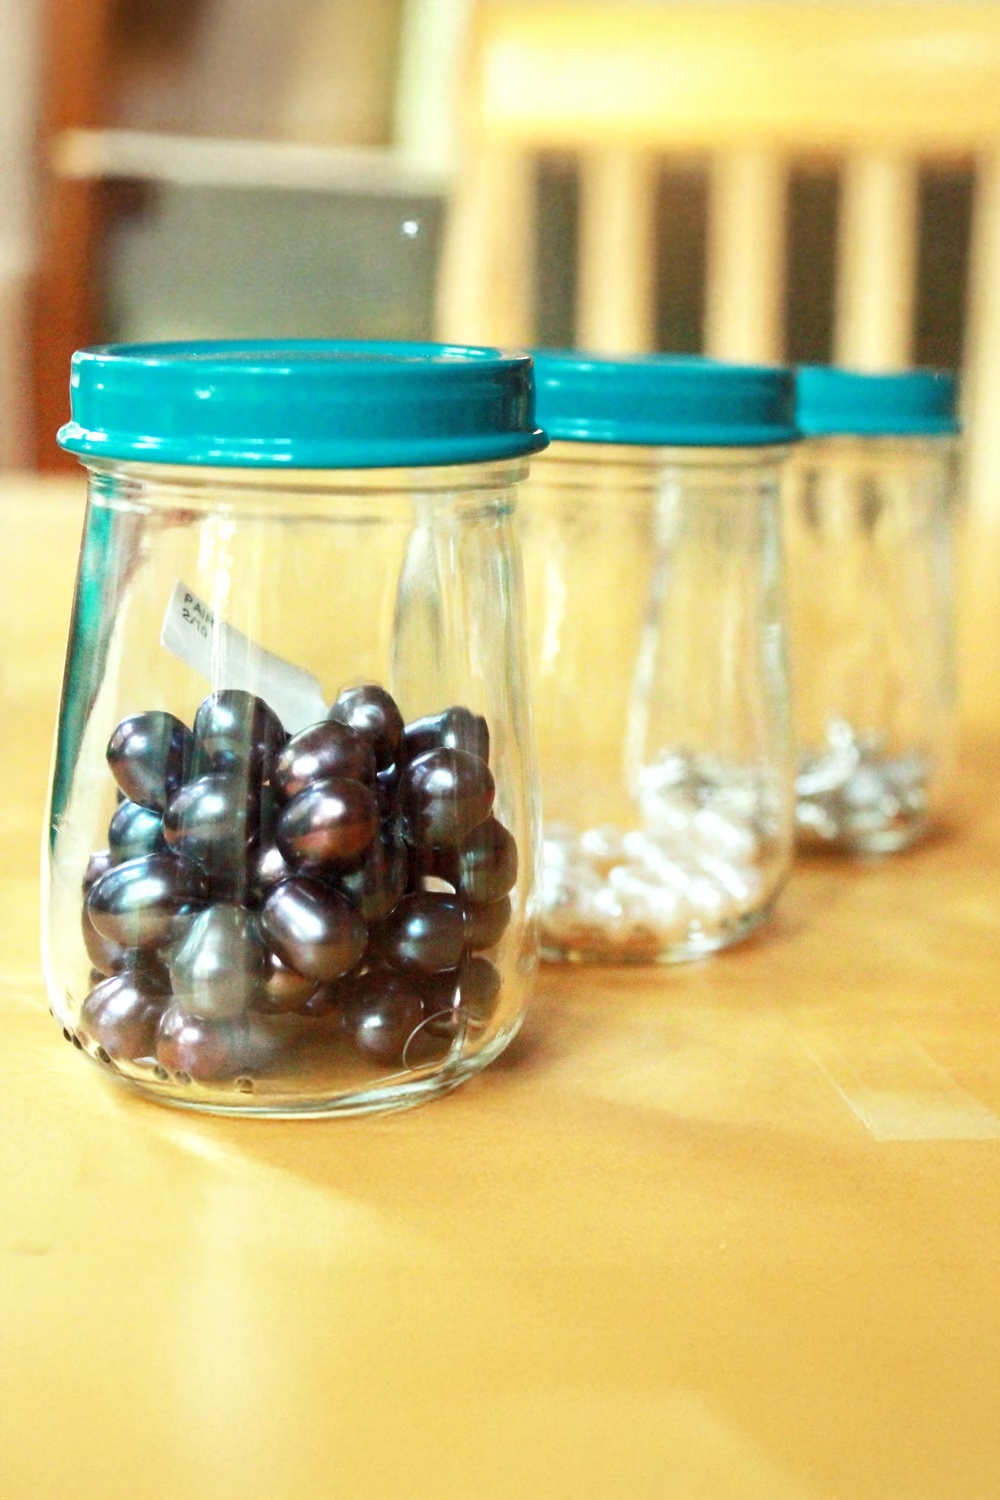
I originally cleaned these jars because I needed better storage for my jewelry making supplies. A few thin coats of teal spray paint on the lids made them look fresh and coordinated. Filled with beads and stones, the jars now line my shelf and add a little bit of color to the room.
Once they are clean, Beechnut jars are perfect for all sorts of small storage and quick craft projects. Here are a few ideas.
- Organize small items, such as beads, buttons, or hardware.
- Create containers for paperclips, tacks, or other desk supplies.
- Turn them into pin cushion jars.
- Pour your own mini candles.
If you like collecting ideas before you start, you can also visit my baby food jar crafts board on Pinterest for more inspiration.
Clean jars, fresh lids, and a little creativity can turn recycling into something both useful and beautiful.
Read More: Cozy DIY Projects
If you enjoyed giving these jars a new life, you might like a few more simple Cozy DIY projects that make your home feel calmer and more capable.
🌲 Make No-Sew Cedar Sachets: Freshen drawers, closets, or storage bins with natural cedar, no sewing required.
Browse more Cozy DIY ideas at: Cozy DIY on PurlsAndPixels
I appreciate you sharing this blog post.Much thanks again. Awesome.
Glad I could help!
Thank’s great post.
What’s up, just wanted to say, I loved this article.
It was practical. Keep on posting!
Thanks a lot for sharing!
My pleasure!
Pretty nice post. I just stumbled upon your blog and wanted to say that I have really enjoyed browsing your blog posts.
After all I will be subscribing to your feed and I hope you
write again very soon!
Thanks! Glad you are enjoying!