Simple Handmade Projects for Real Life
Welcome to Cozy DIY at PurlsAndPixels! This is your home for beginner-friendly, practical DIY ideas that make everyday life feel calmer, cozier, and more personal. These small projects are easy to finish, satisfying to make, and perfect for creating a handmade home one gentle step at a time.
🔧 Simple Home Projects
Easy projects with big cozy impact.
More simple home DIY projects added all the time.
🍂 Seasonal Crafts
Low-stress, creative ideas to refresh your home through the seasons.
Seasonal cozy DIY projects coming soon.
🏡 Cozy Décor & Handmade Accents
Small handmade touches that make a home feel warm and lived in.
Handmade décor ideas coming soon.
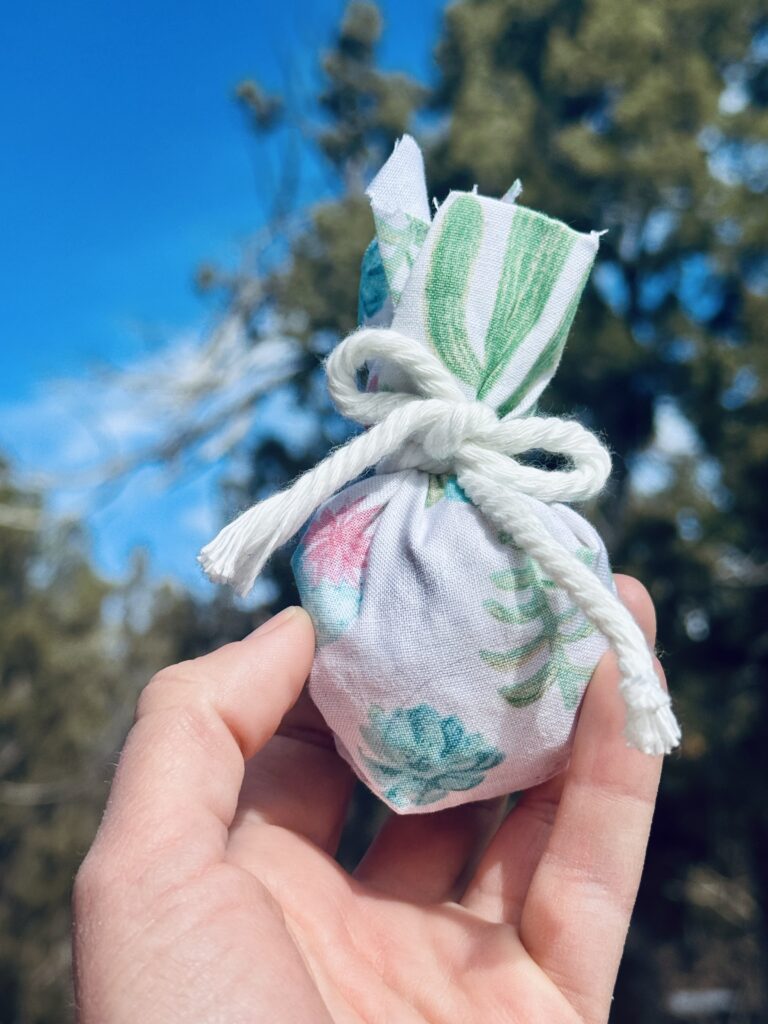
🌿 Nature-Inspired & Repurposed Crafts
Grounded projects using natural, foraged, or repurposed materials.
Nature-inspired DIY crafts coming soon.
🖨️ Printable DIY Guides
Helpful printable tools for planning and organizing your cozy DIY projects.
Printable guides and checklists coming soon.
Browse all Cozy DIY articles here:
https://purlsandpixels.com/articles/
How to Use This Page
Turn to the Cozy DIY hub whenever you want:
- a quick craft for a quiet, creative moment
- a simple home project you can finish today
- a seasonal handmade idea to refresh your space
- a cozy décor idea you can make yourself
- a grounding creative break that feels gentle
This is your all-in-one home for cozy DIY projects. When you want something simple, satisfying, and deeply grounding, begin here.
Cozy Independence begins one small project at a time.