Step-by-step knitting lessons for kids 🧶
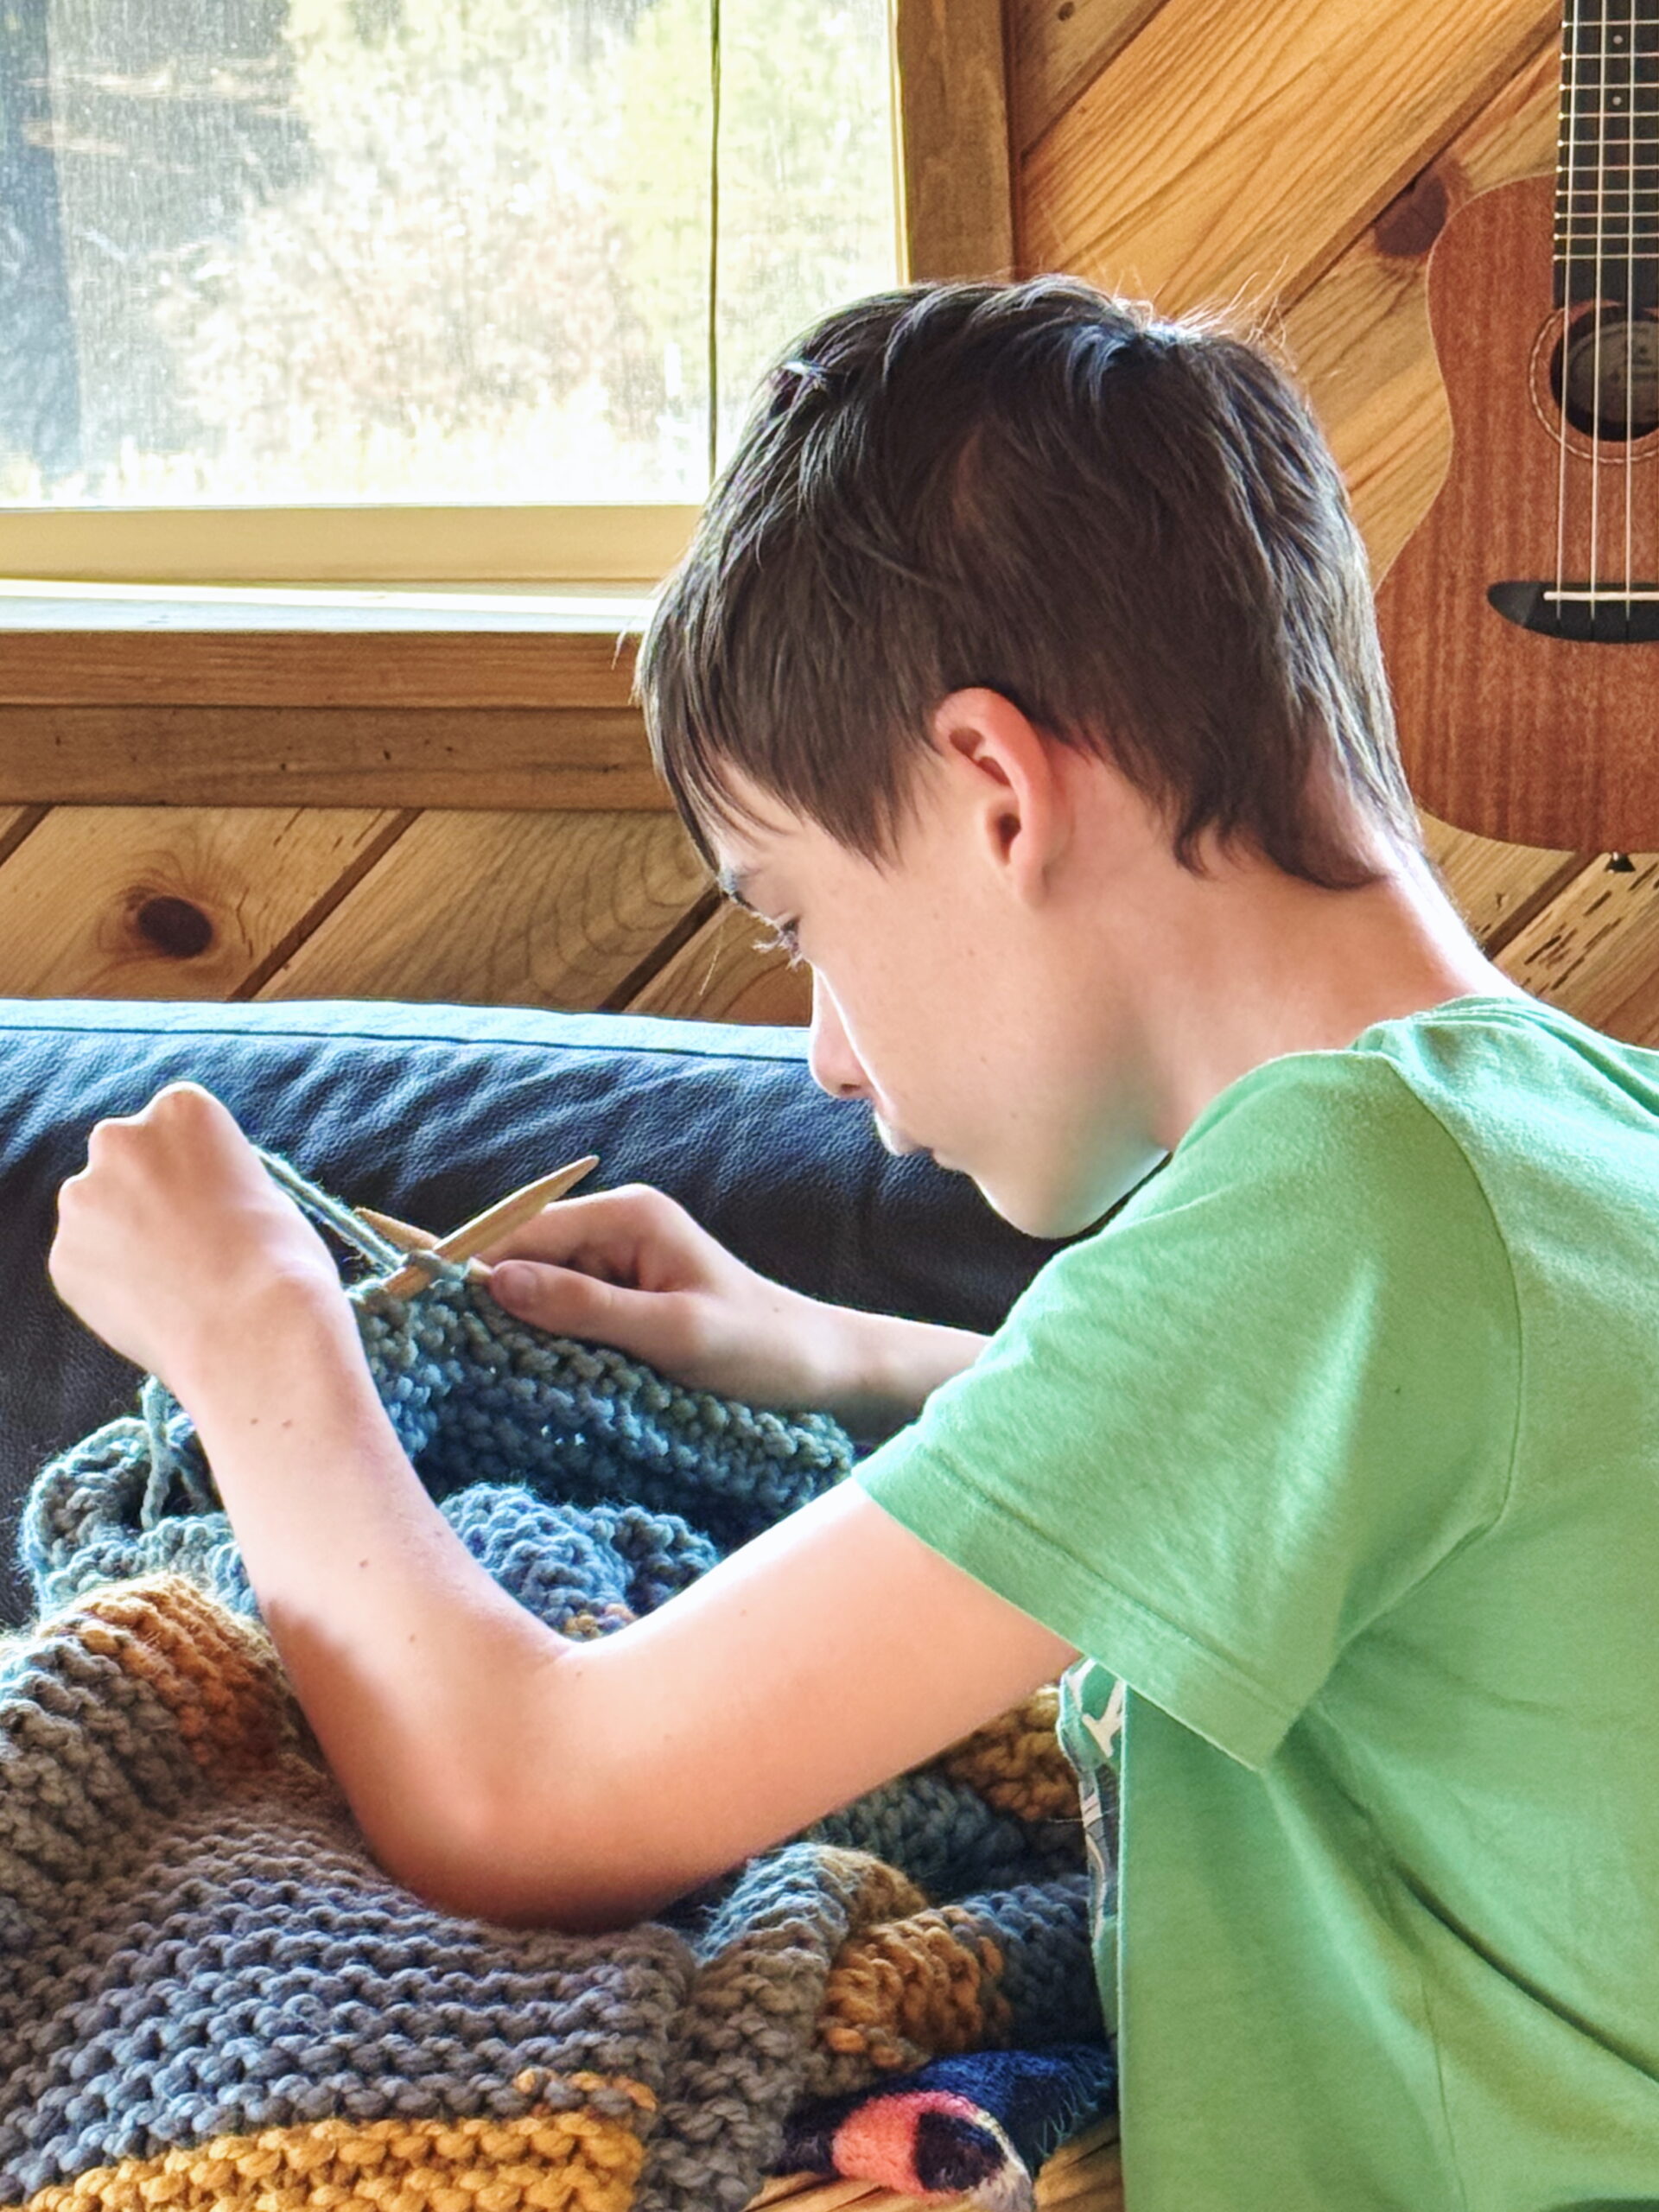
Hi, friends! Do you want to make your own awesome stuff? Did you know that with just one set of knitting needles and some fluffy yarn, you can create all sorts of fantastic things? That’s knitting. And I know you’re going to love it!
Knitting is a way to make fabric by looping yarn with two needles, one stitch at a time. In Kids’ Knitting Guide, you’ll learn how to knit step by step, starting with your very first stitch.
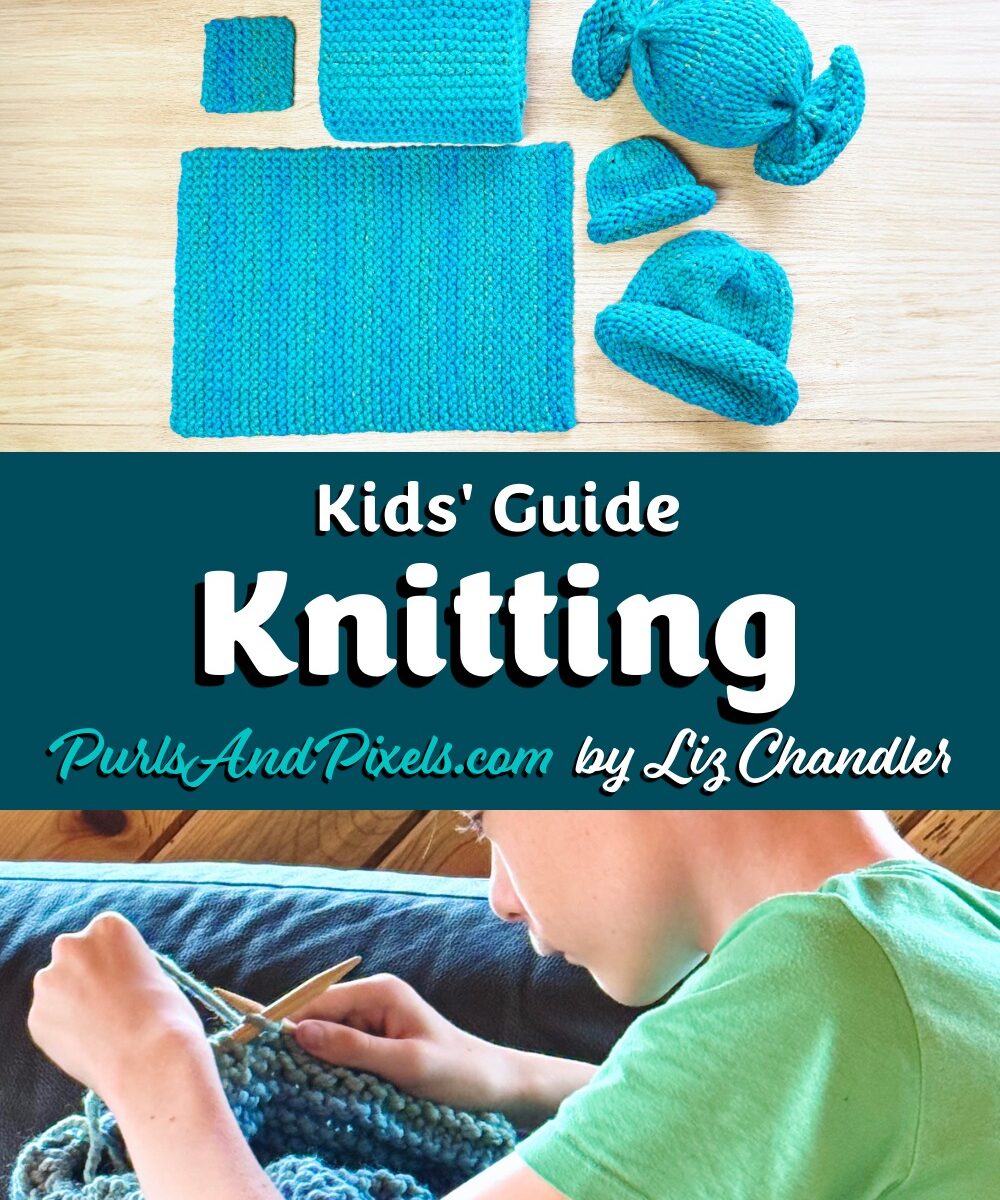
The Kids’ Knitting Guide is a guided series of knitting lessons made to teach kids to knit. In this series, you will learn basic knitting skills while making five useful projects.
What You’ll Learn Here
Start at Lesson 1 and follow the lessons in order to learn how to knit from the beginning.
Lesson missing? The series is being written now. I’ll add the next lessons to this page as they’re published, so you can come back here for the next step.
In this cozy corner, we will start right at the beginning. Together, we will:
- Lesson 1: Choose your tools (yarn and needles)
- Lesson 2: Make a slipknot (your first stitch)
- Lesson 3: Put stitches on the needles (cast on)
- Lesson 4: Turn your needles over (to make flat things)
- Lesson 5: Learn the knit stitch (the thing you’ll do most)
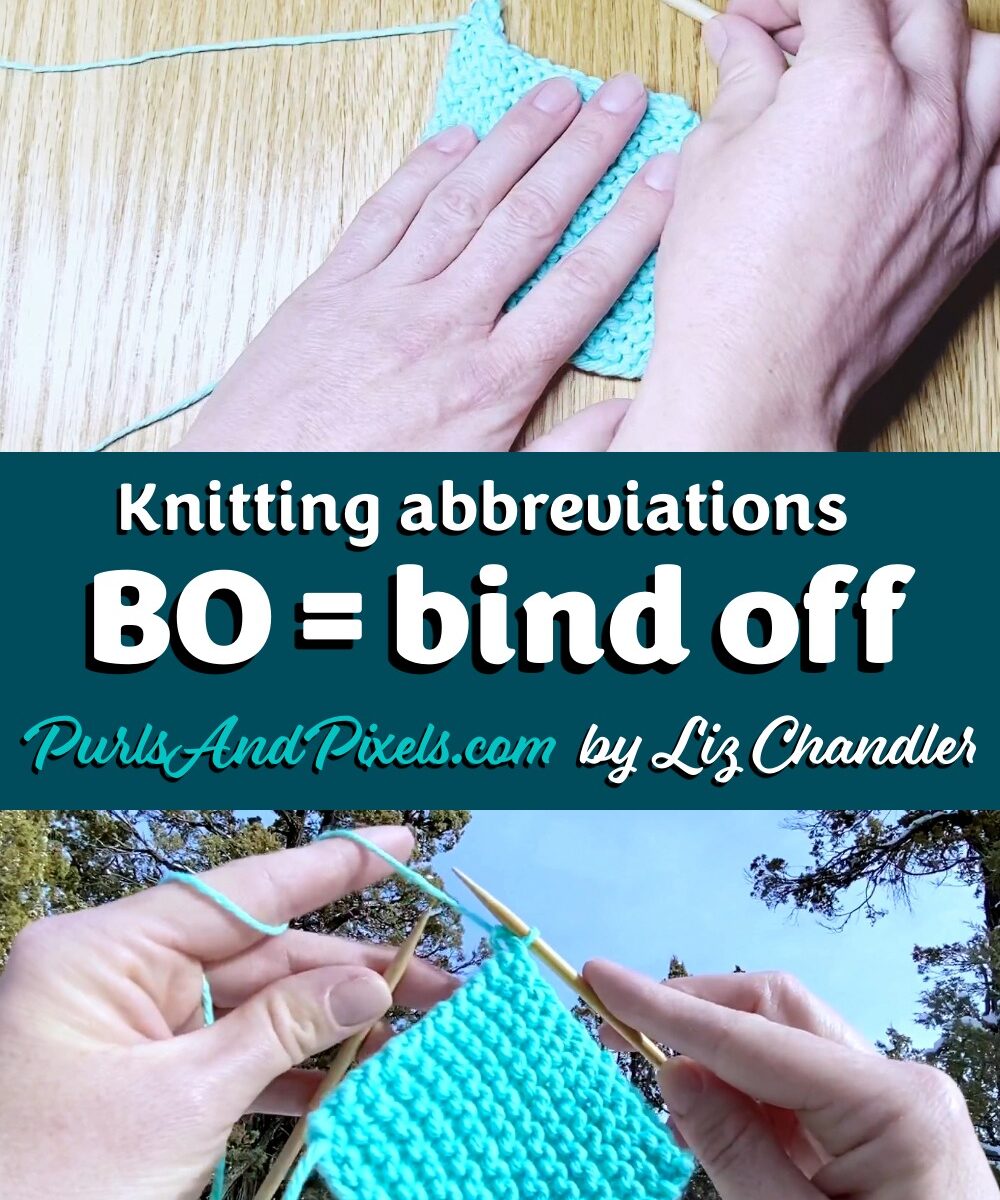
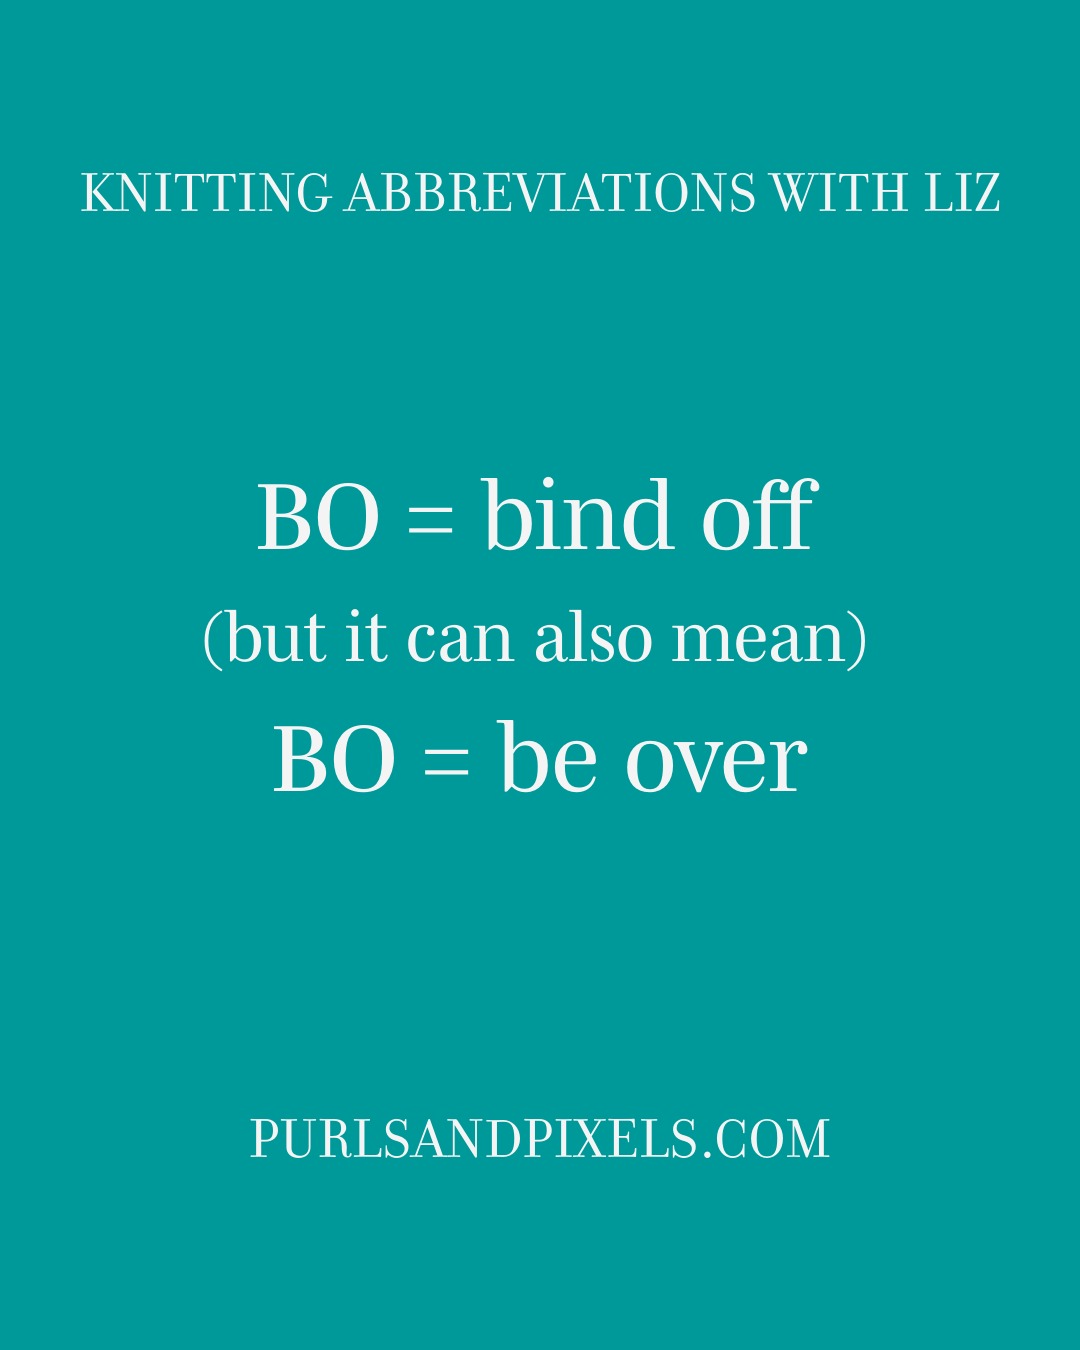
- Lesson 6: Take your project off the needles (bind off)
- Lesson 7: Get rid of loose strings (you’ve finished a flat project!)
- Lesson 8: Knit in a circle (this makes hats and toys without sewing)
- Lesson 9: Take a circular project off the needles to make a hat (draw yarn through)
- Lesson 10: Get rid of any loose strings on hats (finishing up)
- Lesson 11: Take a circular project off the needles to make a toy (bind off in the round)
- Lesson 12: Get rid of loose strings on toys (all done!)
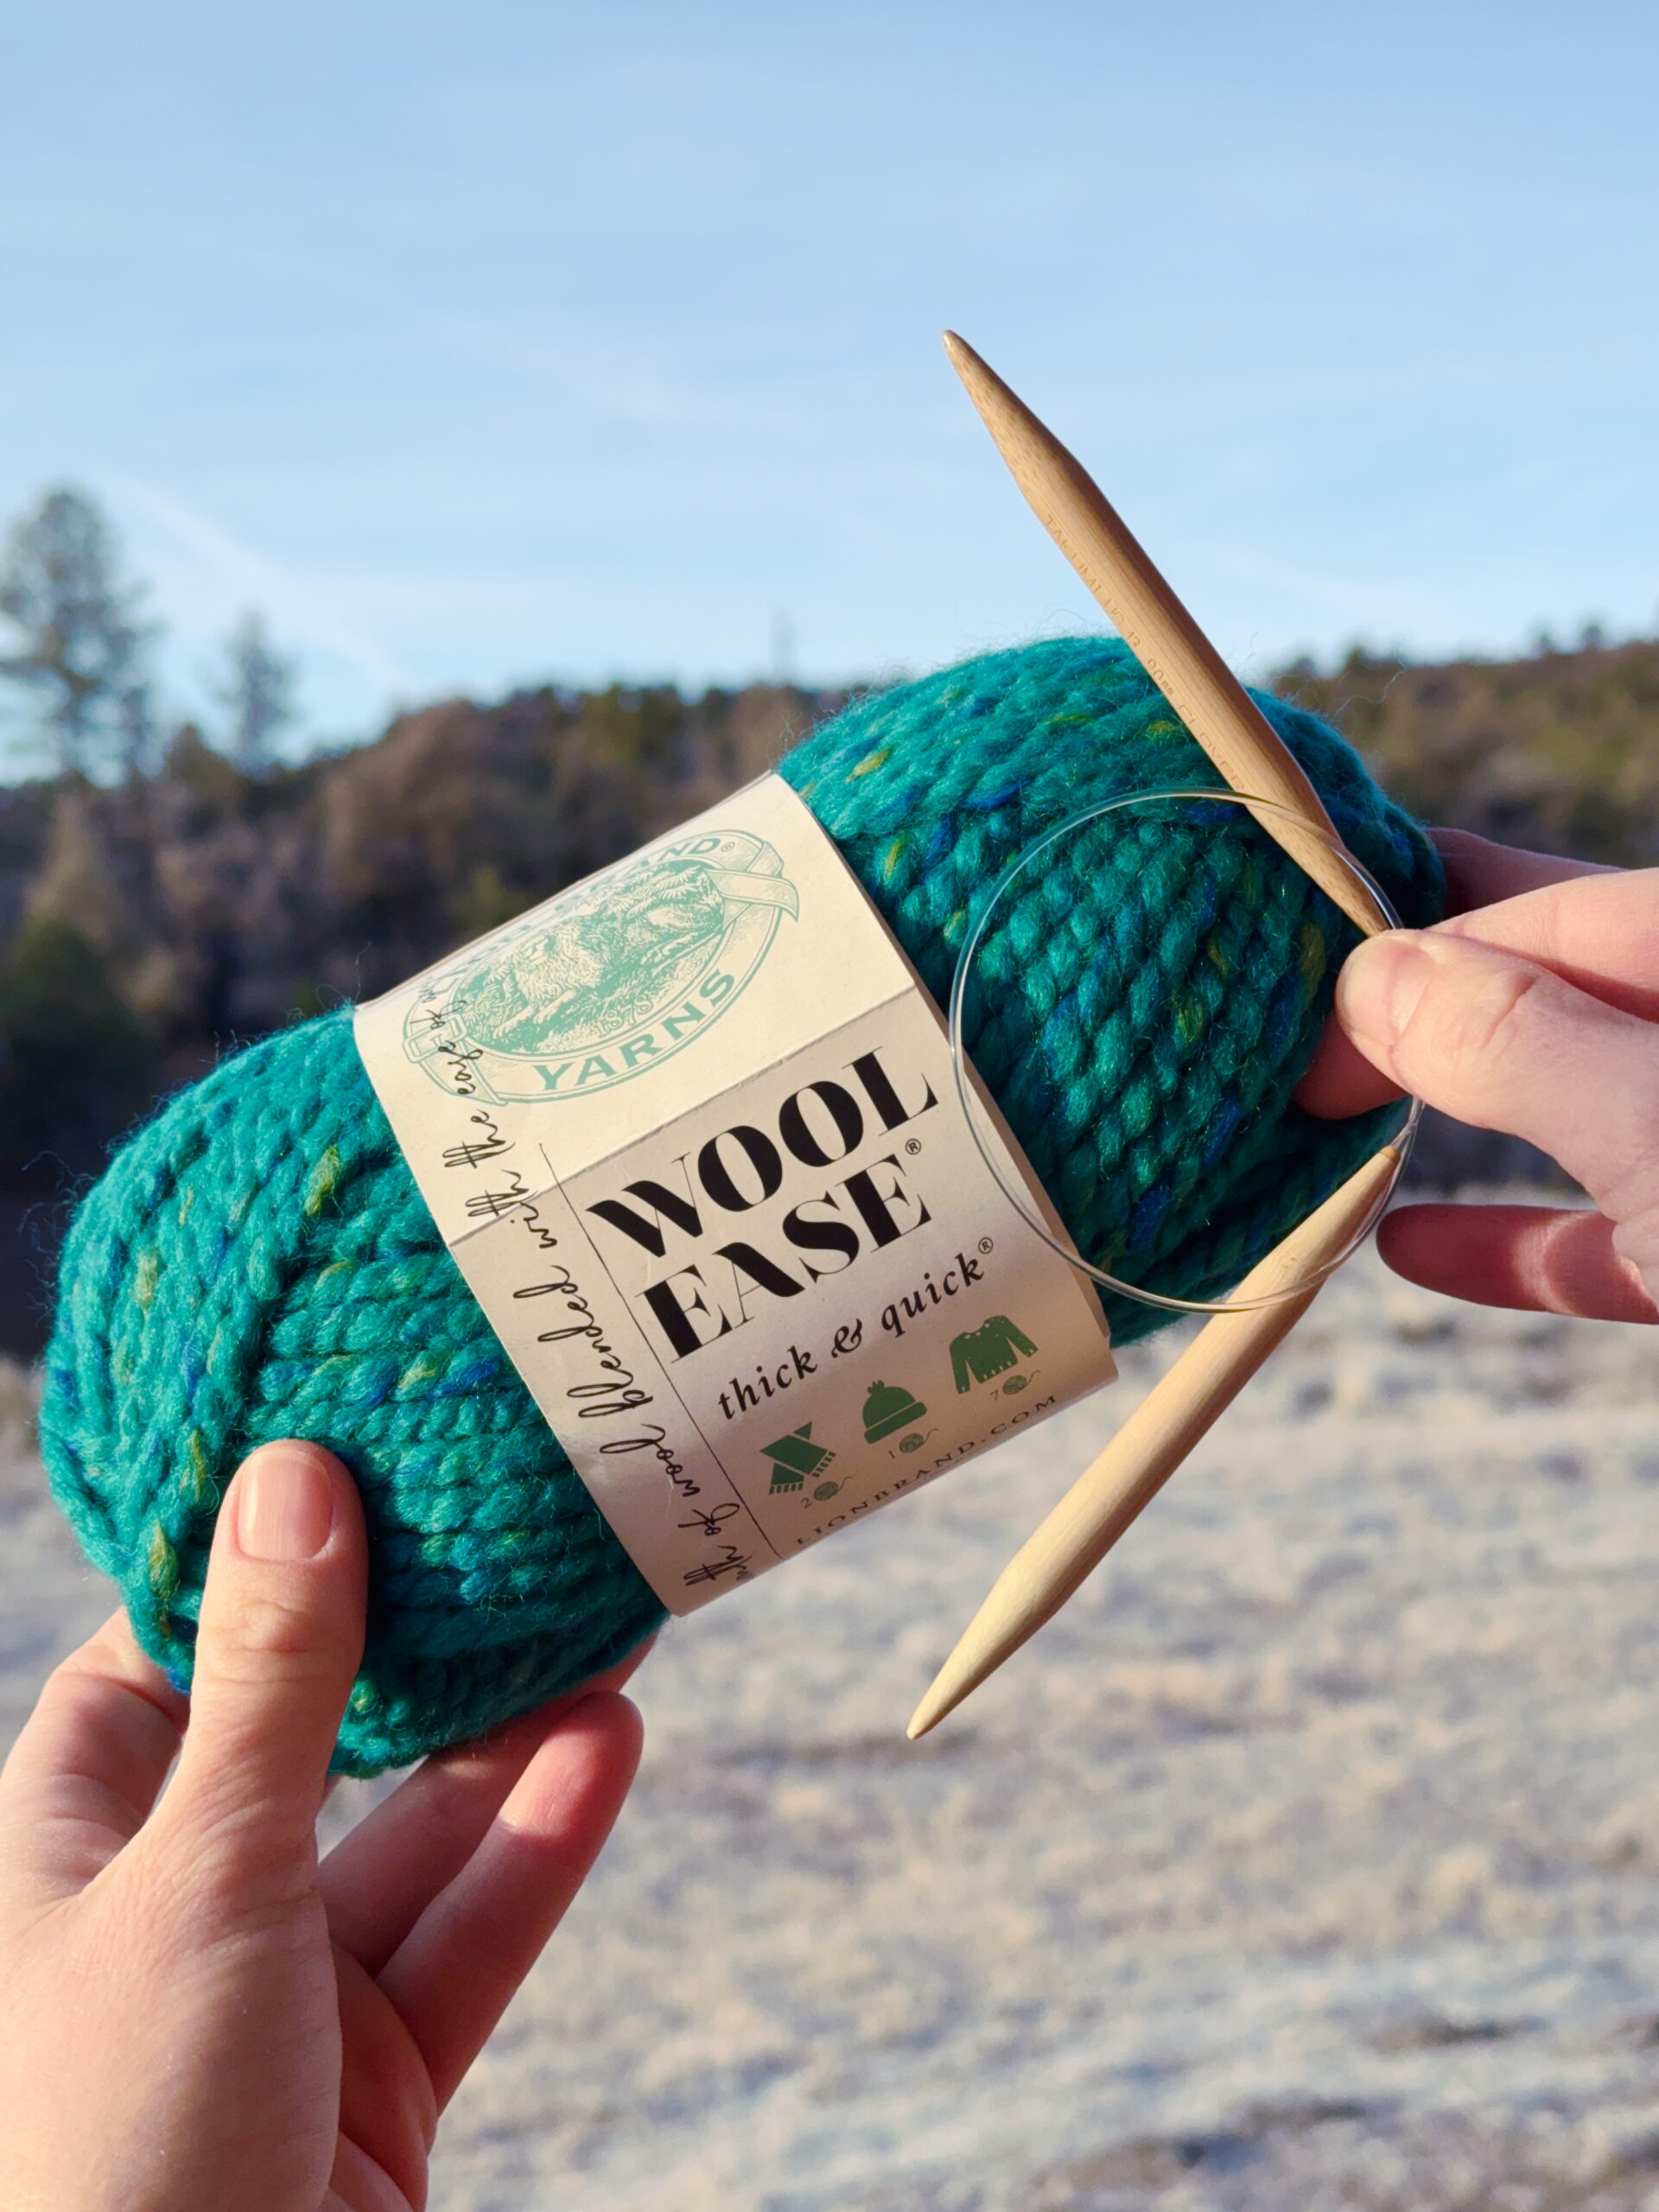
If you are anything like me, you’ll want to be finished and use your project as quickly as you can. So, in these lessons you’ll knit with super-bulky yarn. This big, squishy yarn makes fluffy projects that will be finished in a flash.
If you ever feel stuck, just go back one lesson and try again. Knitting gets easier with practice.
What You’ll Knit First
We will use this big yarn to let us learn more quickly, too. Every project you knit gives you a new skill. And the bigger the yarn, the faster the project. By the time you knit through this series, you will be able to make:
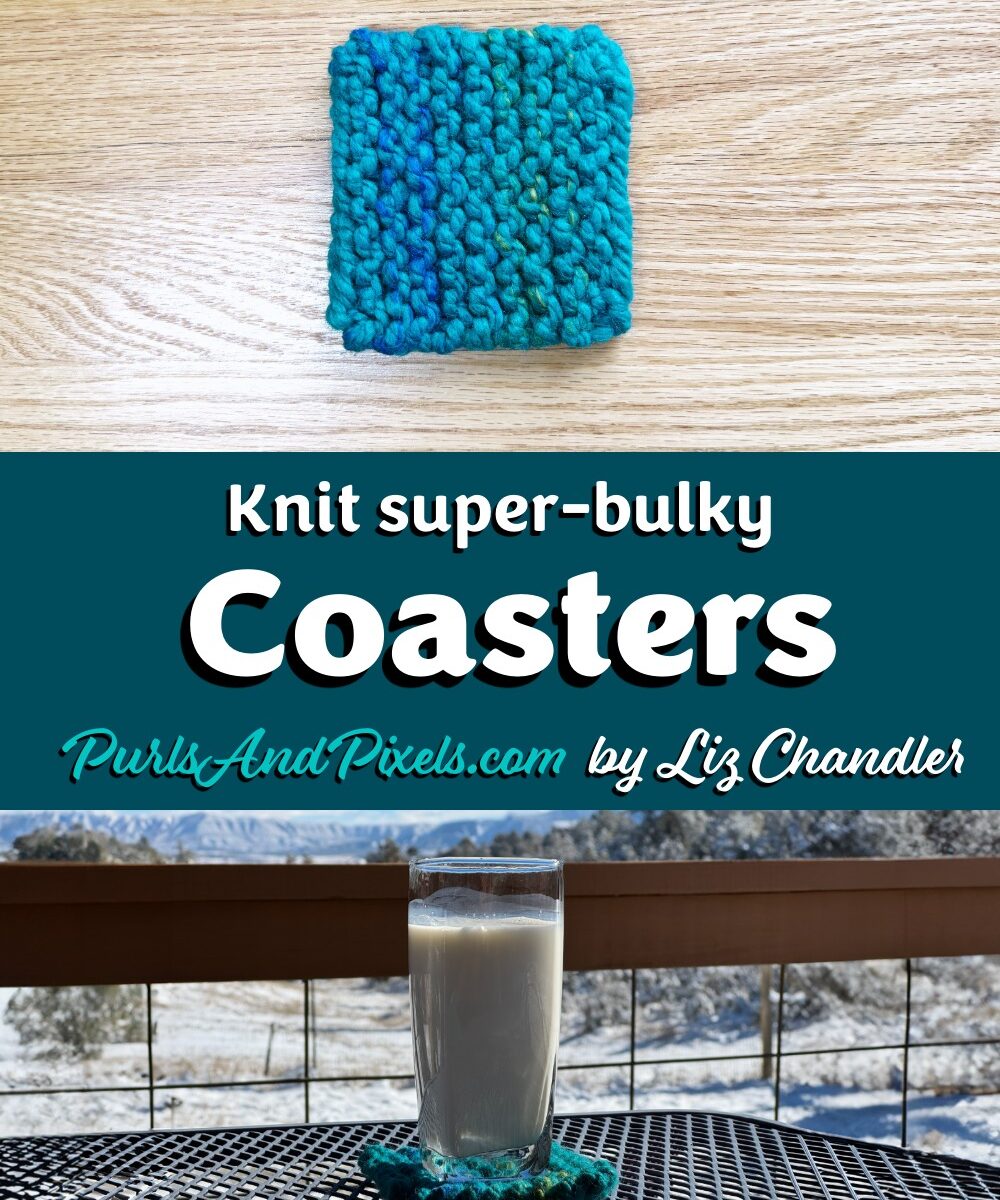
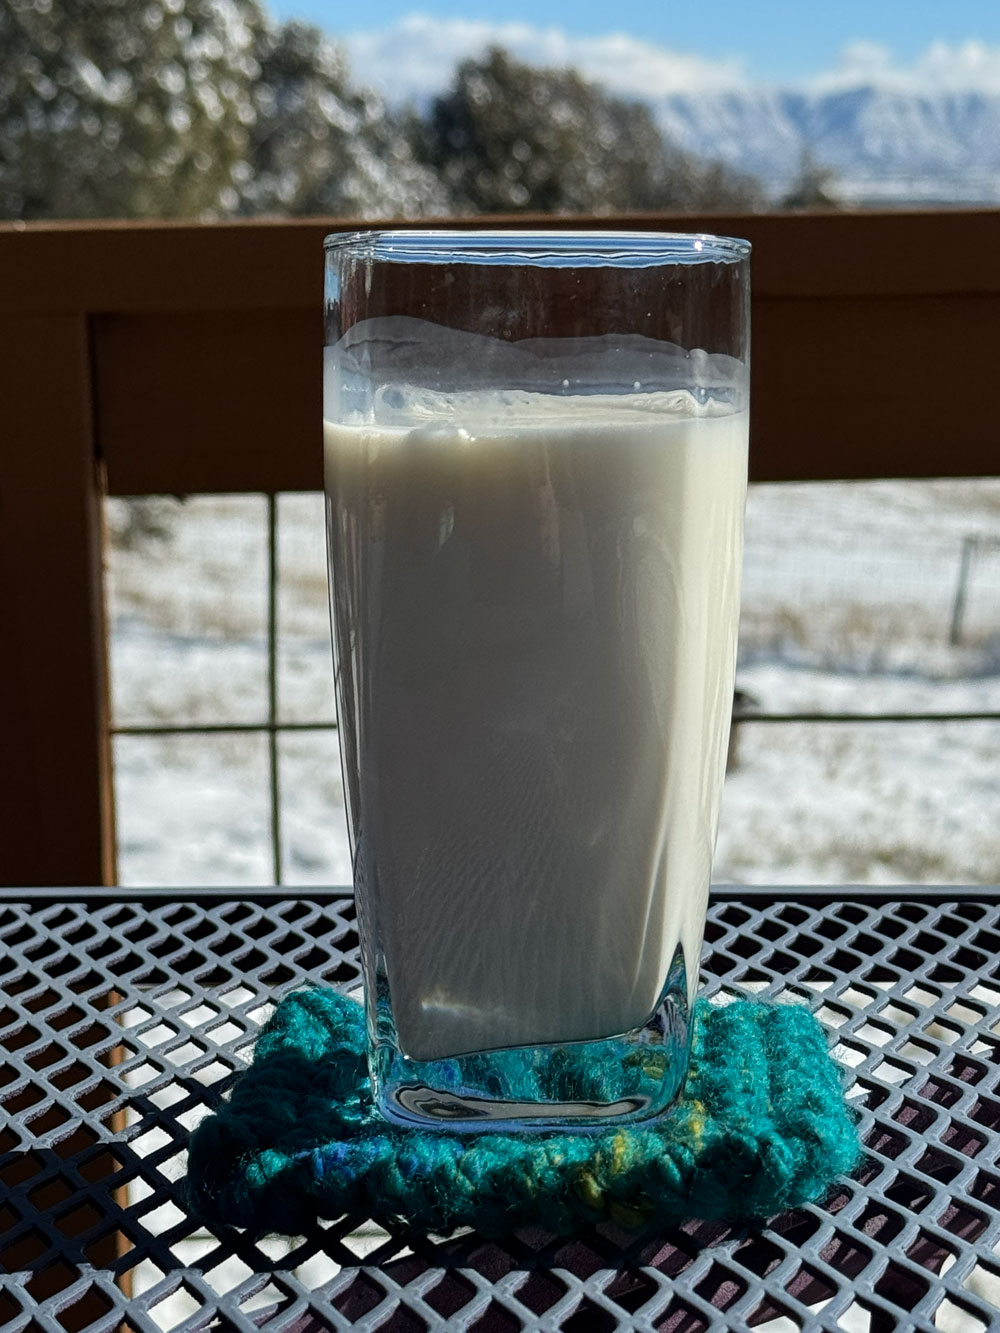
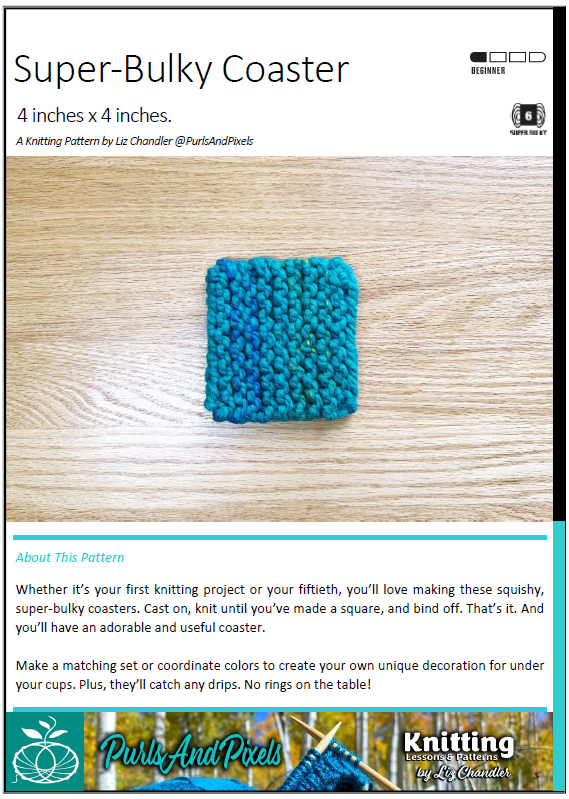
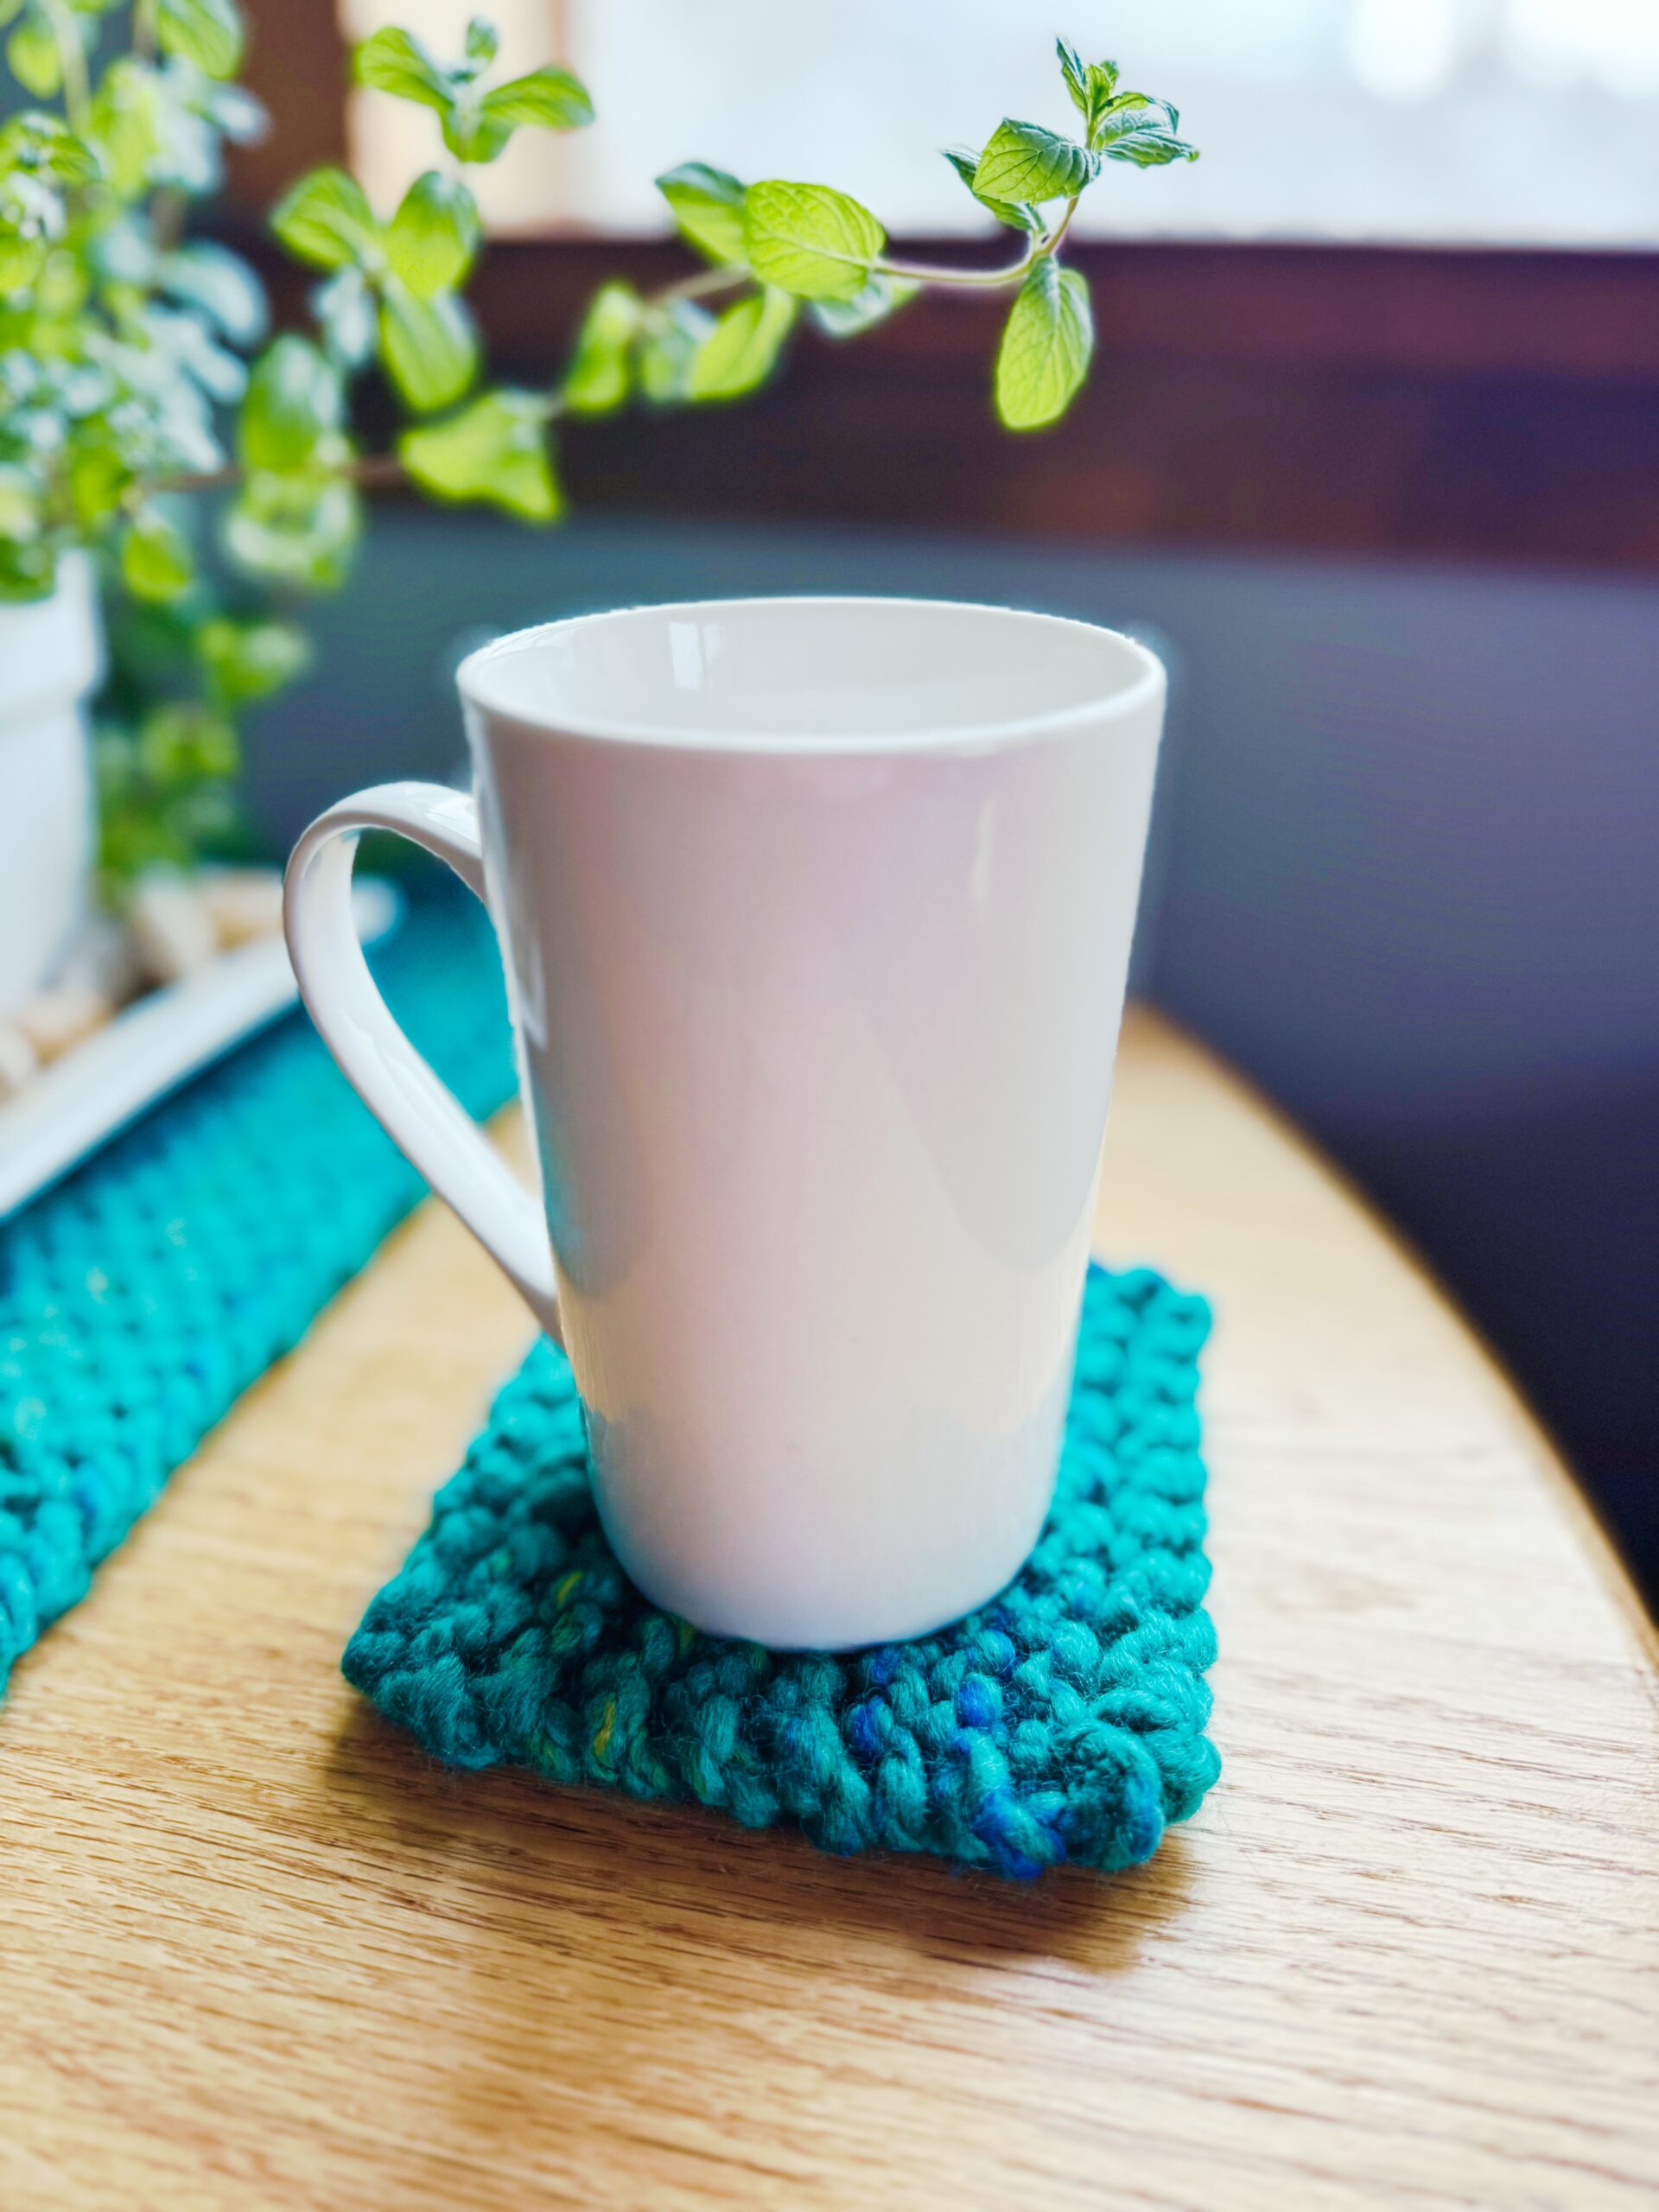
- A cute coaster for your favorite cup
- A pretty placemat for the table
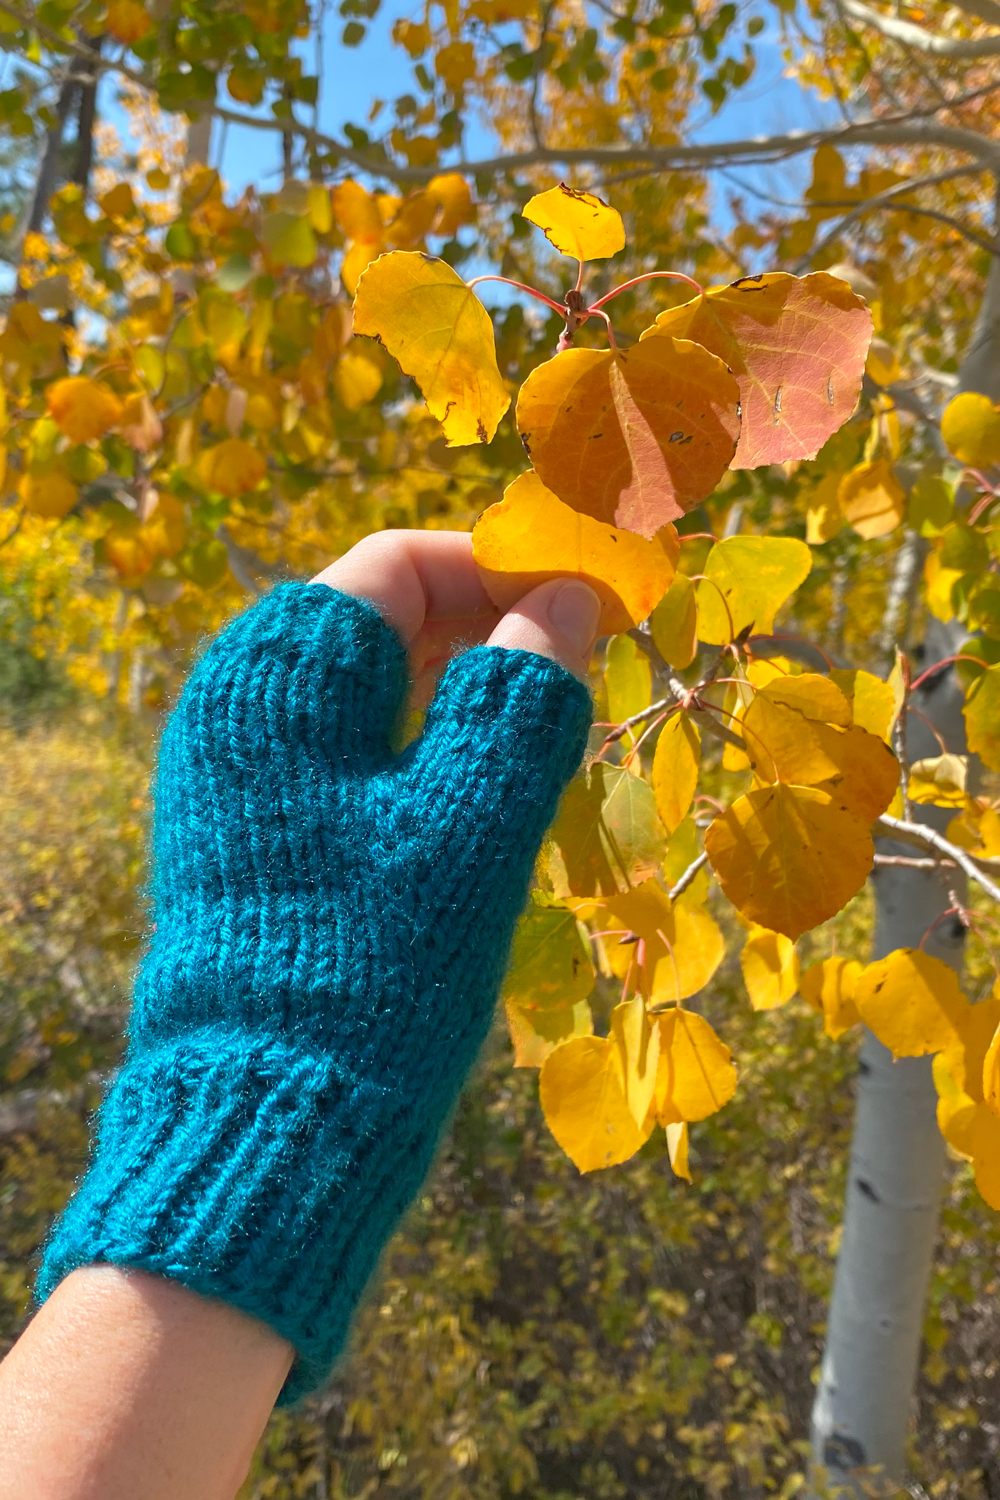
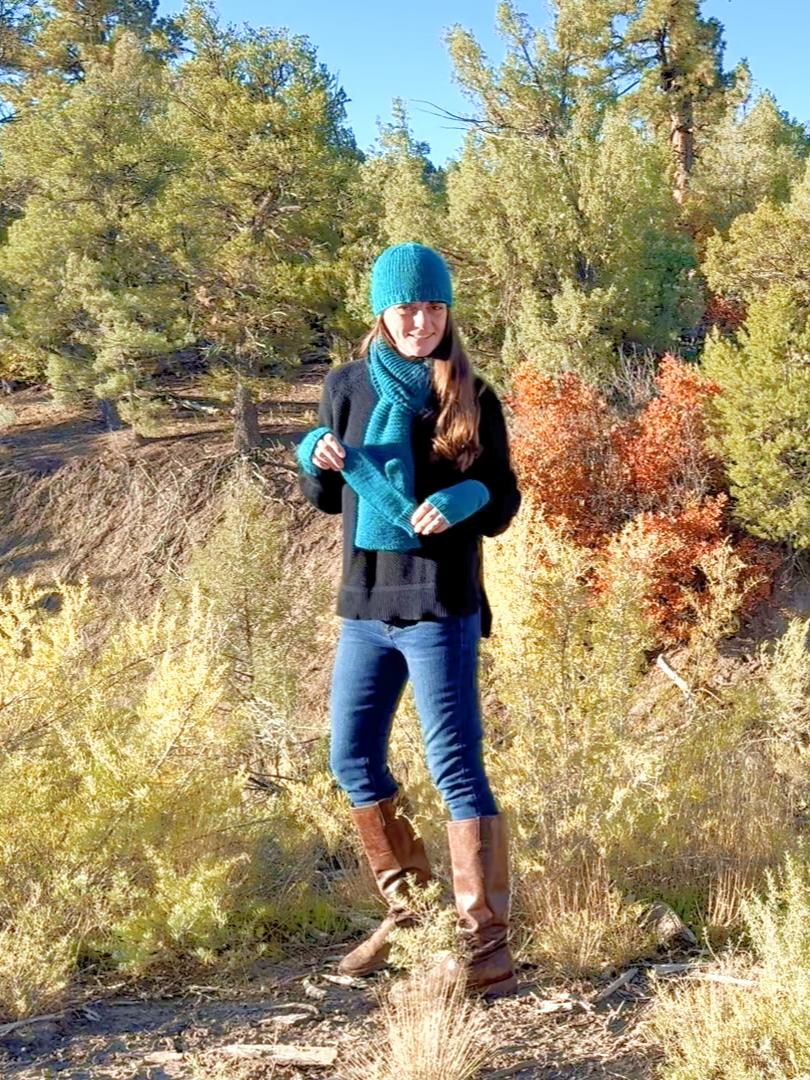
- A cozy scarf for anyone to wear
- A fluffy hat to keep you warm
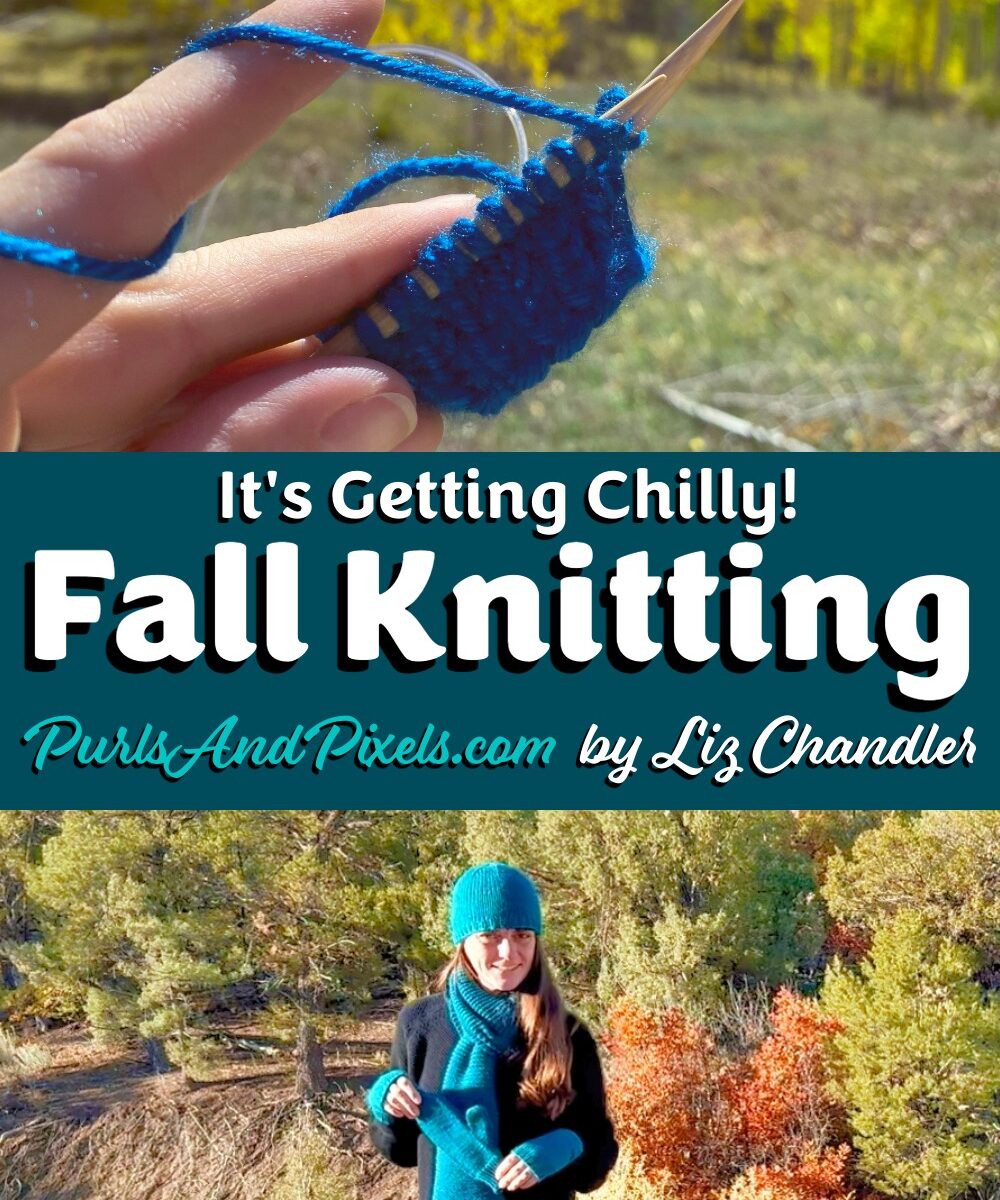
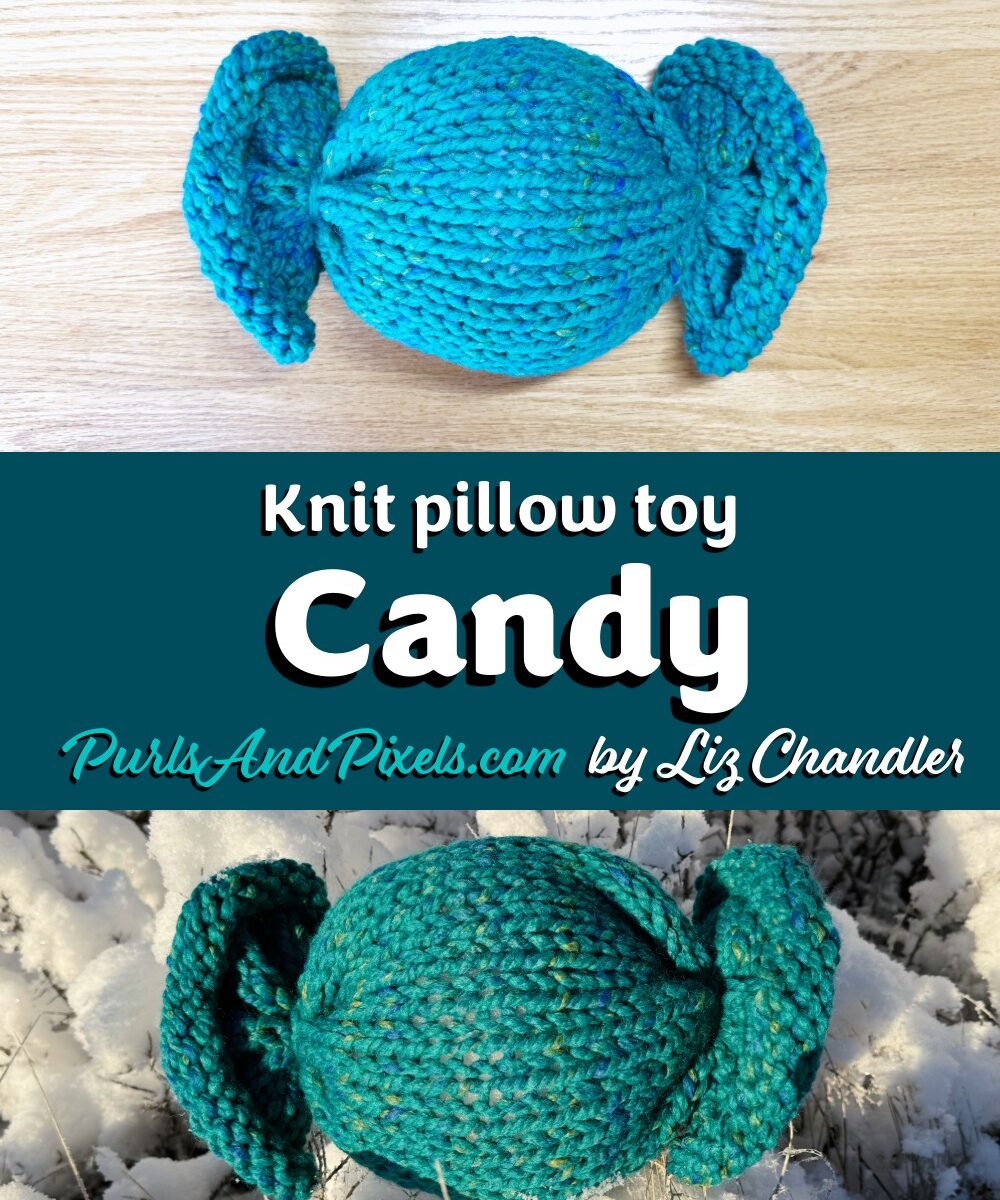
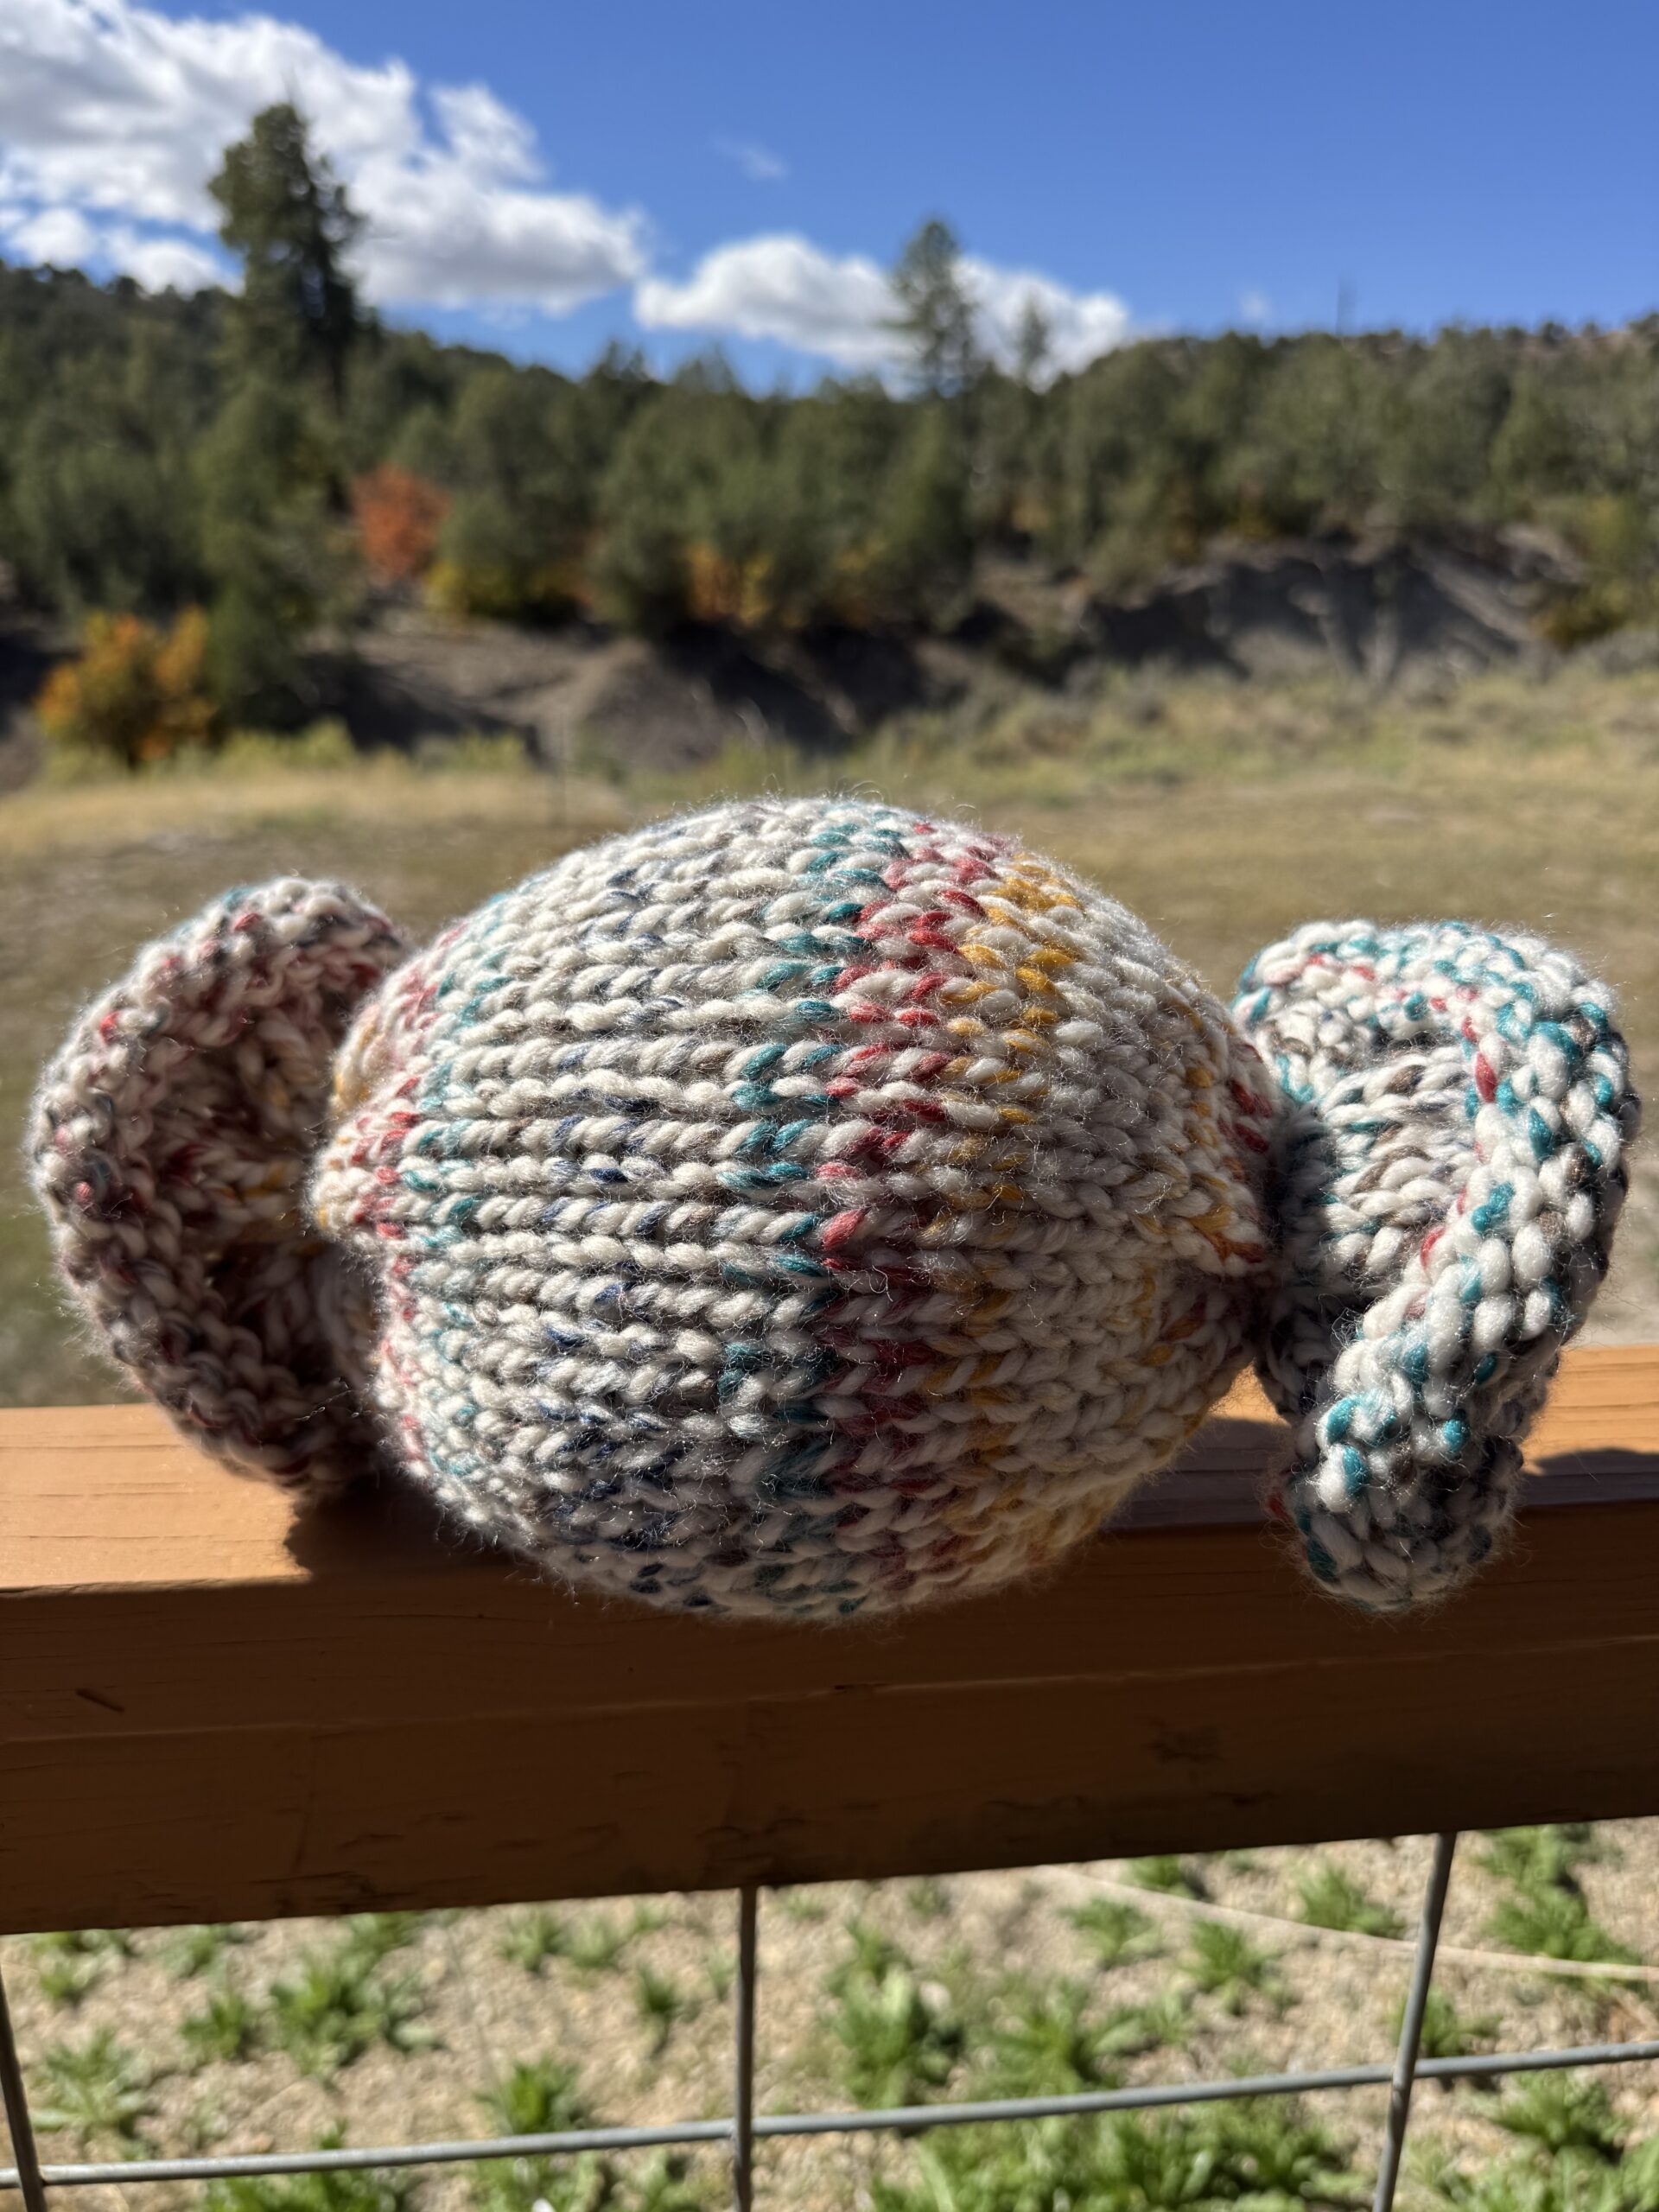
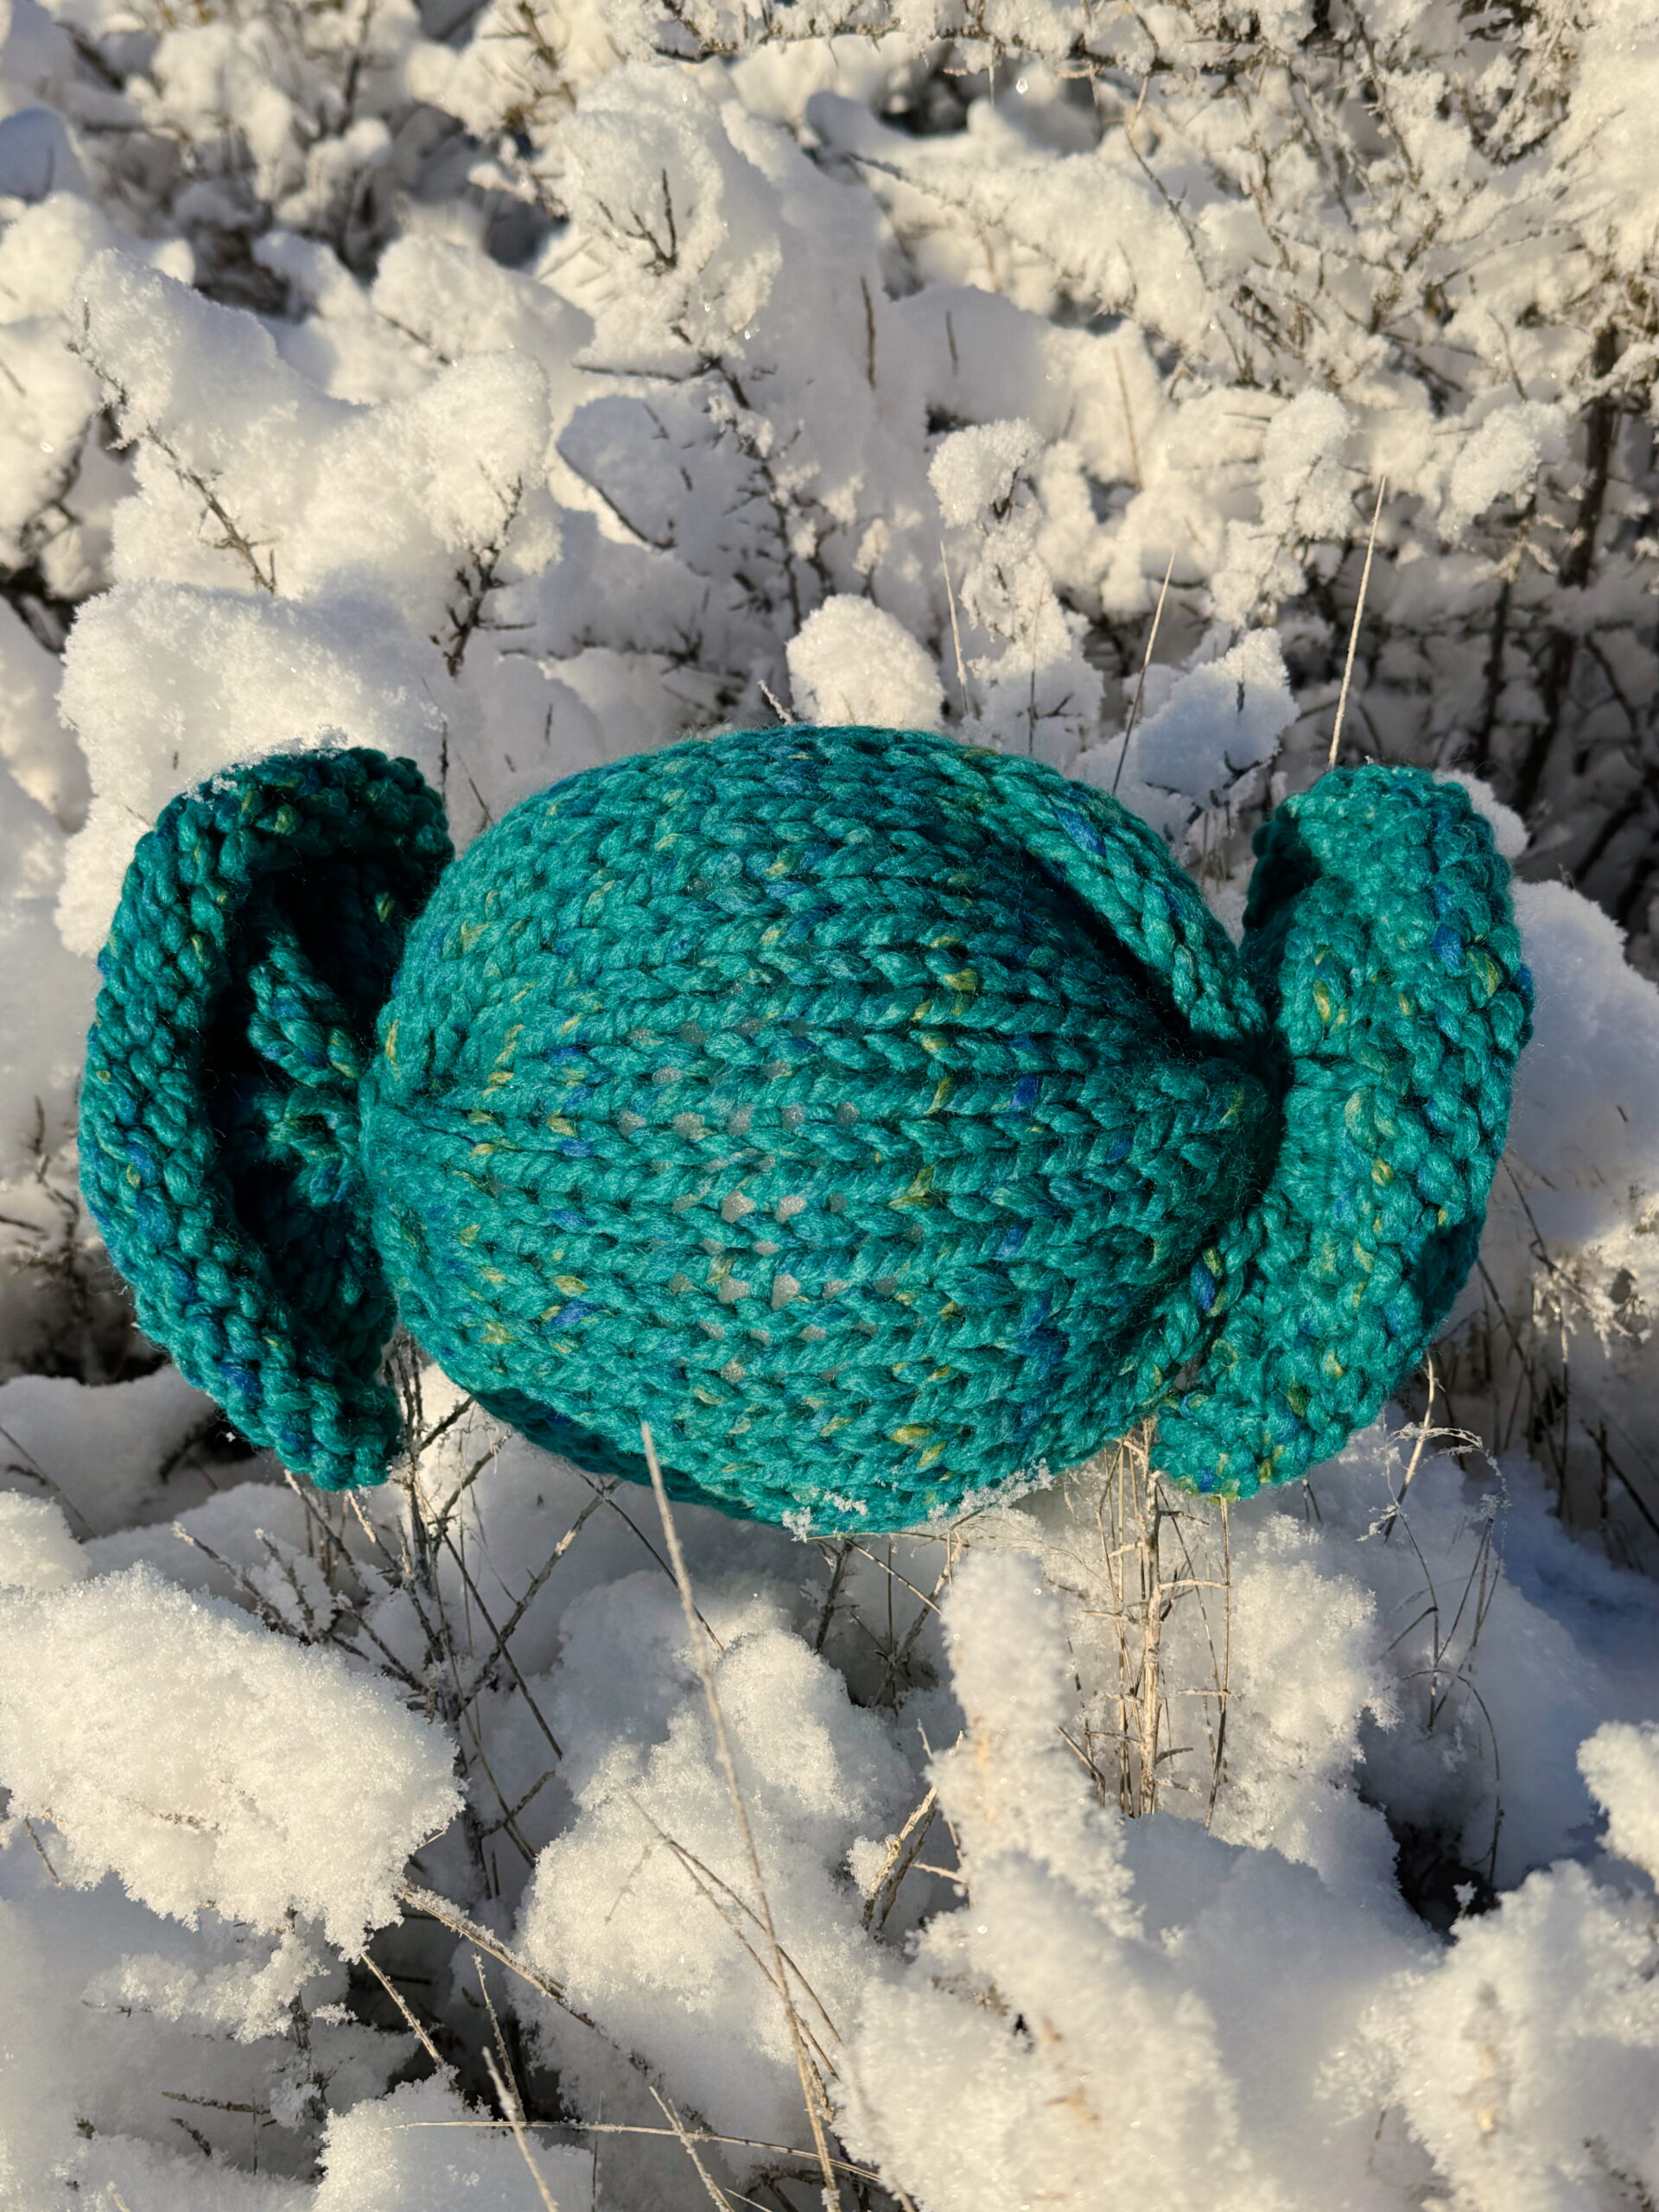
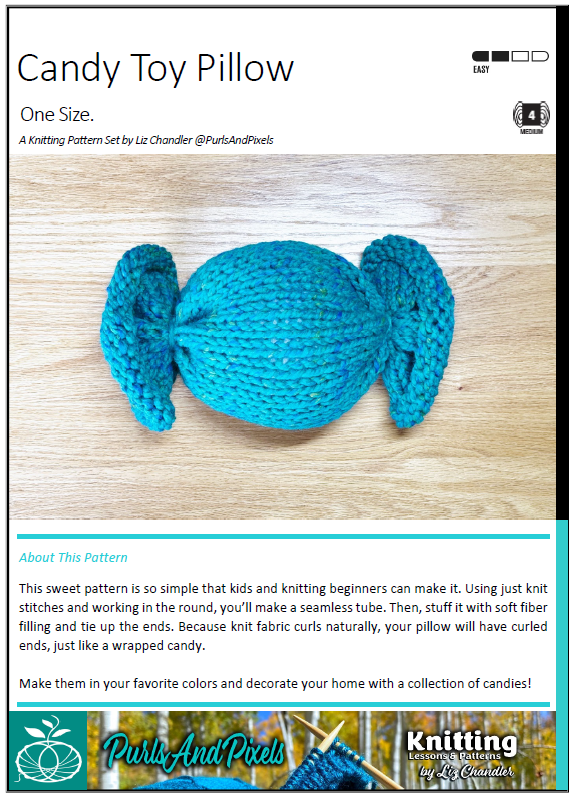
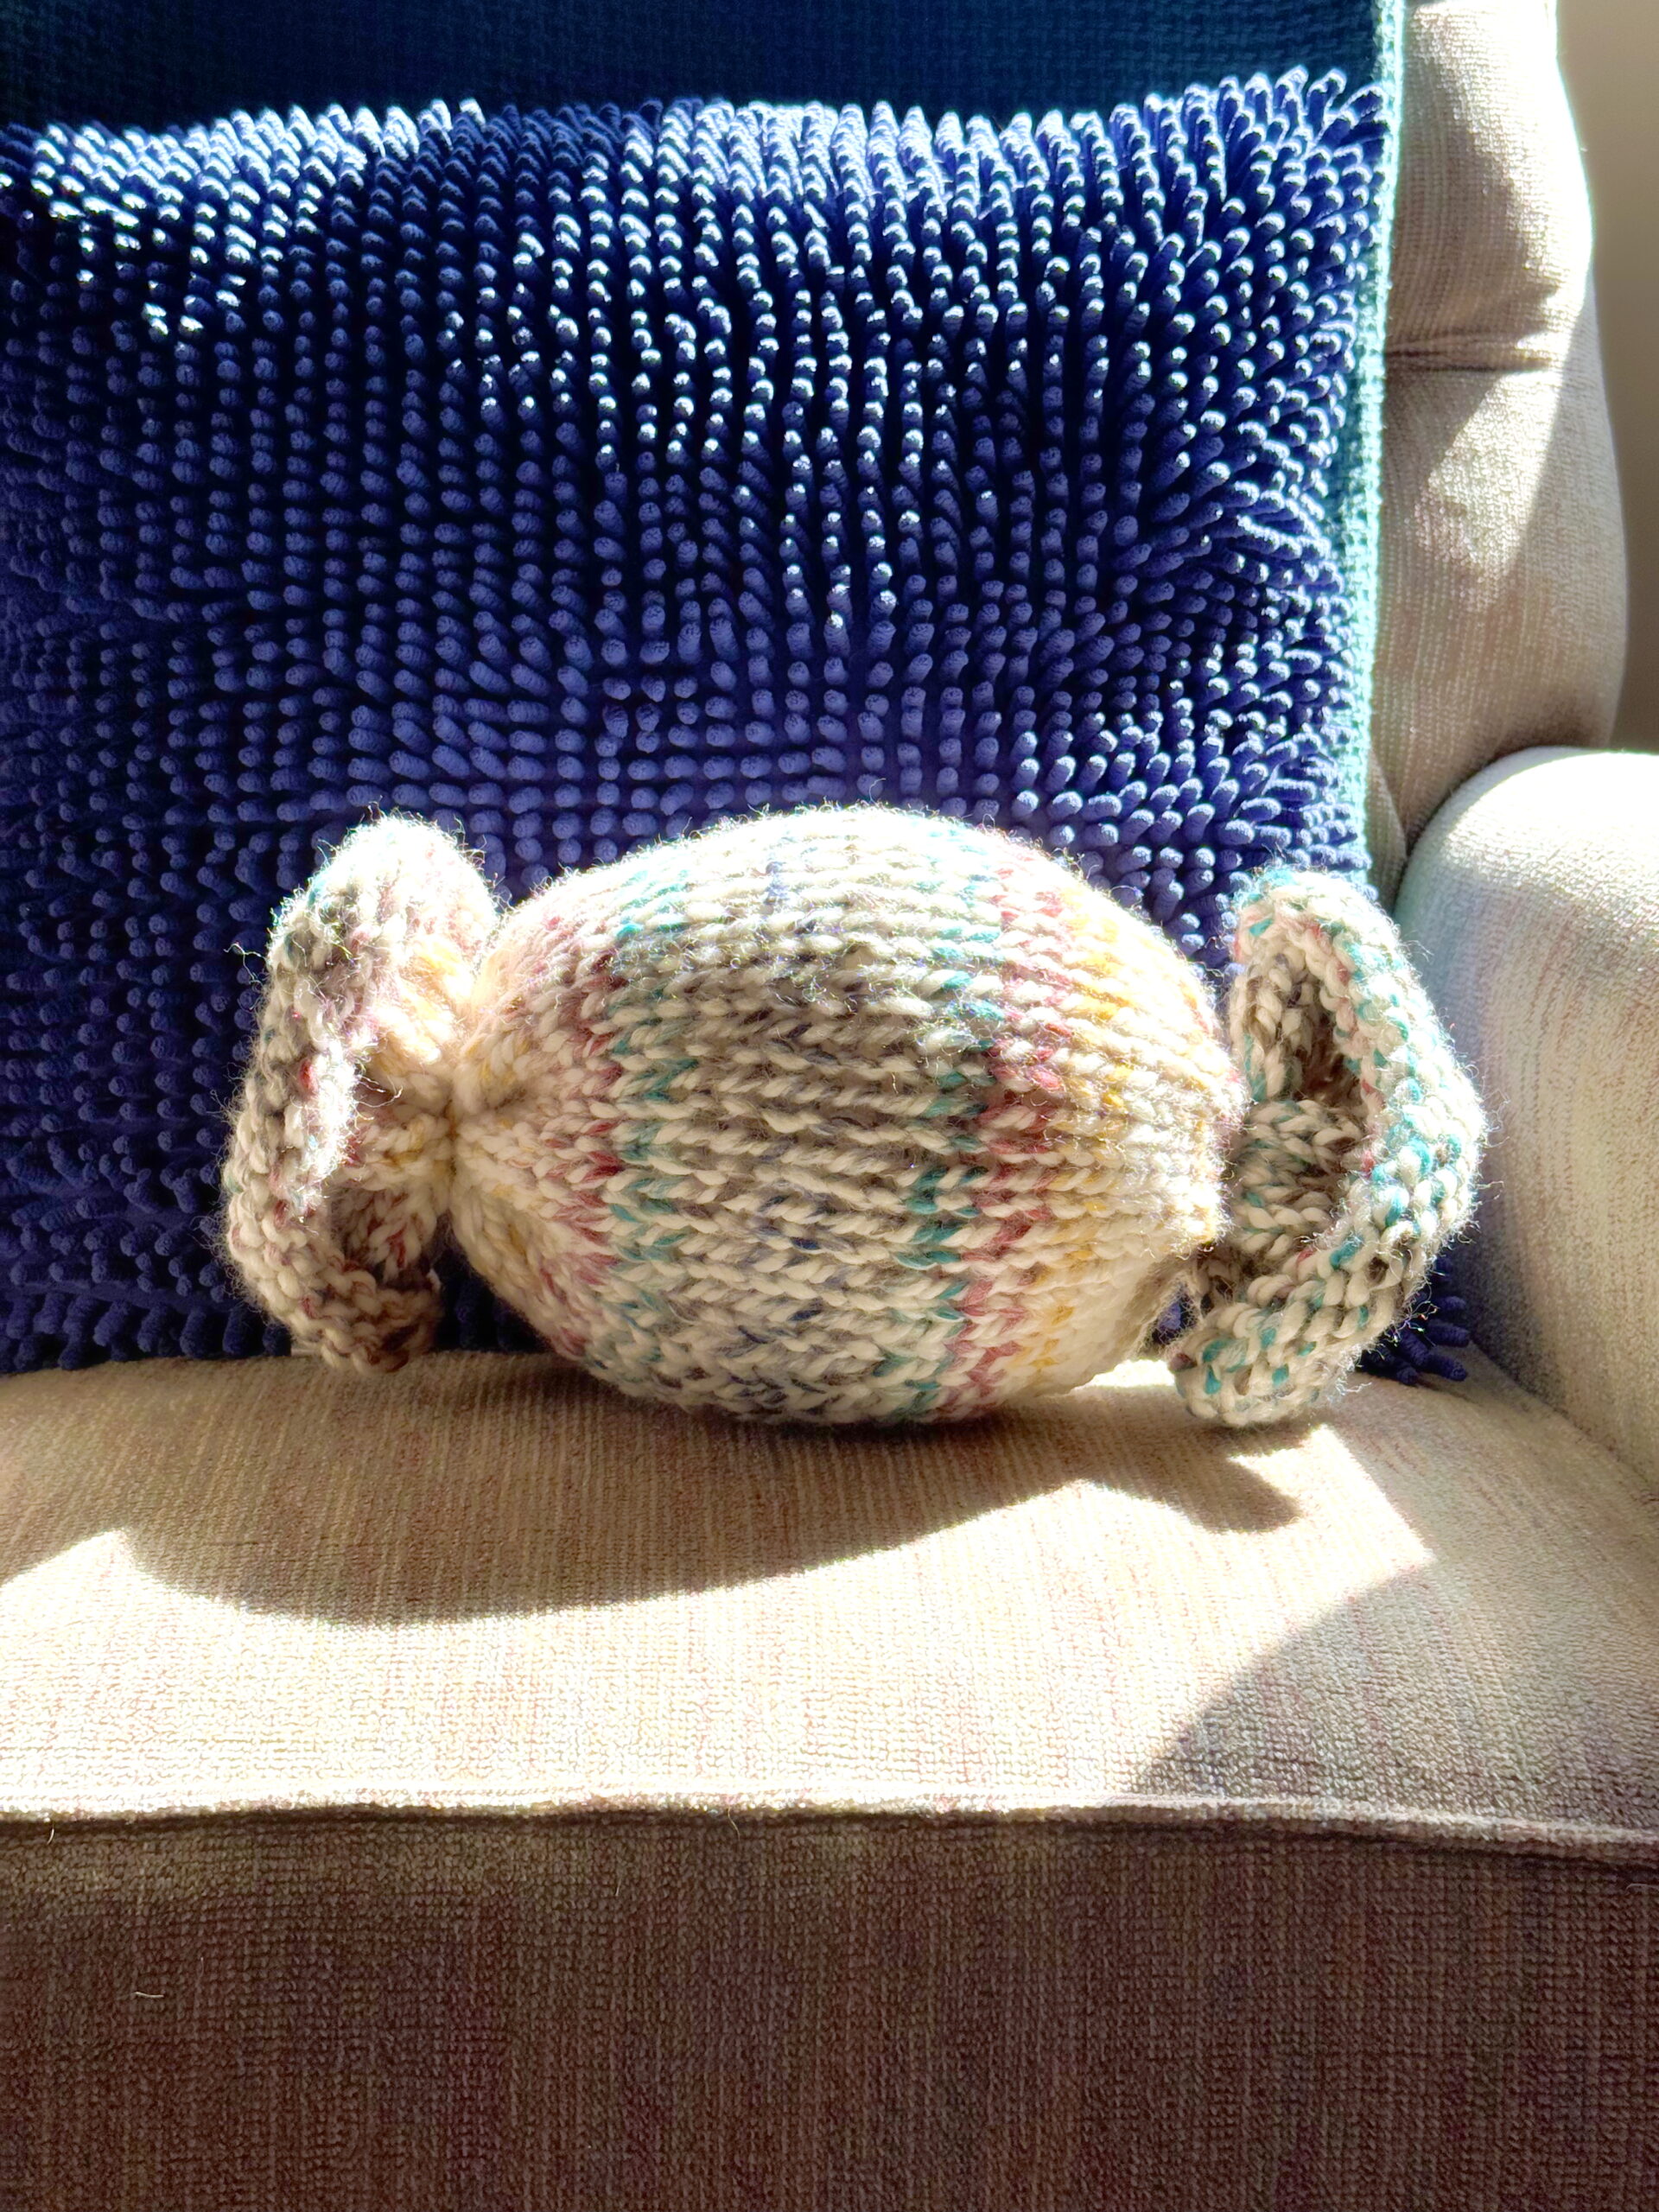
- A sweet pillow toy to snuggle or share
Get Started
This is going to be fun! Start your first lesson: let’s pick out your yarn!
Want to knit the projects that go with these lessons? Explore the full Kids’ Knitting Guide Pattern Bundle with all five project PDFs in one convenient download.
🧷 Helpful Knitting Resources
Looking for more ways to support your knitting goals?
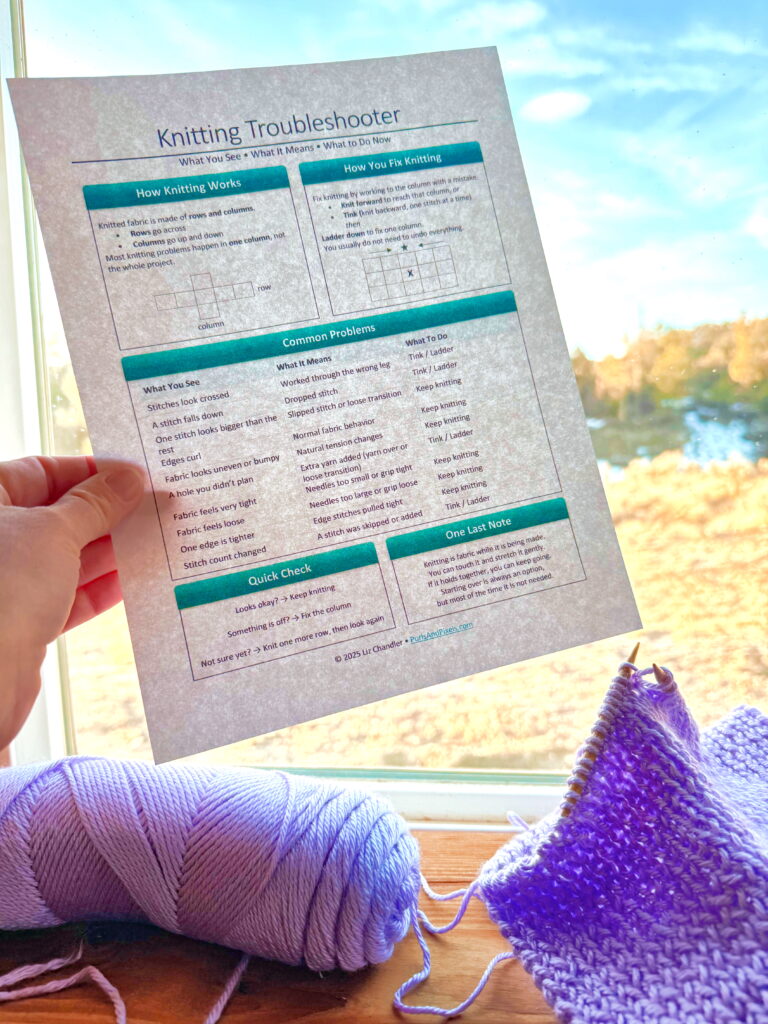
- 🙋 Knitting Troubleshooter: Download a printable cheat sheet to keep next to your project, so you know what to do if you make a mistake.
- 📚 Complete Knitting Lessons: Ready to knit more? Find all of my knitting lessons.
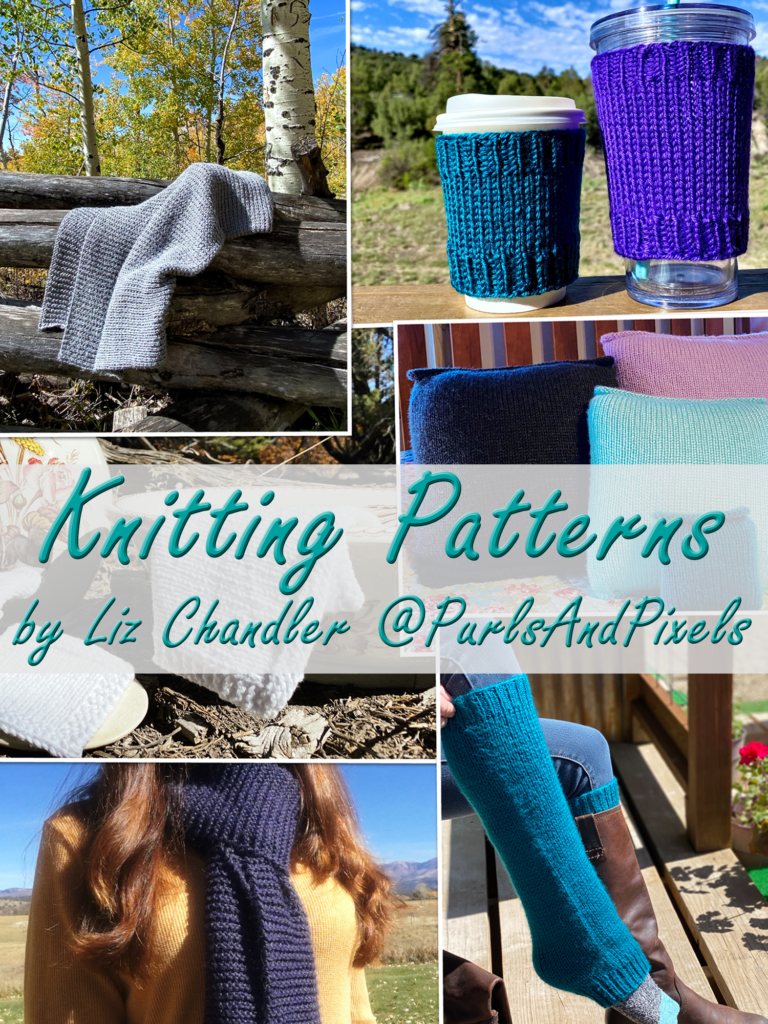
- 💻 Browse All Knitting Patterns: Find practical, pretty projects for every season.