
To fix a twisted knit stitch, it helps to know how twisted stitches happen. A stitch will become twisted when you knit (or purl) into the back loop of a stitch. It is easy to knit into the back loop accidentally if you have put the legs of your stitches onto your knitting needles backward.
Avoiding Twisted Stitches

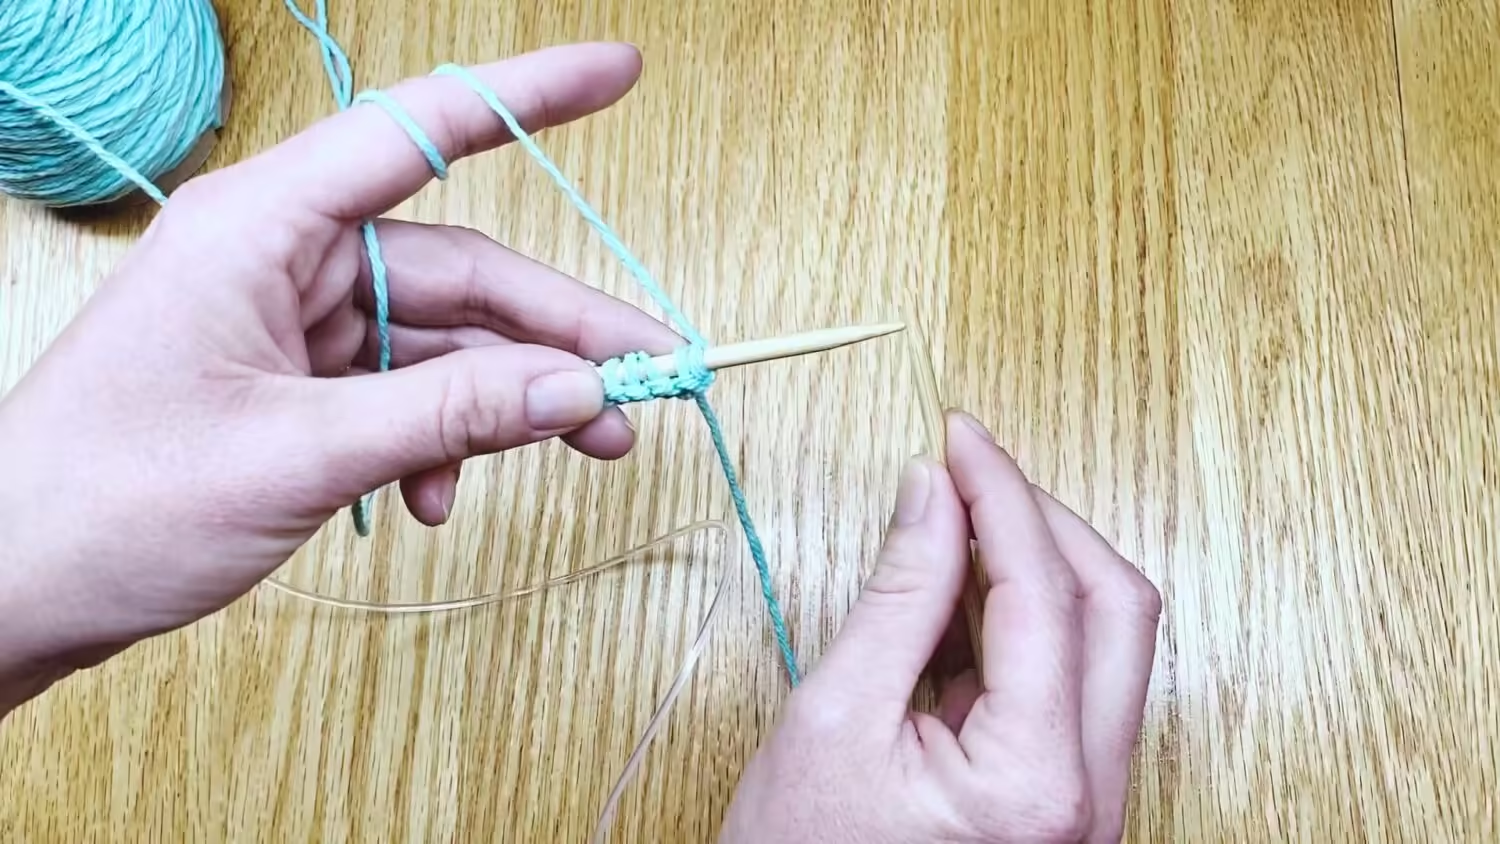
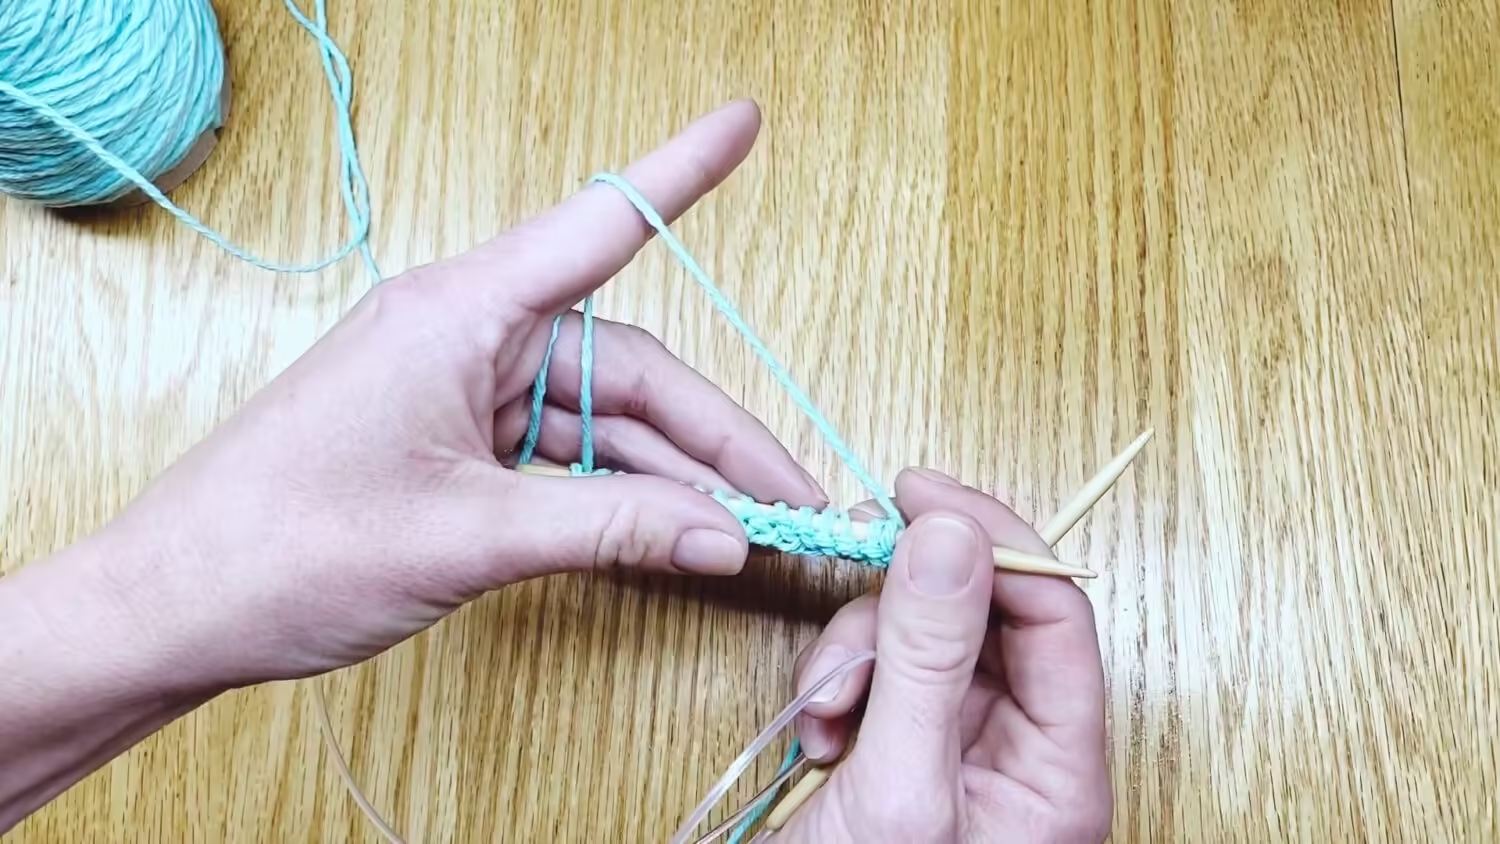
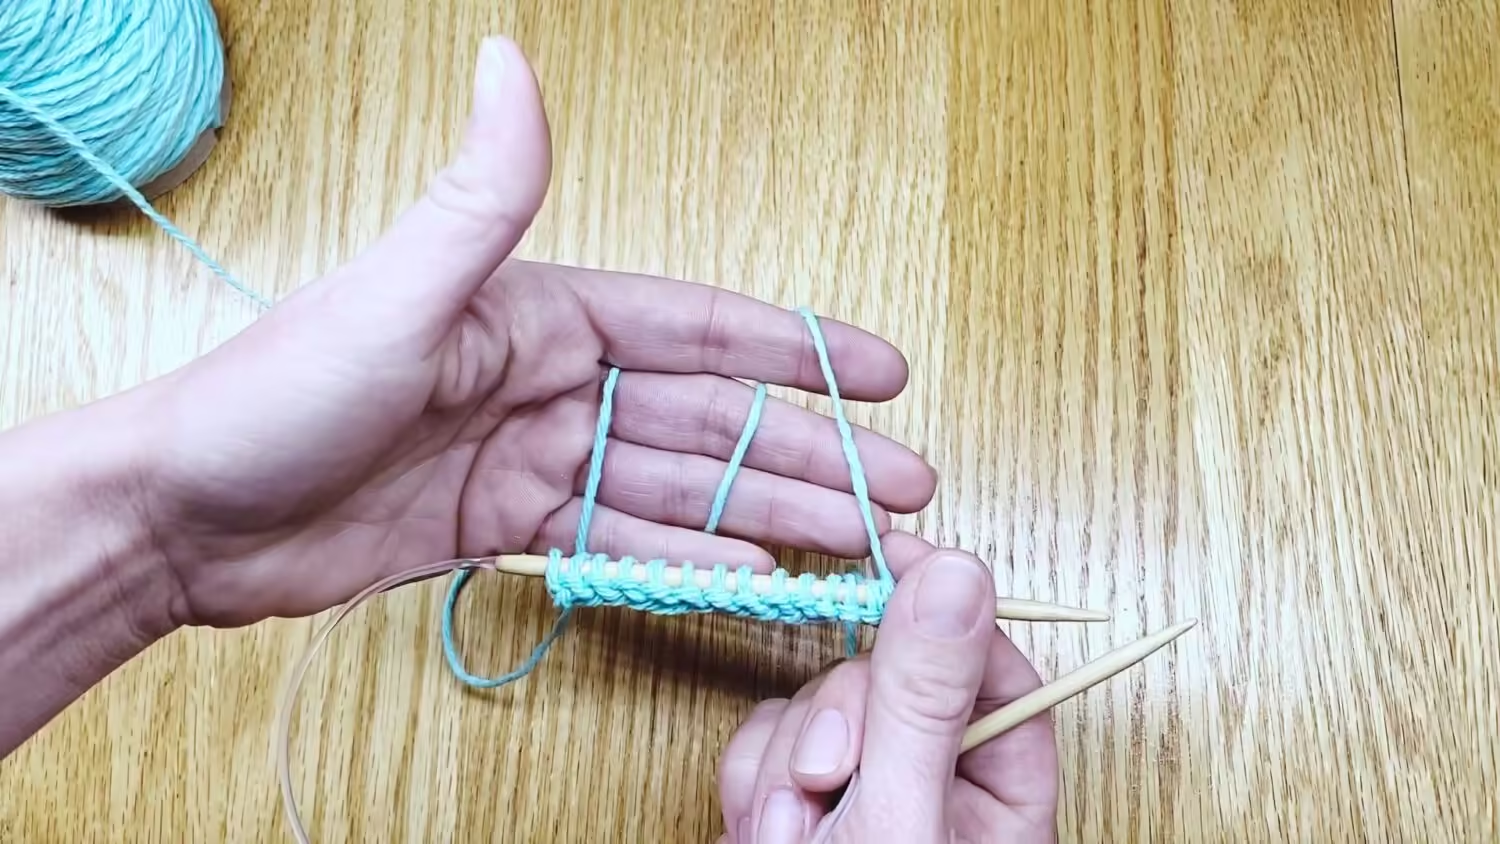
Usually, twisted stitches happen when you have put the legs on your needle incorrectly. To prevent twisted stitches, you should make sure the right leg of the “V” is in front of the needle, while the left side of the “V” is on the back side of your knitting needle. Then, be sure to knit into the front leg (the right leg) to avoid twisting your stitches.

Looking at the purl stitch side of a project, you have seen that each purl makes a little upside down “U” on your needle. As with a knit stitch, to avoid twists, you should make sure the right leg of the “U” is on the front side of your needle; the left leg should be behind your needle. Then, be sure to purl into the front leg (the right leg) to avoid twisting your stitches.
If you do make a mistake, you can fix a twisted knit stitch: below are video and written guides to help you learn how.
Video Guide: Common Knitting Mistakes, Fixing Twisted & Dropped Stitches
Written Guide: Fixing Twisted Stitches
Identify Twisted Stitches
A correct untwisted knit stitch will stretch apart at the bottom of the “V” shape.

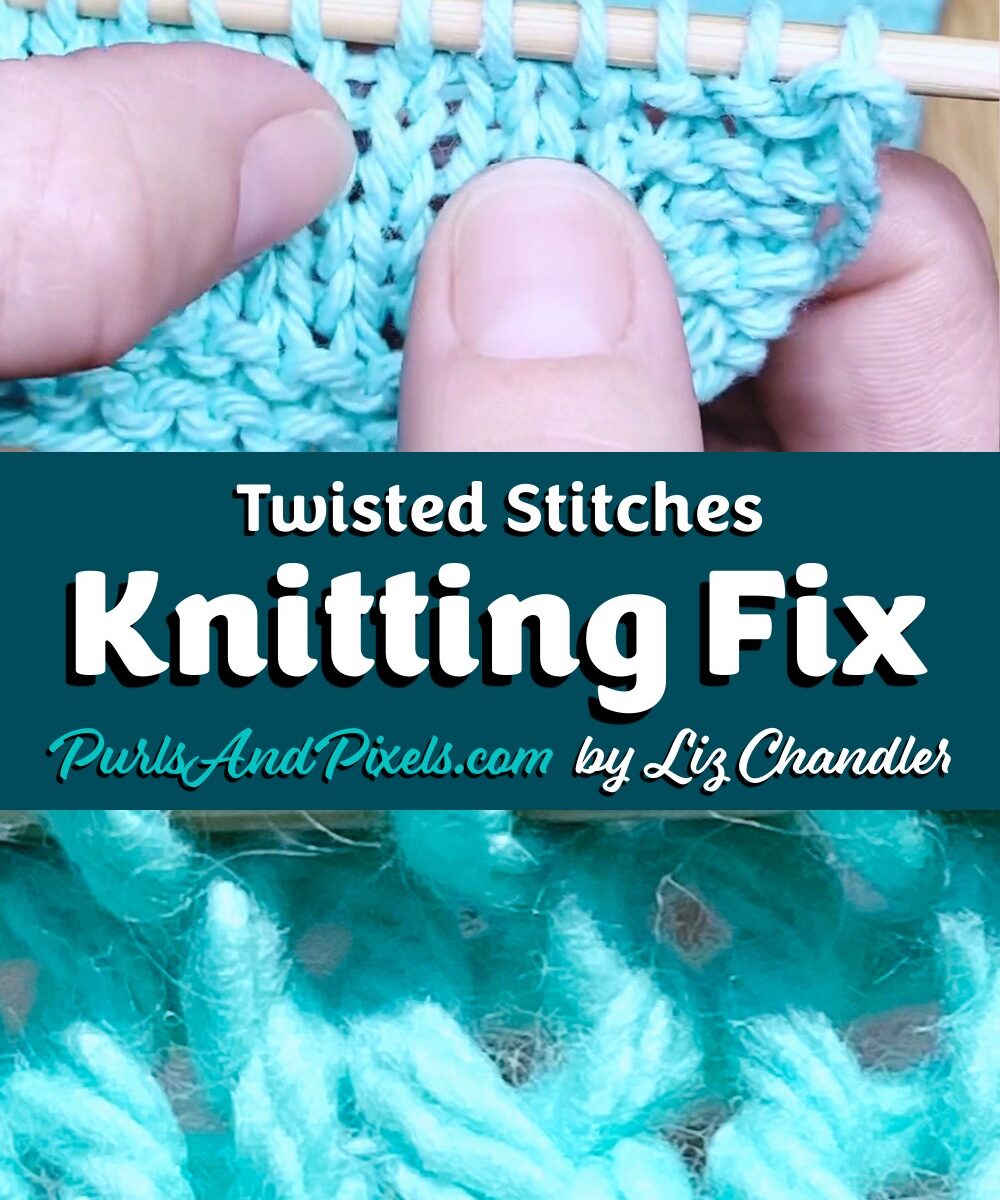
Unlike a regular knit stitch, a twisted knit stitch will have its legs crossed.

When stretched, a twisted knit stitch forms an “X” shape.

Avoiding twisted stitches helps knitting maintain the proper stretch. Since twisted stitches do not stretch in the same way regular knit stitches do, a twisted stitch can really stick out in your finished project.
Fixing Twisted Knit Stitches
Twisted stitches, like many other mistakes, are fixed by intentionally dropping a stitch off your knitting needles. This allows you to correct your mistake, then return the stitch to its place. When correcting a twisted stitch, you will want to be sure to uncross the legs of your stitch. Always put it back onto the needles with the right leg in front, if you do not want a twisted stitch.

When you have knit several rows before you notice your mistake, dropping the column of stitches directly above your mistake will allow you reach the twisted stitch and fix it. Then, you will re-loop the dropped stitches by climbing up the “ladder” of stitches, anchoring them back in place one at a time. When you reach the top, you can put the last stitch back on the needle and resume your project.
While this can be completed with just your hands, using a crochet hook makes straightening the column of stitches an easier task. Choose a crochet hook that is the same size or just a bit smaller than your knitting needles. Crochet hooks and knitting needles are both labeled with millimeter measurements, so you can easily compare sizes. Here, I am working US No. 7 (4.5 mm) knitting needles and a G (4.0 mm) crochet hook.

Fix a Twisted Stitch, Step 1:
Continue working your pattern until you reach the column in which you have twisted a stitch.

Fix a Twisted Stitch, Step 2:
When you reach the stitch at the top of the column in which the mistake is located, carefully slide it off the left-hand needle tip.

Fix a Twisted Stitch, Step 3:
Pull gently on the stitch you just dropped off the needle, unraveling the column of stitches only until you reach your mistake.

Fix a Twisted Stitch, Step 4:
Untwist the knit stitch, checking that the legs are no longer crossed. When working from the knitside, place the loop that was your twisted stitch in front of the “ladder” of undone stitches.
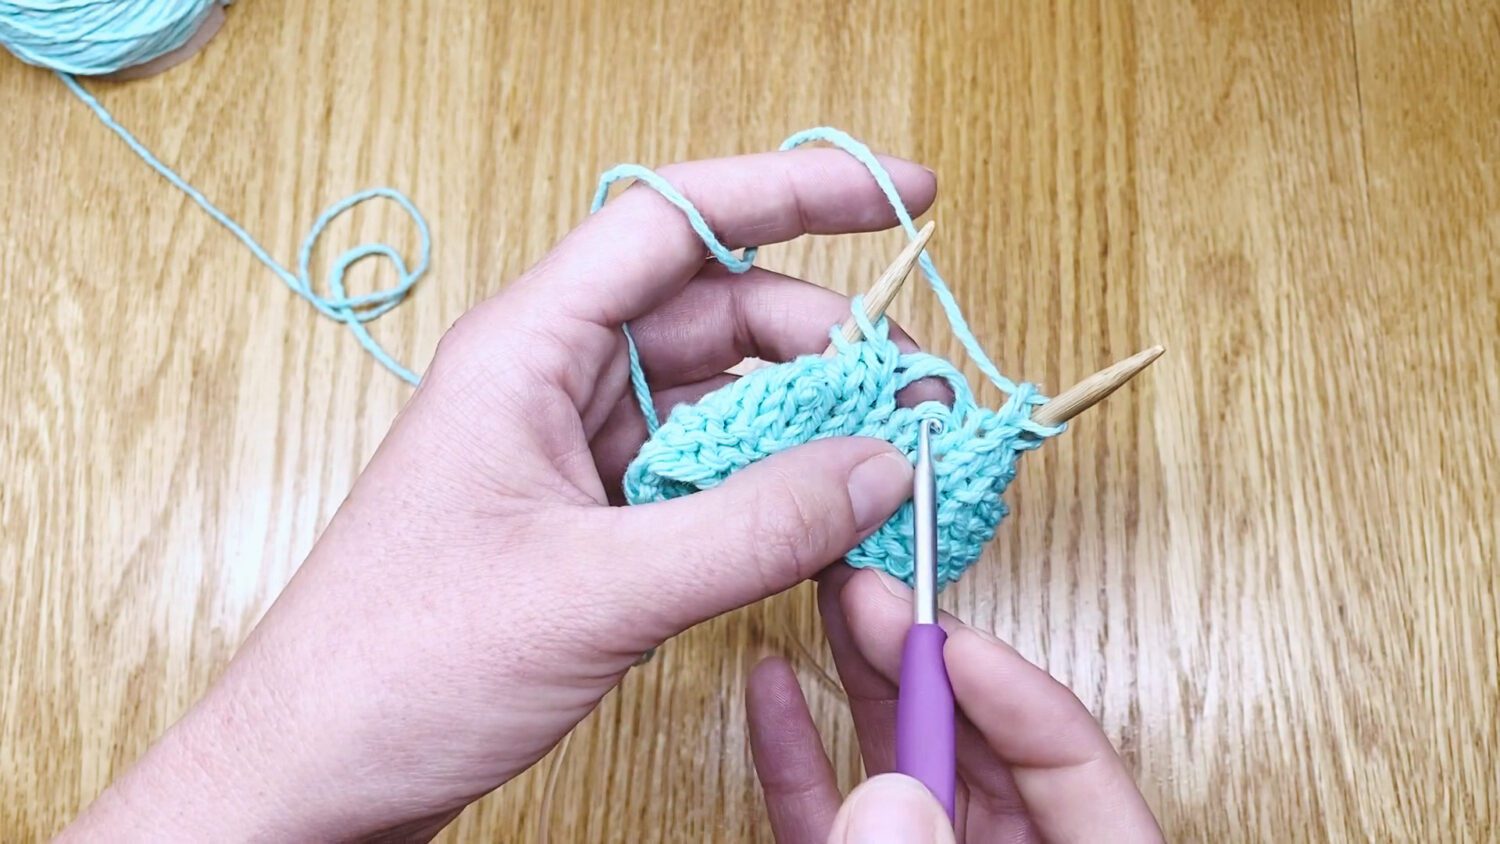
Fix a Twisted Stitch, Step 5:
Insert your crochet hook into the newly untwisted stitch from the front to the back. Be sure your stitch is not twisted by confirming that the legs are not crossed.

Fix a Twisted Stitch, Step 6:
With the crochet hook, grab the strand directly above the twisted stitch.

Fix a Twisted Stitch, Step 7:
Pull the hook and the strand of yarn through the loop on the crochet hook; this will chain the strand through the newly untwisted stitch.

Fix a Twisted Stitch, Step 8:
Continue pulling the strands of yarn directly through the loop on the crochet hook until no more strands remain in the “ladder” of loose stitches. Always check that each corrected stitch is not twisted before you move on to the next.

Fix a Twisted Stitch, Step 9:
Once you have reached the top of your work, ensure no loose strands remain above or behind the column you have just corrected.

Fix a Twisted Stitch, Step 10:
Move the loop from your crochet hook to the left-hand knitting needle.

Fix a Twisted Stitch, Step 11:
To prevent further twisted stitches, be sure the right leg is in front of the needle and the left leg is behind the needle.

Fix a Twisted Stitch, Step 12:
Check that you have corrected the problem, then continue working on your pattern.


Practice With My Knitting Patterns

In this guide I was making a Simple Face Scrubby. Knit along with me. This pattern is part of my Simple Washcloth Knitting Pattern Collection.

Up Next

After you have learned to fix your knitting mistakes, you may want to know how to unravel a few rows to correct a problem. Or undo an entire knitting project to reuse the yarn. Either way, knitters call this “frogging,” and I will show you how in the next tutorial.