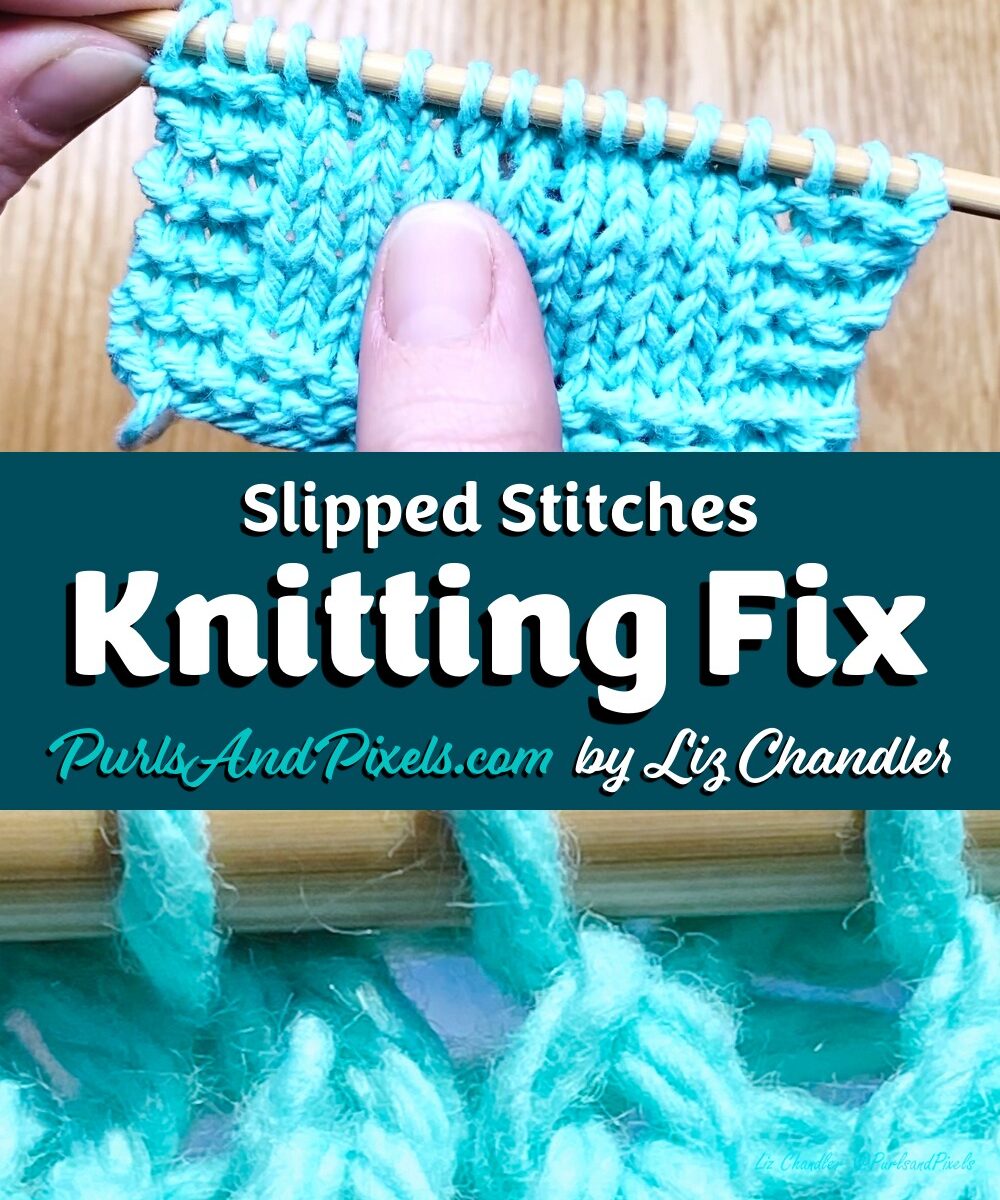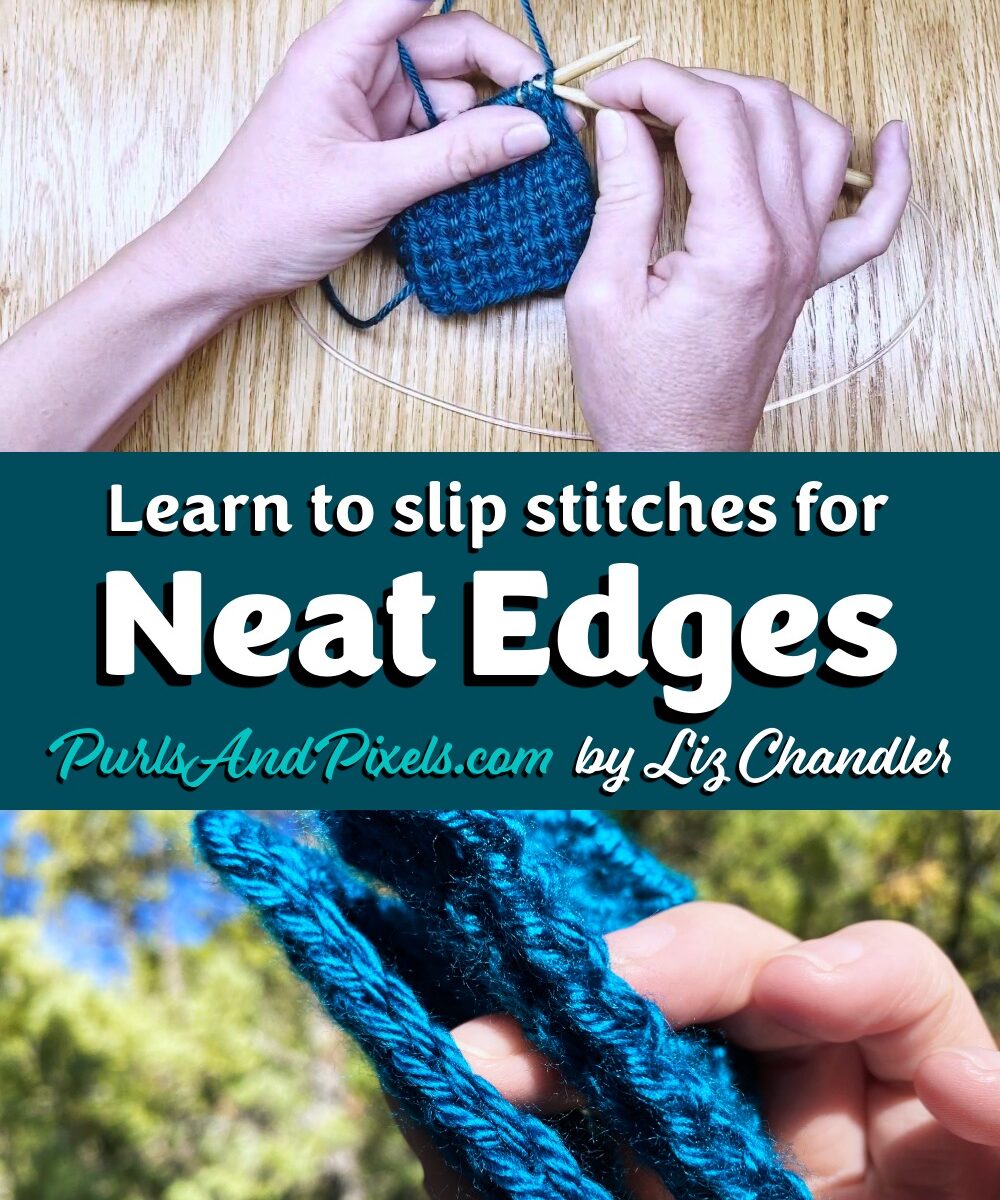
Slipping Stitches to Neaten the Edges of Knitting
Slipping a stitch means moving a live stitch from the right needle to the left needle without working into it. You have already learned that this can be a mistake you need to correct. But, sometimes, a pattern will ask you to slip stitches intentionally; this can add texture to a piece of knitting, help you shape knitwear, or prevent curling edges.
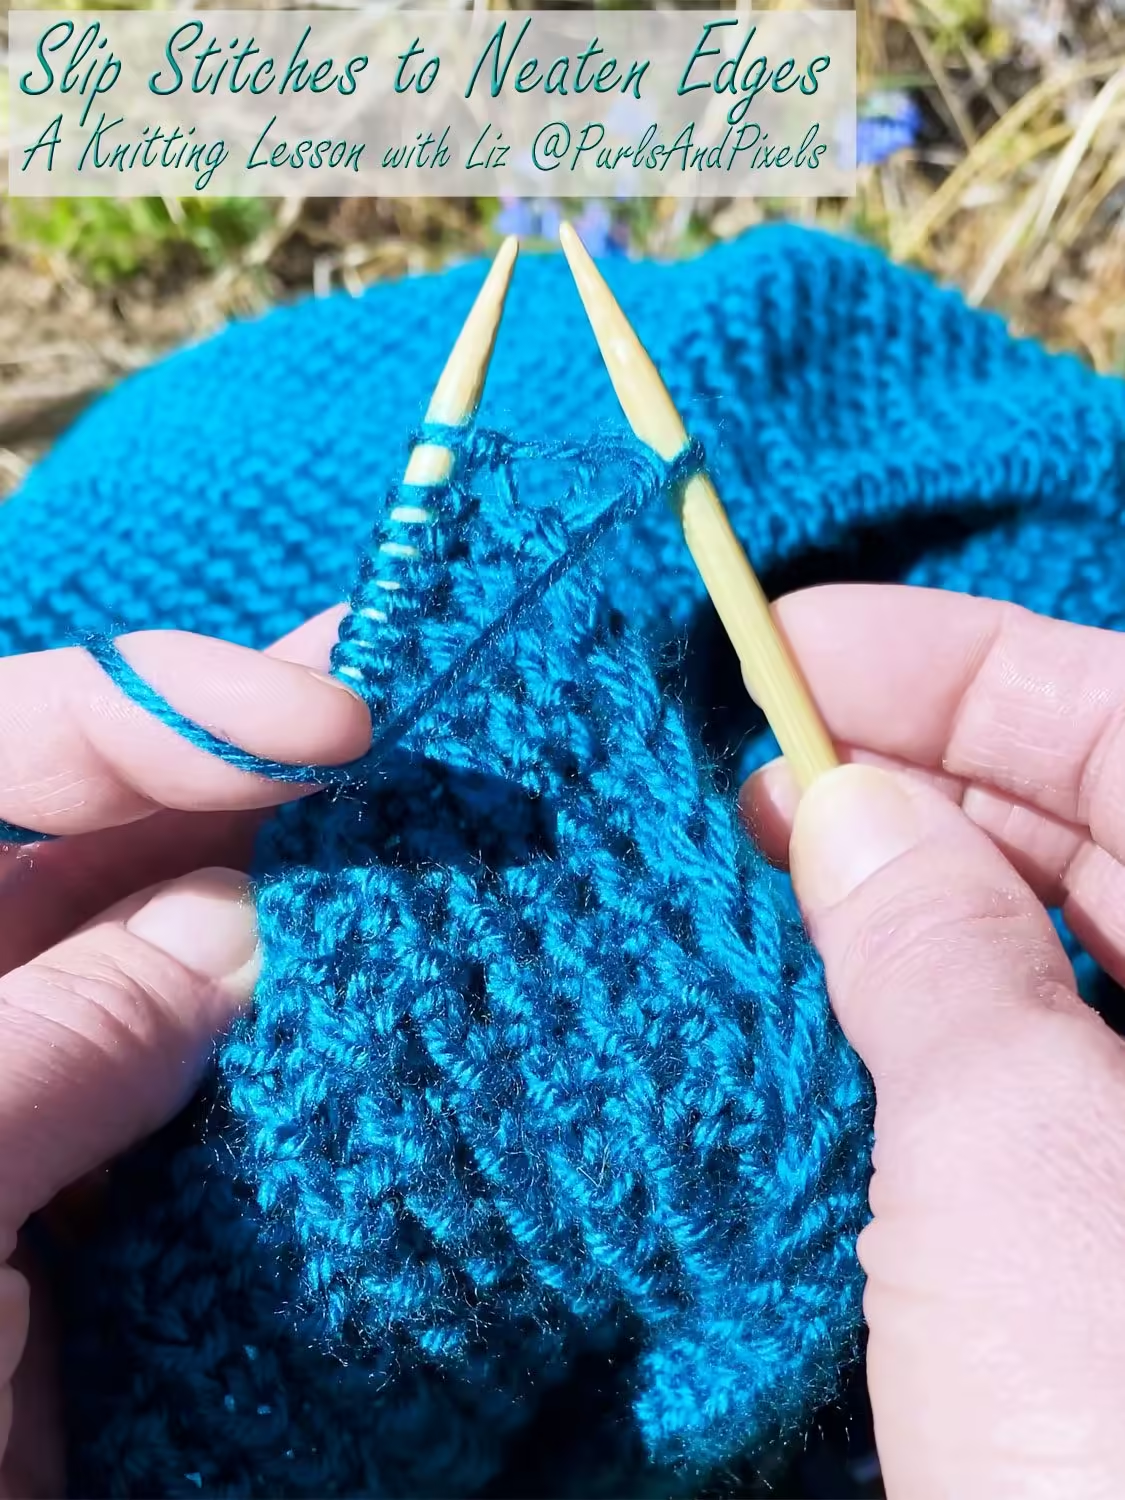
To introduce you to intentionally slipping knit stitches, we will start with slipping stitches to neaten the edges of your knitted work.
Sometimes flat knitted pieces tend to curl and can look a little rough on the edges, especially with certain knitting patterns. To avoid this problem, you can slip the first stitch of a row “purlwise” without working it. Doing so creates a smoother edge to your knitted work and helps to prevent curling.
Slipping stitches “purlwise” (as if you will purl them), moves them from needle to needle without changing them; these stitches will be neither twisted nor worked.
Here, you will learn to slip stitches purlwise in two ways: with the yarn in back and with the yarn in front of the work. These are abbreviated “sl1pwyib” and “sl1pwyif.”

Below you will find both video and written guides to help you learn to slip stitches at the edges of your flat knits.
Video Guide: How to Slip Stitches for Neater Edges in Knitting
Written Guide: How to Slip Stitches Purlwise
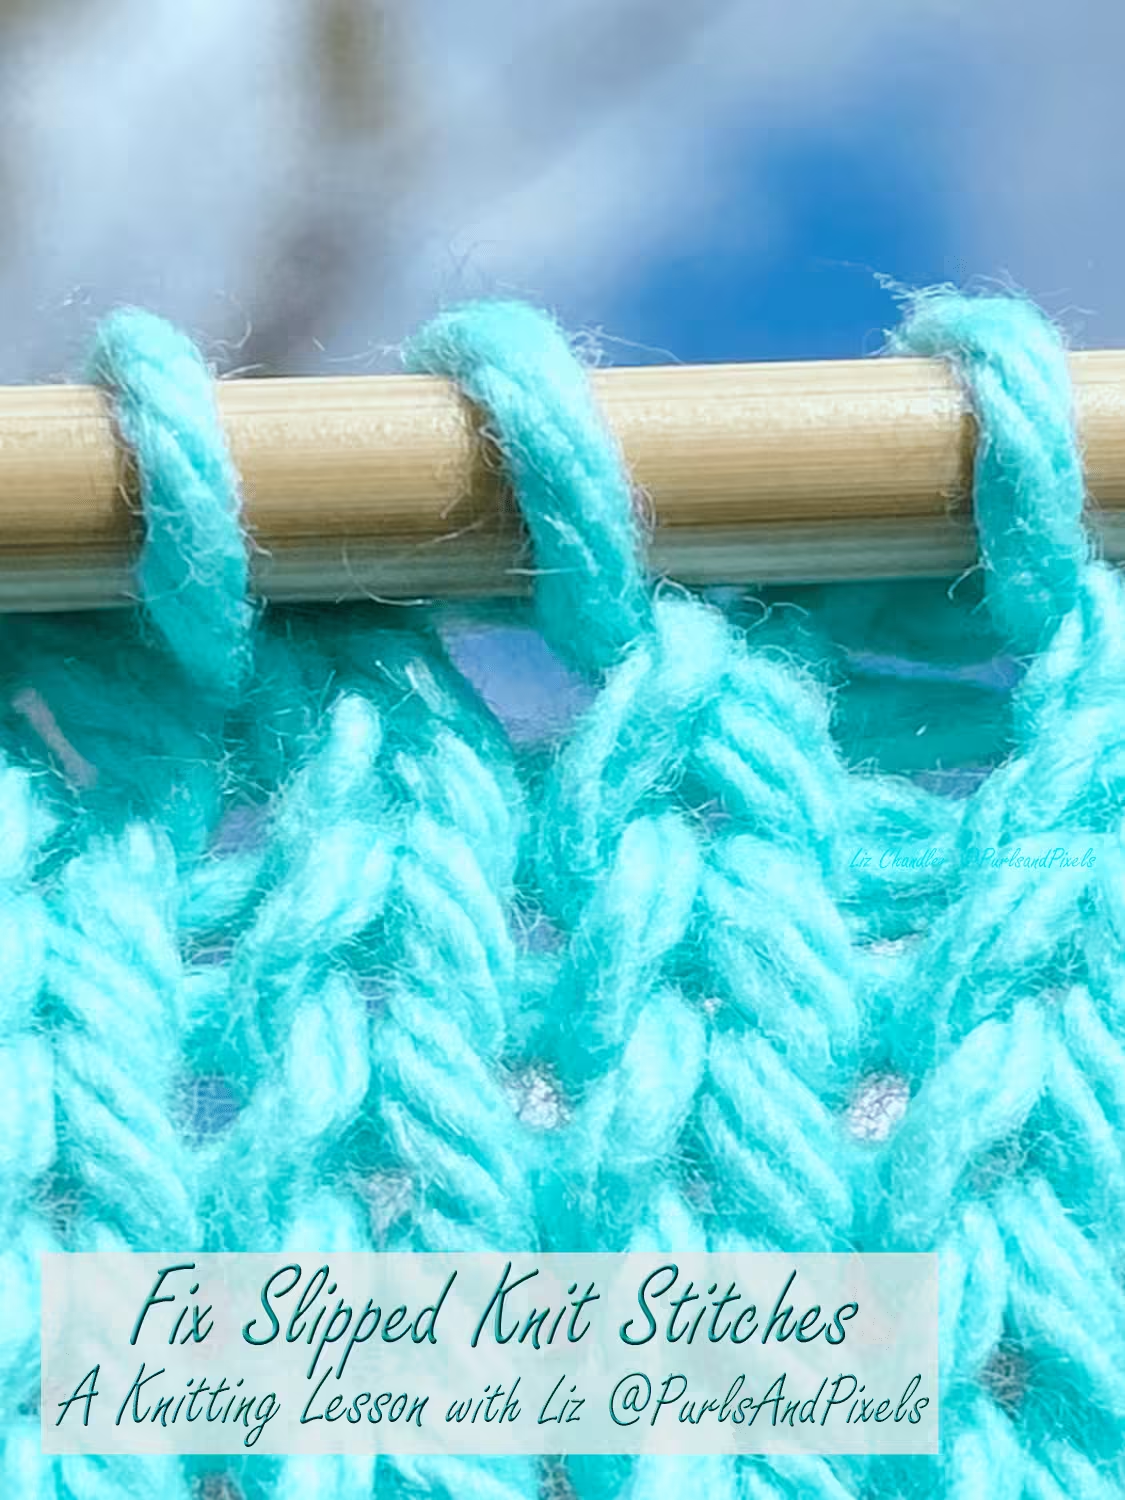
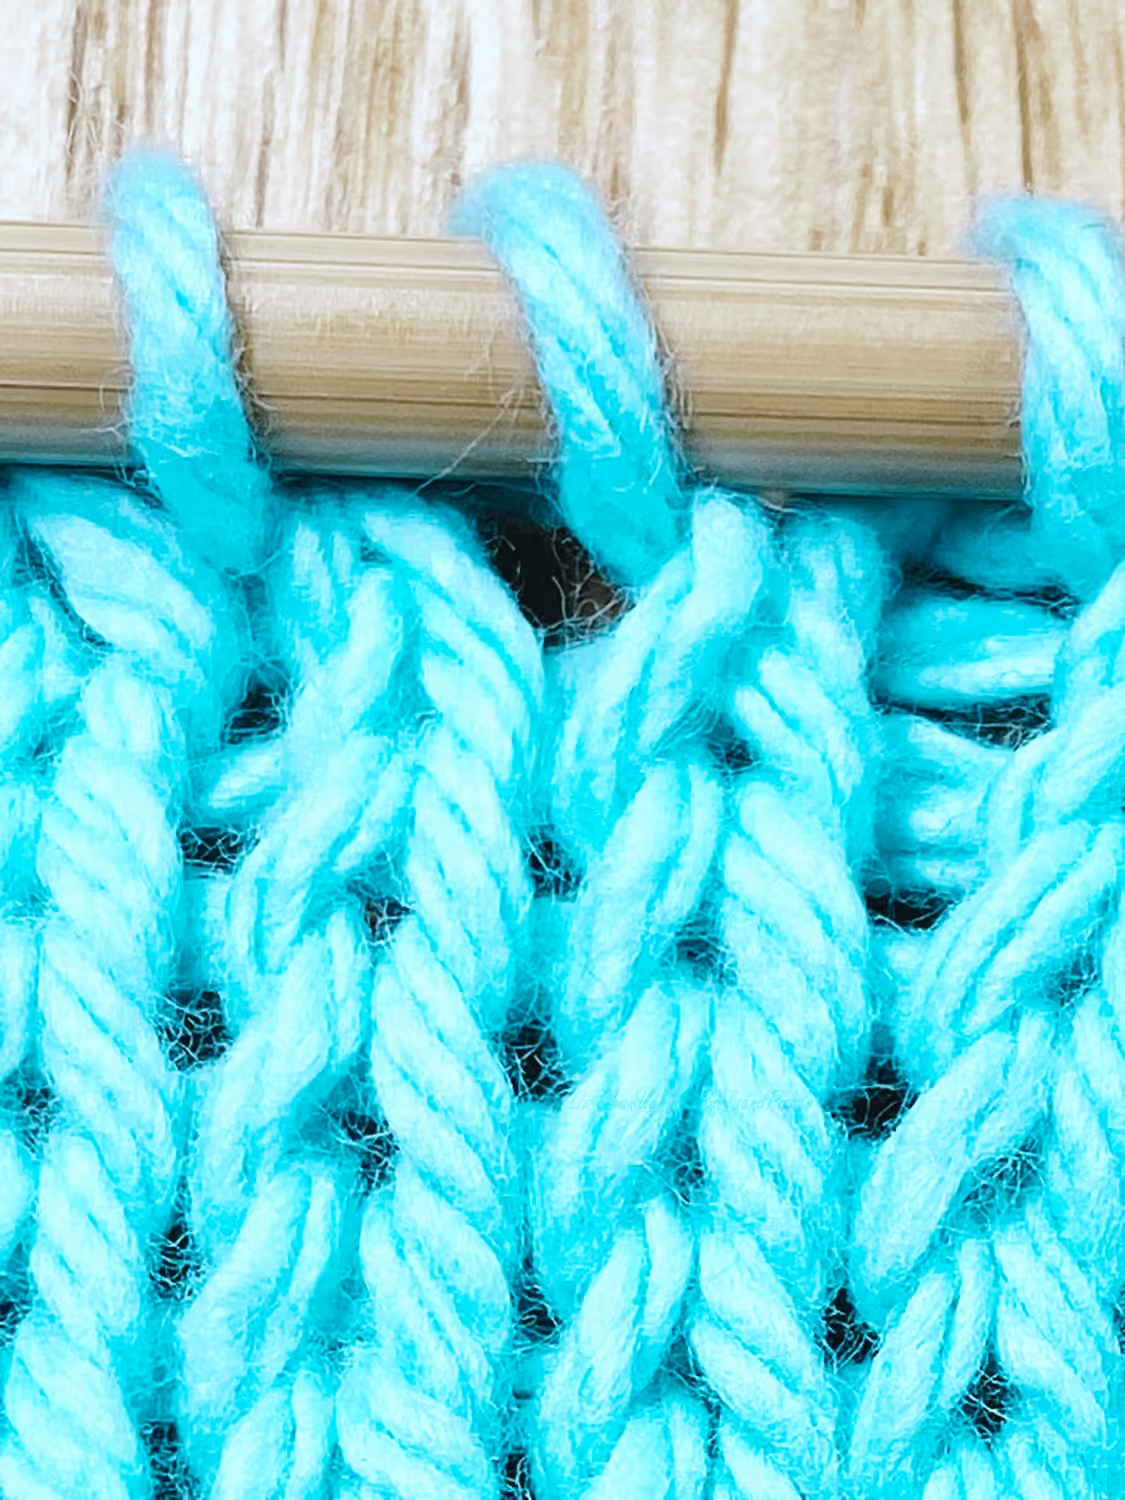
To neaten the edges of your knits, slip the first stitch of every row purlwise. On the knit side of your project, or where you would have made a knit stitch in your pattern, you will slip one stitch purlwise with the yarn in back of your work (sl1pwyib).
sl1pwyib, Step 1:
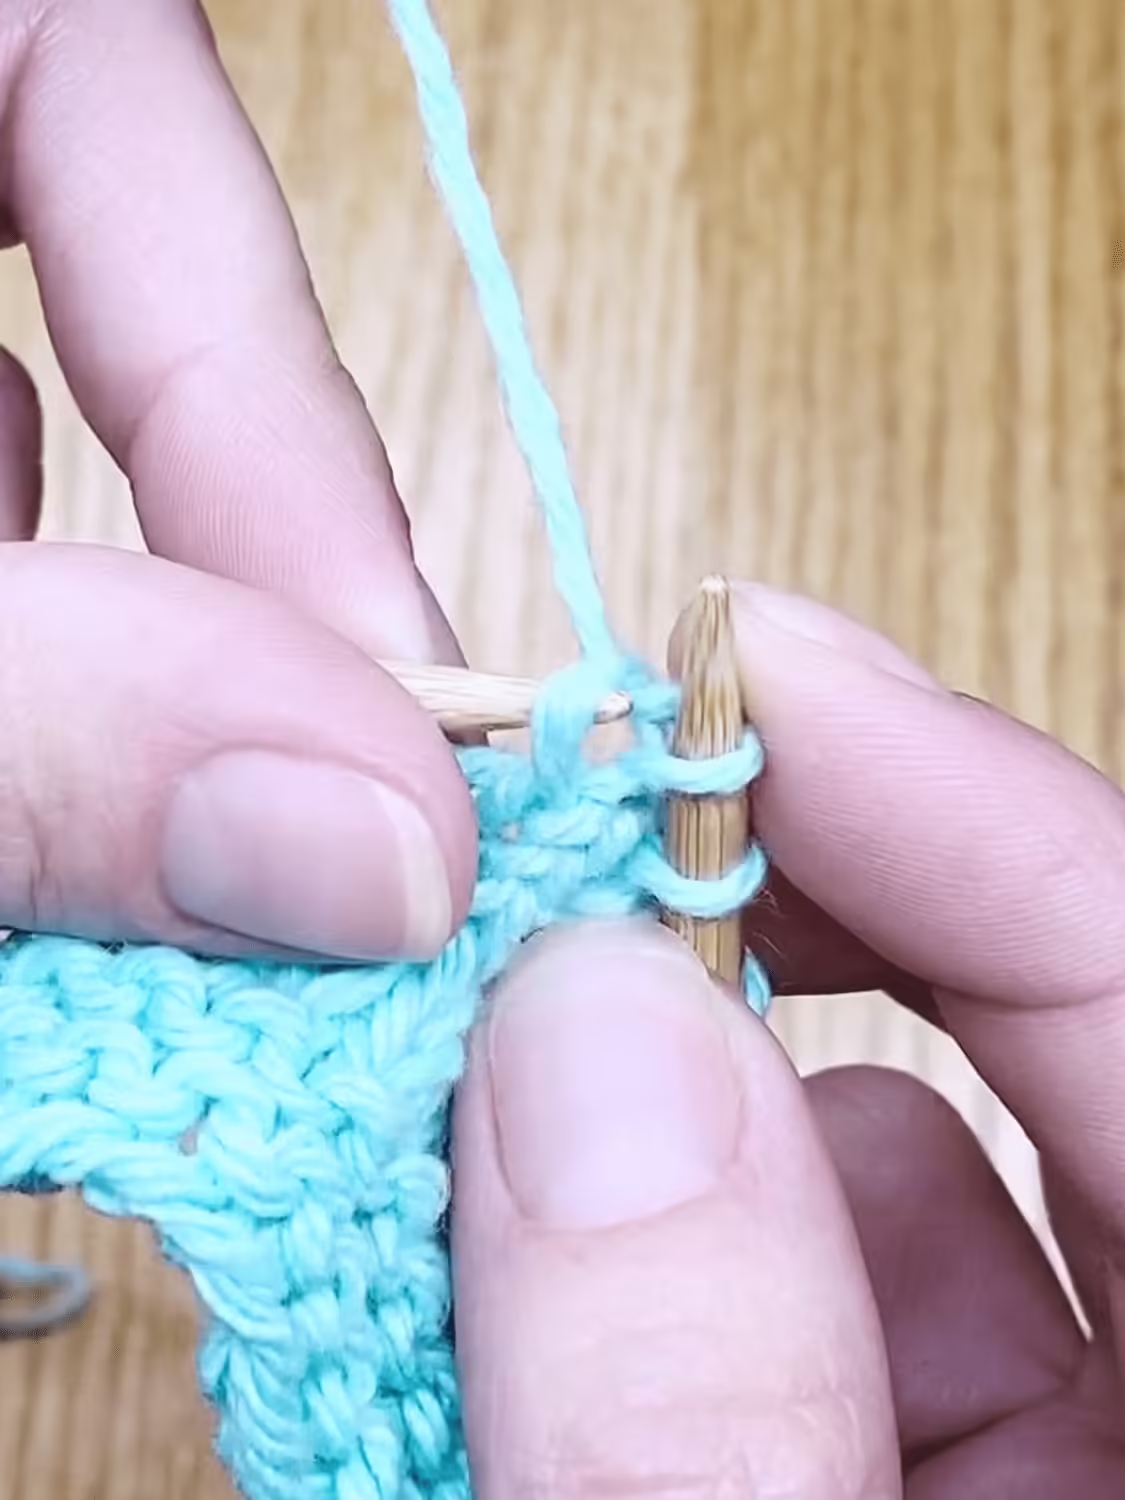
Hold the working yarn behind your stitches. Insert your needle into the live stitch as if to purl it (insert your right needle into the front leg of the stitch from the back to the front).

sl1pwyib, Step 2:
Do not work into the stitch that is being slipped. Instead, slide the stitch off the left needle and onto the right needle. When you have moved the stitch completely onto the right needle without knitting or purling into it, you have slipped the stitch.

On the purlside of your project, or where you would have made a purl stitch in your pattern, slip the first stitch purlwise with the yarn in front of your work.
sl1pwyif, Step 1:
Hold the working yarn in front of your stitches. Insert your needle into the live stitch as if to purl it (insert your right needle into the front leg of the stitch from the back to the front).

sl1pwyif, Step 2:
Do not work into the stitch that is being slipped. Instead, slide the stitch off the left needle and onto the right needle. When you have moved the stitch completely onto the right needle without knitting or purling into it, you have slipped the stitch.

Practice With My Knitting Pattern

Ready to try it? You can practice slipping stitches with my free Rice Stitch Blanket pattern.

Up Next
In the next lesson, you will learn why you might want to twist knit stitches intentionally. I’ll show you how to knit through the back loop (ktbl) and twist knit stitches on purpose. This will also help you knit my Rice Stitch Blanket.