Learn to Crochet

Learn to crochet with free online crochet lessons from Liz Chandler @PurlsAndPixels.

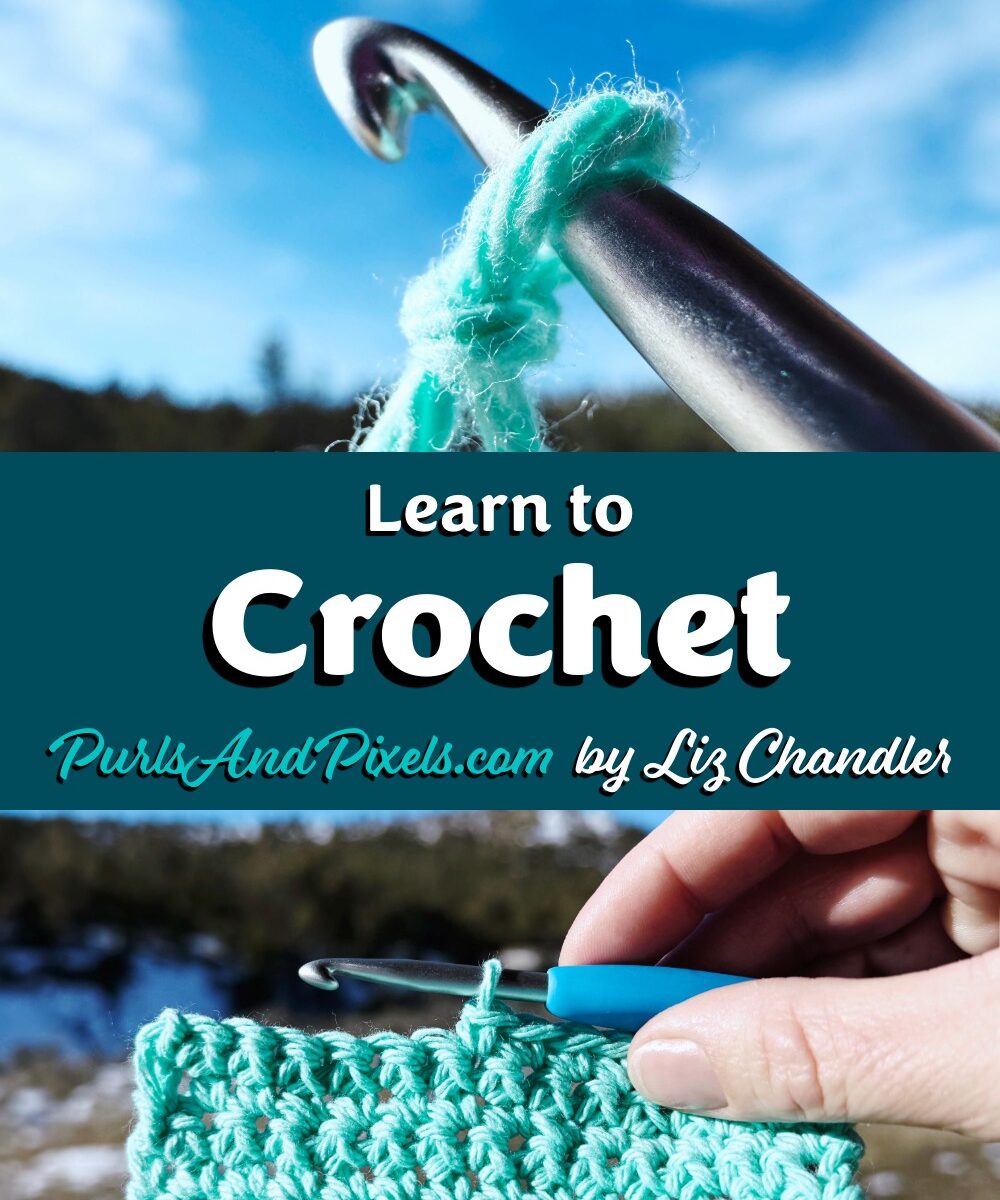
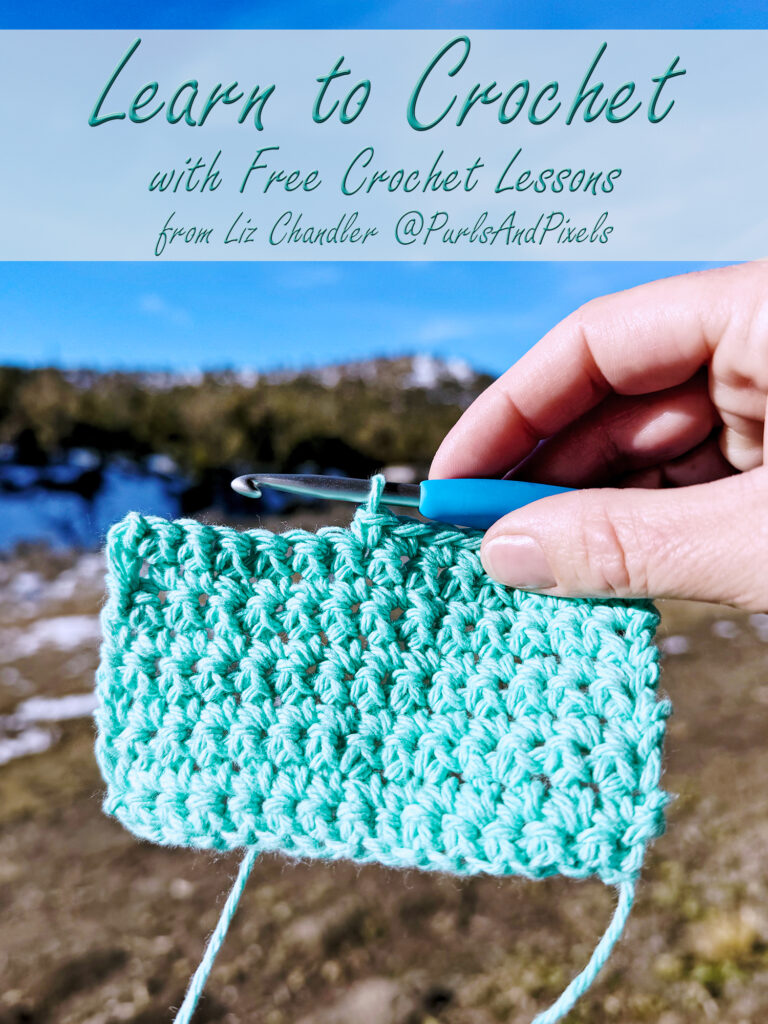
Learn to Crochet Online with Free Crochet Lessons from Liz Chandler @PurlsAndPixels

If you’ve been curious about crochet, you’re in the right place. Crochet is a hands-on skill built one loop at a time, using a hook, yarn, and a bit of patience. From blankets and accessories to everyday home items, crochet lets you make practical things while learning as you go. This page serves as the home base for crochet resources at PurlsAndPixels as the lesson library develops.

Crochet does not need to feel overwhelming. Whether you are a true beginner or picking your hook back up after a break, these lessons are designed to be clear, friendly, and easy to follow as you build confidence stitch by stitch.

📘 Prefer Learning with Printable Patterns?

While the full crochet lesson library is still coming together, you can absolutely start stitching right away. My crochet patterns are written with beginners in mind and walk you through each row and repeat so you can build skills while making something useful and enjoyable.

🧶 Choosing a Crochet Style

Before you start, you will want to decide how you prefer to hold your hook and manage your yarn. Many crocheters use either a “knife” grip or a “pencil” grip, and the working yarn can be held in whichever hand gives you smooth, comfortable tension. There is no single correct way to crochet. Comfort and happy stitches matter most.

Learn to crochet with free crochet lessons from Liz Chandler @PurlsAndPixels.

💡 New to Crochet? Start Here

  • Go step-by-step. You do not need to master everything in one day.
  • Practice is normal. Repeating the same stitch a bunch of times is how your hands learn.
  • You will surprise yourself. The first chain is the hardest, and it gets easier from there.

As new crochet lessons are published, they will be added here in a clear order so you always know what to learn next.

The Learn to Crochet Index

This page will grow into the complete learn-to-crochet curriculum used throughout PurlsAndPixels. The lessons will be intentionally organized and will build naturally from foundational skills to more advanced techniques. If you are new to crochet, starting at the top and working your way down will give you a thorough, confident understanding of crochet from first stitch to finished projects.

Use this section as your learning roadmap. As new tutorials go live, I will add them here in a beginner-friendly sequence, along with both written instructions and videos.

🧵 Crochet Foundations (Start Here)

These are the core skills that everything else in crochet builds on. Once you are comfortable with these, most beginner patterns will make sense.

  • Choosing yarn and hooks for crochet (lesson coming soon)
  • How to hold a crochet hook comfortably (lesson coming soon)
  • Making a slip knot (lesson coming soon)
  • Chain stitch (your first crochet stitch)

Basic Crochet Stitches

After you can chain comfortably, these stitches form the backbone of beginner crochet projects.

  • Single crochet (sc)
  • Half double crochet (hdc)
  • Double crochet (dc)
  • Counting stitches and rows

(Individual stitch tutorials will be linked here as they are published.)

📐 Reading Crochet Patterns

Learning how to read a crochet pattern turns written instructions into real projects.

  • How crochet patterns are written
  • Common crochet abbreviations
  • Understanding repeats, rows, and rounds

🧶 Beginner Crochet Projects

These projects are designed to reinforce the basics while giving you something useful to show for your time.

  • Simple dishcloths and washcloths
  • Easy scarves and rectangles
  • First blanket-style projects

Patterns and tutorials will be added here as they go live.

🚀 Next Steps in Crochet

Once the foundations feel comfortable, you can begin expanding your skills.

  • Working in rows vs. rounds
  • Increasing and decreasing stitches
  • Joining new yarn
  • Finishing and weaving in ends

New lessons are added in order as they are completed, so this page can continue to serve as your central crochet reference over time.

🧷 Helpful Crochet Resources

Looking for more ways to support your crochet goals?

Settle in and start your first stitches. You’ve got this!

– Liz

Share this with Friends:

How to Wind a Center-Pull Yarn Ball

Learn to wind yarn into center-pull yarn balls in this free knitting guide by Liz Chandler @PurlsAndPixels.

Whether you have unraveled a project or just have some leftover yarn, by now you probably have some scraps that are in need of organization. Winding yarn into neat balls keeps your strings from becoming a hopeless tangled mess. While there are many ways to coil yarn for storage, center-pull yarn balls are the most versatile; they allow you to work directly from either end of the string.

How to wind yarn into center-pull balls by hand - a lesson with Liz @PurlsAndPixels.

(In the article below, I have linked to items on Amazon.com, so you can see examples of the equipment I reference. Please know all links to Amazon are affiliate links, and if you make a purchase through them, I will earn a small commission at no cost to you. Now, on to the important information.)

Center-Pull Yarn

Each ball of yarn is made of one long strand with two ends. There are a number of ways to coil the yarn so that it does not tangle. Some yarn is pre-wound into center pull balls or skeins (tube-shaped balls) by the manufacturer. When you see a string coming from the center of the ball or skein, you can probably work directly from either end.

Learn to wind a center-pull yarn ball with just your hands in this lesson with Liz @PurlsAndPixels.

Working from the center of a ball is often more convenient. When you work with the end on the outside of the ball, the yarn will likely roll and flop around. Yarn bowls and containers can help keep your yarn from escaping. But center-pull balls can be even more effective at reducing the movement of your ball of yarn. Pulling from outside of the ball forces it to roll. But when you pull from the center, the yarn uncoils without turning the ball.

Many yarn-makers, however, wind their yarn into “hanks” instead of center-pull balls or skeins. To make a hank, the manufacturer makes one large circle of yarn then twists it together for storage and shipping. Hanks are incredibly difficult to work from directly, so to use yarn that comes in a hank, you will need to wind it into a ball.

Winding frogged yarn, scrap yarn, and hanks of yarn into center-pull balls keeps yarn neat, organized, and ready to use.

Machines like “yarn swifts” and “yarn winders” are available to assist you in turning yarn into a usable form. A yarn swift holds the yarn from a hank in place while you wind your ball. Then, you can use a yarn winder to turn that yarn into a “cake” which is much like a center pull ball. Or, instead of investing in fancy machines, you can use just your hands and wind hanks, leftovers, and frogged yarn into center-pull balls.

Video Guide: How to Wind a Center-Pull Yarn Ball

Written Guide: How to Wind a Center-Pull Yarn Ball

Below I’ll show you how to wind a center pull yarn ball step-by-step. I am winding the ball from a larger center-pull skein so that I can knit two items at once from the same yarn. I also wind partially used skeins into new balls for tidier storage.

Wind Yarn into a Ball, Step 1:

Drape the yarn end between your left pointer finger and thumb, laying it across your palm.

Step 1: Learn to wind a center-pull yarn ball with just your hands in this lesson with Liz @PurlsAndPixels.

Wind Yarn into a Ball, Step 2:

Clasp the end of the yarn with your left ring and pinkie fingers, then, with your right hand, pick up the other end of the yarn just above your left pointer finger. With the strand in your right hand, begin to wrap the yarn over the top of your left pointer finger.

Step 2: Learn to wind a center-pull yarn ball with just your hands in this lesson with Liz @PurlsAndPixels.

Wind Yarn into a Ball, Step 3:

Bring the yarn down between your pointer and middle fingers, then between your thumb and pointer finger, forming a loop around your left pointer finger.  

Step 3: Learn to wind a center-pull yarn ball with just your hands in this lesson with Liz @PurlsAndPixels.

Wind Yarn into a Ball, Step 4:

Wrap the yarn around your left thumb in a counterclockwise motion.  

Step 4: Learn to wind a center-pull yarn ball with just your hands in this lesson with Liz @PurlsAndPixels.

Wind Yarn into a Ball, Step 5:

Wind the yarn up between your left thumb and pointer finger to form a figure-eight (8) shape.

Step 5: Learn to wind a center-pull yarn ball with just your hands in this lesson with Liz @PurlsAndPixels.

Wind Yarn into a Ball, Step 6:

Continue wrapping the yarn around your pointer finger and thumb in figure eight shapes (as in steps two thru five).

Step 6: Learn to wind a center-pull yarn ball with just your hands in this lesson with Liz @PurlsAndPixels.

Wind Yarn into a Ball, Step 7:

When you have wrapped the yarn around your fingers in figure eights at least 20 times, you can stop and move to the next step. To make a larger ball of yarn, wrap more figure eights; when the yarn wraps reach your left thumb knuckle, move to step eight.  

Step 7: Learn to wind a center-pull yarn ball with just your hands in this lesson with Liz @PurlsAndPixels.

Wind Yarn into a Ball, Step 8:

With your right thumb and pointer finger, pinch all the strands at the center of the figure-eight shape (just between your left thumb and pointer finger).

Step 8: Learn to wind a center-pull yarn ball with just your hands in this lesson with Liz @PurlsAndPixels.

Wind Yarn into a Ball, Step 9:

While continuing to pinch the center of the yarn figure-eight with your right hand, gently remove your left hand from the yarn loops.

Step 9: Learn to wind a center-pull yarn ball with just your hands in this lesson with Liz @PurlsAndPixels.

Wind Yarn into a Ball, Step 10:

Continue to pinch the center of the figure-eight with your right hand.

Step 10: Learn to wind a center-pull yarn ball with just your hands in this lesson with Liz @PurlsAndPixels.

Wind Yarn into a Ball, Step 11:

With your left hand, fold the two loops of the figure eight up, toward each other, pinching them together over your right thumb.

Step 11: Learn to wind a center-pull yarn ball with just your hands in this lesson with Liz @PurlsAndPixels.

Wind Yarn into a Ball, Step 12:

While continuing to pinch the loops with your left hand, gently remove your right thumb. Pick up the yarn strand you have been winding with your right hand.  

Step 12: Learn to wind a center-pull yarn ball with just your hands in this lesson with Liz @PurlsAndPixels.

Wind Yarn into a Ball, Step 13:

Gently wind the strand in your right hand around the yarn you have pinched in your left hand. Be sure you do not wrap the tail end of the yarn into the ball, or you will lose your center-pull. Also, try not to wind too tightly; this can make yarn lose its stretch.

Step 13: Learn to wind a center-pull yarn ball with just your hands in this lesson with Liz @PurlsAndPixels.

Wind Yarn into a Ball, Step 14:

Continue winding your yarn around until you have formed a ball in your desired size. Always ensure you do not wrap the center-pull end into the ball. When you are finished wrapping, clip the yarn with scissors (if necessary). Carefully tuck the end that you held with your right hand into the ball to secure it in place.

Step 14: Learn to wind a center-pull yarn ball with just your hands in this lesson with Liz @PurlsAndPixels.

Learn to wind a center-pull yarn ball with just your hands in this lesson with Liz @PurlsAndPixels.

Practice With My Knitting Patterns

Simple Washcloth Knitting Pattern Collection from Liz @PurlsAndPixels

If you’ve been following my lessons, you now have enough information to knit all of the washcloths and face scrubbies in my Simple Washcloth Knitting Pattern Collection. Happy knitting!

How to wind yarn into center-pull balls by hand - a lesson with Liz @PurlsAndPixels.

Up Next

Next up, a lesson about gauge. Learn what gauge means in knitting and you to check your gauge to make sure your knits end up the right size.

Go Back to the Learn to Knit Index

Yarn Math Calculator

Yarn Math: How to calculate leftover yarn length / yardage - lesson and free calculator from Liz Chandler PurlsAndPixels.

Calculate How Much Yarn is Leftover

Trying to find out how much yarn you need for a project can sometimes feel like a guessing game. Do you have enough? There is one way to be sure. Do a little yarn math.

When you are finished with a project, you will often have leftover yarn; knitters call this “scrap yarn.” This leftover yarn can be perfect for smaller knitting patterns. Before you get started with a scrap knitting project, though, you will need to make sure you have enough yarn to finish it. With a bit of math, you will be able to calculate exactly what you have left. Learn how to do the quick yarn math or jump to the yarn length calculator at the bottom of this page.

Yarn Math: How to calculate leftover yarn length / yardage - lesson and free calculator from Liz Chander @PurlsAndPixels.

Many knitting patterns are perfect for scrap yarn and pattern-writers will usually tell you exactly how much yarn you need. When an author provides you with the weight of yarn needed, calculating whether you will have enough is simple; just weigh your yarn and see if you have at least as much as the writer suggests.

Sometimes, however, a pattern-writer only lists a length of yarn needed. While this makes your calculations a bit trickier, you can do a little math to be sure you have enough yarn.

Tools Needed to Calculate Yarn Math

To find out how much yarn you have left, you will need two important items.

First, you will need the label from your yarn. Nearly every new ball of yarn you purchase will have a label noting yardage and weight. If you save the label, you will be able to calculate how much yarn you have left after a project.

You will also need a scale that weighs in ounces, so that you can measure the current weight of your yarn.

Yarn Math: How to calculate leftover yarn length / yardage - lesson and free calculator from Liz Chander @PurlsAndPixels.

Basic Yarn Math Formula

To find out the yardage you have left after using some yarn, we will use simple ratios. A ratio compares two things; here we want to compare the length of our yarn to the weight of our yarn. Mathematically, you would write out our basic ratio like this:

But we are trying to find out the length of yarn we have now, based on information about the yarn we had when we had a full skein of yarn. So, we really want to compare two different ratios. If you can make the ratios equal to one another, you’ll have all the numbers you are looking for. Making two ratios equal in this way is called solving a proportion. Our basic math will start with this proportion:

If you’ve just finished a knitting project and you have your yarn label, you will have information to fill in three blanks in the proportion above. You will know the length of yarn in a full skein, the weight of yarn in a full skein, and the weight of the left-over yarn.

To calculate the length of your leftover yarn, you will “cross multiply, then divide.” This means, multiply the Length of Yarn in a Full Skein by the Weight of the Leftover Yarn (the two numbers you have across from each other), then divide that number by the Weight of a Full Skein of Yarn. The result will be the Length of Leftover Yarn.

Or just a bit more mathematically, use the following formula to solve:

An Example, Using the Yarn Math Formula

If you started with a ball of Caron Simply Soft Yarn, one of the suggested yarns in this book, the label would show that you started with 315 total yards or 6 total ounces of yarn.  After you’ve made a project or used some of your yarn, you weighed the leftovers to find that you have exactly 1.2 ounces of yarn left. How many yards is equal to 1.2 ounces of this yarn?

Start by filling in your formula with the numbers you know:

Then solve the math problem. Cross multiply (multiply the numbers shown in purple) then divide (by the number shown in teal). If it makes it easier, fill in the formula and solve:

Now, you’re ready to calculate how much yarn you have leftover. You can do the math yourself, or use the calculator below for quick answers.


Yarn Math Calculator:

Find Out How Much Yarn You Have After a Project

Leftover Yarn Yardage Calculator

Use this when you have a partial skein and a kitchen scale.

Tip: This assumes the yarn label’s yardage-to-weight ratio matches your leftover yarn.