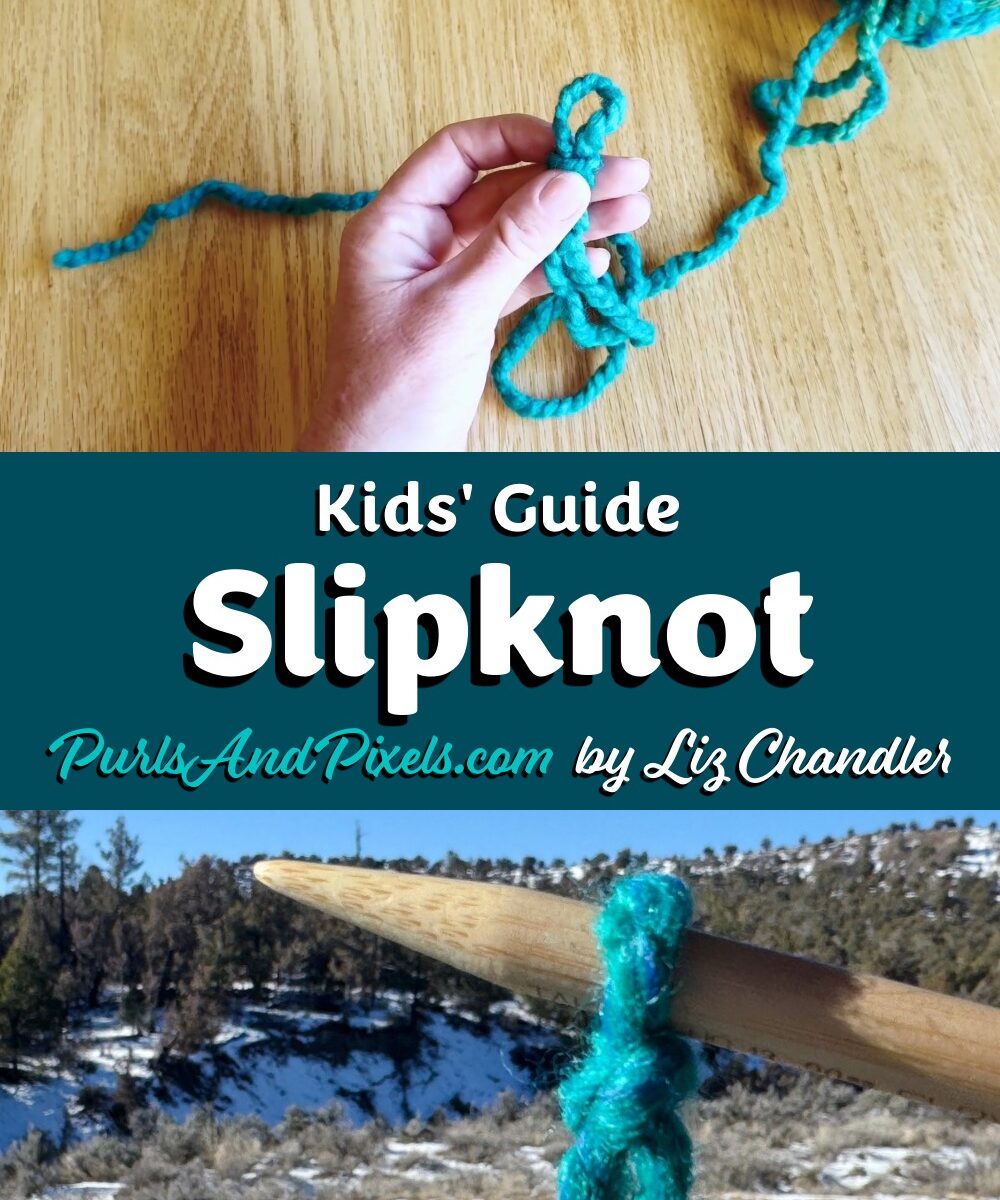
Lesson 2: Making a Slipknot
A slipknot is the first loop you will put on a knitting needle to begin a project. In this kids’ knitting lesson, you’ll learn to make a slipknot to start your first guided knitting project.
To start knitting, you will make a slipknot as your first stitch. Wrap the yarn around your hand, bring a bit up and under to create a loop with a knot at the bottom. This loop starts big and then slips tighter when you pull the end of the string.

Your first stitch
Below are both video and written tutorials to help you learn how to make a slipknot. Working on the Beginner Coaster? You can check your pattern here.
Kids’ Video Guide: How to Make a Slipknot
Kids’ Picture Guide: How to Make a Slipknot
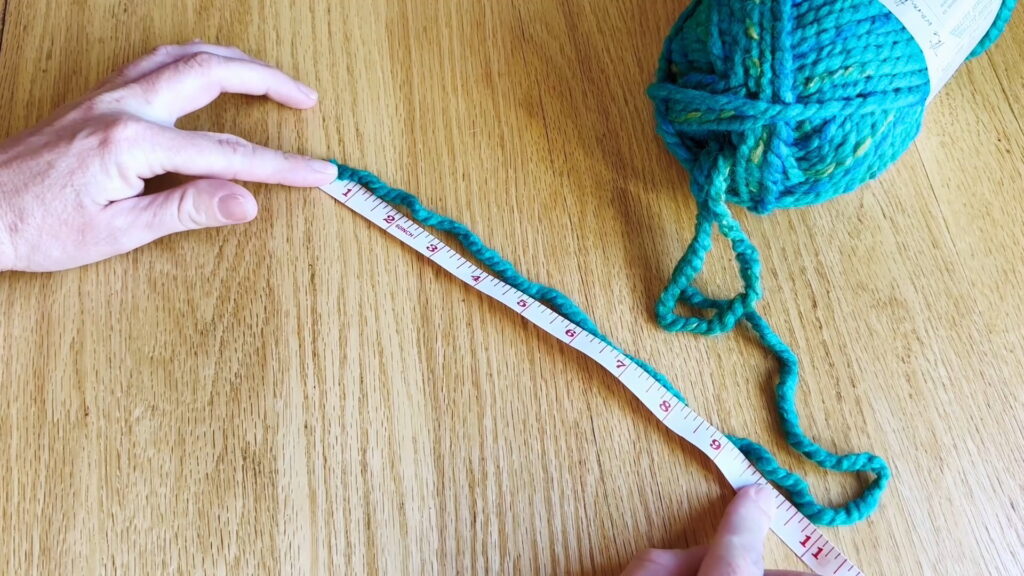
Step 1: Pull the Tail
Find the end of the yarn and pull it out of the ball. Measure about 2 inches of yarn for every stitch you need to cast on. For our coaster, measure out 20 inches of yarn. This is your “long tail.”
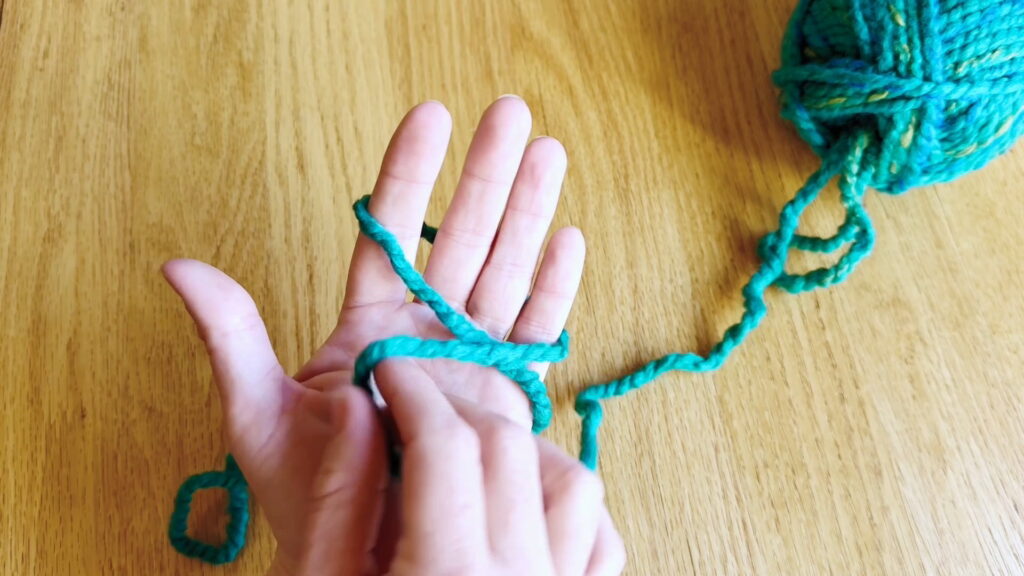
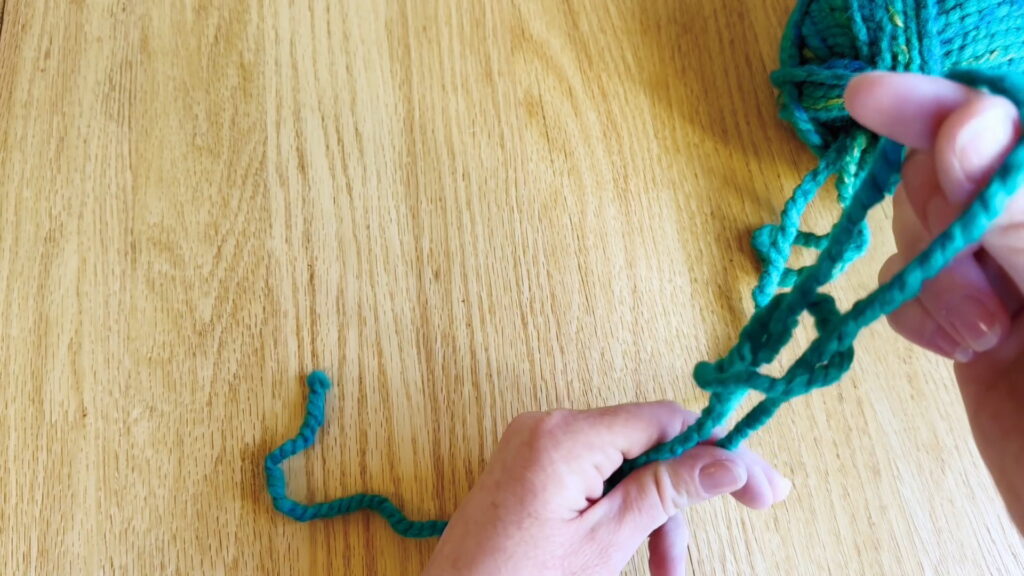
Step 2: Wrap Around Your Hand
Starting at the 20-inch point, wrap the yarn around your left hand so that it crosses over your palm.
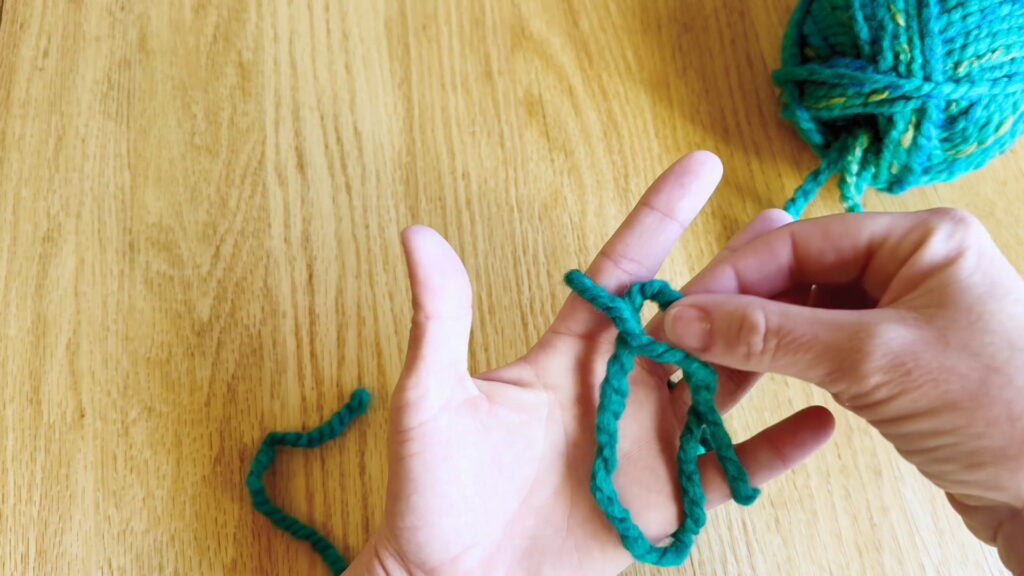
Step 3: Loop Under
Loop the yarn you are holding in your right hand under the yarn that is wrapped around your left hand. This will make a small loop. Pinch the loop and carefully take your left hand out of the yarn.
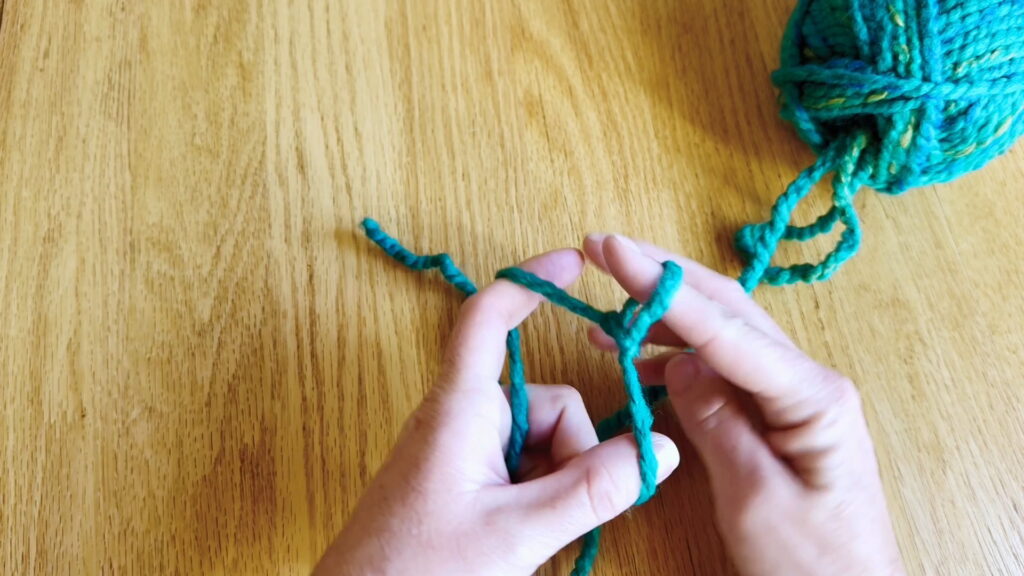
Step 4: Pull Up
Hold the loop in your right hand and gently pull on the ends of the yarn with your left hand. This will tighten the knot at the bottom of the loop.
Step 5: Tighten
Continue pulling on the yarn ends to tighten the loop until it is small enough to fit around your finger loosely.
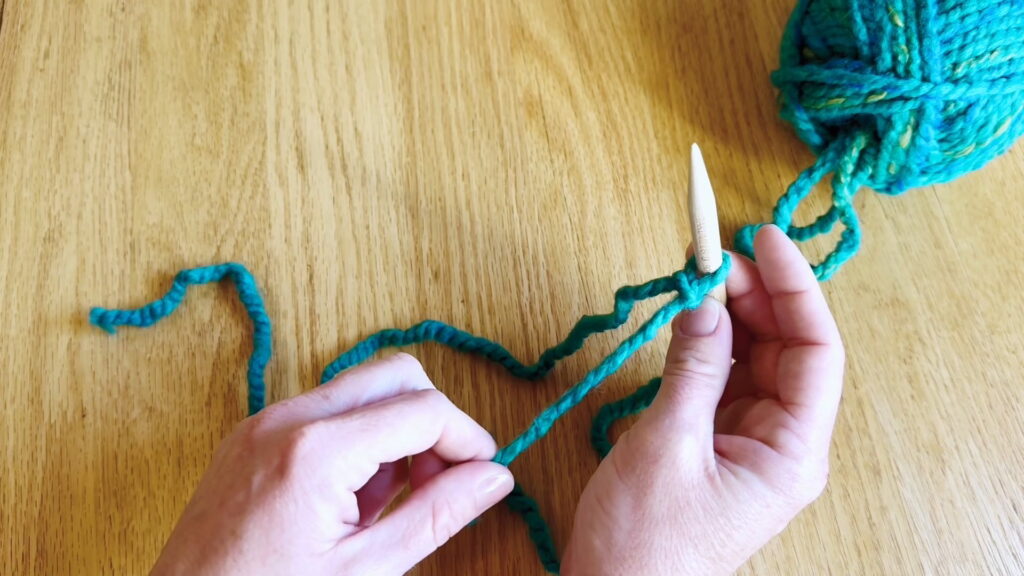
Step 6: Slip Onto Needle
Pick up one end of your circular knitting needle in your right hand with the tip pointing toward the left.
Slide the slipknot onto the knitting needle tip.
Tighten the slipknot so it fits snugly around the needle but can still slide back and forth.
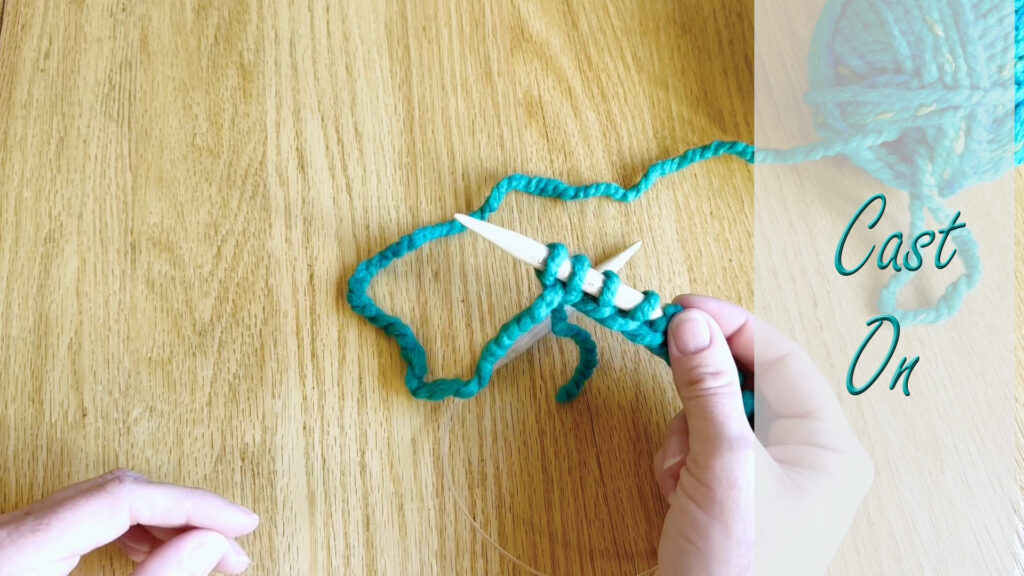
Up Next
Now we can finish our cast on. Go to Kids’ Lesson 3 to continue.
Return to the Kids’ Knitting Guide.