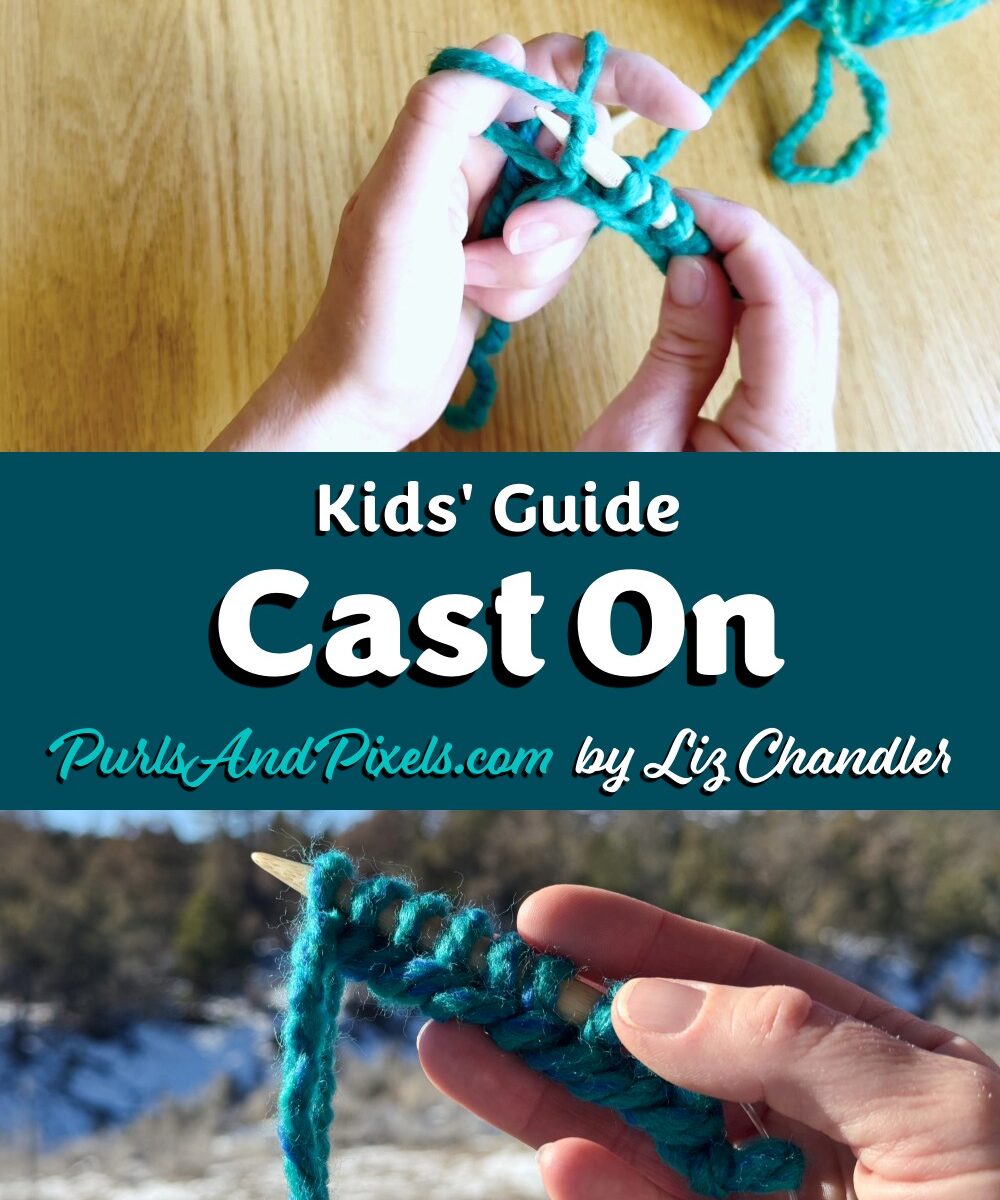
Lesson 3: Cast On (The Long Tail Cast On)
The long-tail cast-on is a way of creating your first knitted row of stitches. In this kids’ knitting lesson, you will learn the long-tail cast on so you can knit your first project.
“Cast on” is knitter-speak for putting your first stitches on the needles. There are a lot of different ways to cast on. Here, you’ll learn the “long tail cast on.” It’s called this because you pull a long piece of yarn (or “tail“) out of the ball before you start. Using that long tail, you will make loops that wrap around your knitting needle. These “cast-on stitches” make the base of your knitting project.
Check your knitting pattern to see how many cast-on stitches you need for every new project. Since we will make a coaster first, you can start by making ten (10) cast-on stitches.
Grab your knitting needles and your yarn. It is time to cast on your first knitting project!
Your first row
Below are both video and written tutorials to help you learn how to cast on stitches. Working on the Beginner Coaster? You can check your pattern here.
Kids’ Video Guide: How to Cast On
Kids’ Picture Guide: How to Cast On
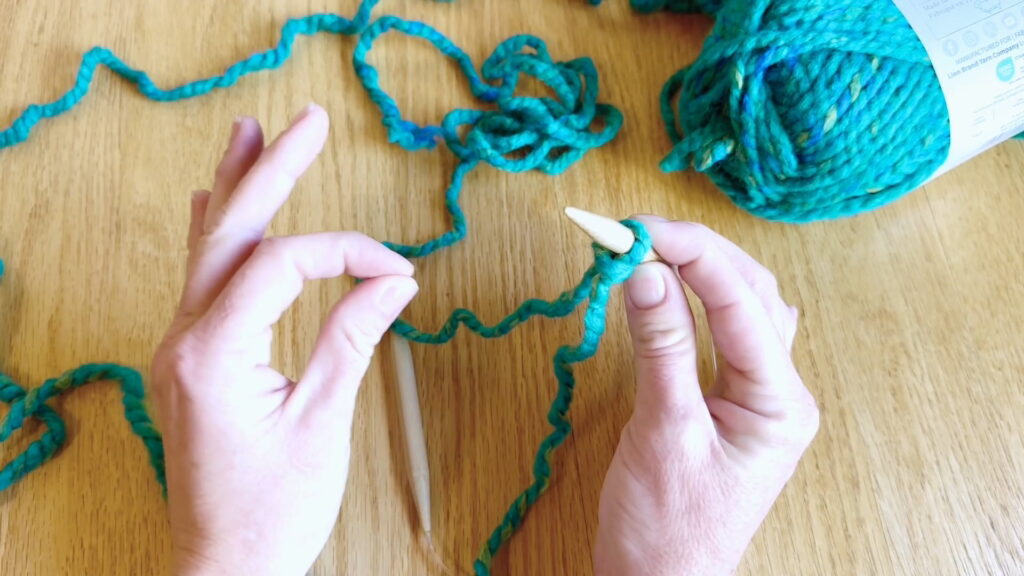
After you have made and placed your slipknot, follow the steps below to hold your yarn and needles so you can start making cast-on stitches. Then, you’ll begin adding cast-on stitches to form your first row.
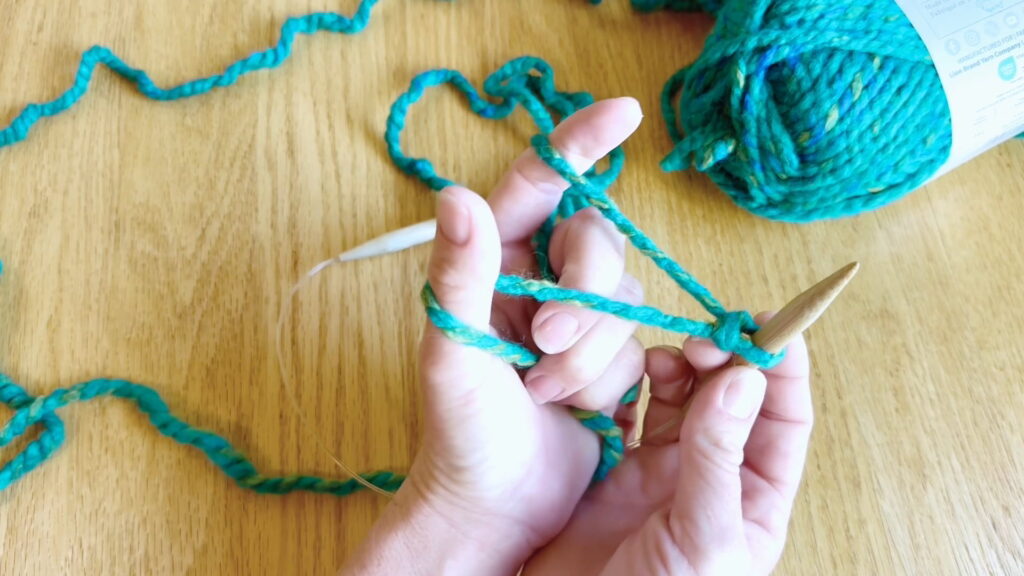
How to Hold the Yarn for a Cast On
Hold Step 1: Pinch
Hold the knitting needle tip with the slipknot in your right hand. Pinch your left thumb and pointer finger together, holding the other three out.
Hold Step 2: Under
Place the pinched fingers under the ends of the slipknot.
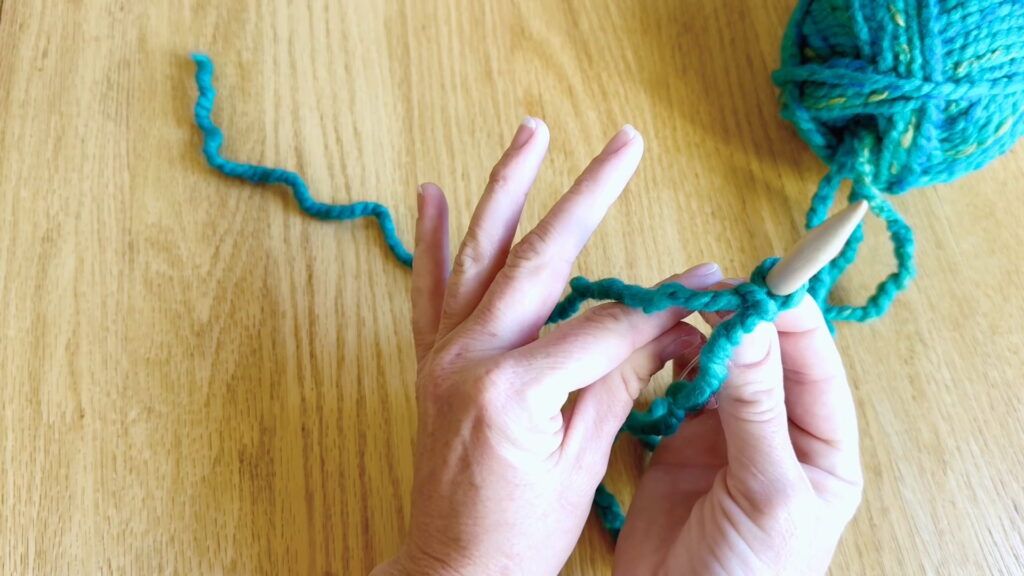
Hold Step 3: Grab
Close your hand over the yarn and grab the yarn with the last three fingers on your left hand.
Hold Step 4: Rotate
Rotate your left hand so that you can see your last three fingers and spread out your thumb and pointer fingers, so each holds one strand of yarn.
Once you are holding the yarn and needles correctly, you will start making cast-on stitches.
How to Make Cast-On Stitches
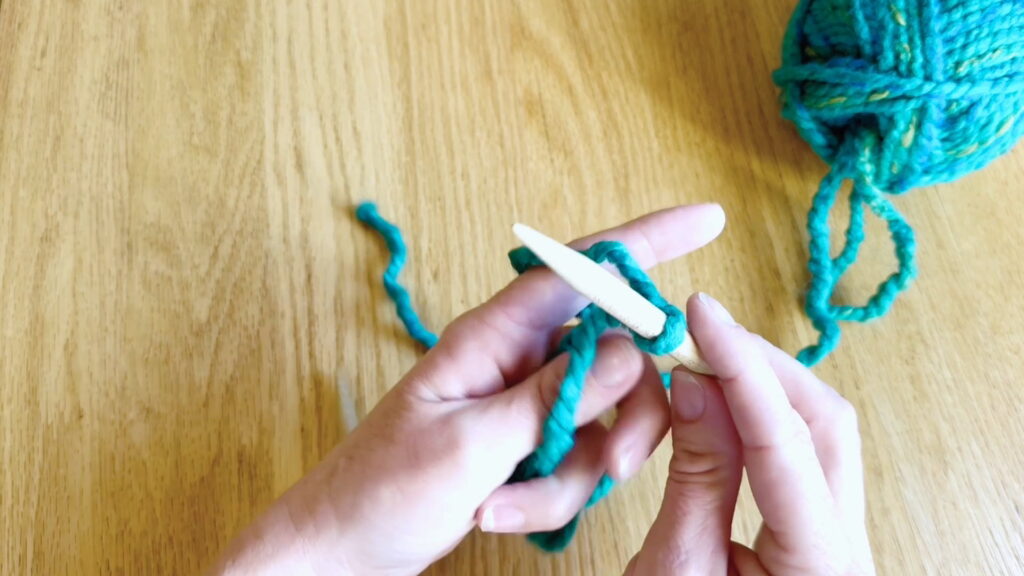
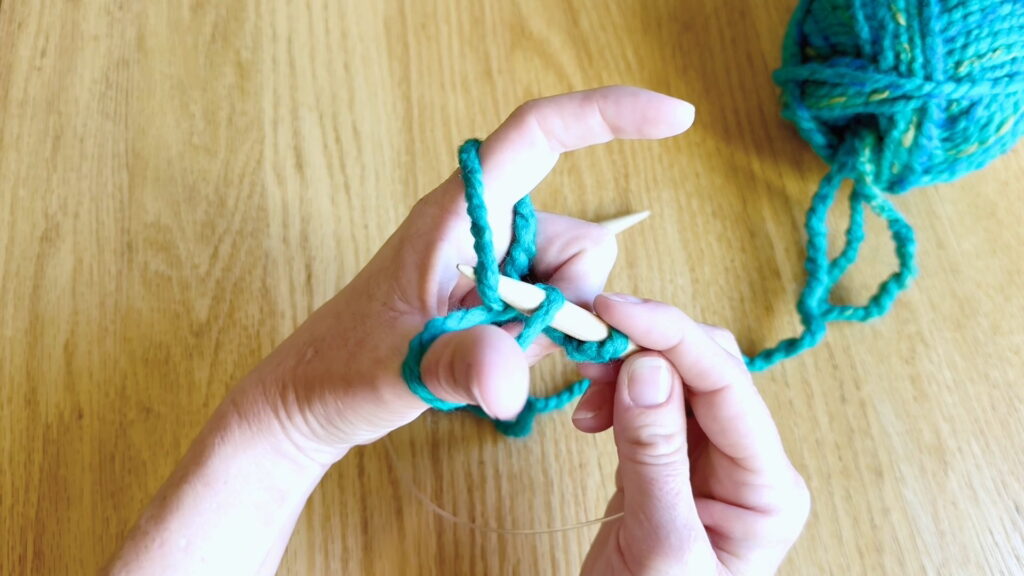
Cast On Step 1: Under 1
Move the needle tip under the strand of yarn that is looped around your left thumb.
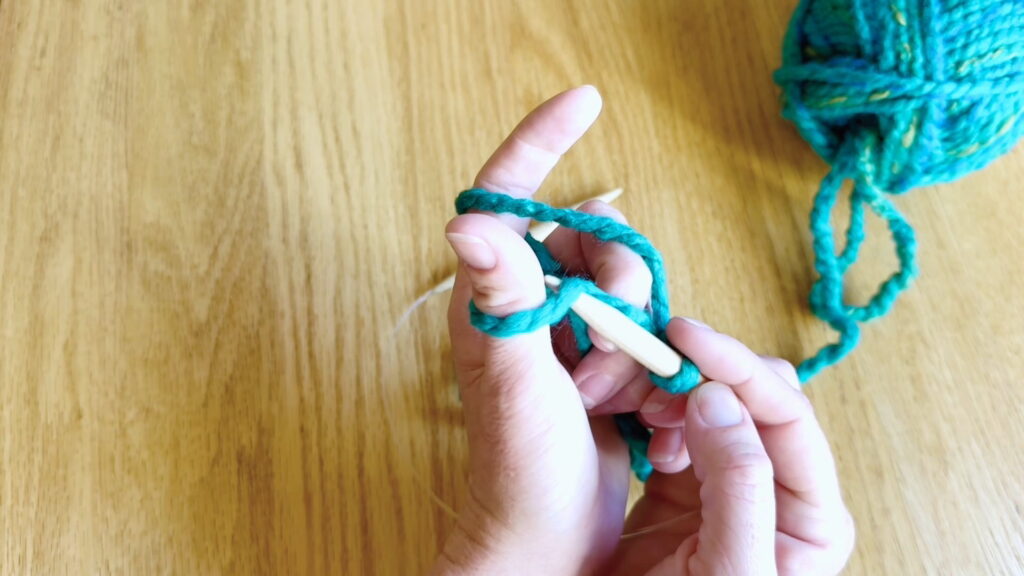
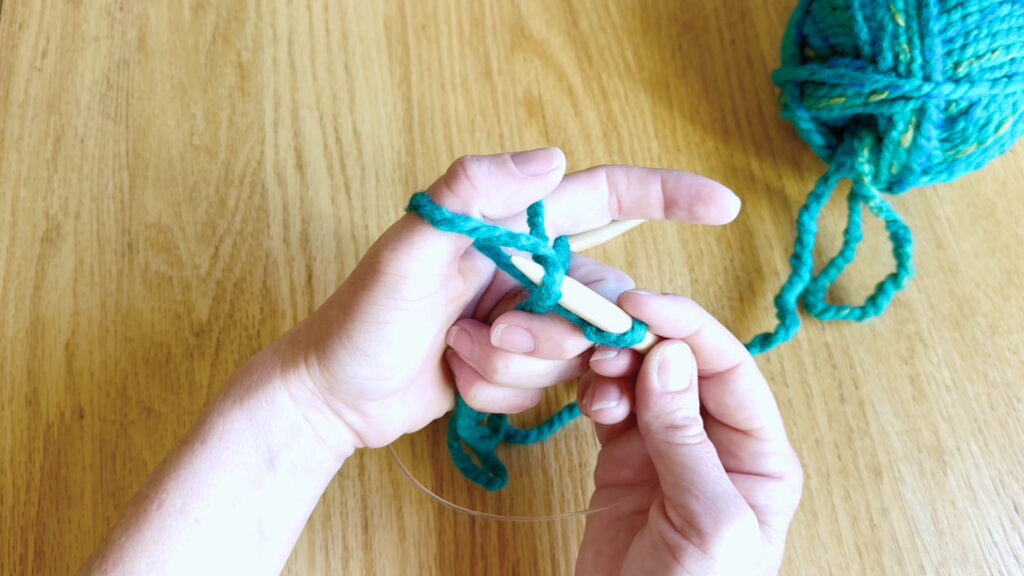
Cast On Step 2: Over 2
Bring the needle tip over the next two strands moving toward your palm.
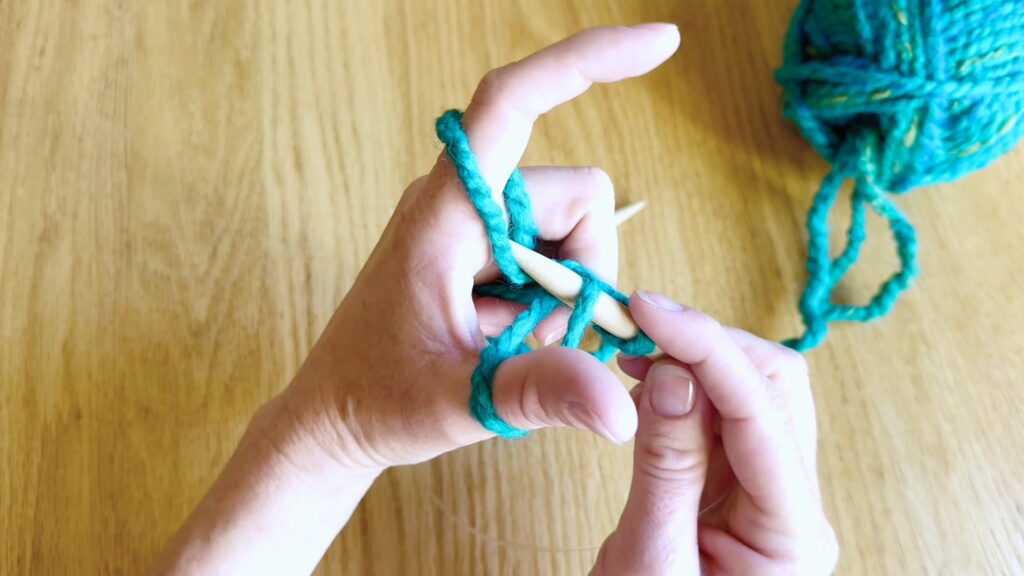
Cast On Step 3: Grab the Yarn
Grab the second strand of yarn with the needle tip by placing it over the yarn and pulling the needle and yarn toward your thumb.
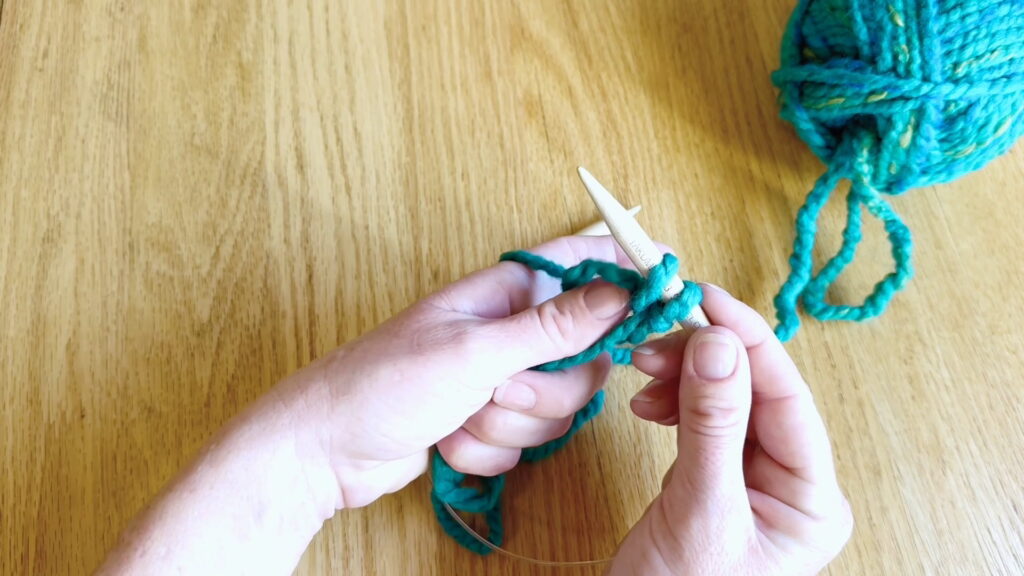
Cast On Step 4: Pull it Through
Pull the yarn and needle tip through the yarn loop that is on your thumb.
Cast On Step 5: Slide Off Thumb
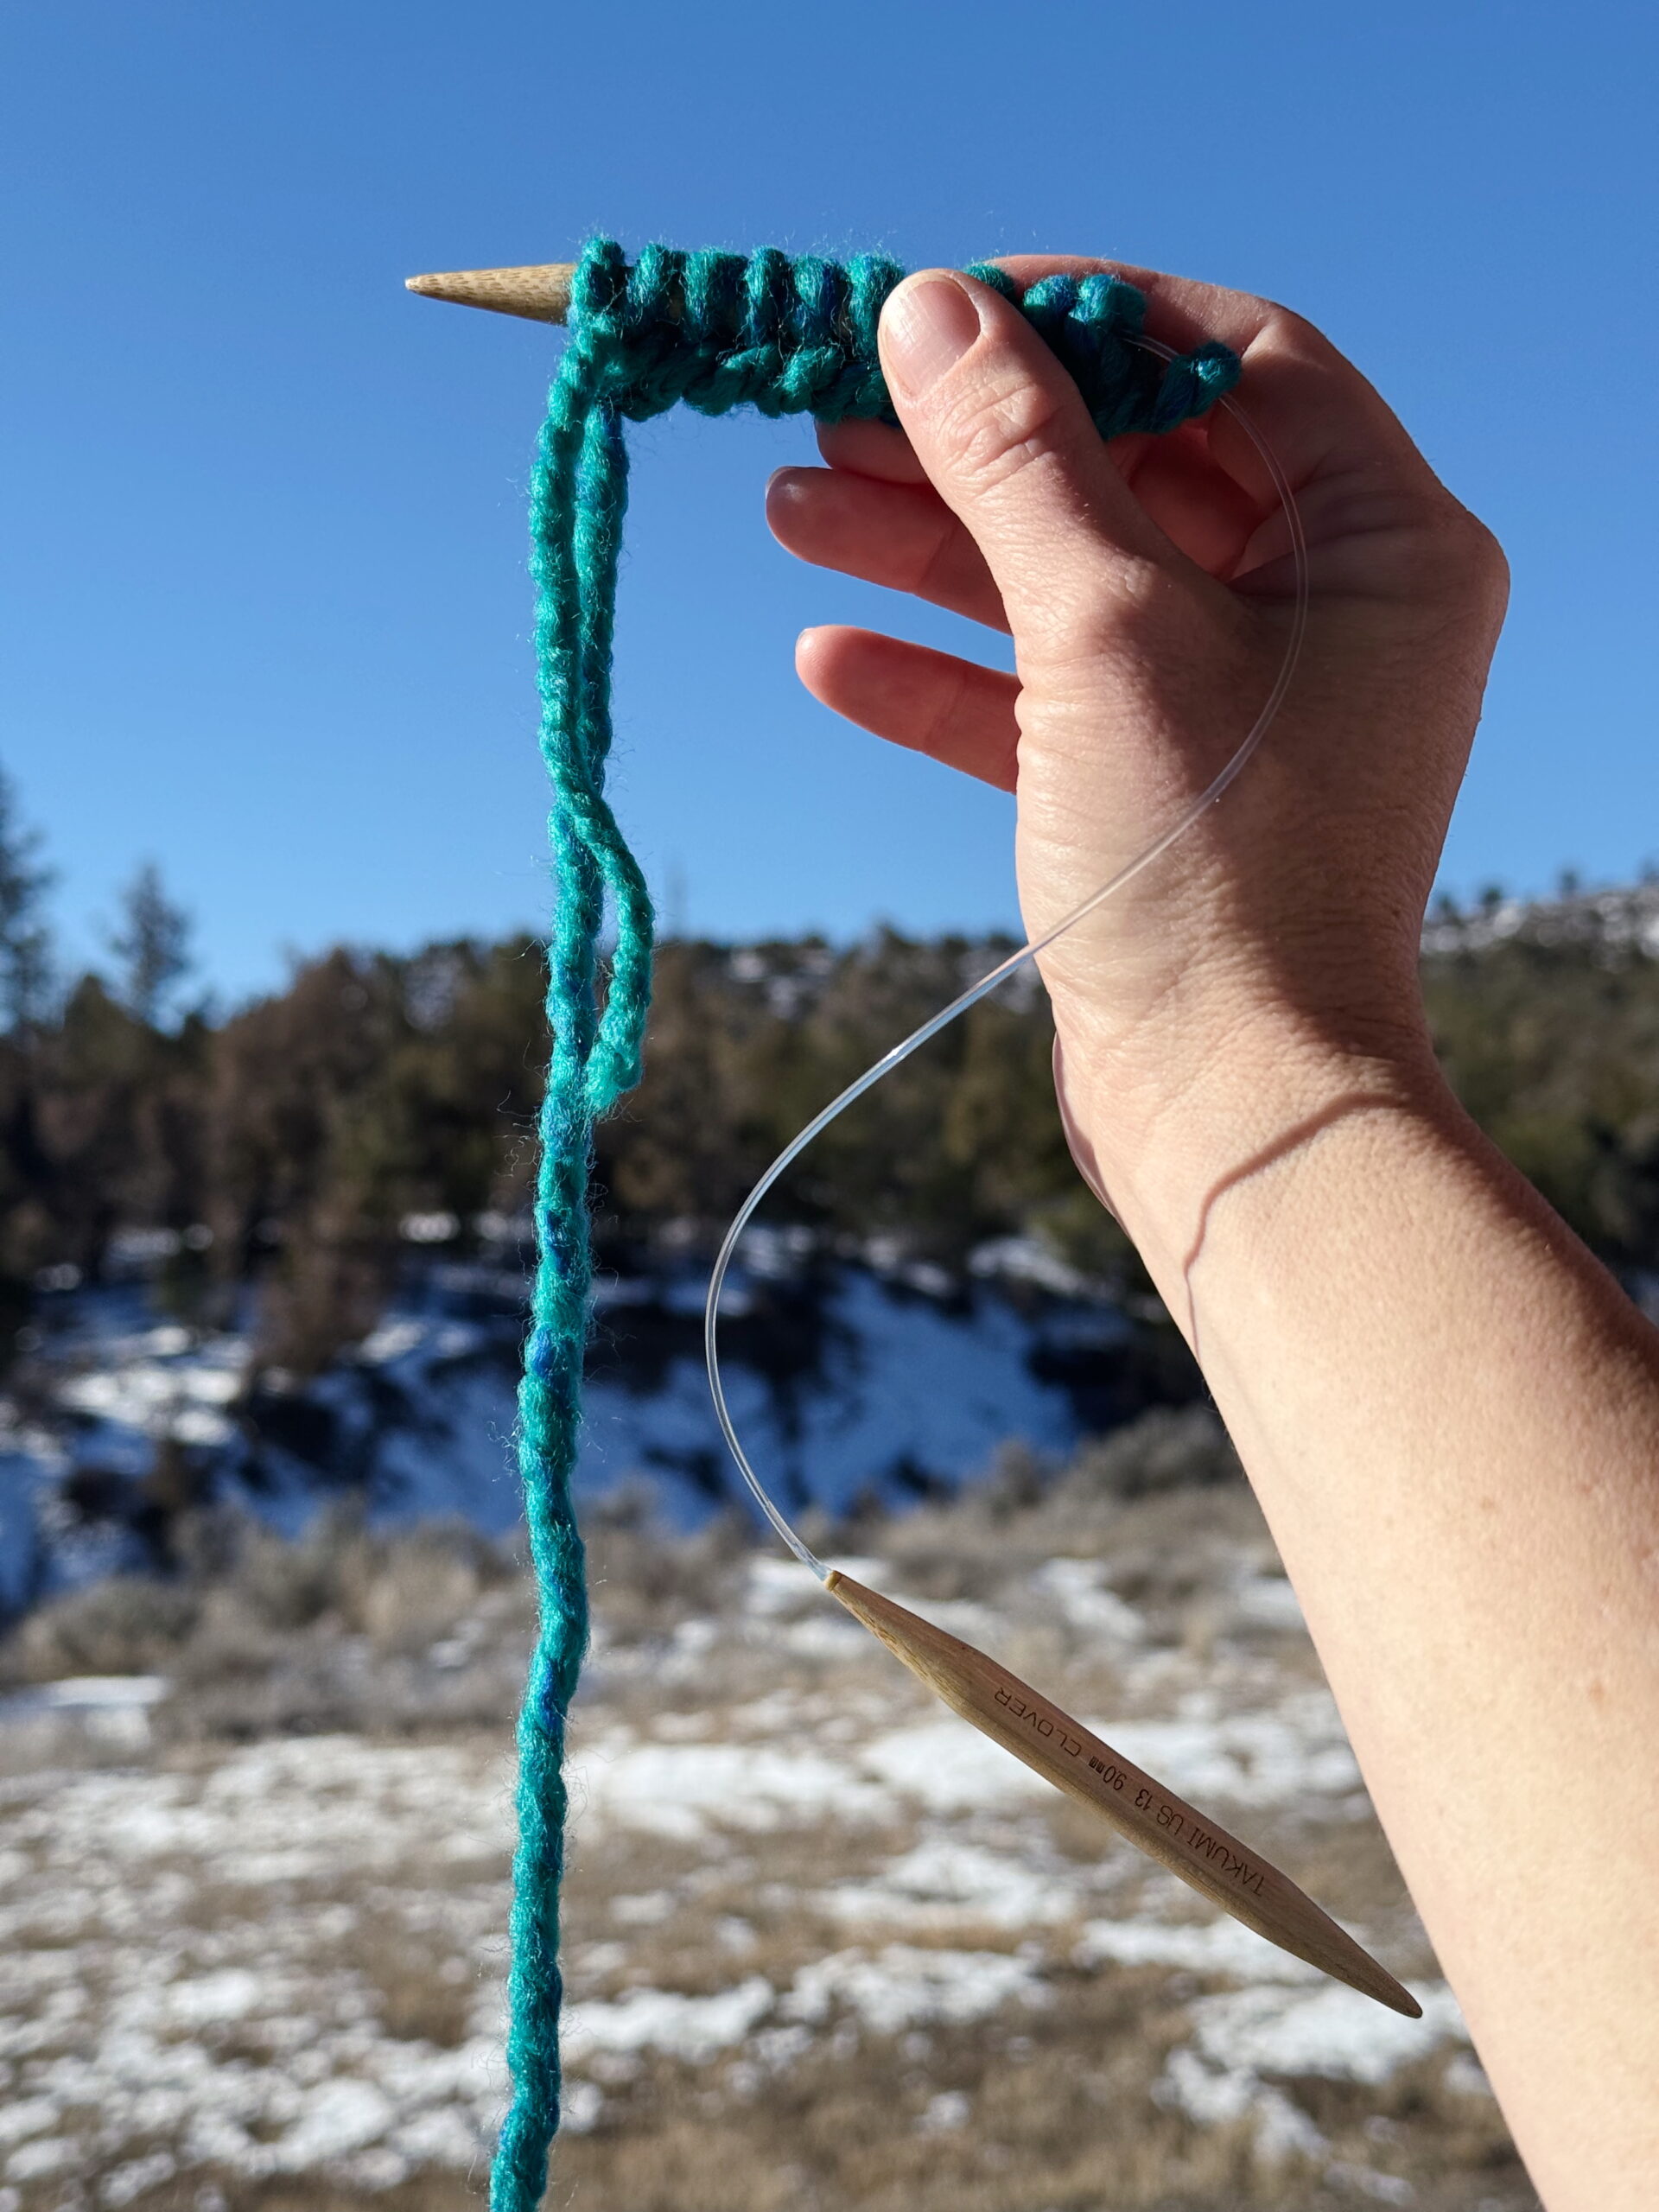
Slide the loop off your thumb. Make sure to keep the loop on your knitting needle. The loop you just made on your needle is your second cast-on stitch.
While continuing to hold the yarn in the same way, repeat cast on steps one through five to make as many stitches as your pattern instructs. For our coaster, stop casting on stitches when you have 10 on the needle.
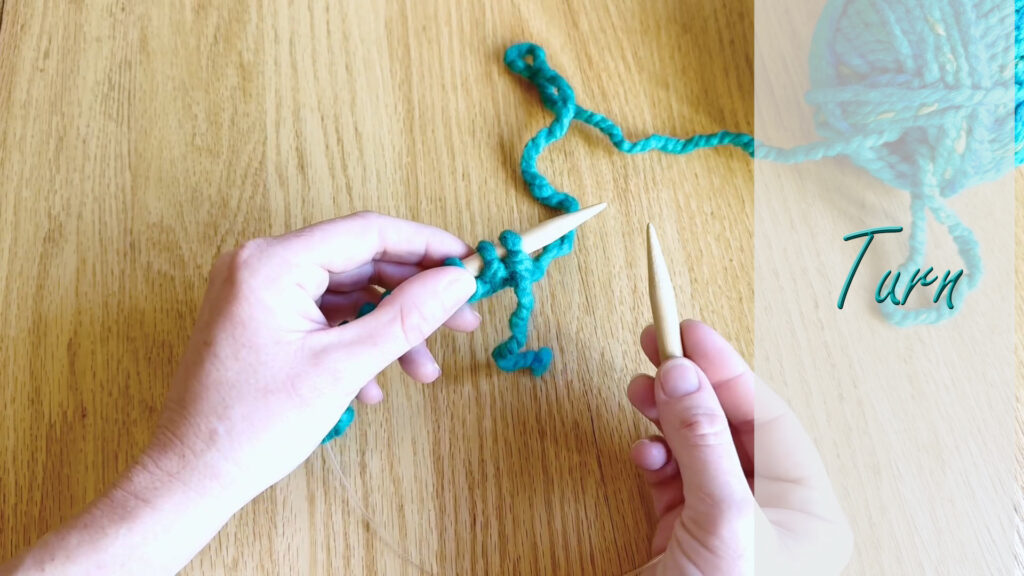
Up Next
Turn your work. Go to Kids’ Lesson 4 to continue.
Return to the Kids’ Knitting Guide.