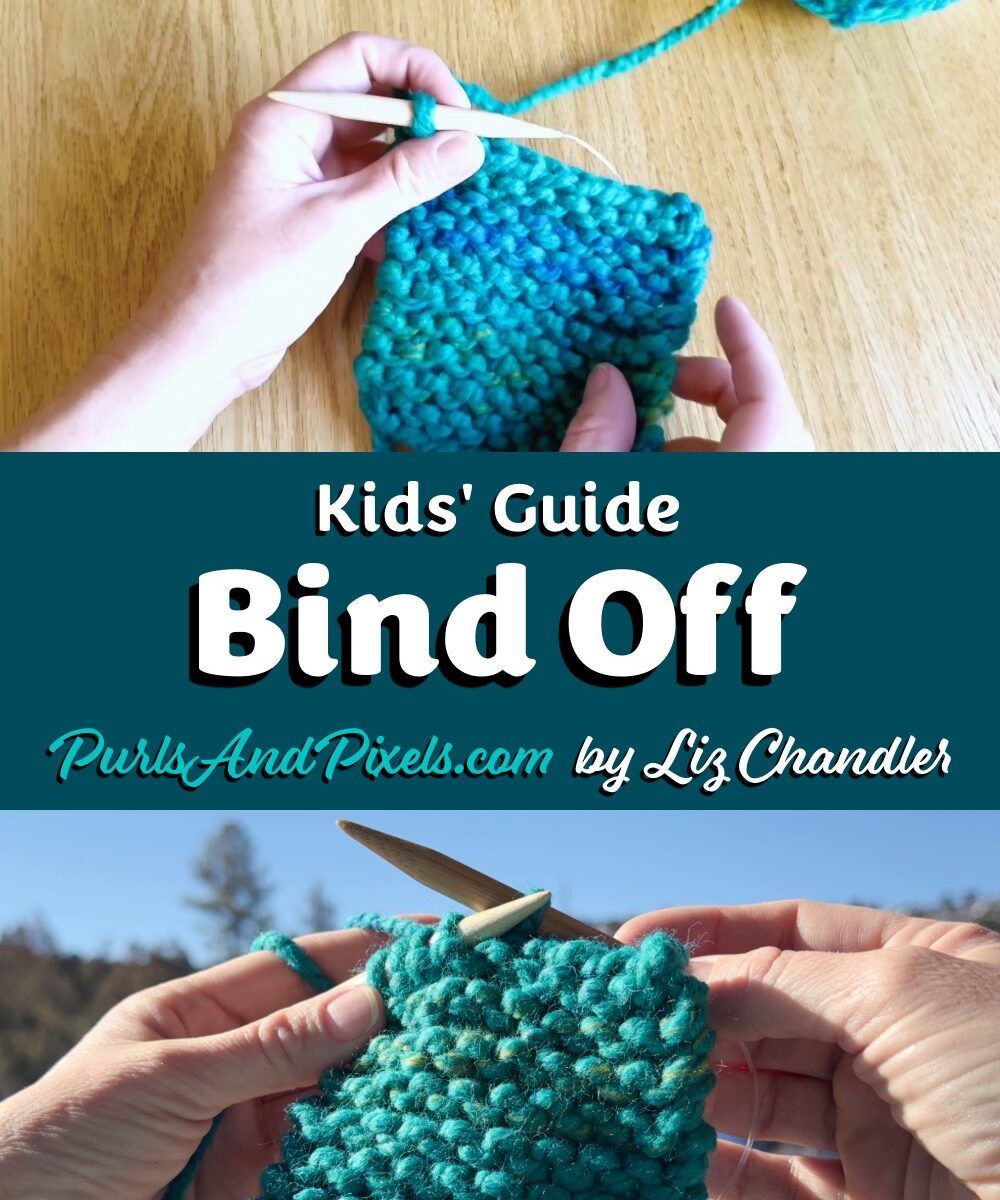
Lesson 6: Bind Off (Ending Flat Knits)
Binding off is a way of taking your stitches off the needles so your work does not come unraveled. In this kids’ knitting lesson, you will learn to bind off so you can finish your first project.
Bind off is the knitter’s way of saying that it’s time to take the stitches off the needles.
At the end of your project, you’ll need to take the stitches off the needles in a way that keeps them from coming undone. A bind off links the stitches together, so they don’t unravel when you take out the needle.
For this bind off, you will knit two stitches, then link them together before knitting the next stitch. There will never be more than two stitches on the right-hand needle when you are binding off.
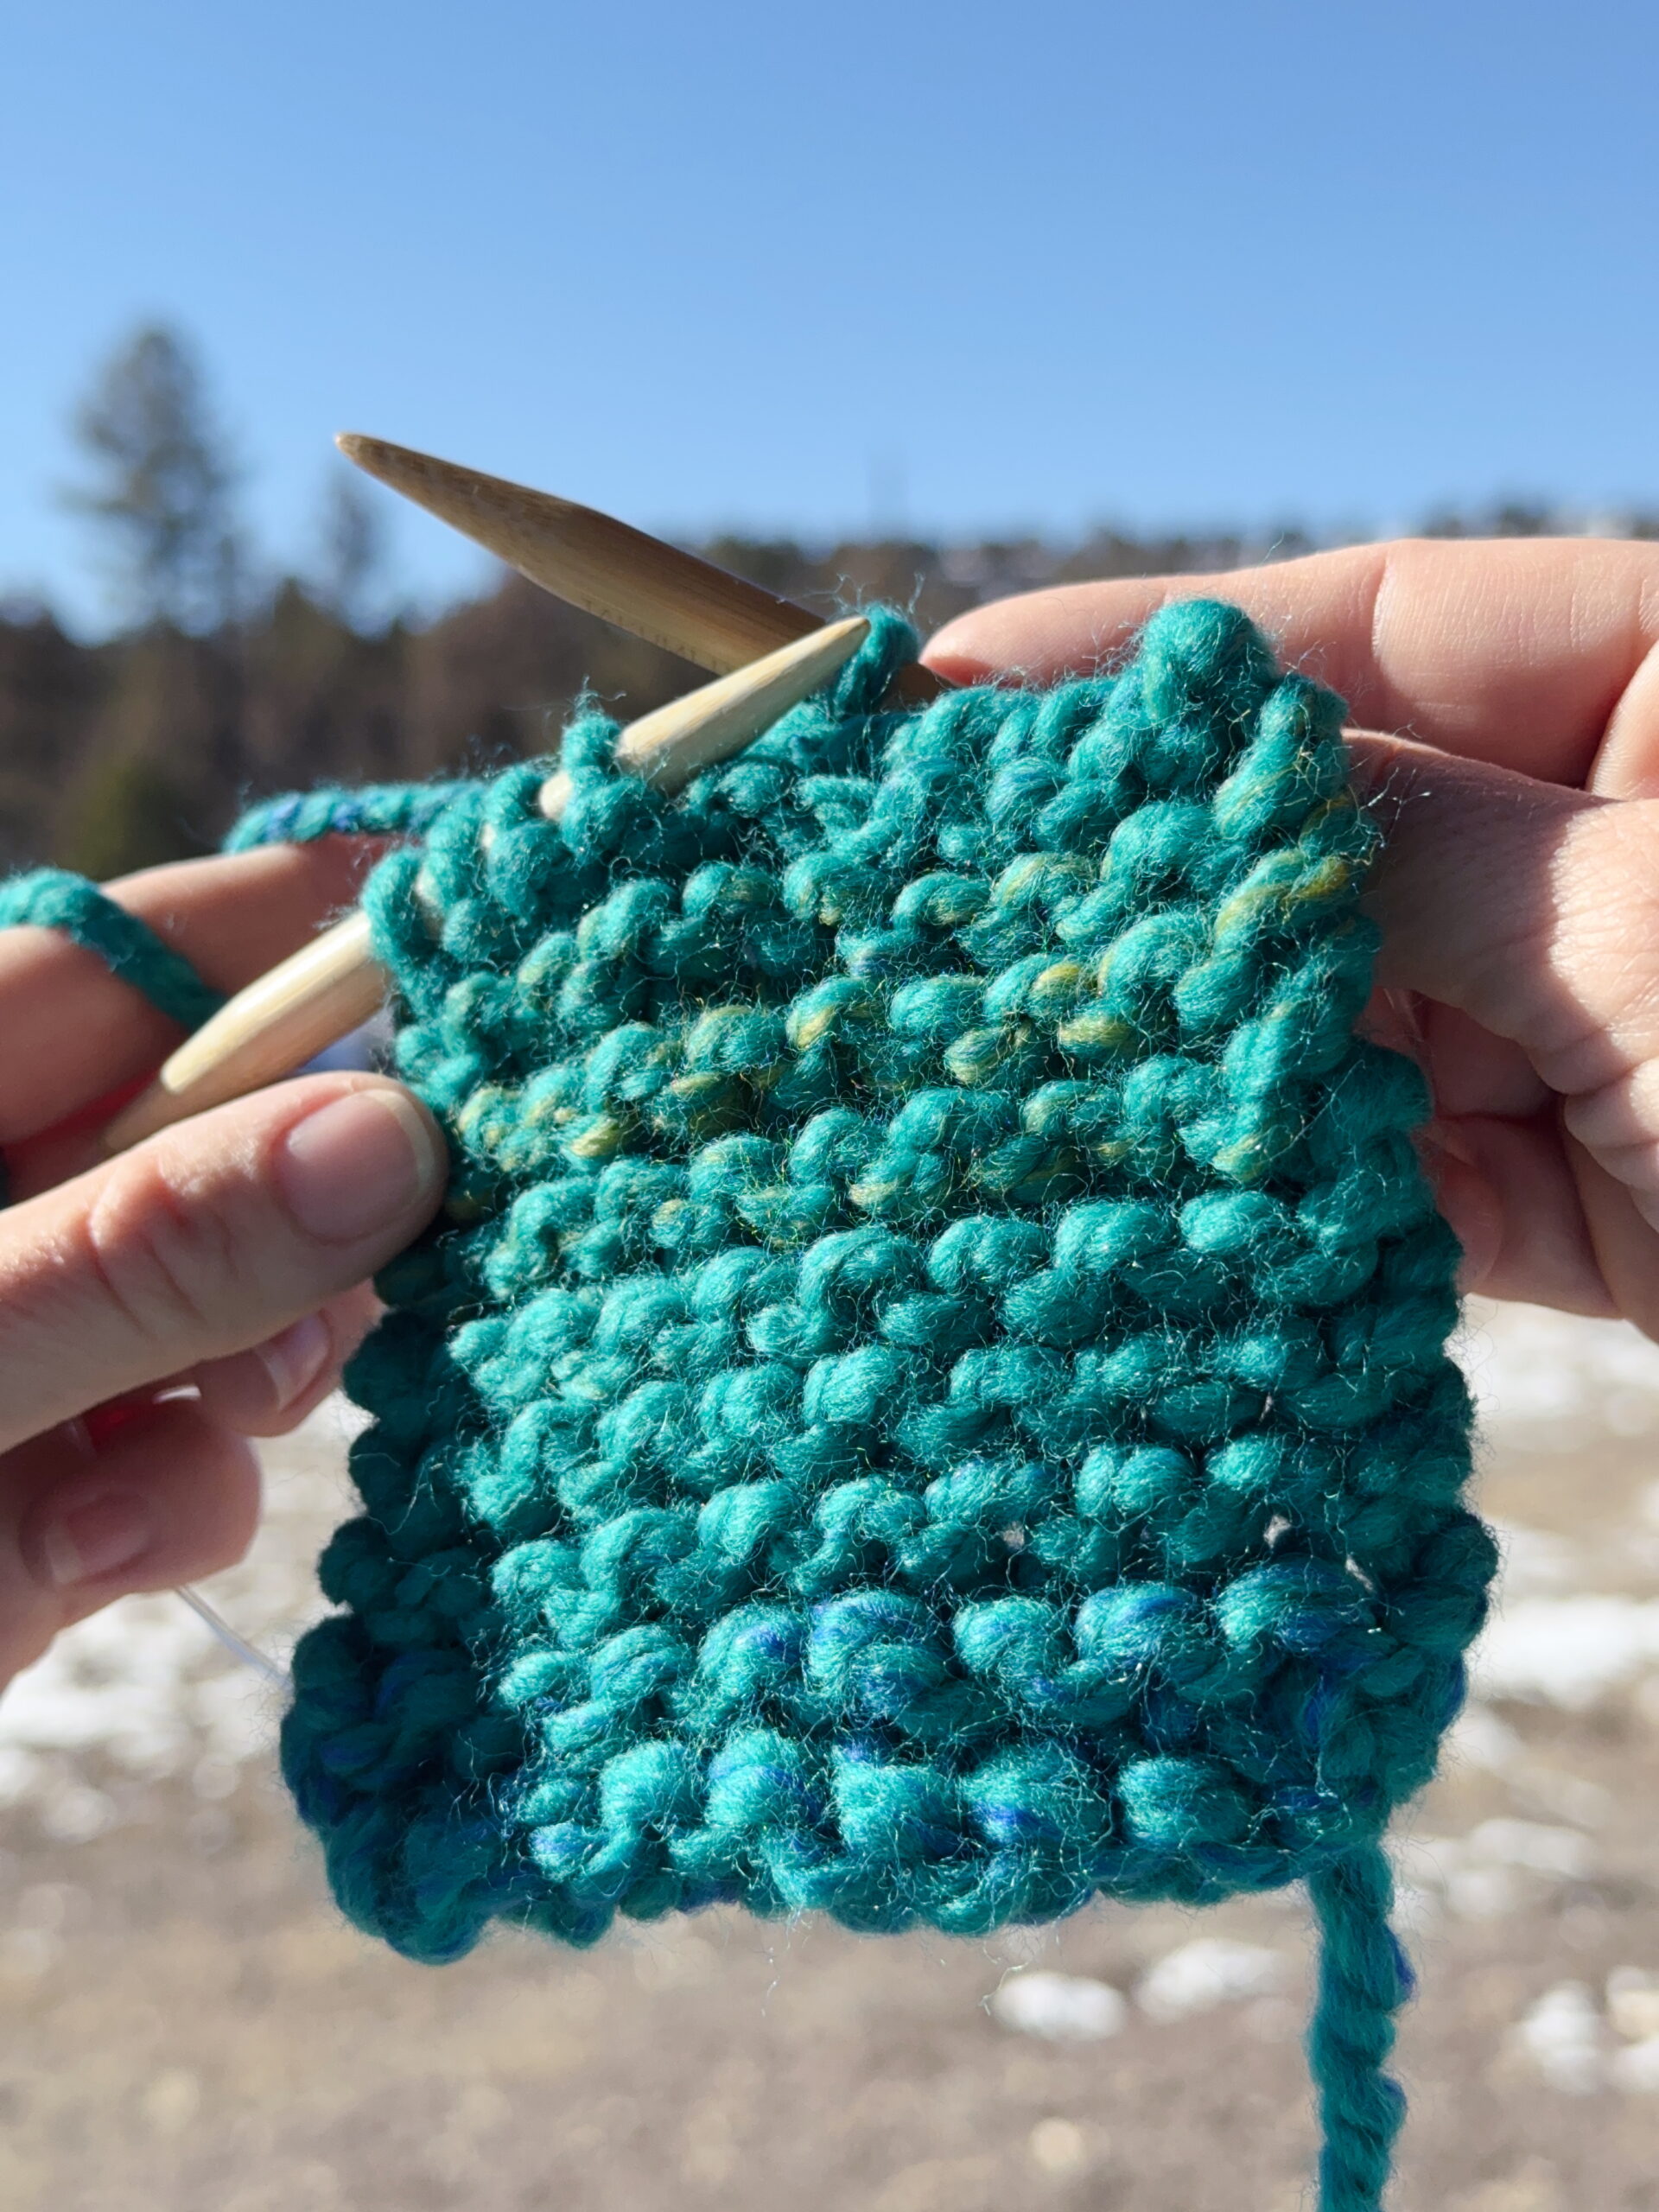
Your last row
Below are both video and written tutorials to help you learn how to bind off. Working on the Beginner Coaster? You can check your pattern here.
Kids’ Video Guide: How to Bind Off
Kids’ Picture Guide: How to Bind Off
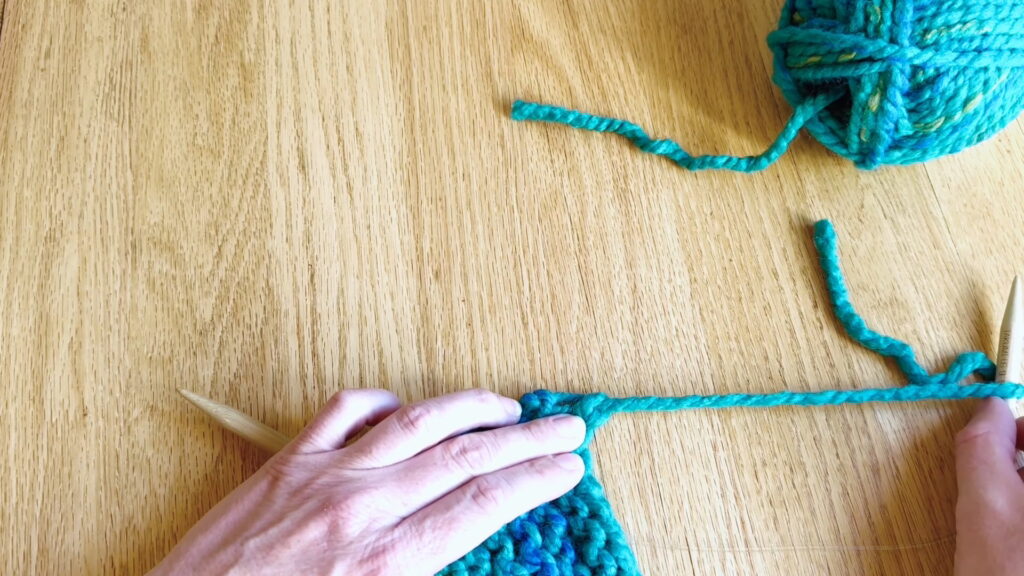
Before you cut the yarn, you will knit a bind off row to connect your last stitches together.
How to Bind Off
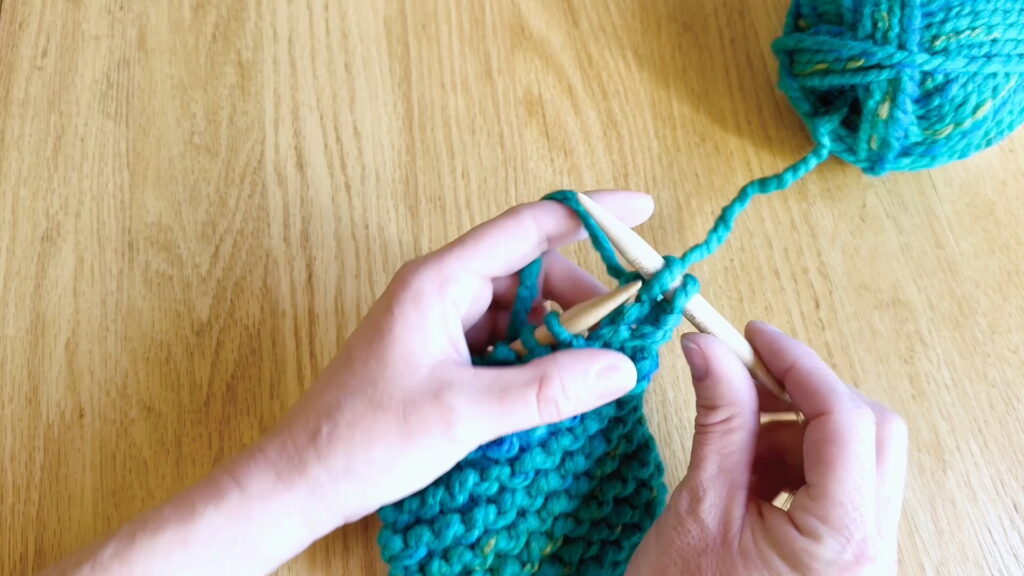
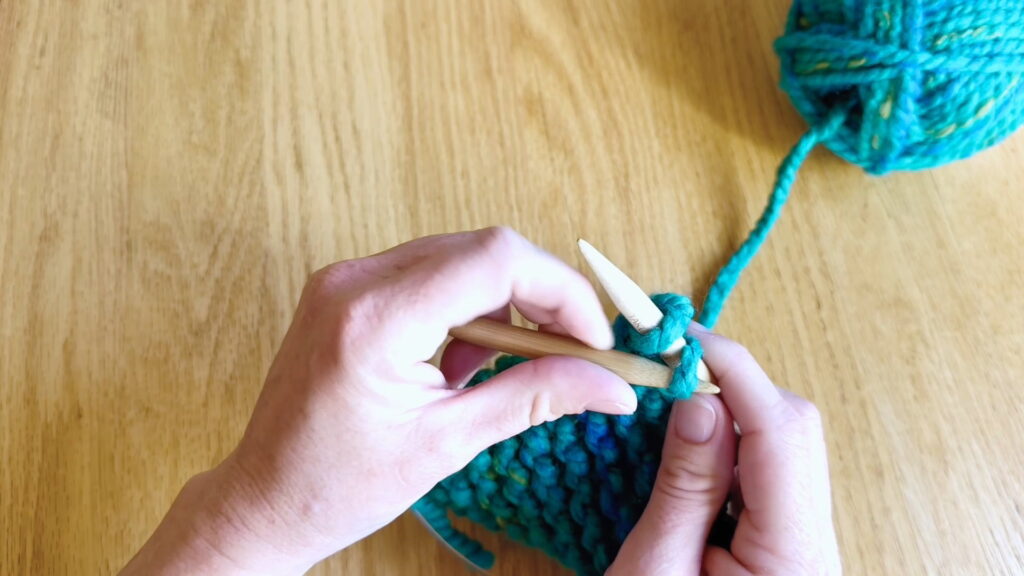
Bind Off Step 1: Knit 2
Knit two stitches.
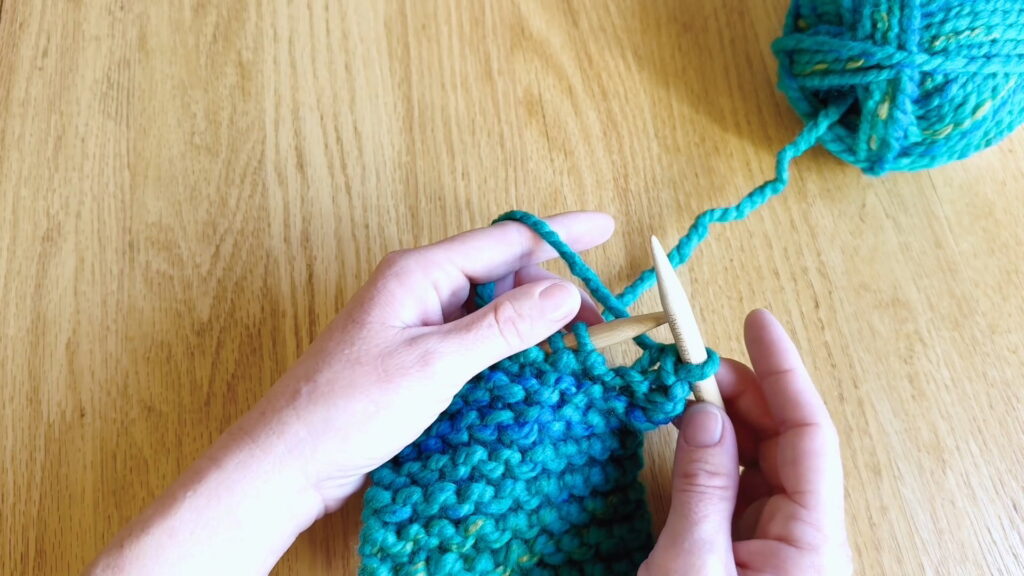
Bind Off Step 2: Lift
With the left-hand needle tip, lift the first stitch on the right-hand needle up and over the second stitch.

Bind Off Step 3: Pull Through
Bring the second stitch through the first stitch.

Bind Off Step 4: Slide Off
Let the first stitch come off the needle. Check that the first stitch is now looped over the second, leaving only one stitch on the right-hand needle.
Bind Off Step 5: Knit 1
Knit one stitch, then repeat steps 2-5 until no stitches are on the left-hand needle and one stitch is on the right-hand needle.
Once you have taken all the stitches off the left hand needle, it is time to cut the yarn that connects the knitting project to the ball.
How to Cut the Yarn
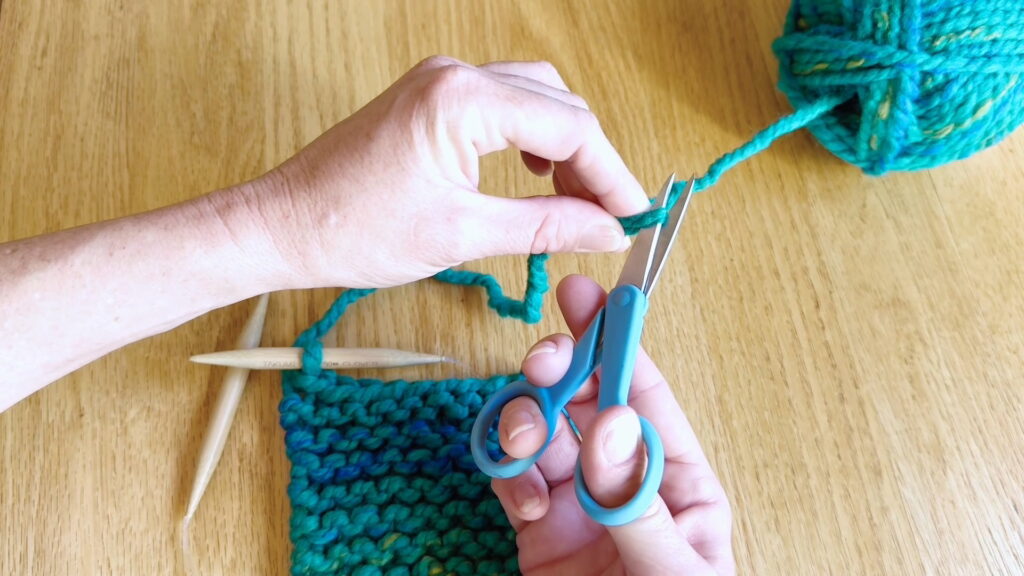
Cut Yarn Step 1: Cut the Yarn
Set your work down, being careful not to let the last stitch fall off the needle. Measure about 10 inches of yarn away from the last stitch, then cut the yarn at that point. (You will use this long end later.)
Cut Yarn Step 2: Grab the Right-Hand Needle
Use your left hand to hold the project in place, then grab the needle near the last stitch with your right hand.
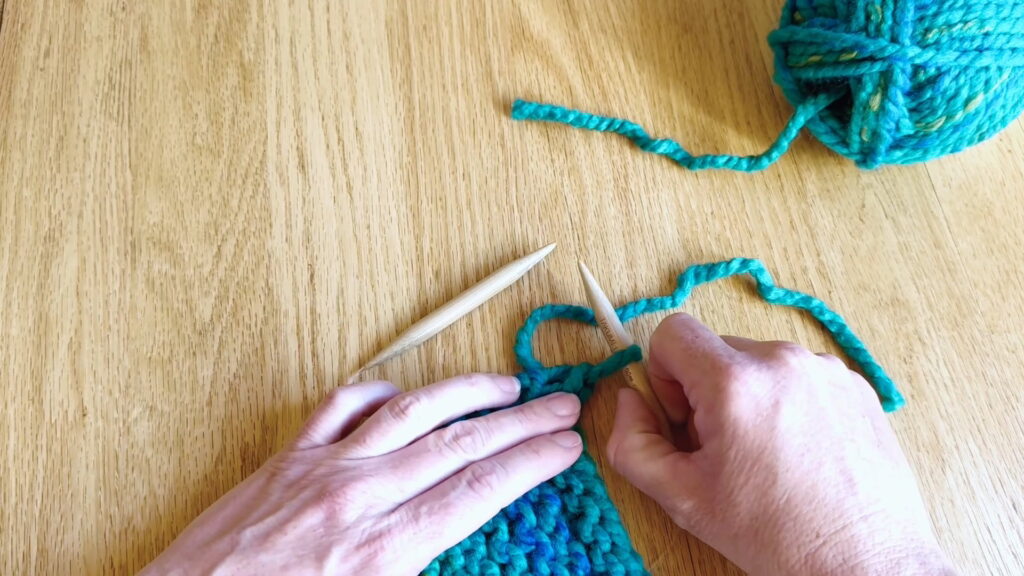
Cut Yarn Step 3: Pull Stitch Away
Pull the needle and stitch away from the project making the loop on your needle bigger.
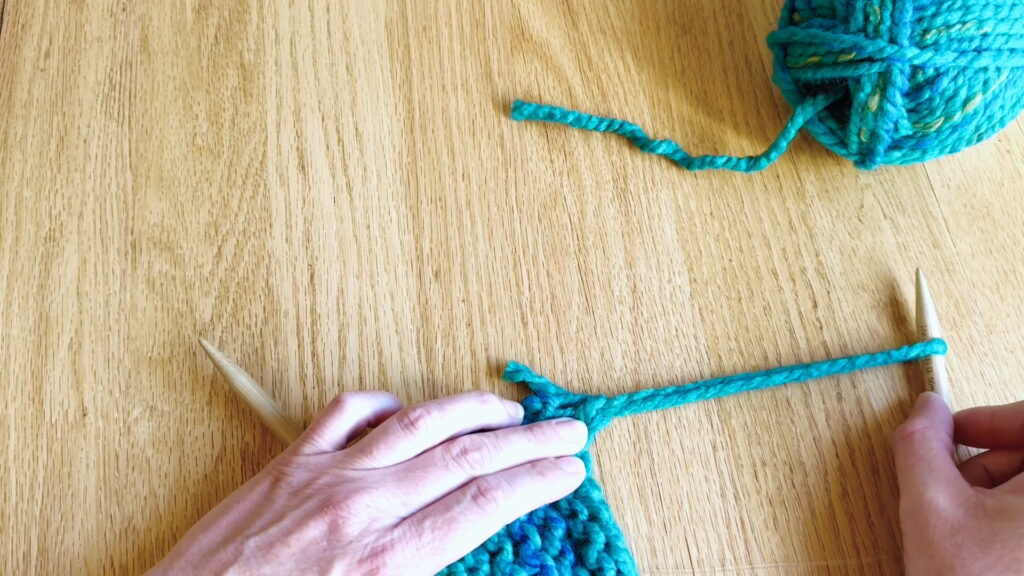
Cut Yarn Step 4: Pull Yarn Through
Keep pulling until the yarn comes through, turning the loop into a straight end.
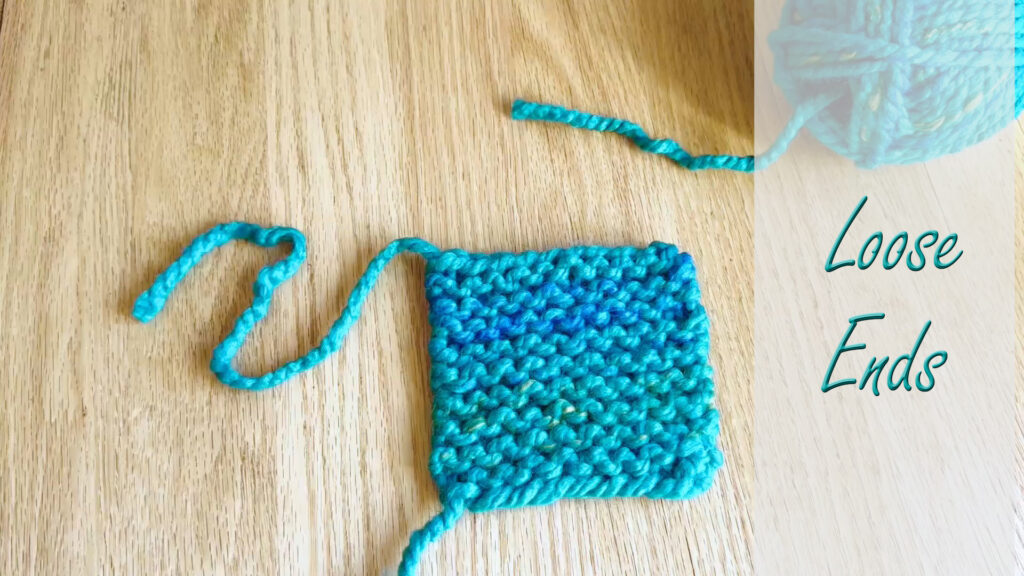
Now, you have taken your first knitting project off the needles. The very last step is to get rid of the two loose ends that are still connected to your project.
Up Next
Tie up loose ends. Go to Kids’ Lesson 7 to continue.
Return to the Kids’ Knitting Guide.