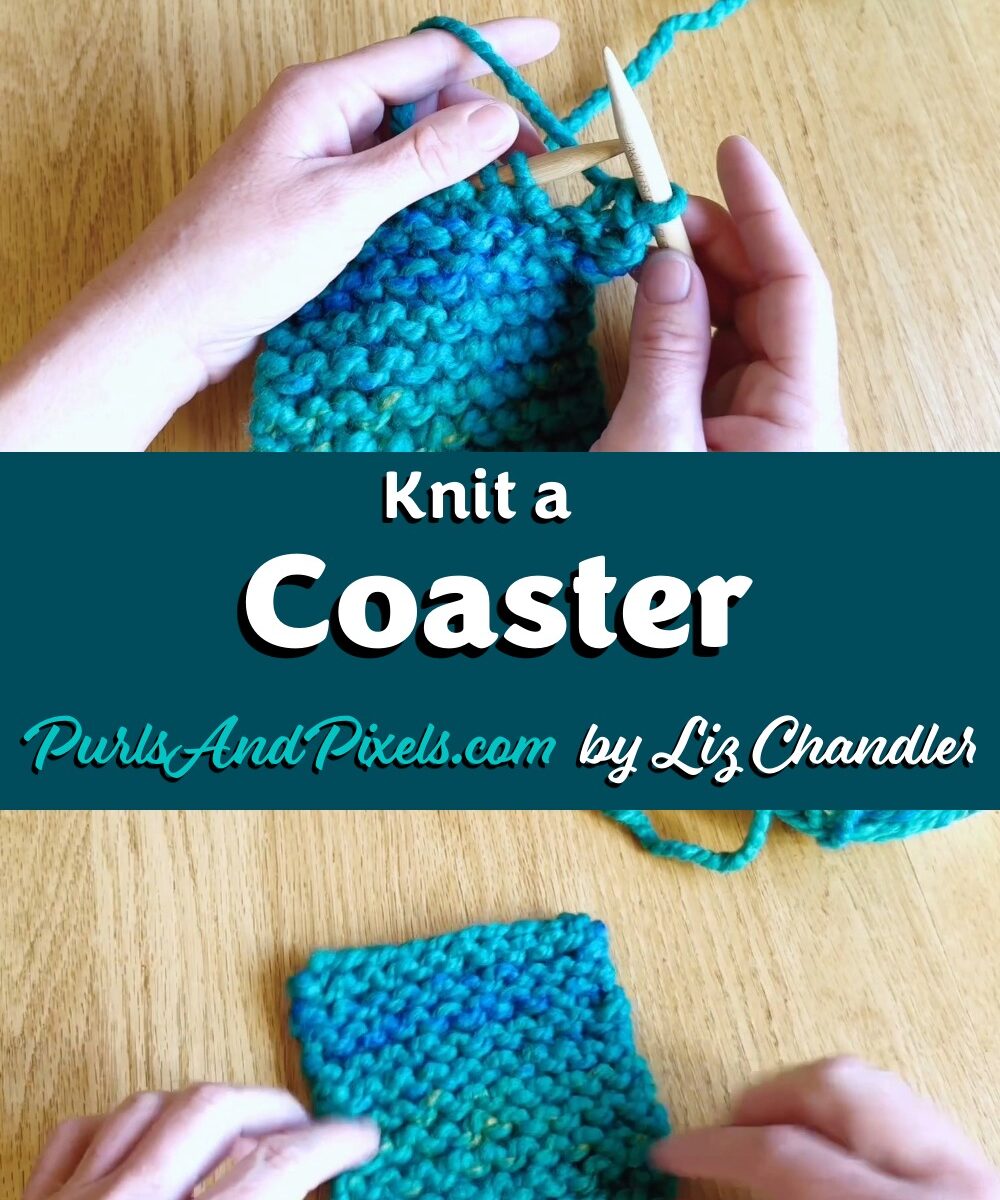
Knitting a kids’ coaster is a beginner-friendly knitting skill. In this knitting lesson you will learn how to make a slip knot, cast on, knit every row in garter stitch, and bind off so you can finish your first coaster and feel ready to knit the placemat next.
Knit with Liz Chandler @PurlsAndPixels 🧶
This coaster is Project 1 in the Kids’ Knitting Guide. It is intentionally small, calm, and repetitive, so you can practice one motion until it feels steady.
Video Tutorial
Before You Start
- Skill level: Beginner (kid-friendly)
- Time needed: One short knitting session (or two)
- What to expect: Your first rows may look uneven. That is normal and improves with practice.
- Goal: Finish your first square project from cast on to bind off.
Skills Used in This Lesson
If any of these skills are new, review those lessons first. Each one is quick to learn and makes this project much easier.
Make a slip knot (the first loop)
Put stitches on the needles (cast on)
Turn your work (to knit flat rows)
Knit stitch (the stitch you will do most)
Take your project off the needles (bind off)
Weave in loose ends on flat knits
Materials Needed to Knit a Kids’ Coaster
Yarn
One 106-yard (6-ounce) skein of super-bulky (No. 6) yarn (shown in Wool-Ease Thick and Quick by Lion Brand Yarn “Bluegrass”), in your choice of color.
- One coaster uses approximately 10.6 yards (0.6 oz.)
*Weights estimated with Wool Ease Thick & Quick by Lion Brand Yarn; other yarn weights may vary.
Knitting Needles
16-inch (41 cm) long US No. 13 (9 mm) circular needle (or size needed to obtain gauge)
Notions
How to Knit a Kids’ Coaster
Step 1: Make a Slip Knot
A slip knot is the first loop that goes on your needle. Make one slip knot and place it on your needle.
Step 2: Cast On
Cast on until you have 10 stitches on your needle (including the slip knot stitch).
Step 3: Turn Your Work
When you reach the end of your row, turn your work so the needle with stitches is back in your left hand and you are ready to knit.
Step 4: Knit Every Row (Garter Stitch)
This coaster uses the garter stitch, which means knitting every stitch in every row.
- Rows 1–18: Knit across all 10 stitches, then turn your work.
- Keep going until your coaster looks like a square.
If your stitches look uneven, keep knitting. That repetition is how your hands learn the motion. If something looks wrong, start here: When Something Looks Wrong in Your Knitting.
Step 5: Bind Off
When your coaster is square, bind off loosely so the edge does not pull tight.
Step 6: Finish Loose Ends
Cut yarn, leaving an 8-inch (20 cm) tail. Pull the tail through, then weave in loose ends with a darning needle.
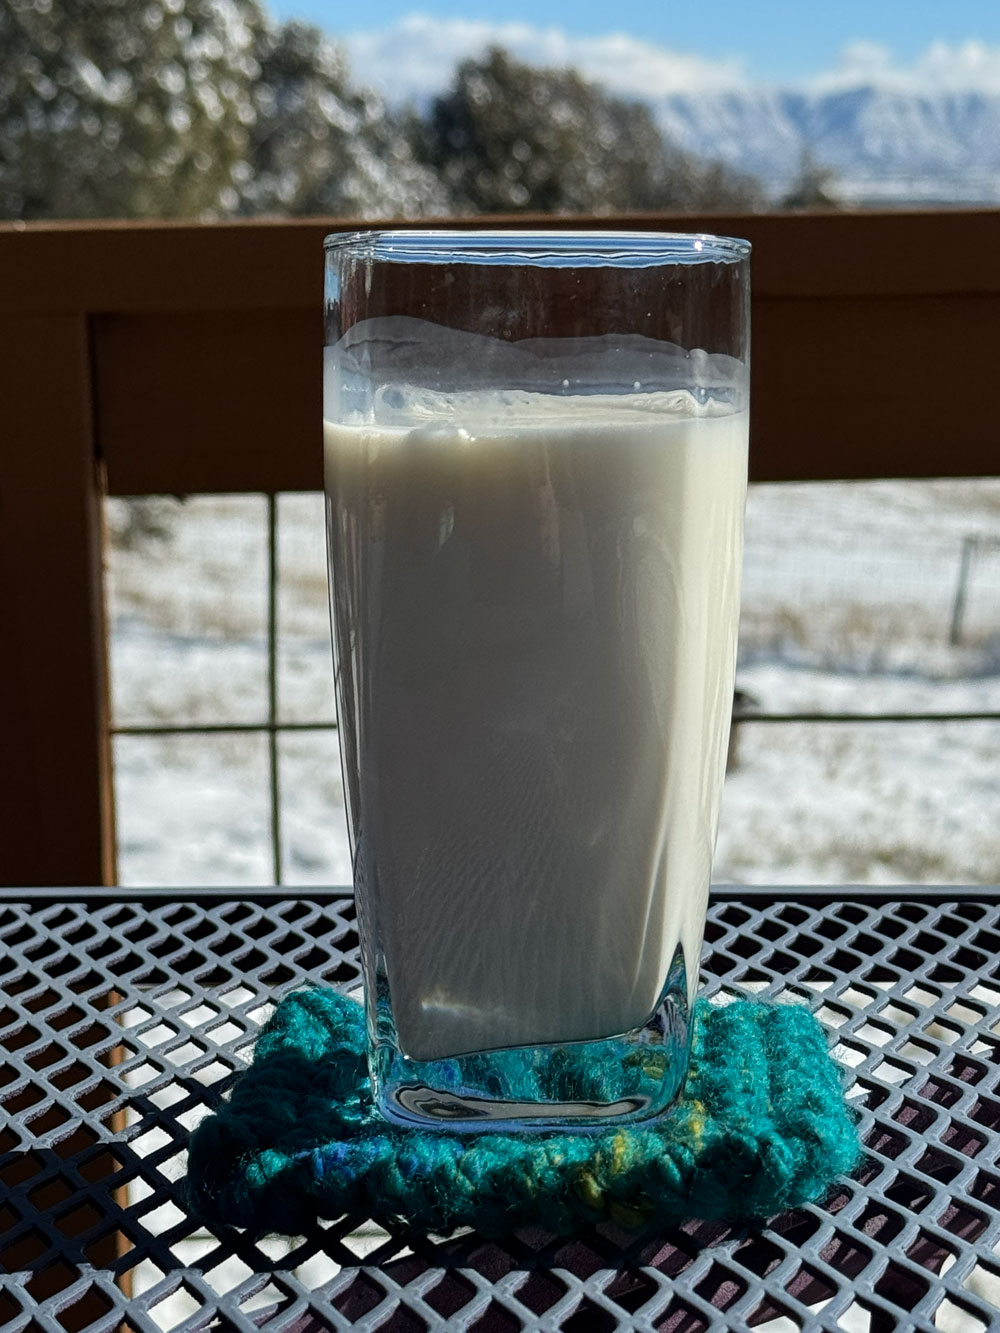
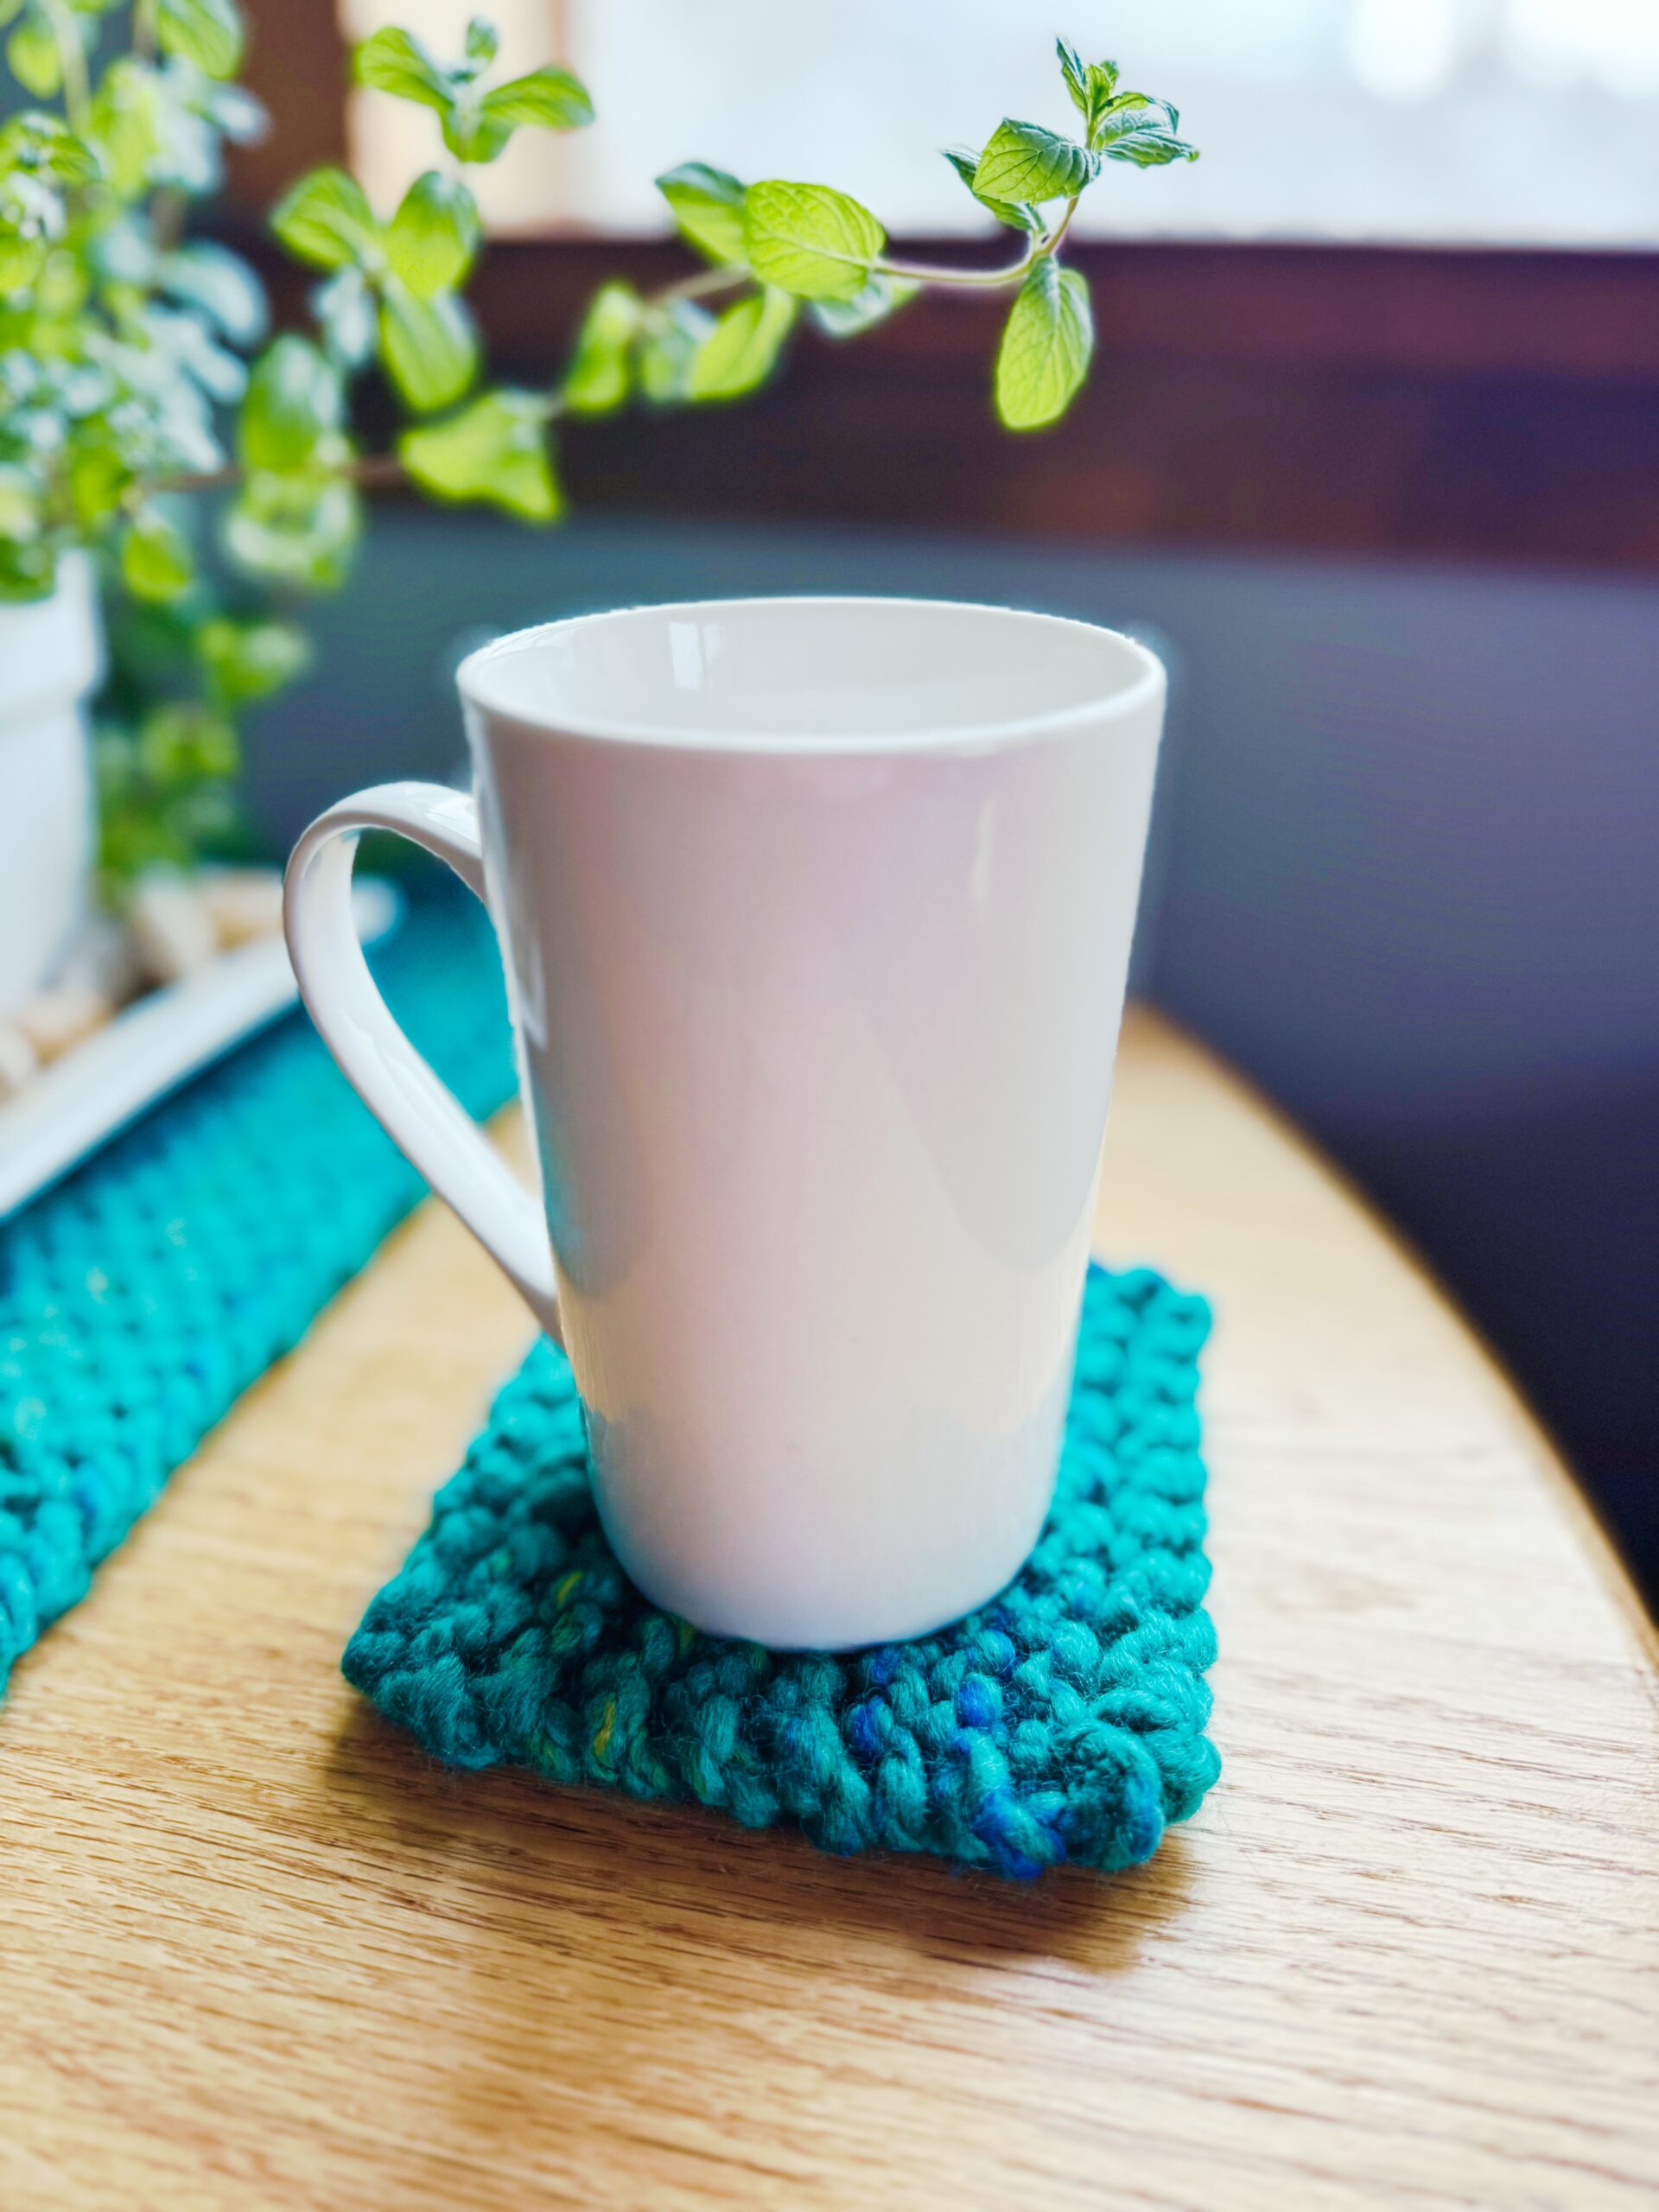
You Completed a Kids’ Coaster 🎉
You finished your first project. Next, you will knit the same calm stitch into a bigger project, so your hands get steadier and your knitting feels easier.
Continue Learning: Your Next Projects
- Next: Super-Bulky Placemat
Same stitch, bigger project. - After that: Super-Bulky Knit Scarf
Practice patience and steady rows.
Learn the full kids’ path: Start at the beginning on my Kids’ Knitting Guide, and follow the lessons in order.
Don’t Miss a Stitch! 🧶
Want more free beginner lessons, patterns, and practical tips? Sign up for my newsletter to get updates straight to your inbox. 💌