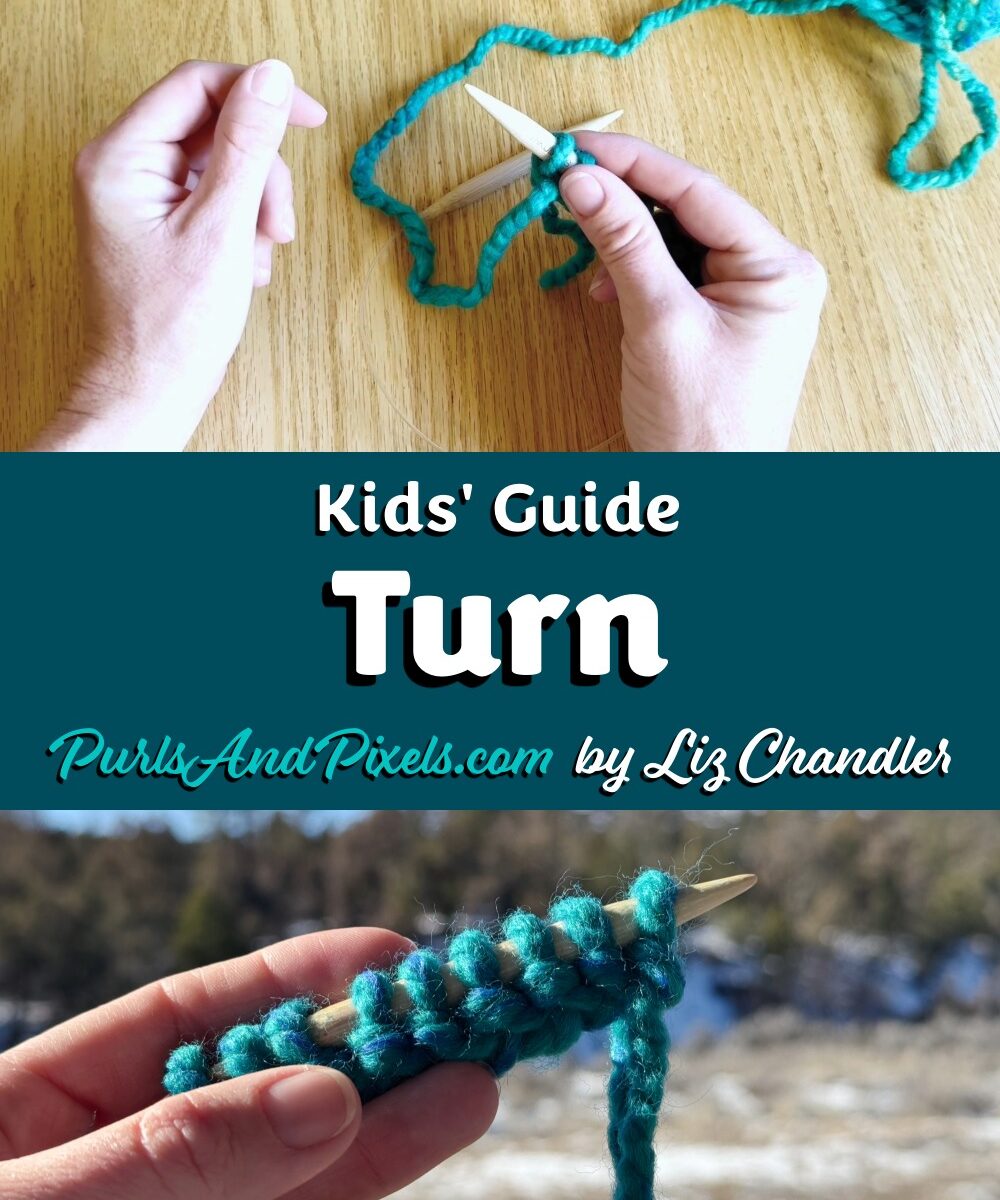
Lesson 8: Join the Round and Knit in a Circle
After you understand flat knitting, knitting in a circle is the next step. This is called “knitting in the round.” Learning to knit in the round unlocks a new set of knitting patterns. You will be able to make tubes of fabric directly on your knitting needles so you can make knit hats and toys.
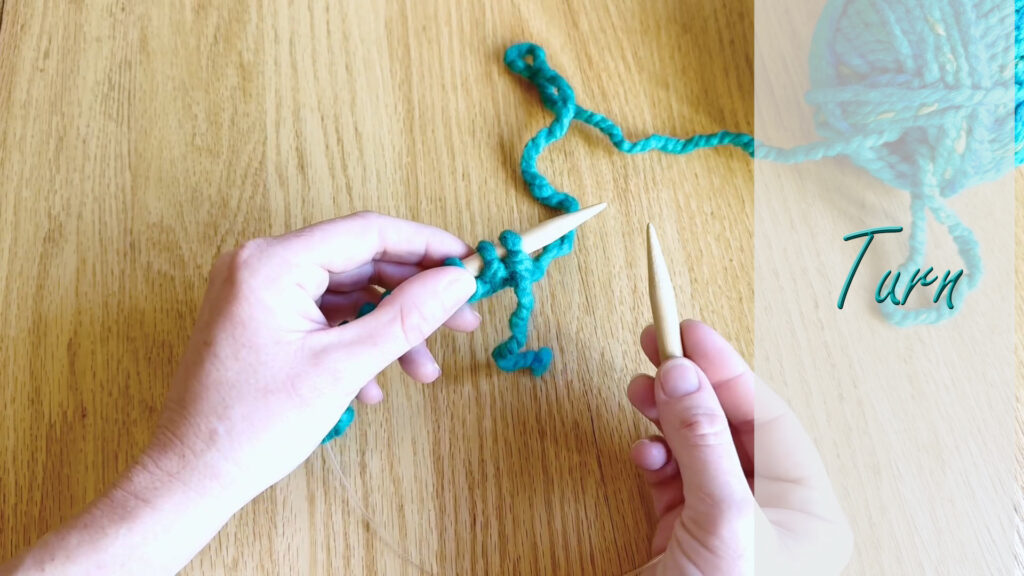
Earlier, you learned that turning your work after you cast on lets you make a flat rectangle. Now, “joining the round” instead of turning your work will let you make a circular tube.
Joining the round is a way of connecting the ends of your cast on to create a circular tube of knitted fabric. In this kids’ knitting lesson, you’ll learn how to join the round so you can make your first knitted hat.
Instead of turning your work, you will slide the end of the cast on to the tip of the knitting needle. Then, you’ll knit into the other end of the cast on and start working around in a circle. You’ll place a stitch marker between the first and last stitches of your round rows; this helps track your place in the pattern.
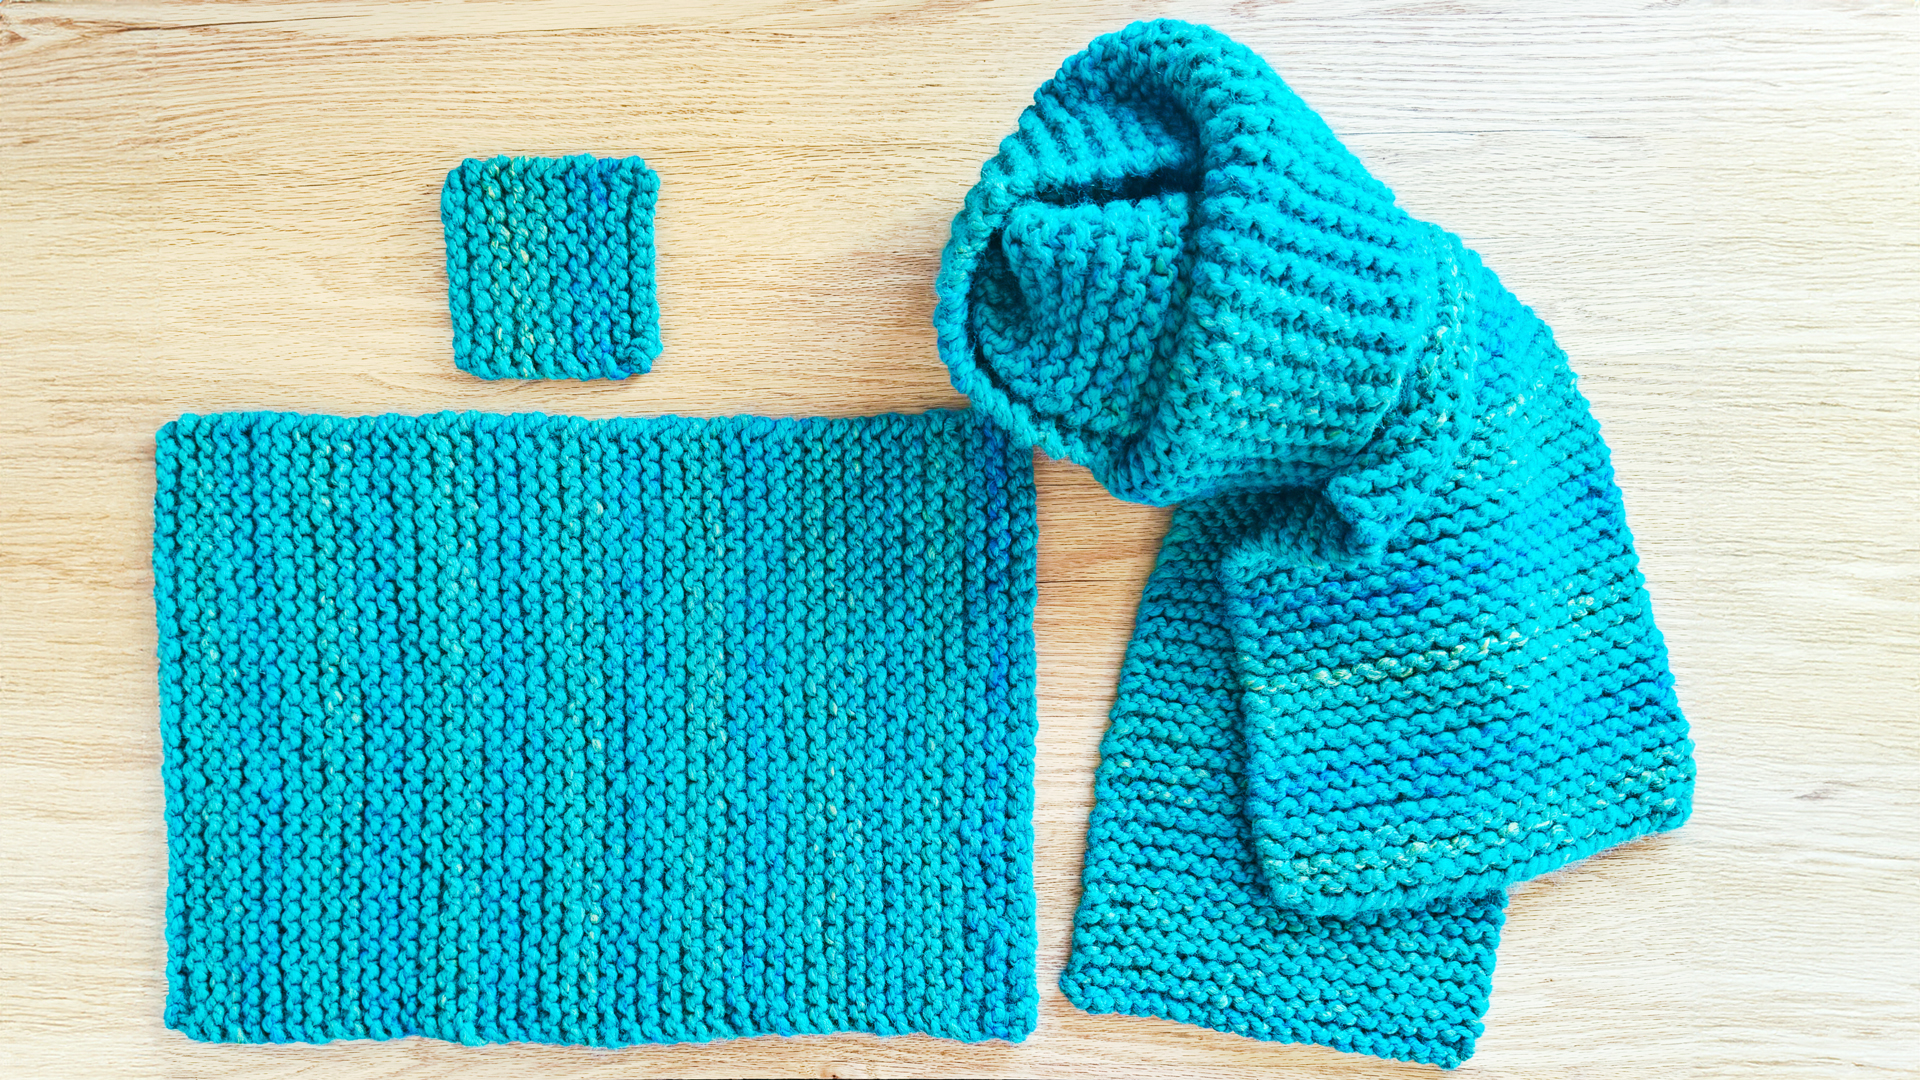
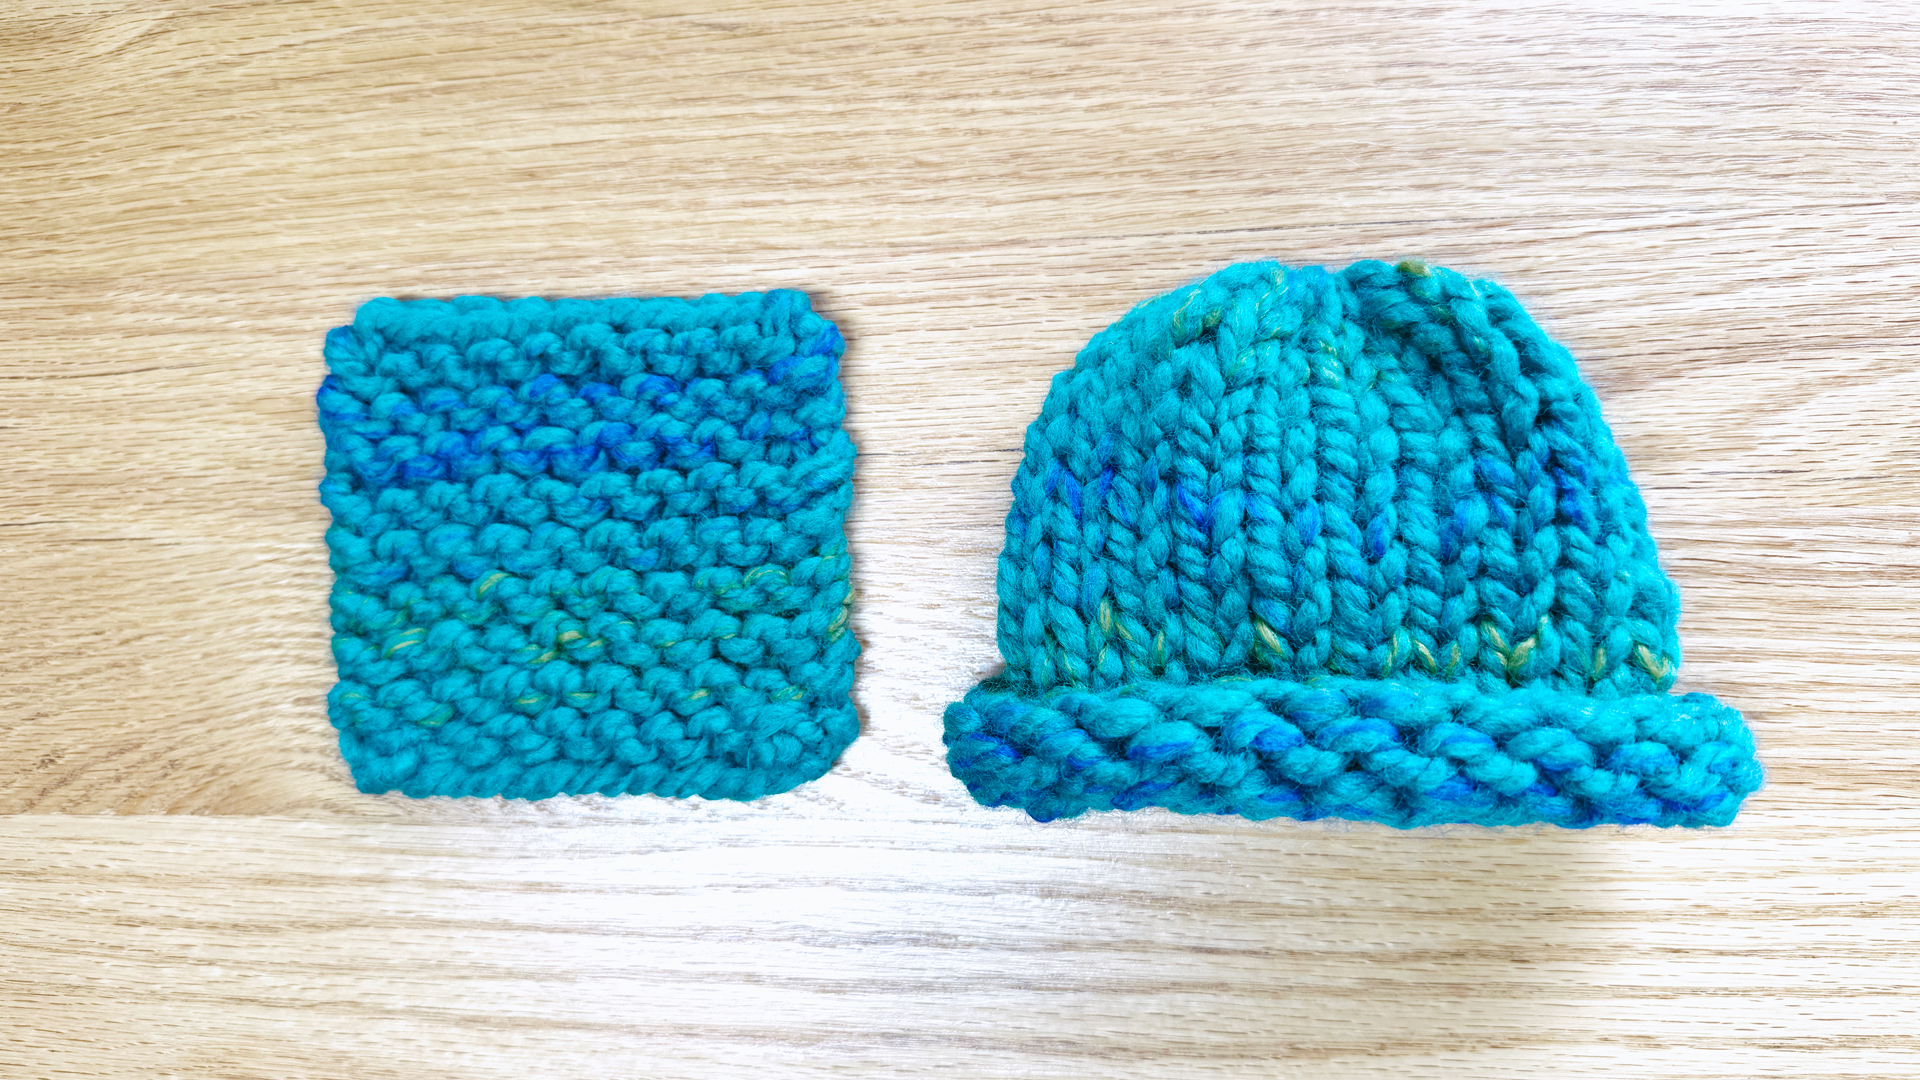
Knitting in the round lets you knit the next project in the Kids’ Knitting Guide: your first wearable, a Super-Bulky Hat.
Below are both video and written tutorials to help you learn how to knit in the round.
Start learning this skill by using the Super-Bulky Hat Pattern. Choose baby size if you want a smaller project first (this size fits dolls and little babies). Or knit the one-size-fits-most hat pattern to make a hat that you can wear (this size fits most kids over two years old and most adults).
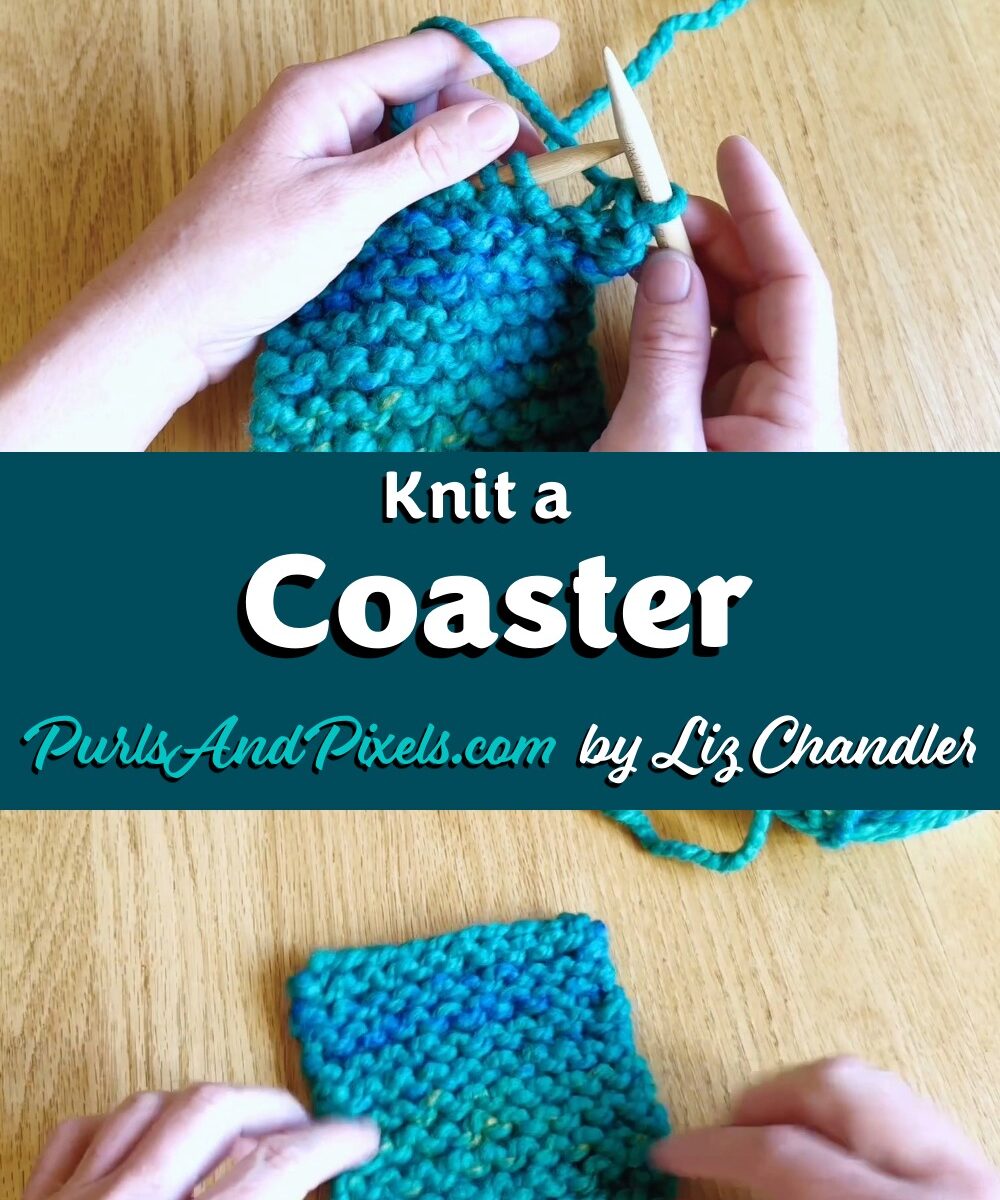
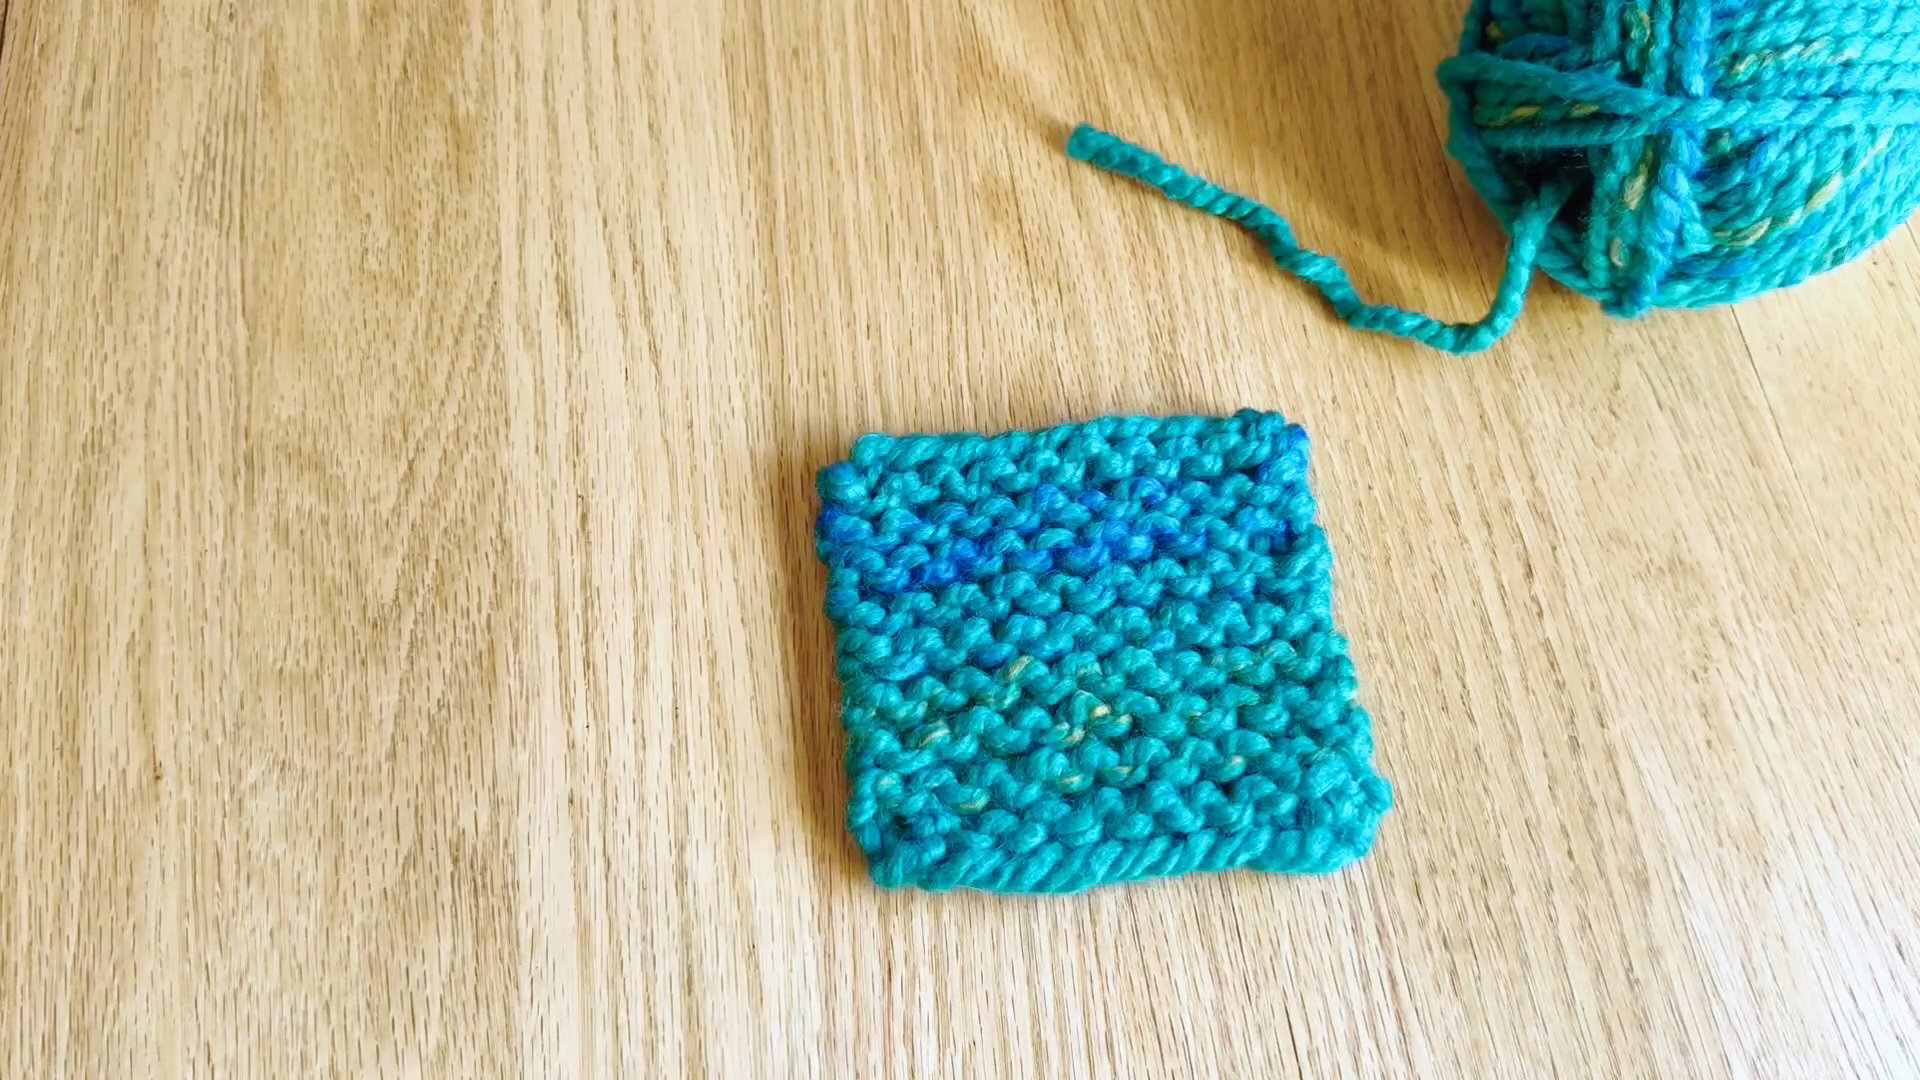
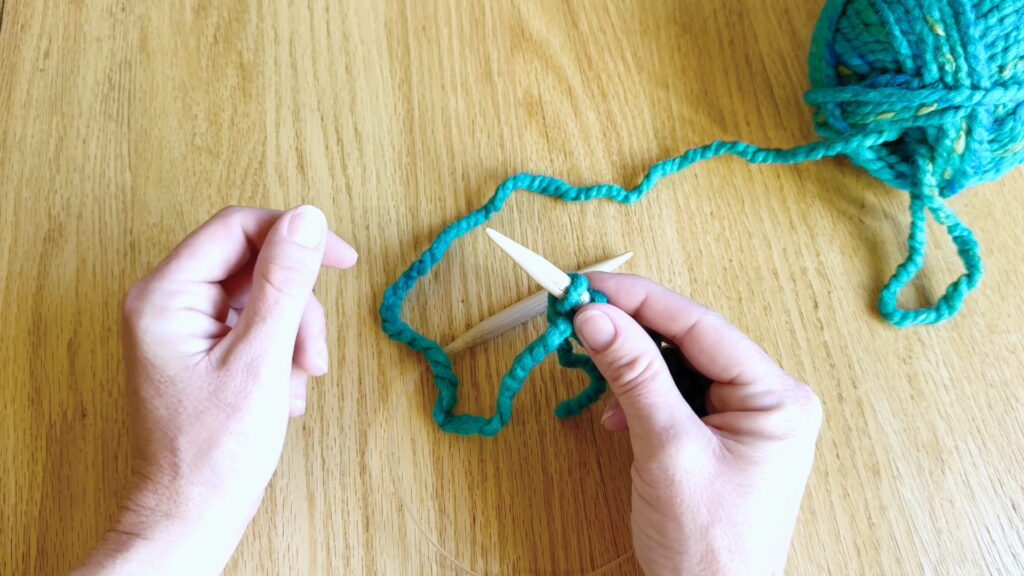
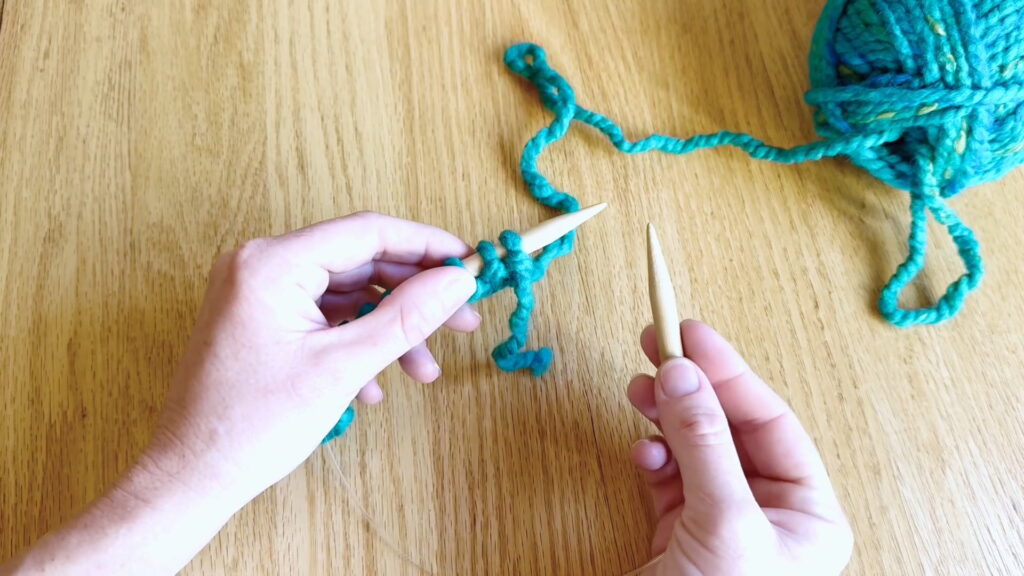
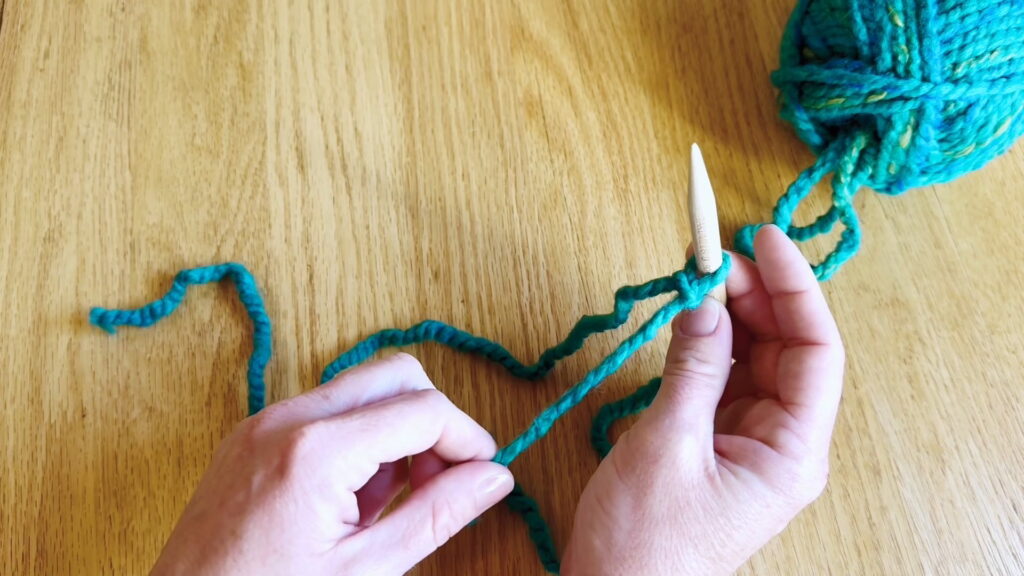
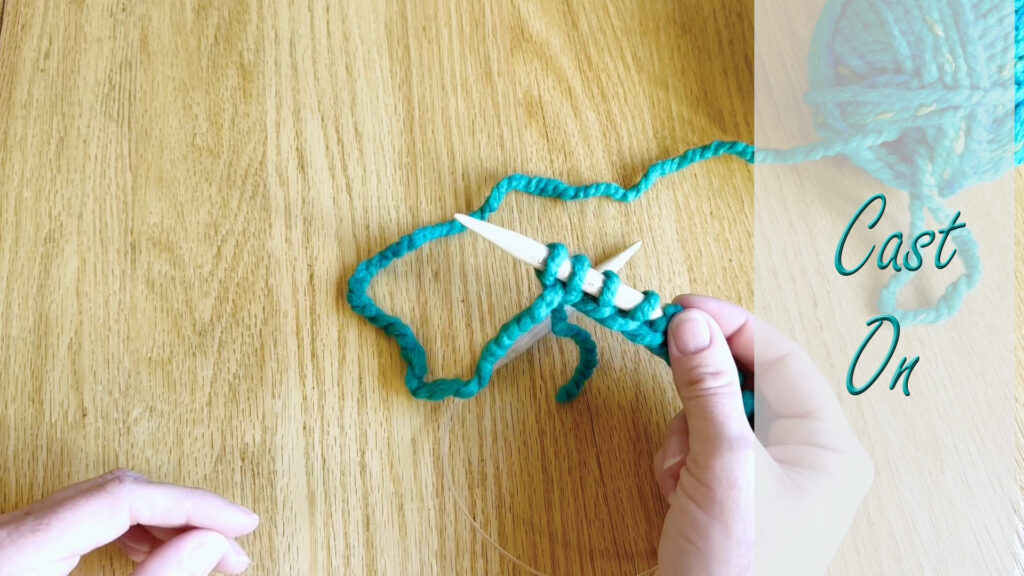
Following the hat pattern, you’ll cast on your first stitches. Do this in the exact same way as you cast on your coaster. Then, the pattern says, “Row 2: Join the round (taking care not to twist stitches) and knit 20. (20 stitches)”
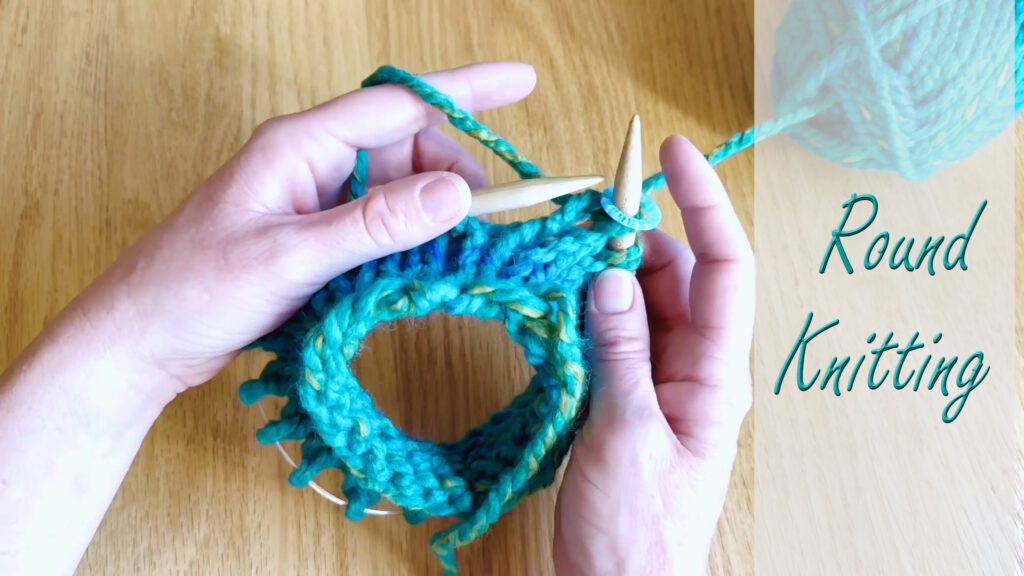
Kids’ Video Guide: How to Knit in the Round
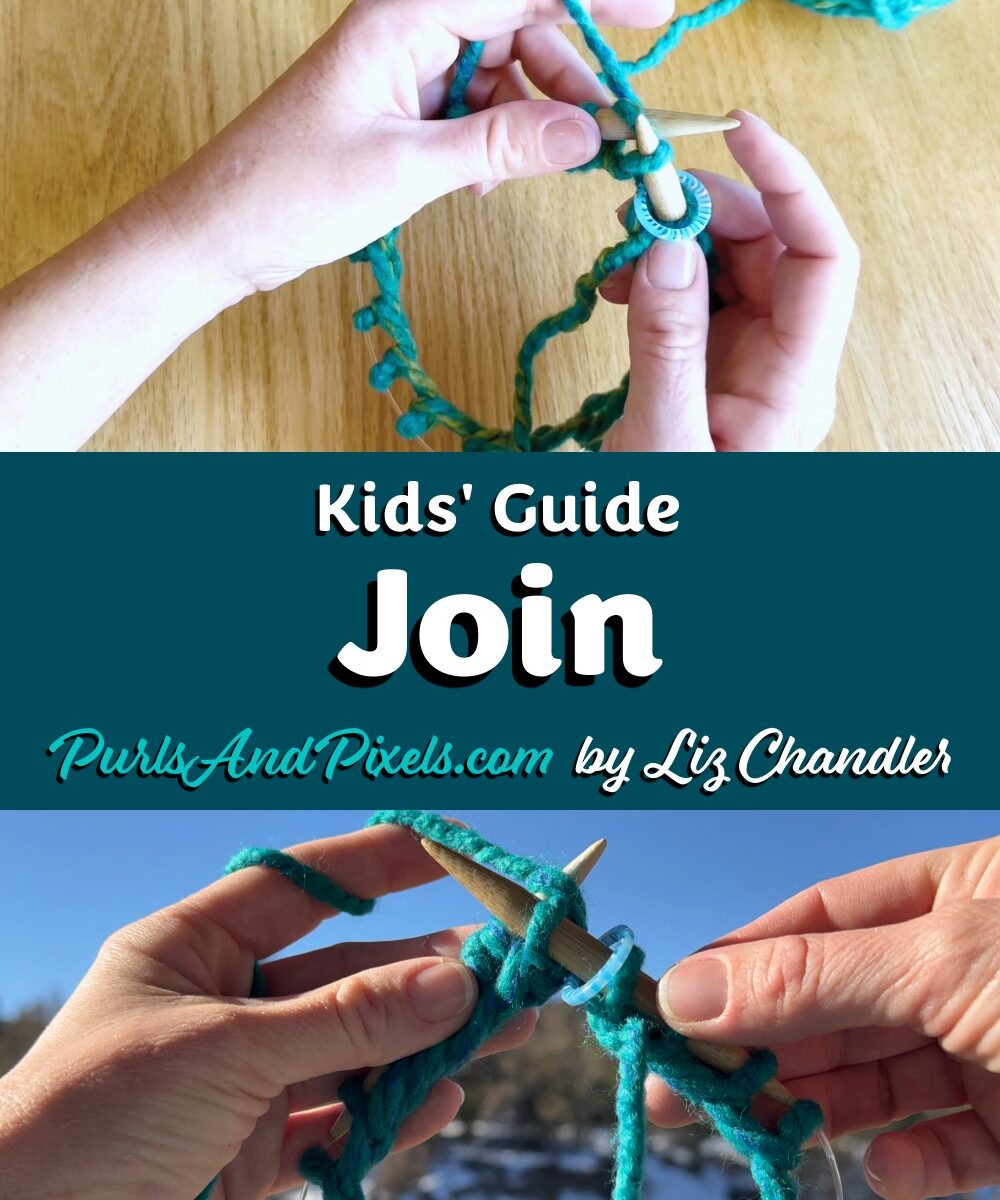
Kids’ Picture Guide: How to Knit in the Round
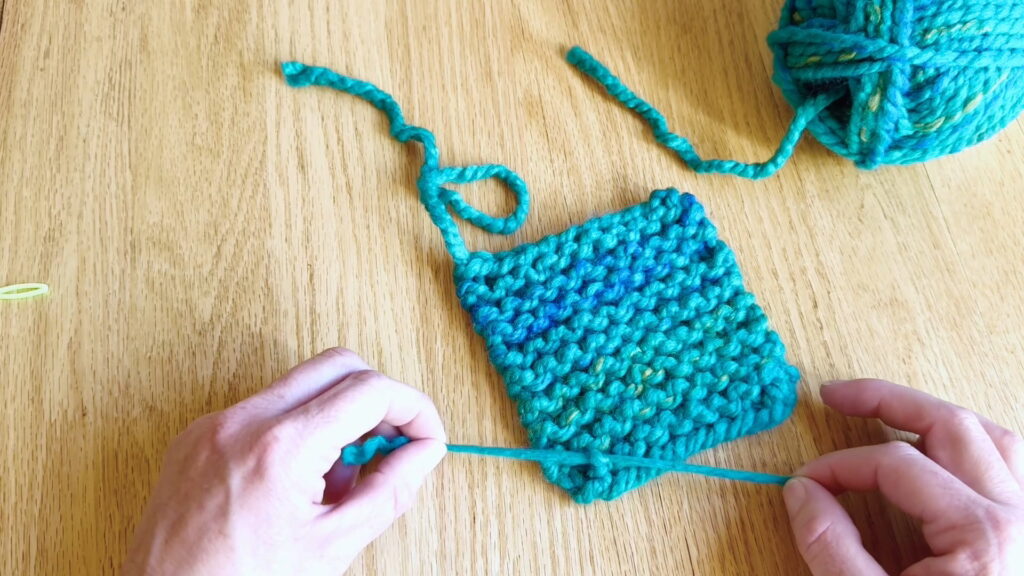
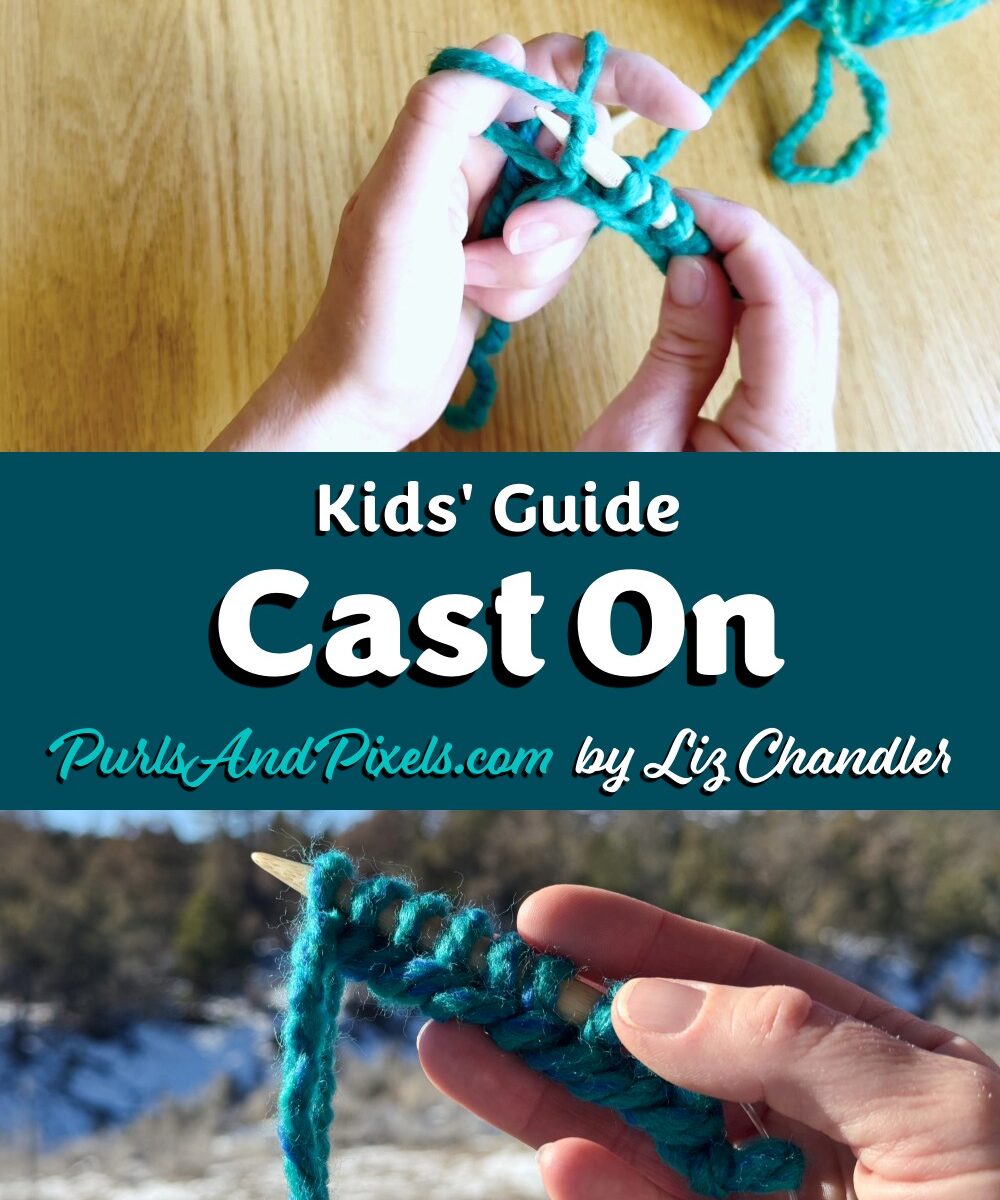
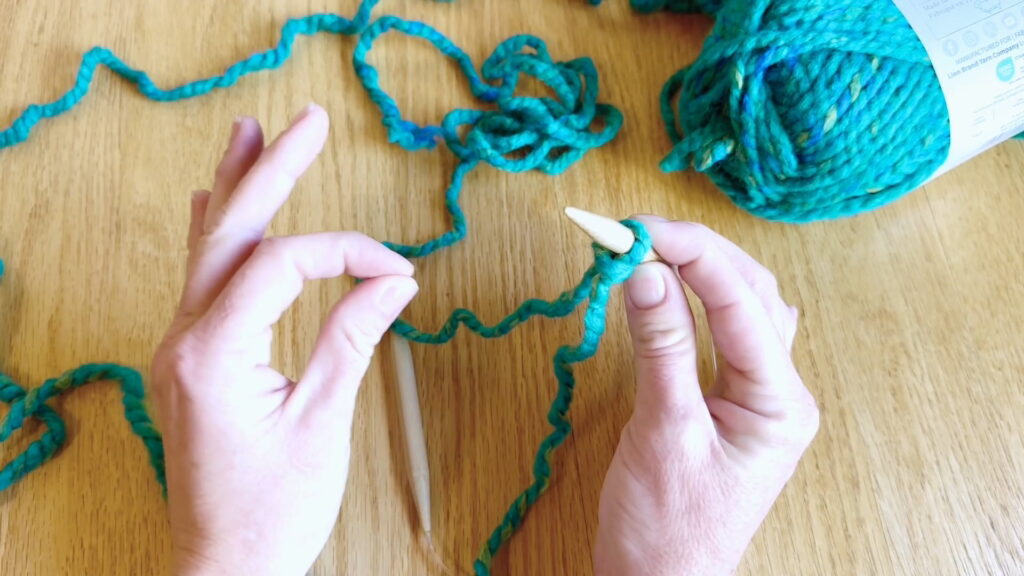
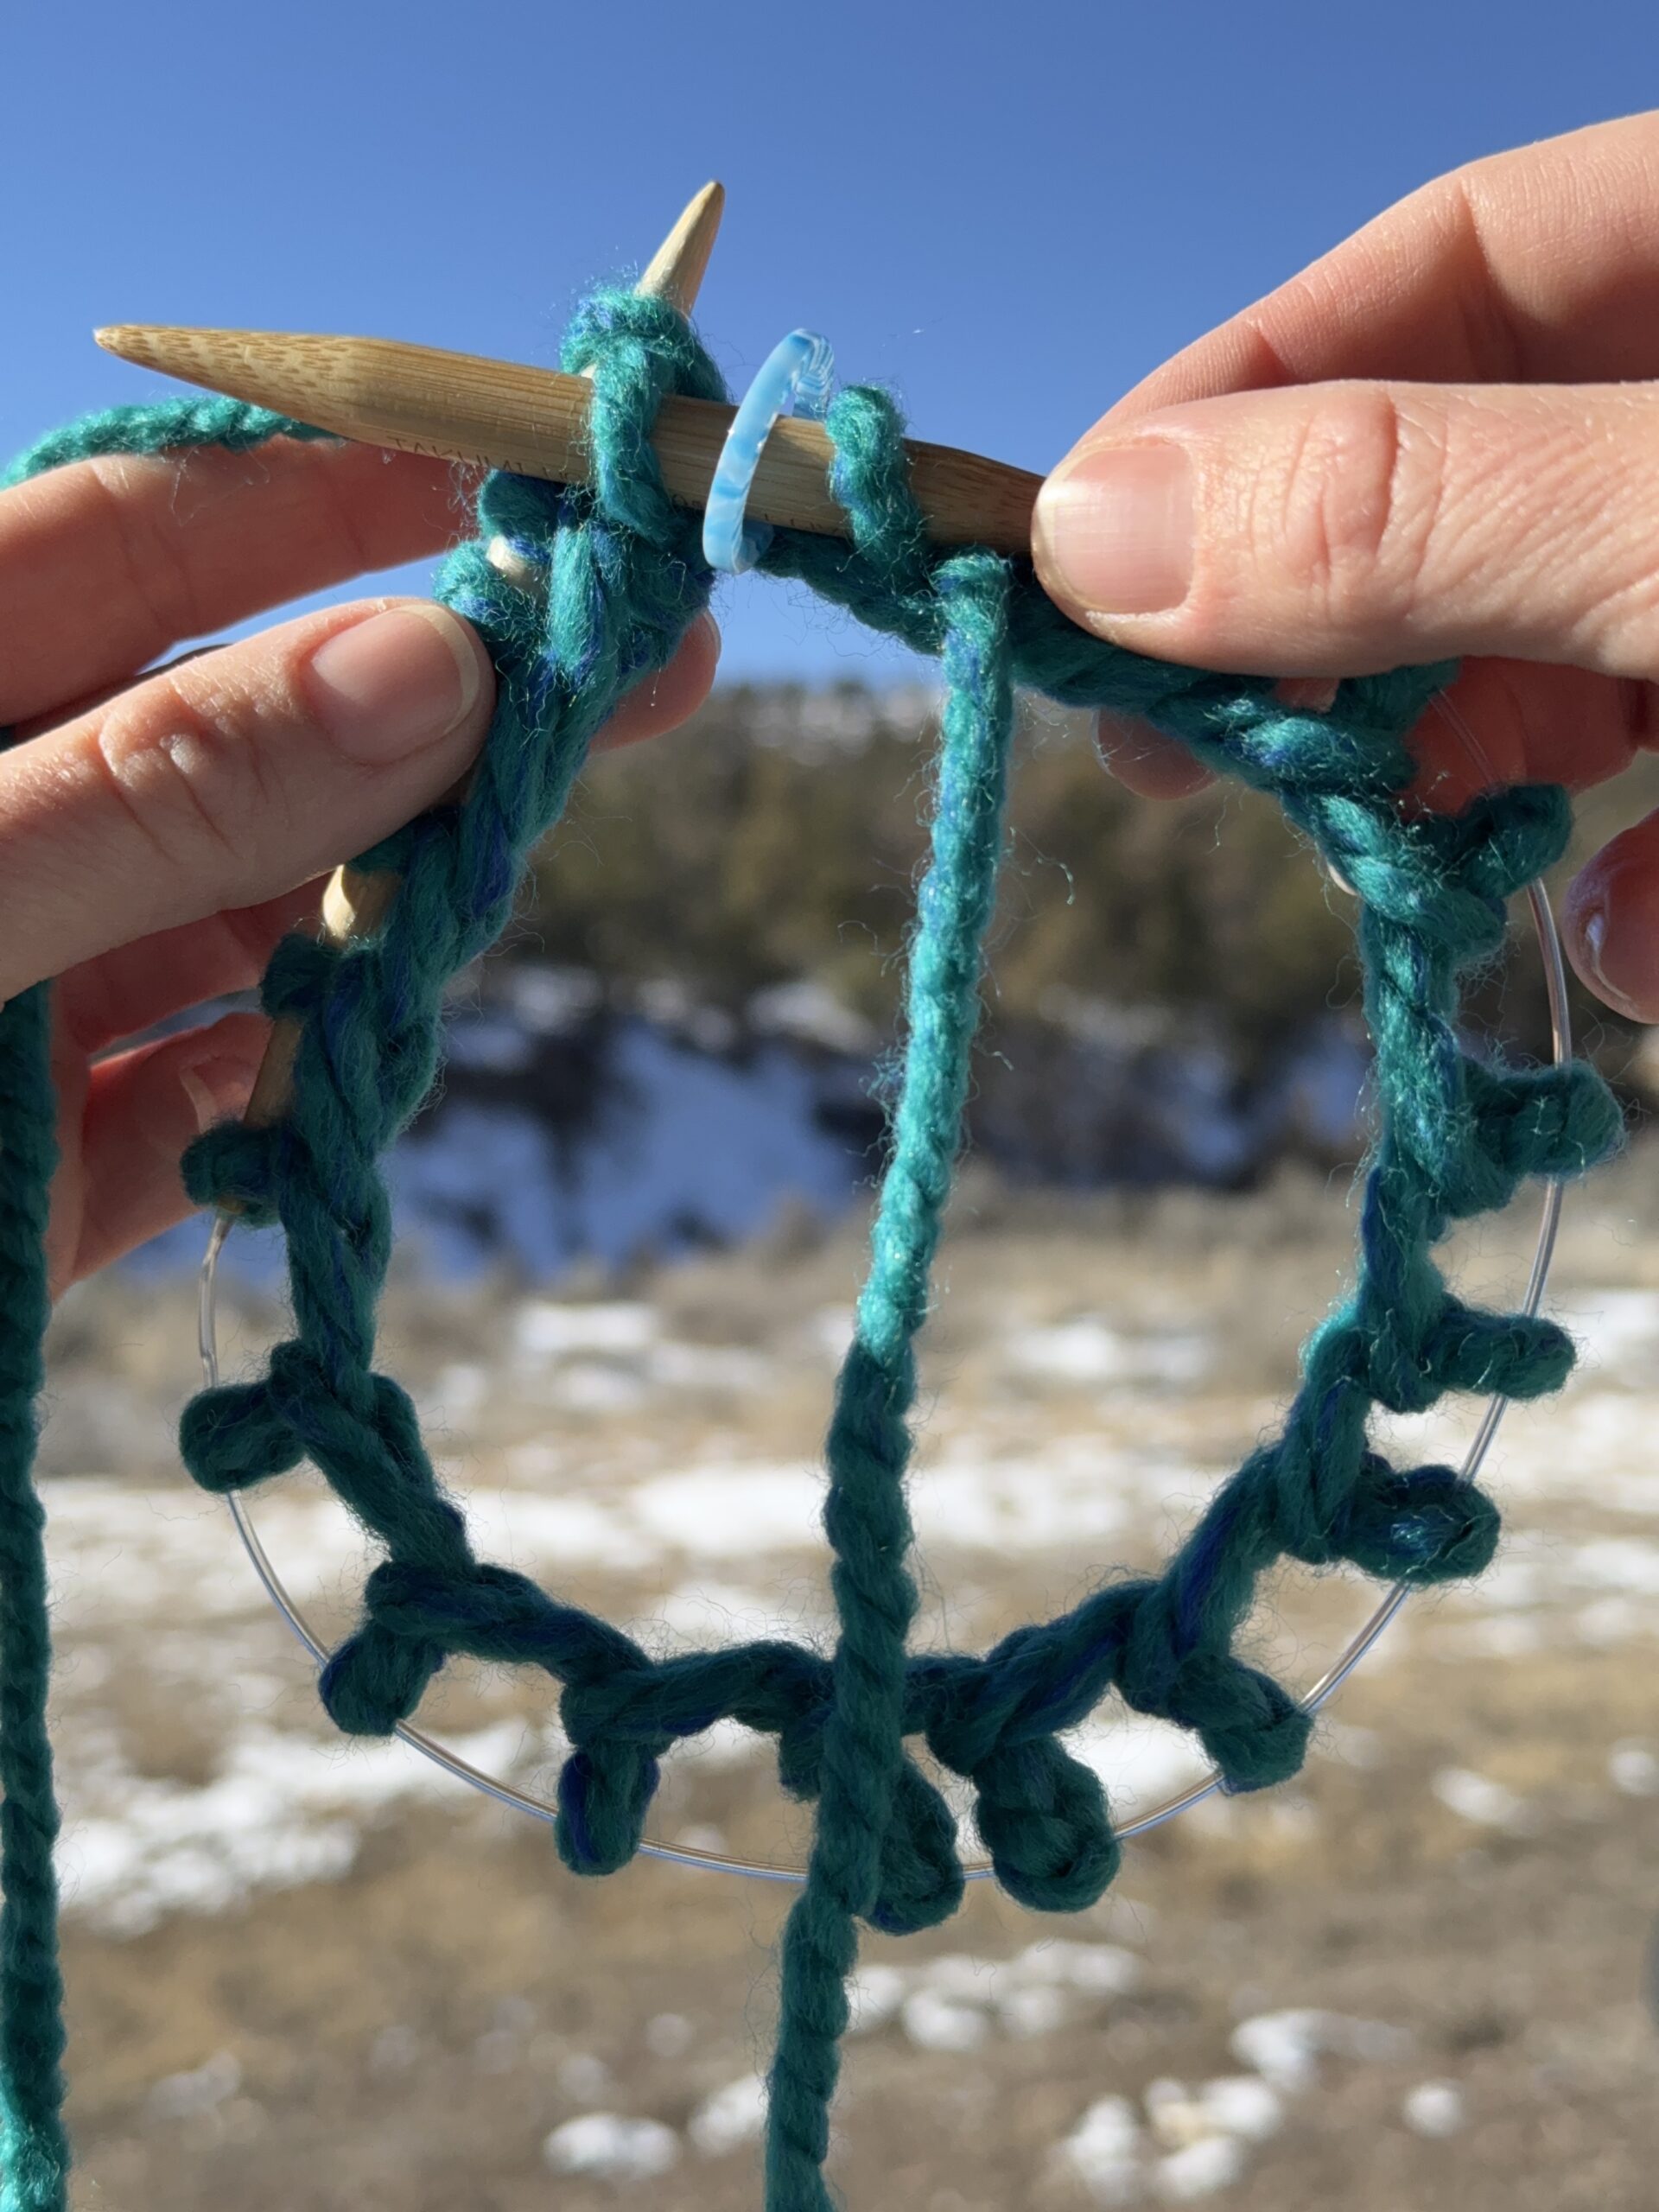
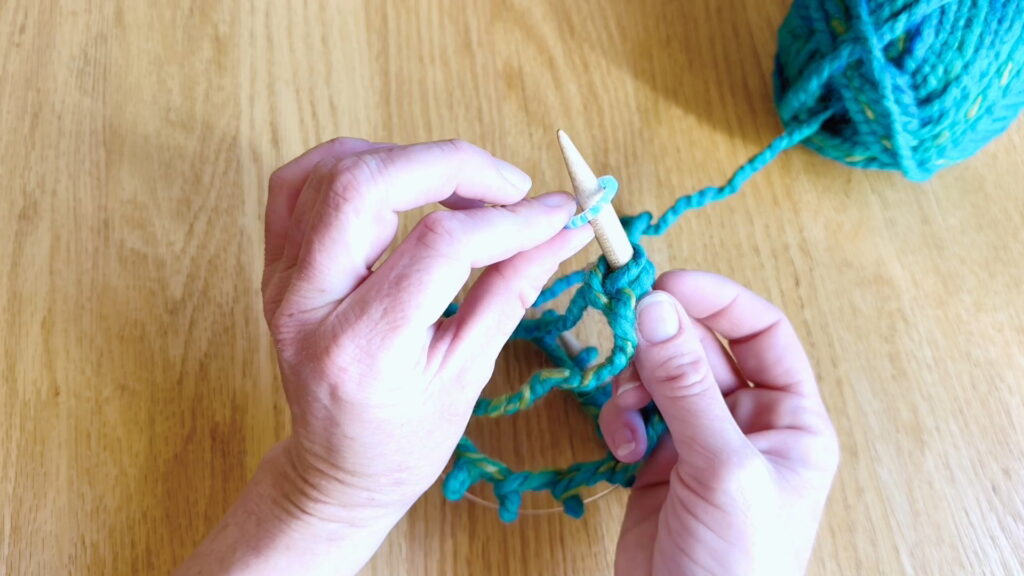
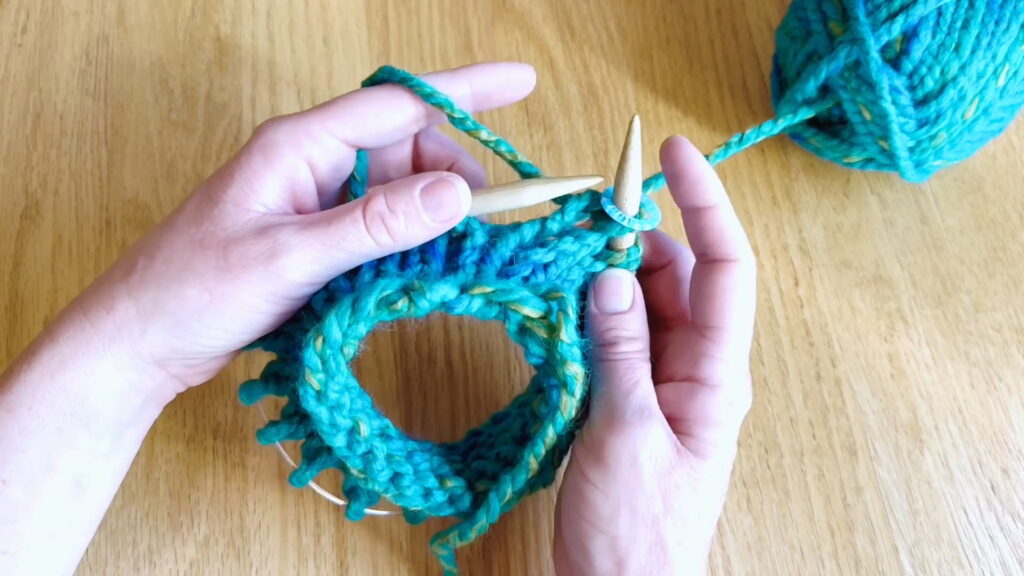
Step 1: Place Stitch Marker
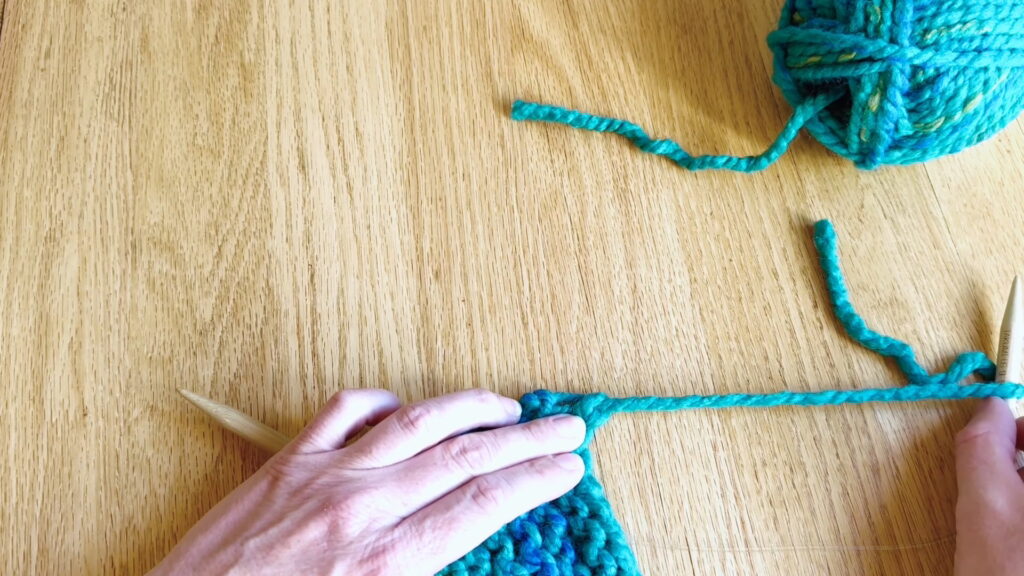
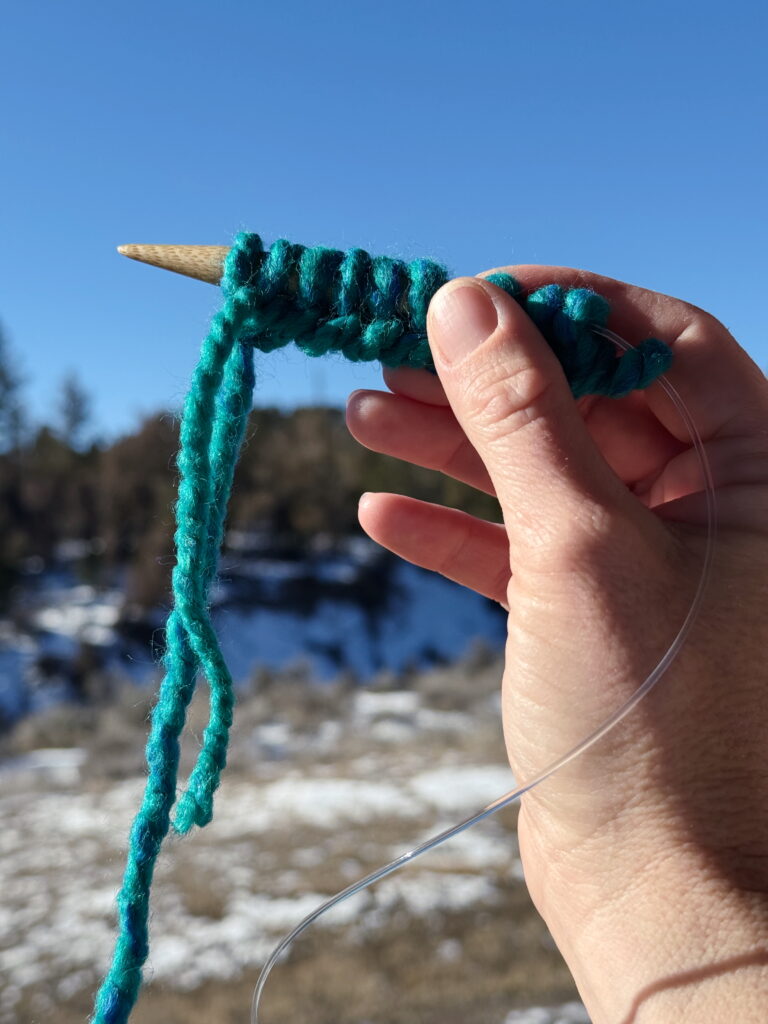
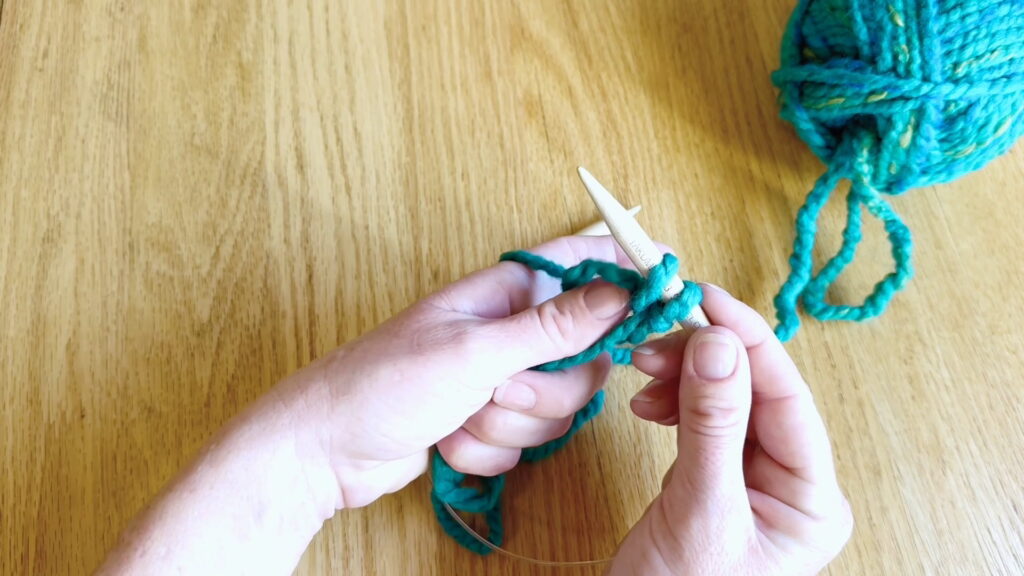
After casting on, continue holding the stitches in your right hand. Place your stitch marker on the right-hand needle tip, just after the last cast-on stitch.
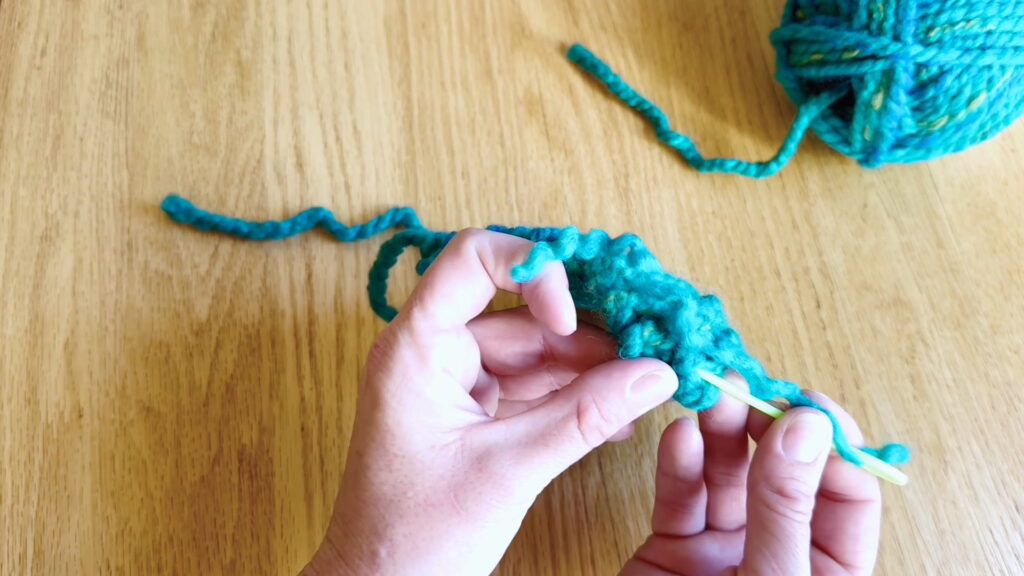
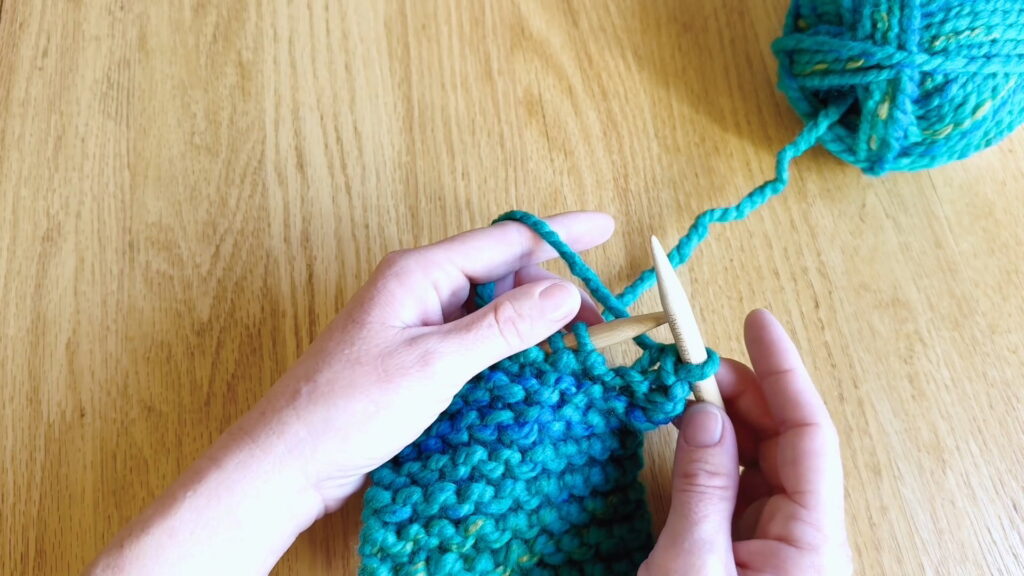
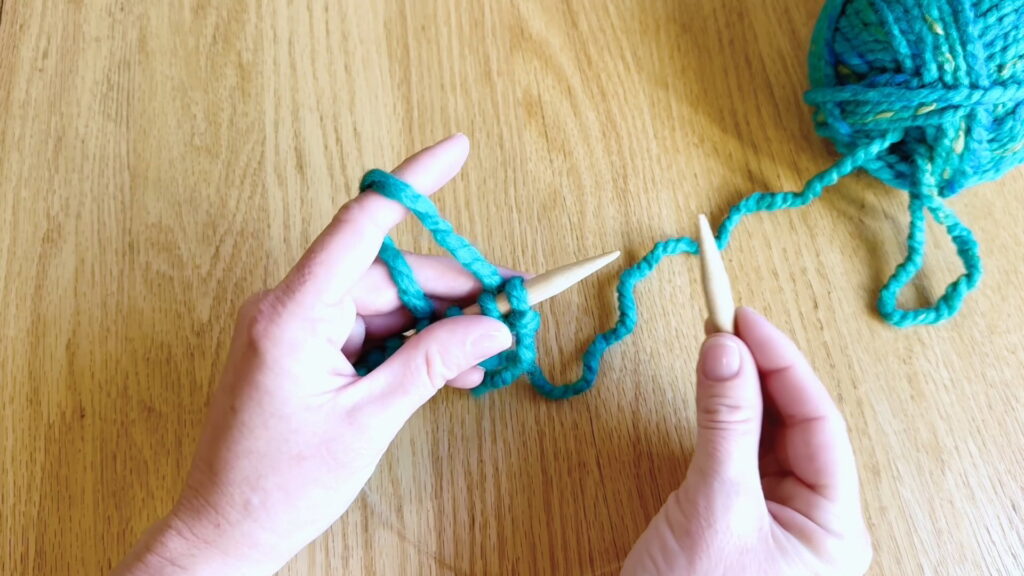
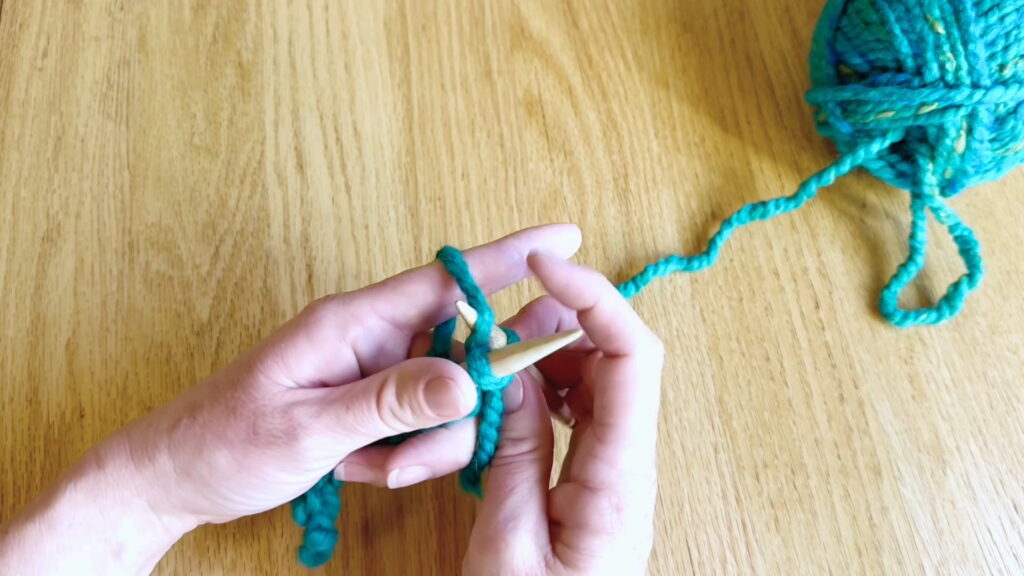
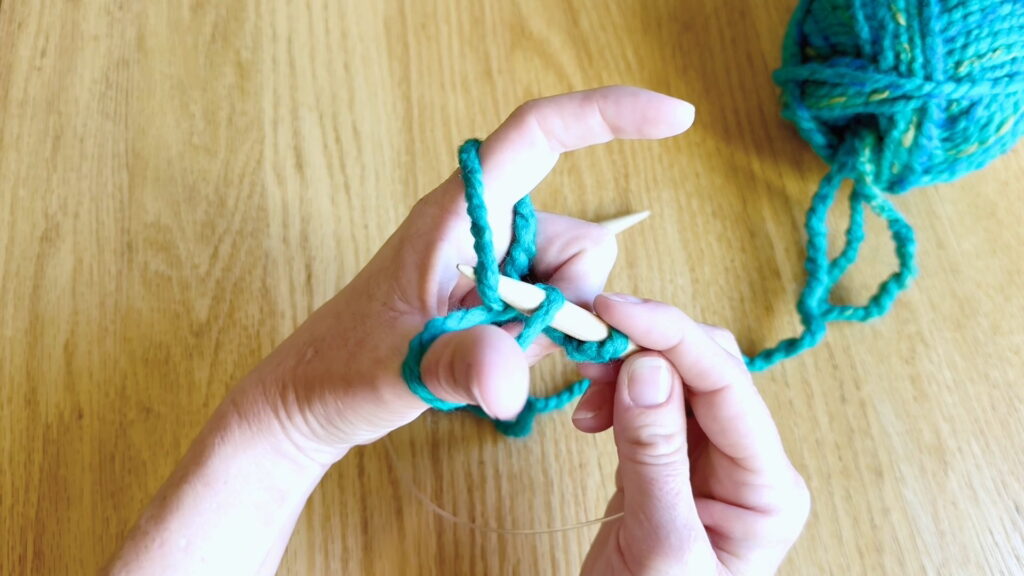
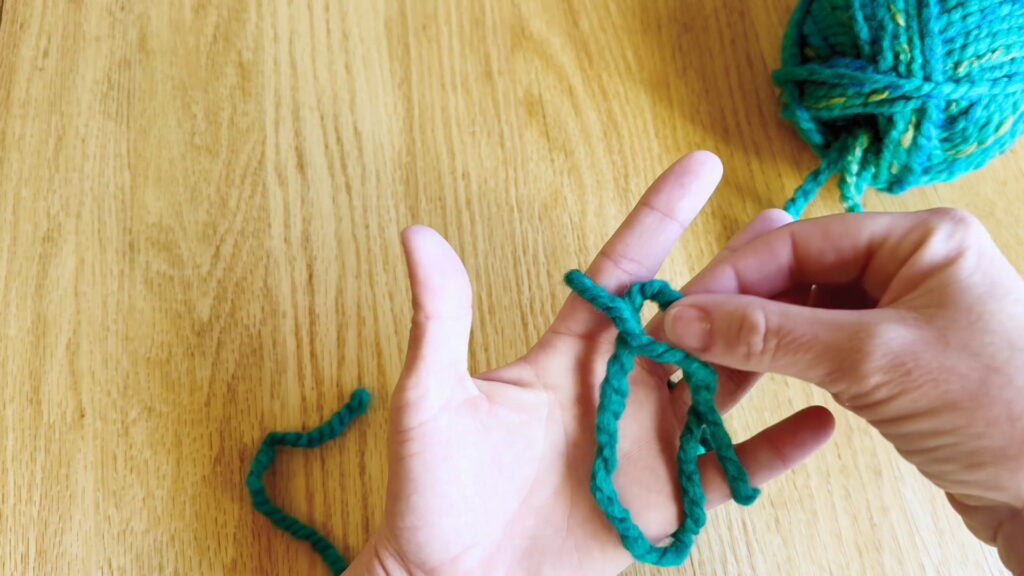
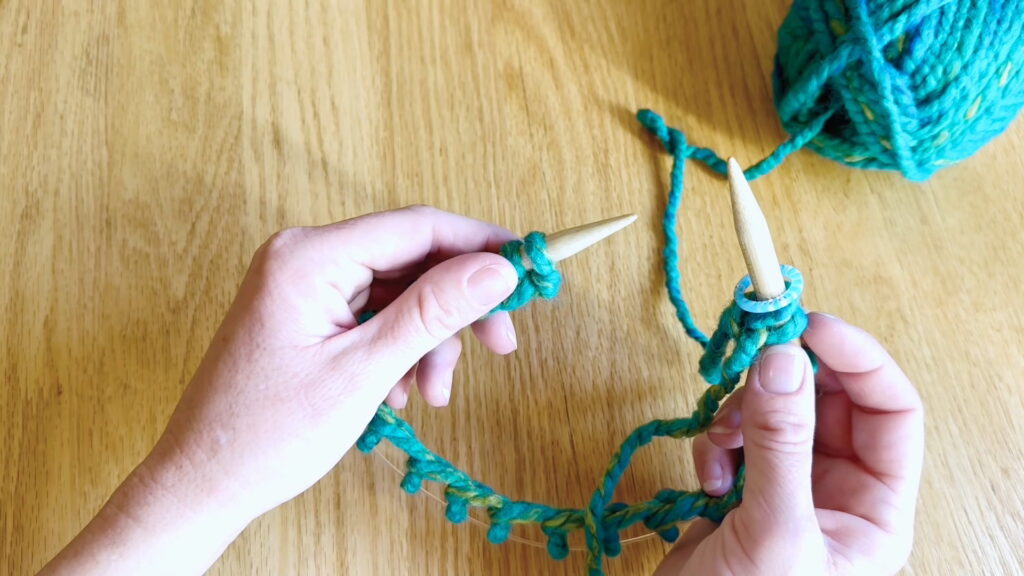
Step 2: Pick Up Left Needle
Gently slide the first cast on stitch toward the other end of your knitting needle. Then, pick up that needle with your left hand.
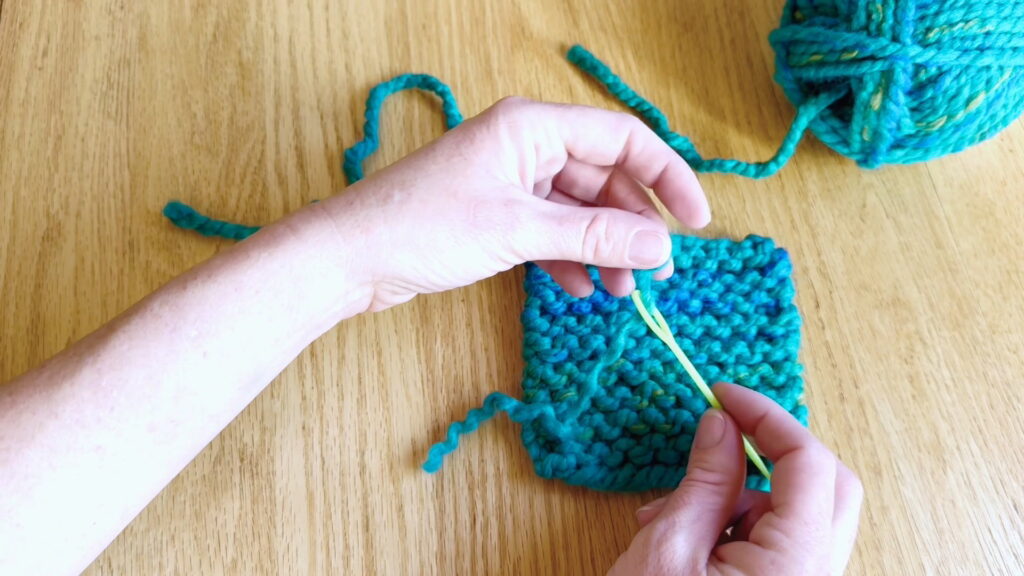
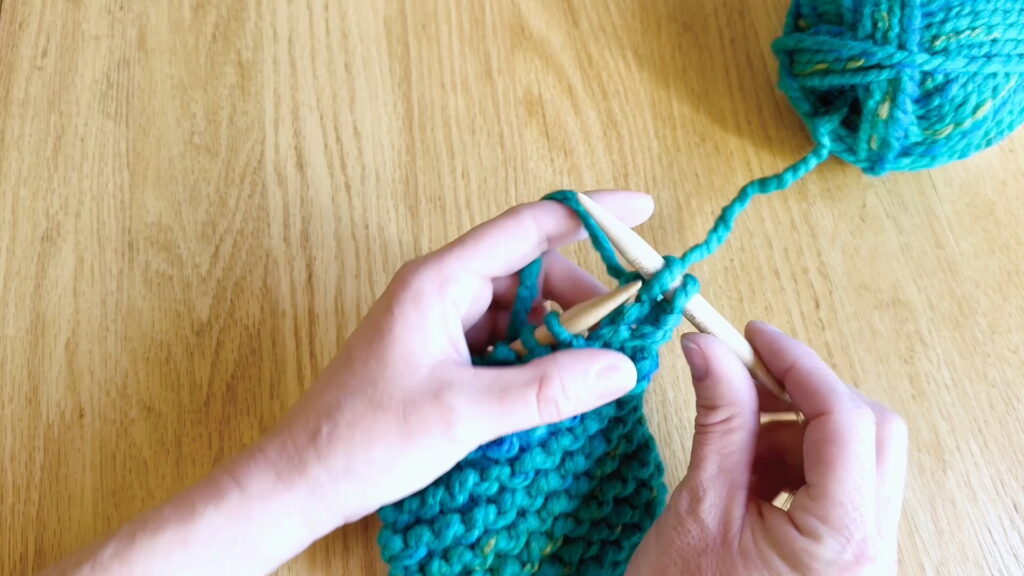
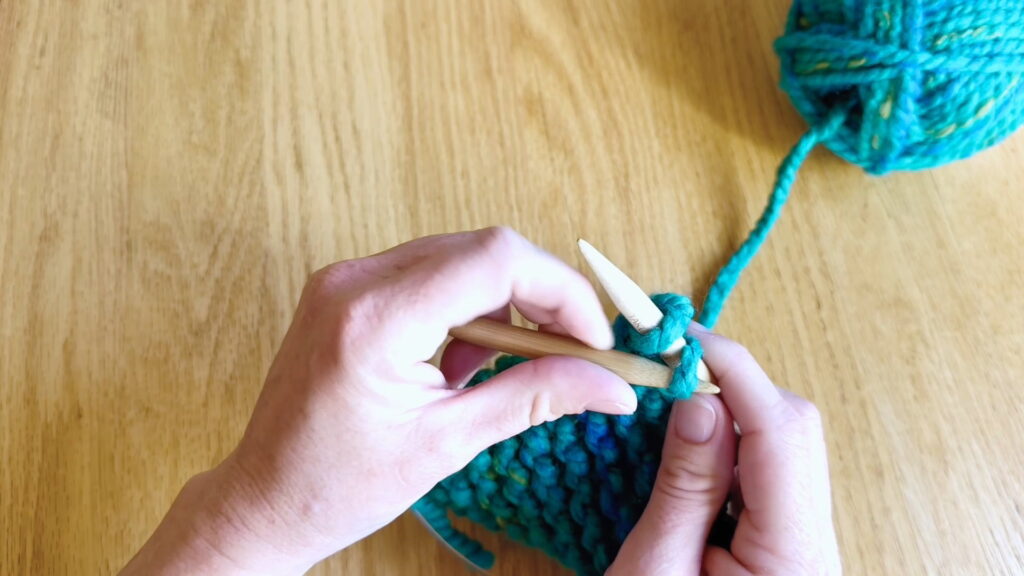
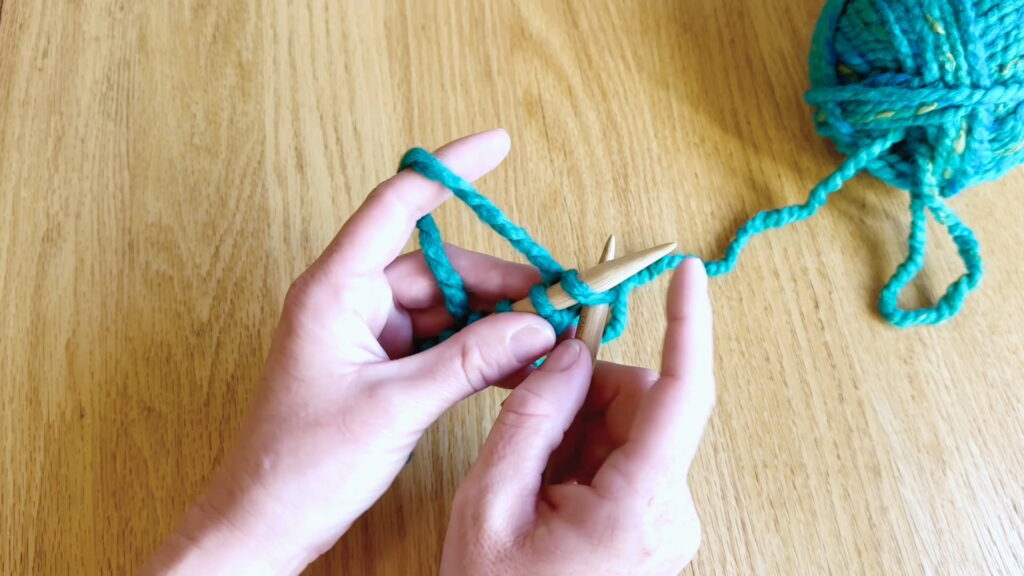
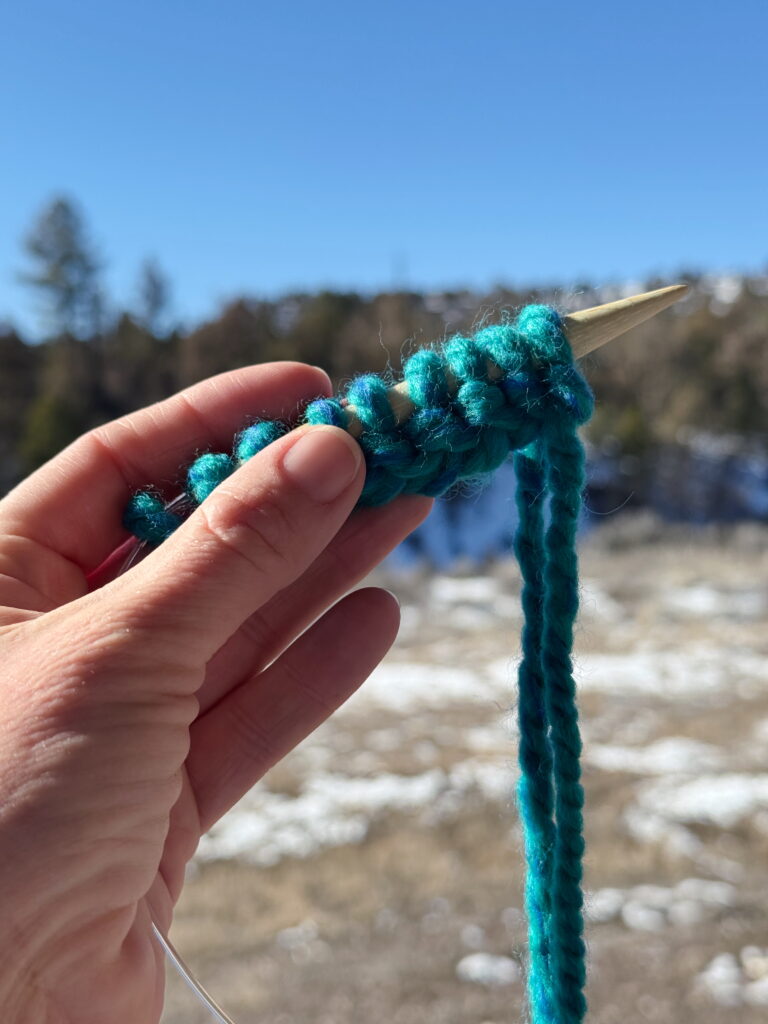
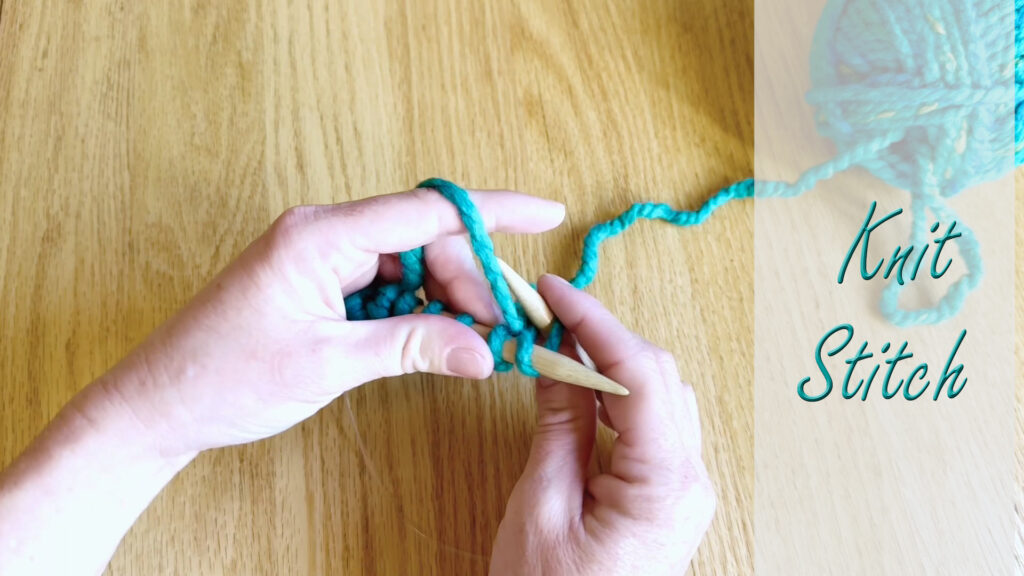
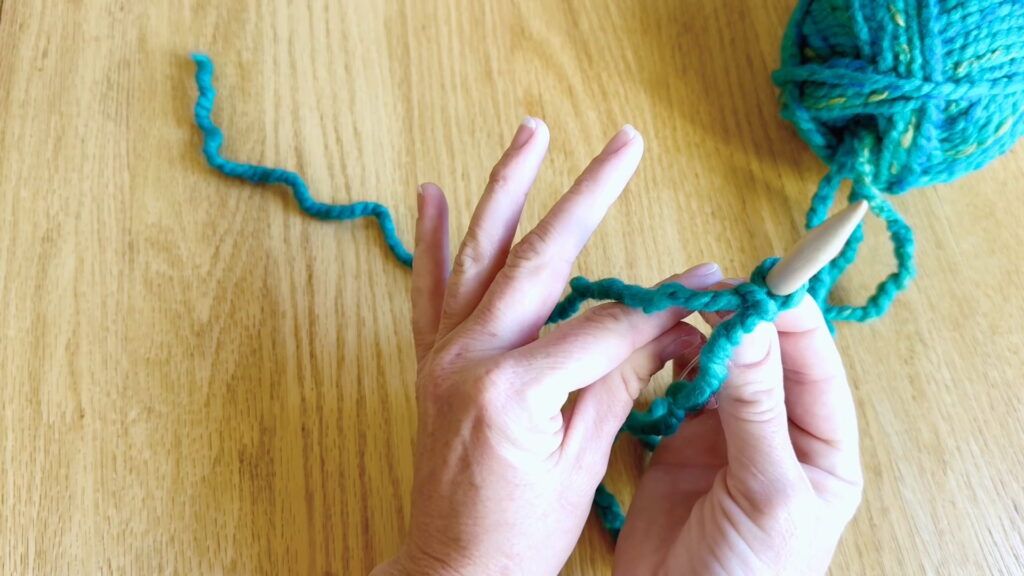
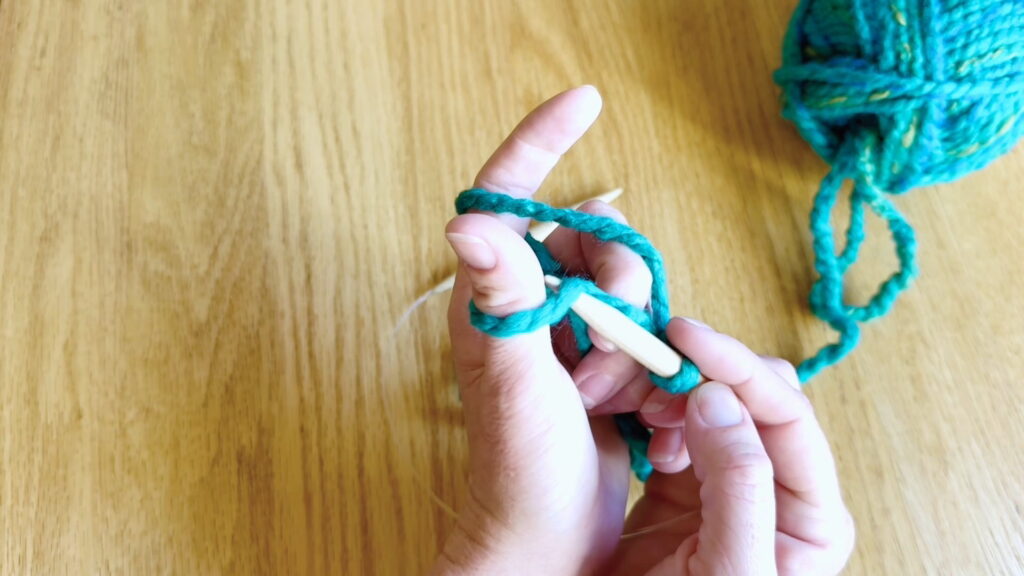
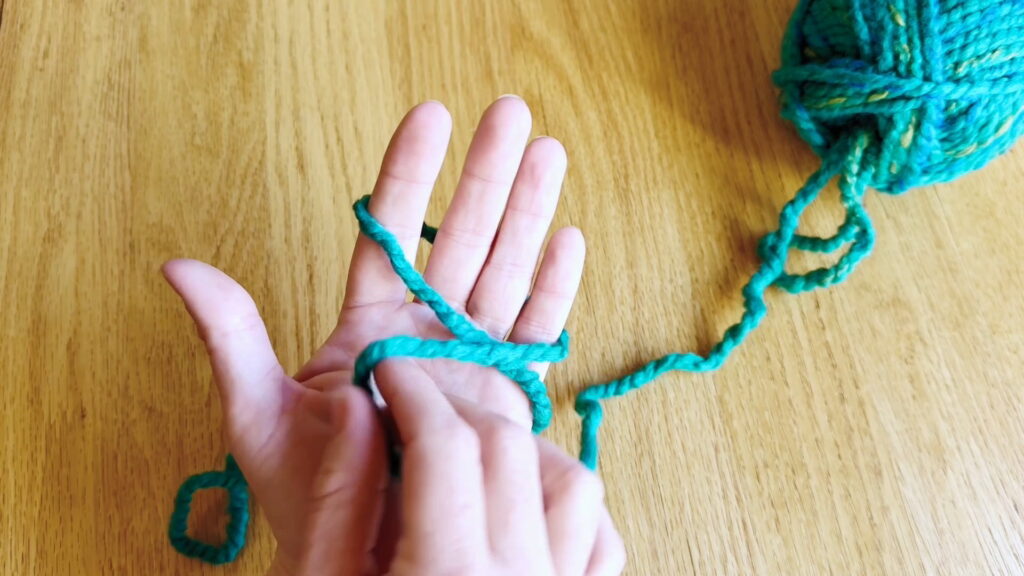
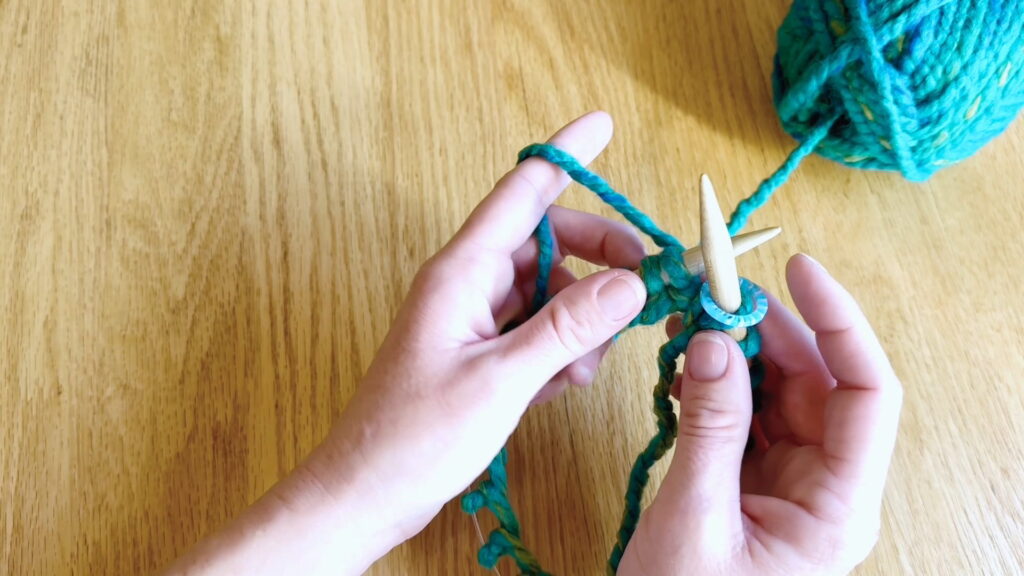
Step 3: Set Up Yarn to Knit
Set up your hands to make a knit stitch by draping the yarn that connects the project to the ball over your left pointer finger.
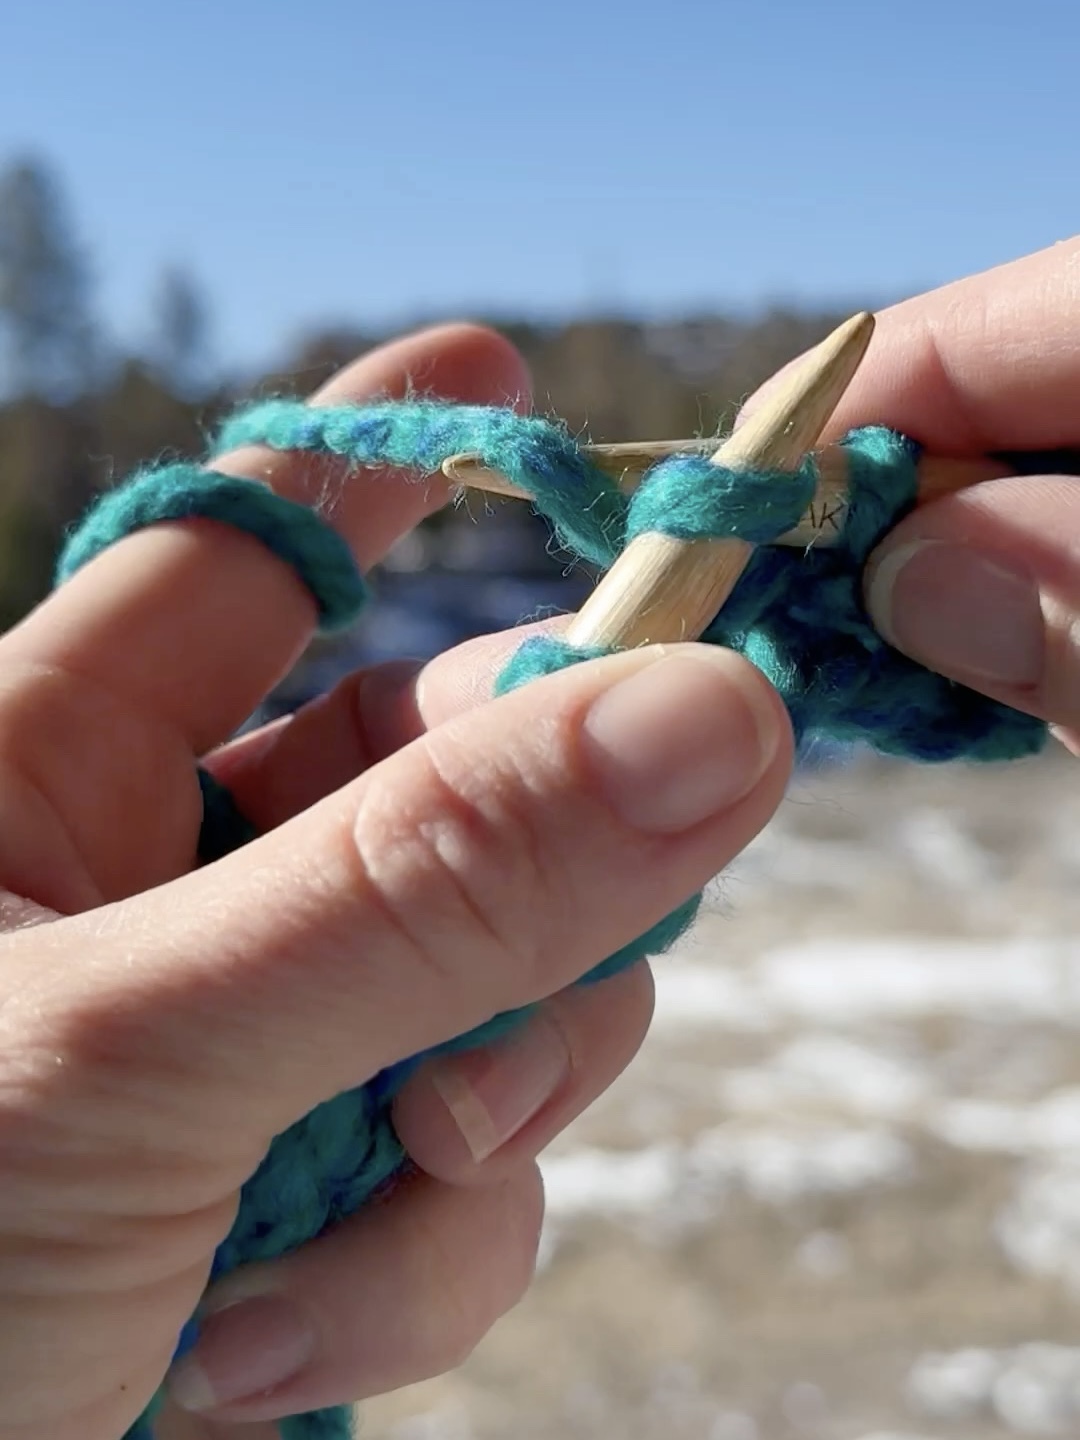
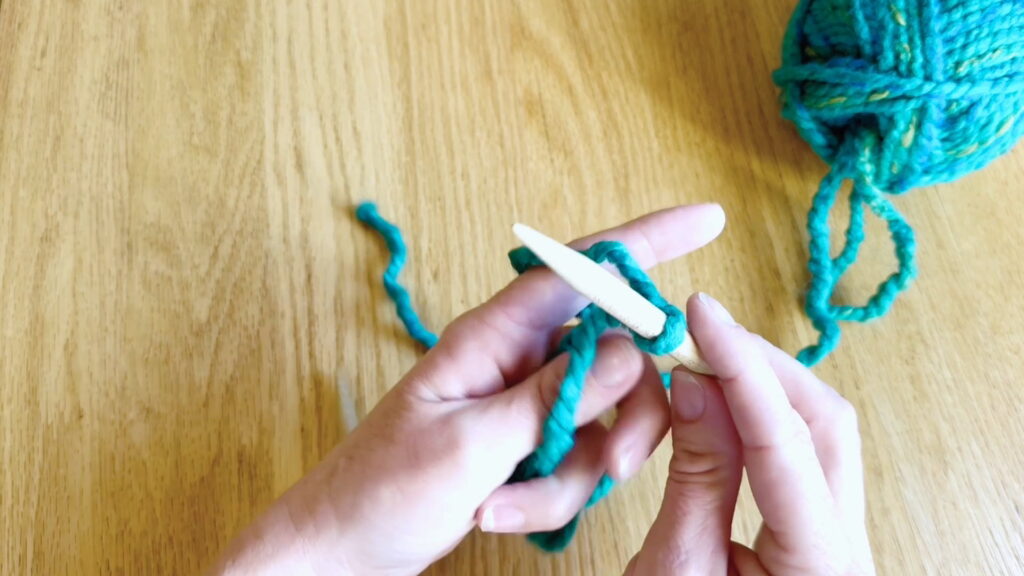
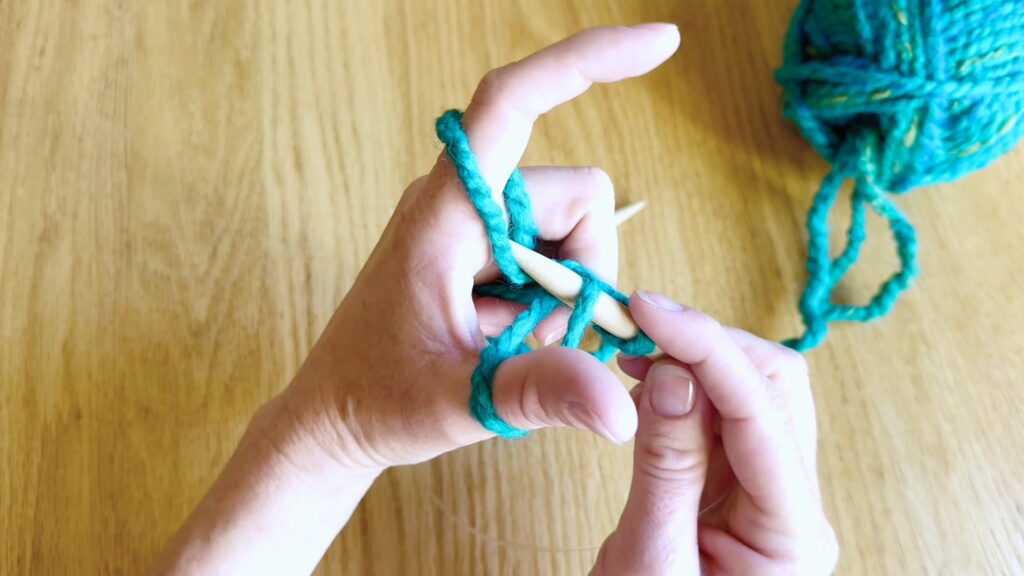
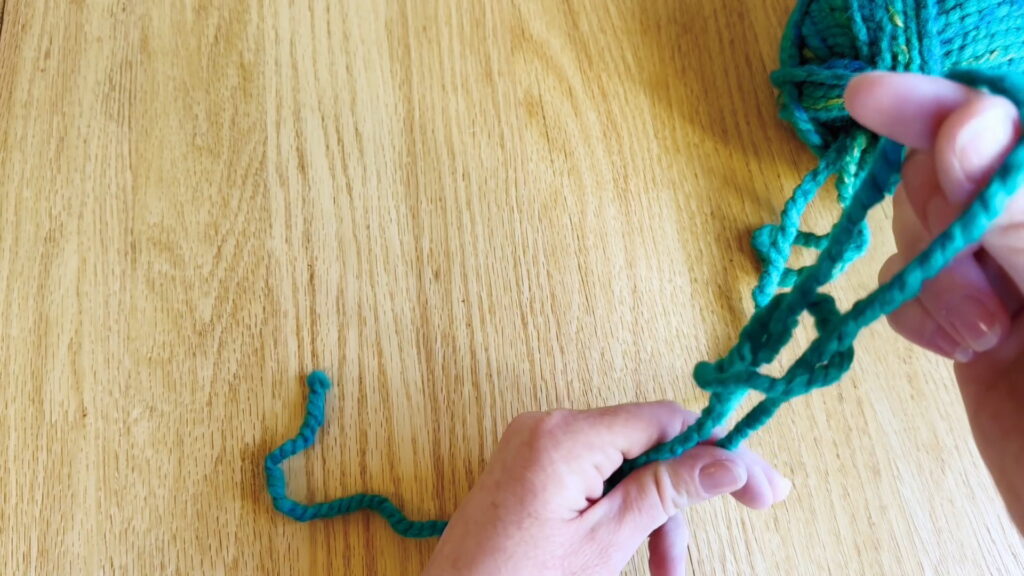
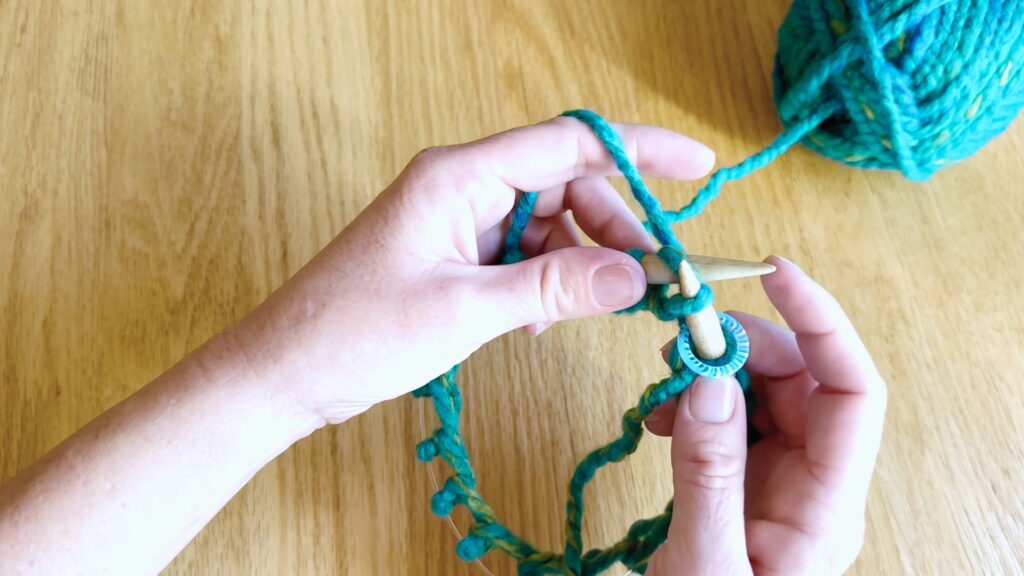
Step 4: Knit
Knit into the first stitch on the left-hand needle. This step “joins the round.”
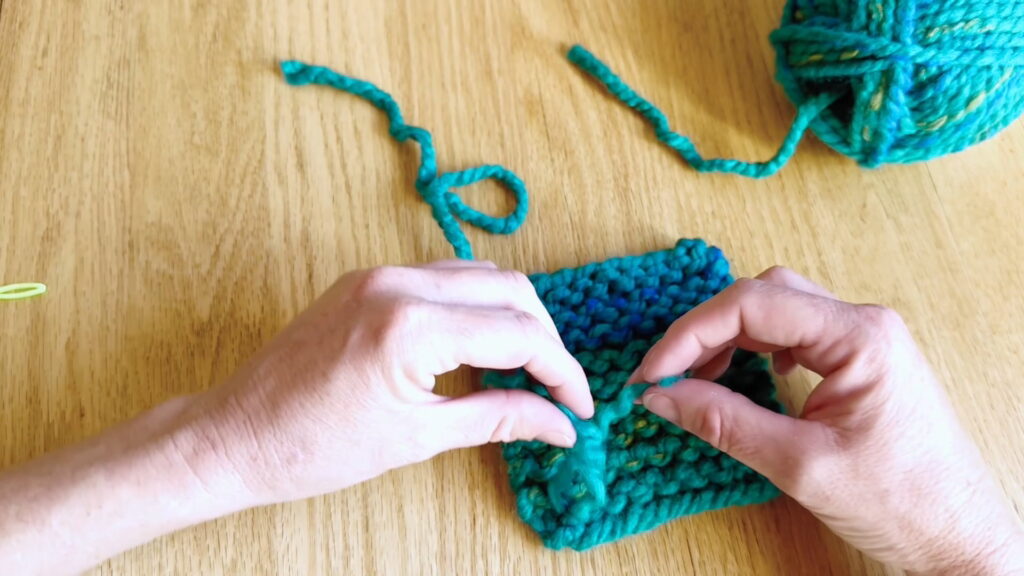
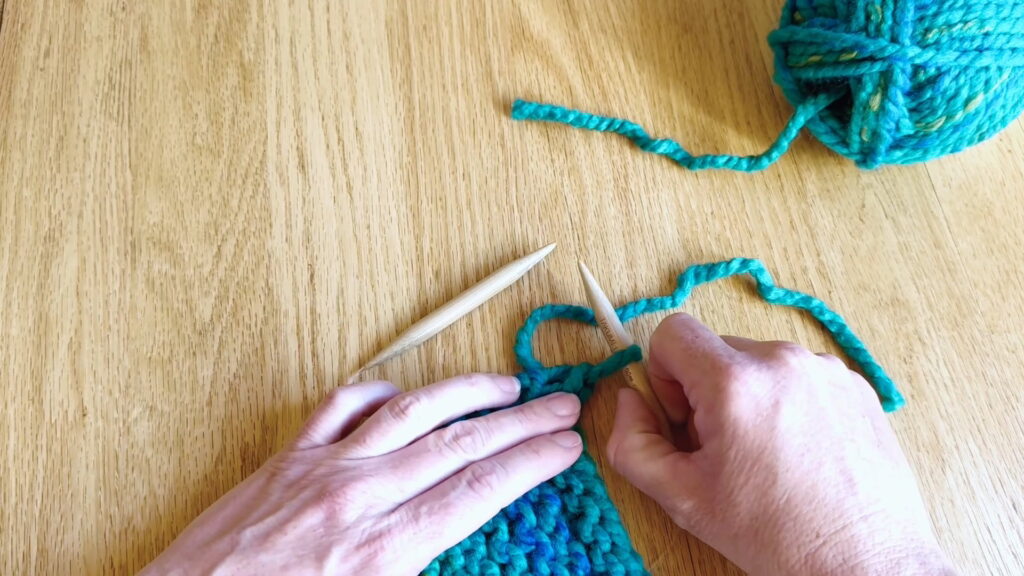
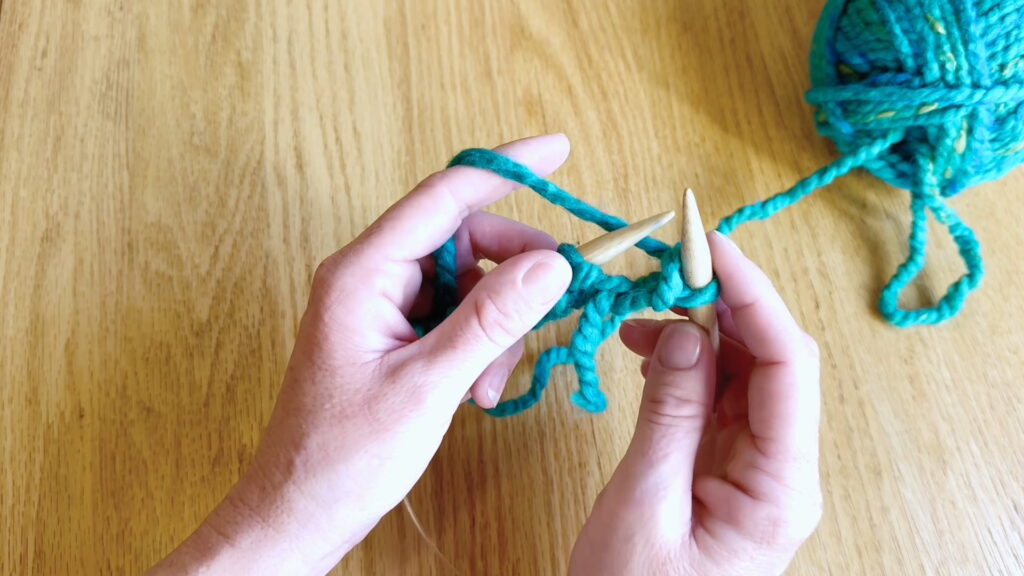
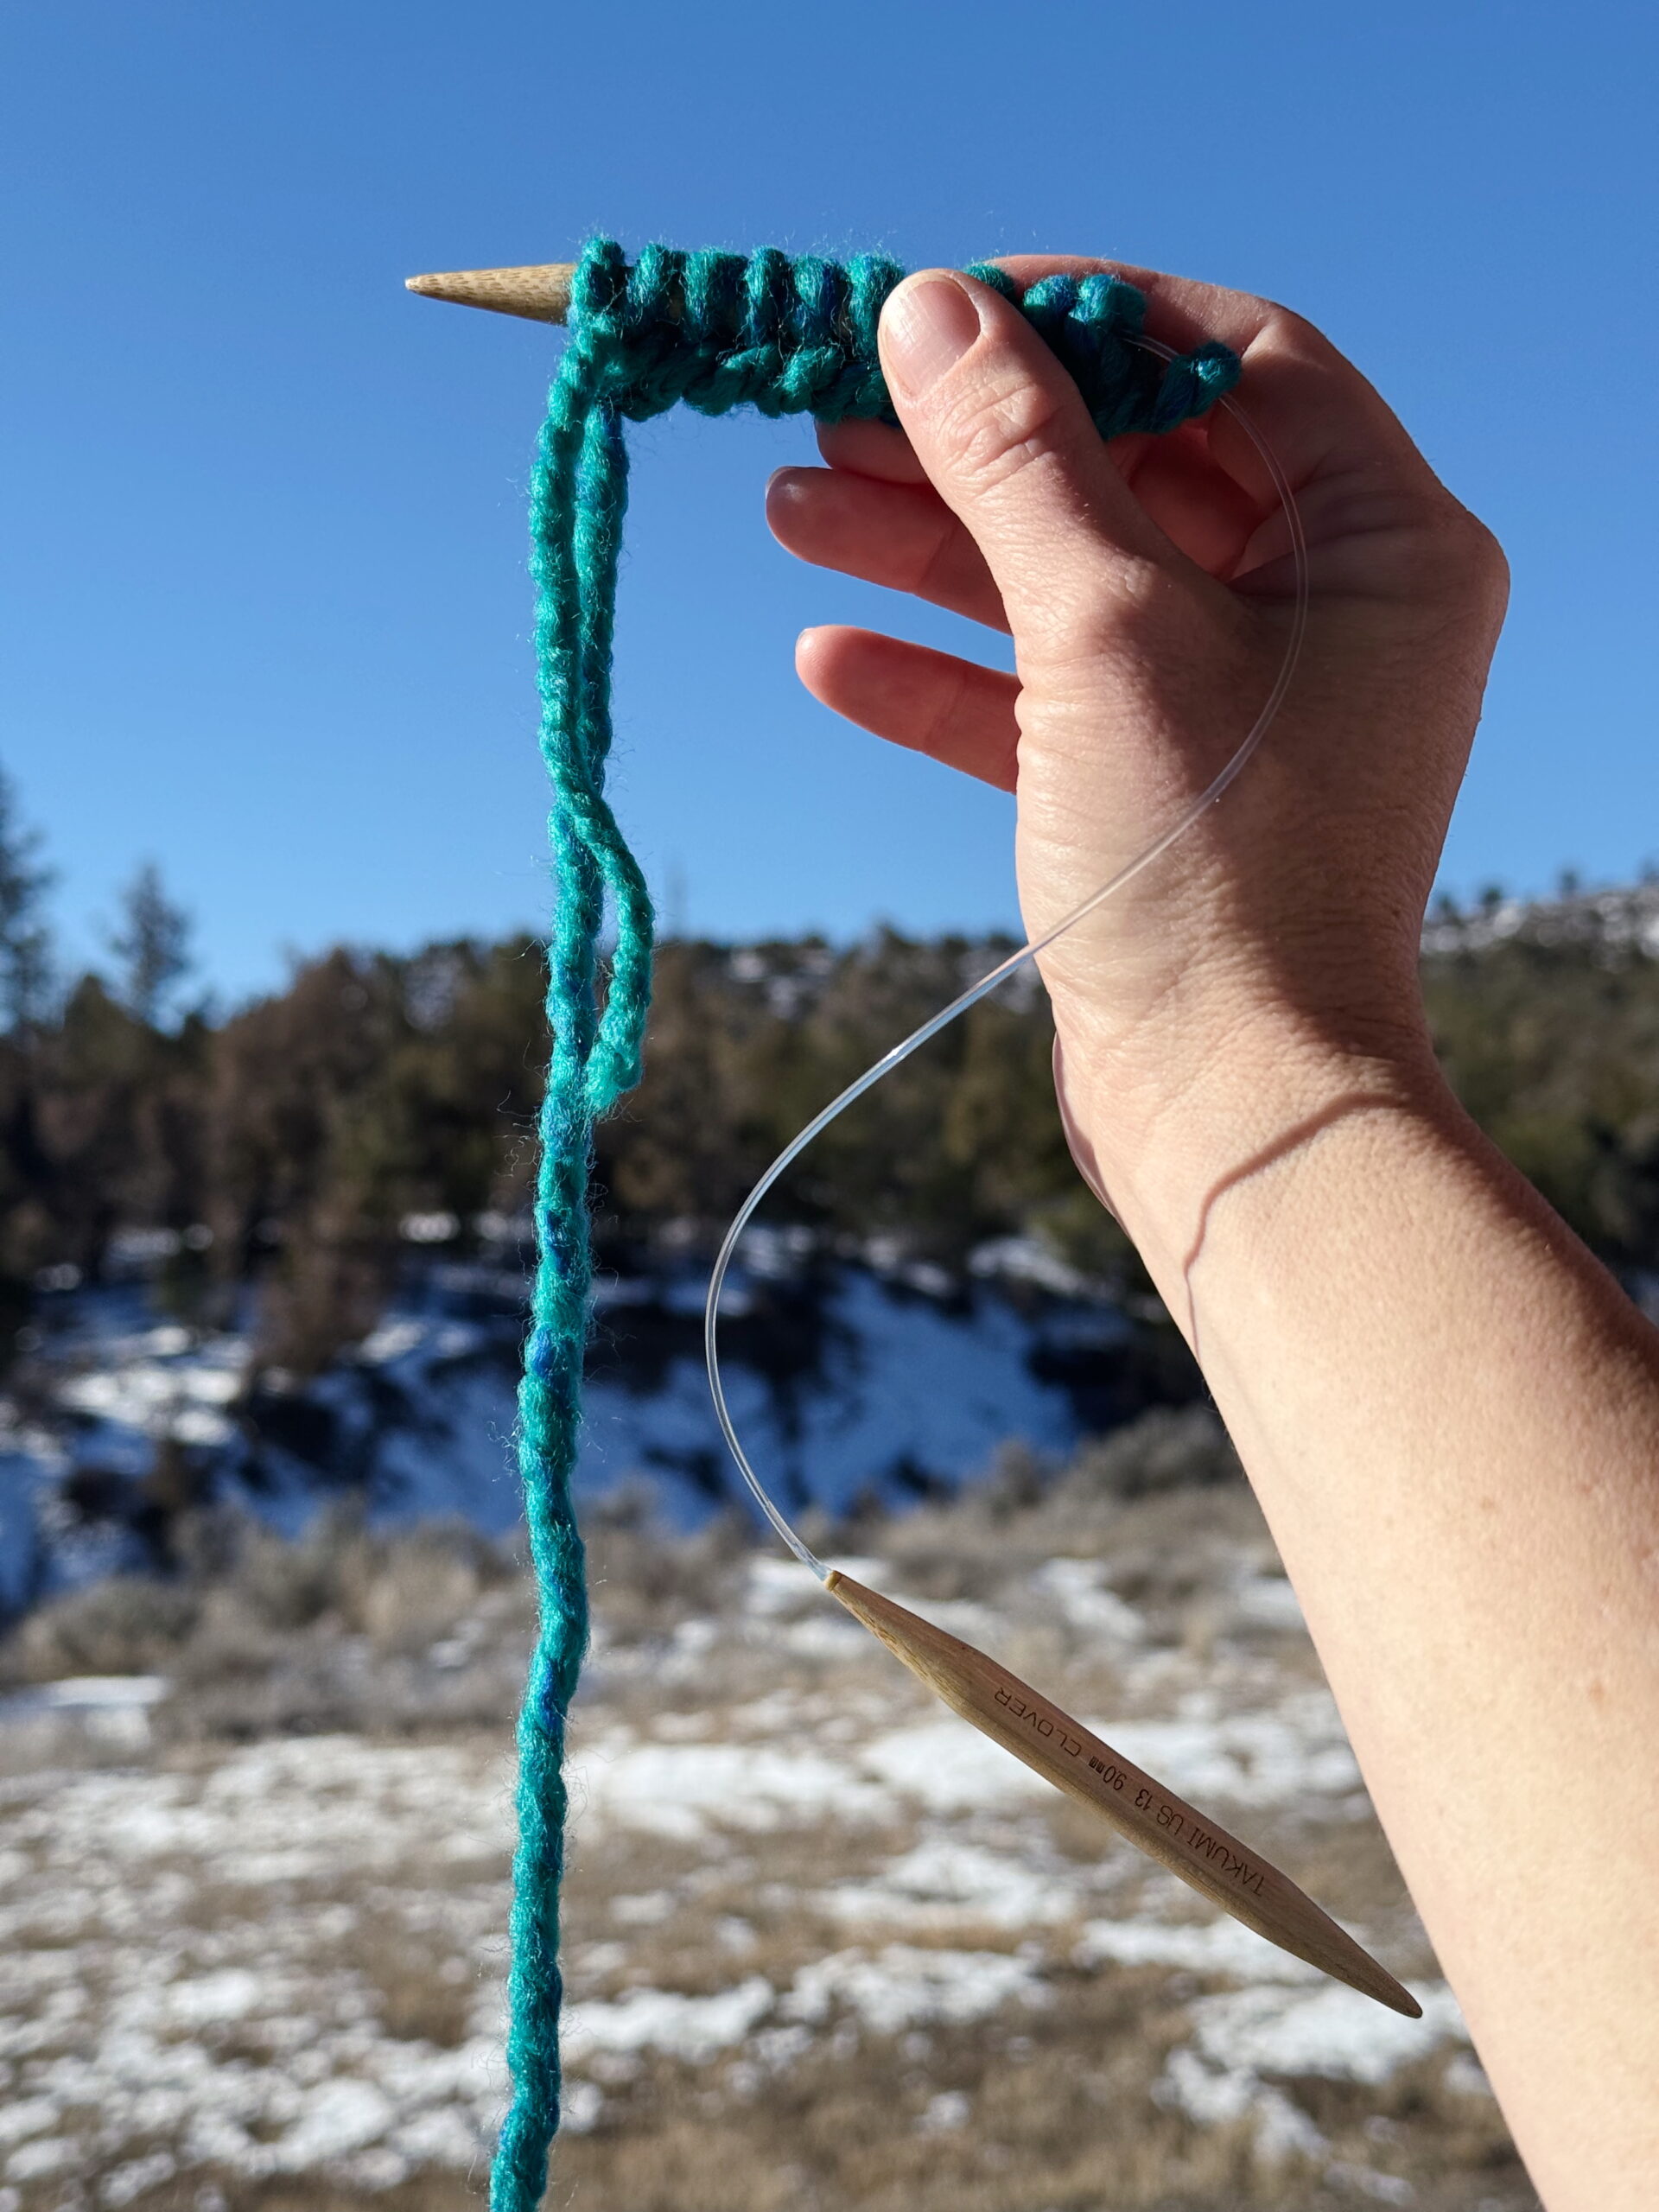
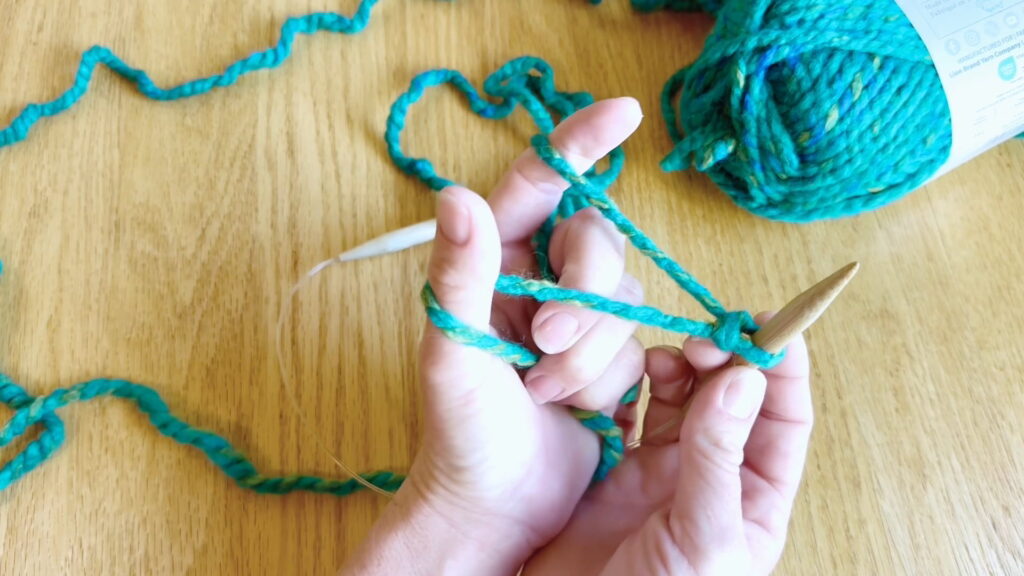
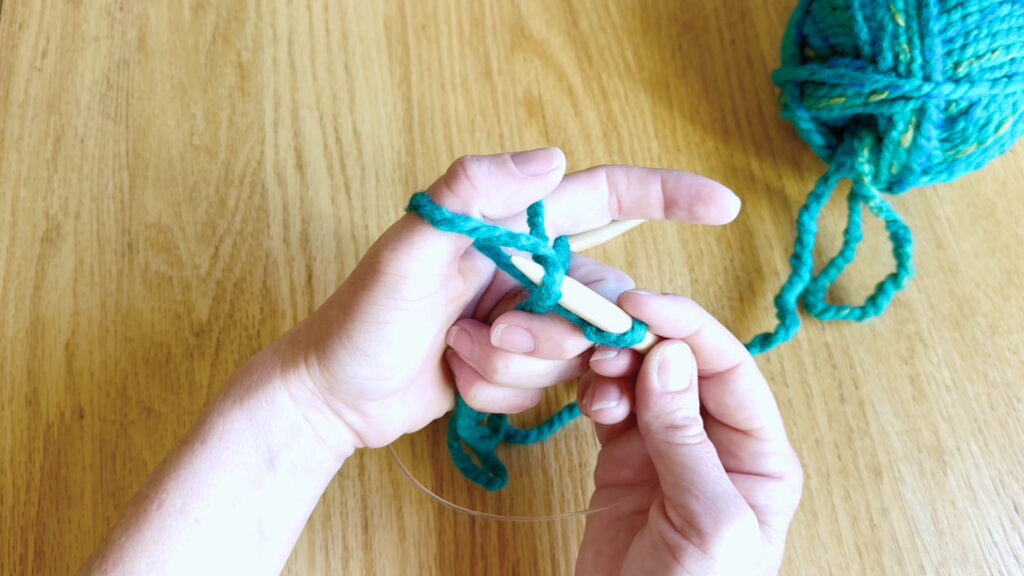
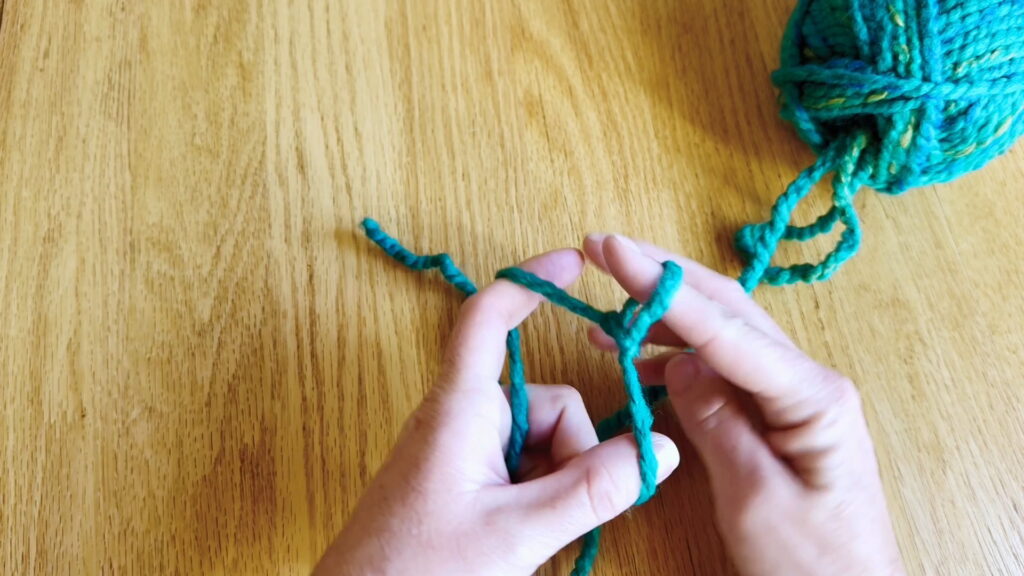
Step 5: Keep Going Around
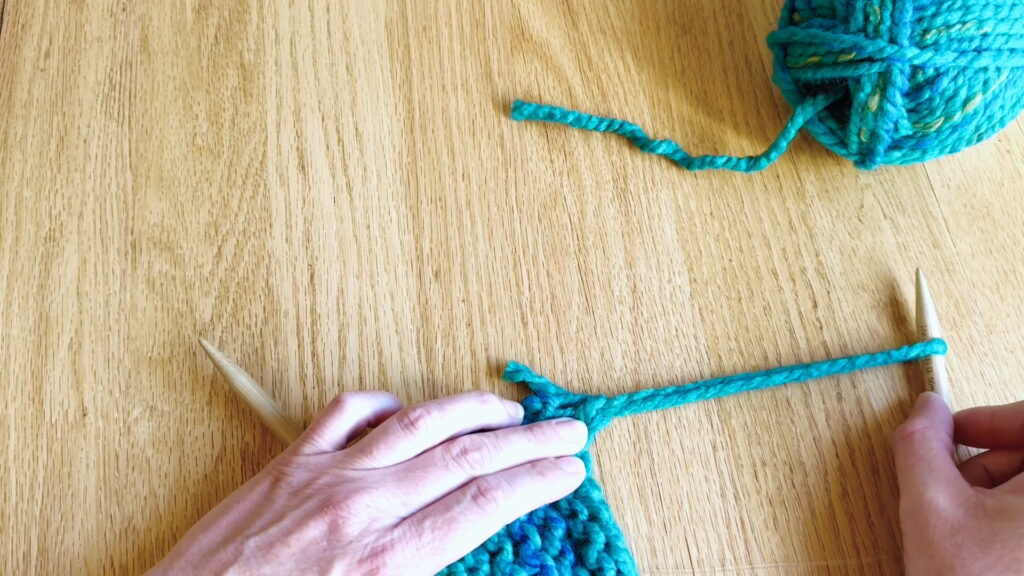
Continue knitting stitches off the left-hand needle. Slide the stitches around the circular needle as you go. Each time you reach the stitch marker, you have finished a row.
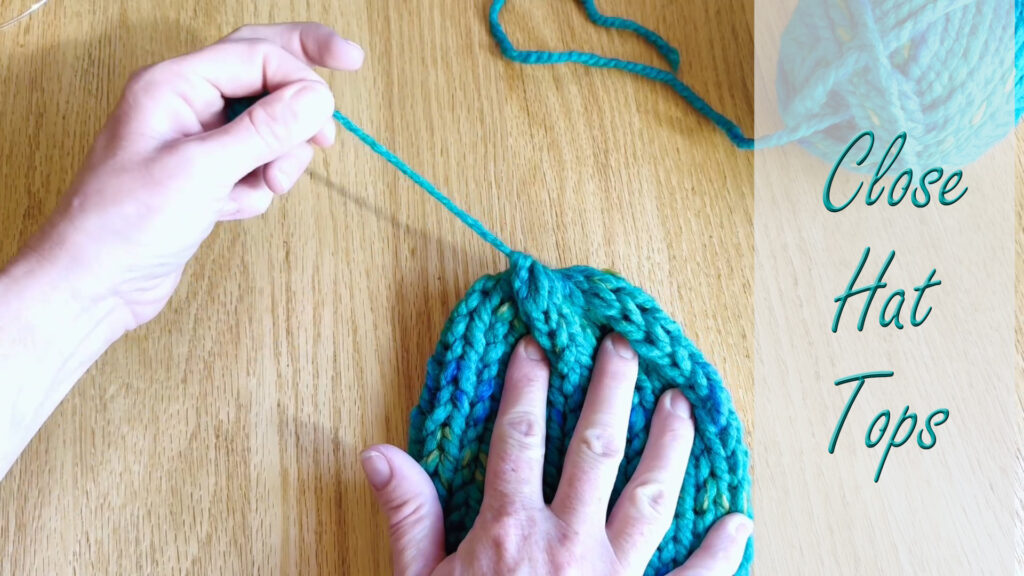
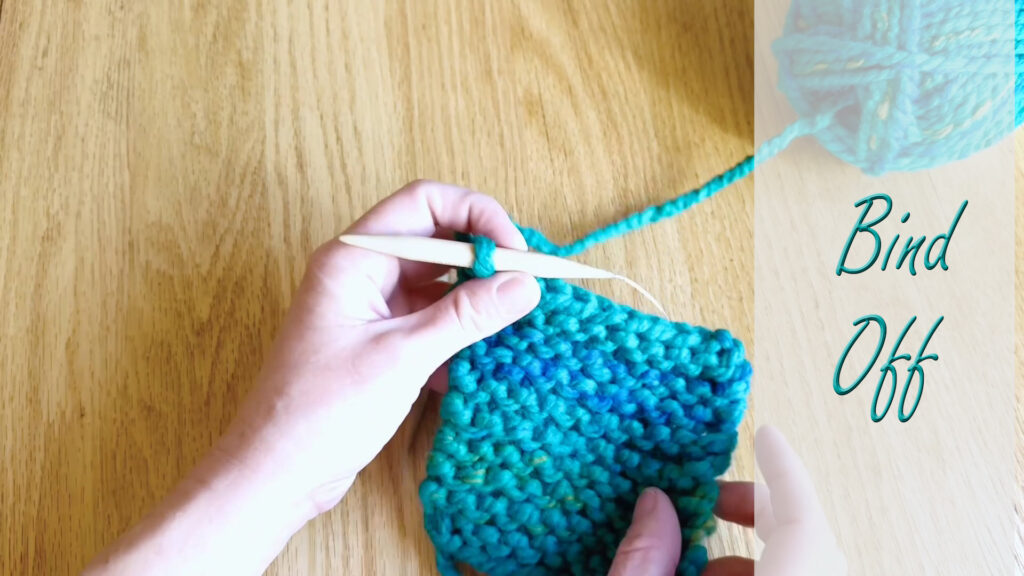
Keep knitting until you have reached your next instruction in the pattern. Then, you can learn to take the yarn off the needles in a way that lets you close up the top of your hat.
Up Next
Draw yarn through the remaining stitches: how to take your stitches off the needles to make a hat. Go to Kids’ Lesson 9 to continue.