Lesson 10: Tie Up Loose Ends (On Hats)
Now that your hat is off the knitting needles, you will have just two loose ends that need to be removed. As you learned in your flat knitting projects, knitters don’t simply cut the yarn. That would cause the project to unravel. Instead, patterns will tell you to “weave in the loose ends.”
Weaving in the loose ends on hats is a way of hiding and securing the yarn tails before cutting them off. In this kids’ knitting lesson, you’ll learn how to weave in loose ends, so you can finish and start using your first knitted hat.
On hats, weaving in your loose ends means you will be sewing the yarn tails into the fabric so that they are hidden. With your darning needle, you will tuck these ends into the project and anchor them in place. To make them extra secure, we will tie two small knots that lock the yarn end to a knit stitch. Then, you can trim away the extra yarn with your scissors and start wearing your hat.
Your Last Step
Below are both video and written tutorials to help you learn how to weave in the loose ends. Working on the Kids’ Hat? You can check your pattern here.
Kids’ Video Guide: How to Weave in Loose Ends to Finish Hats
Kids’ Picture Guide: How to Weave in Loose Ends to Finish Hats
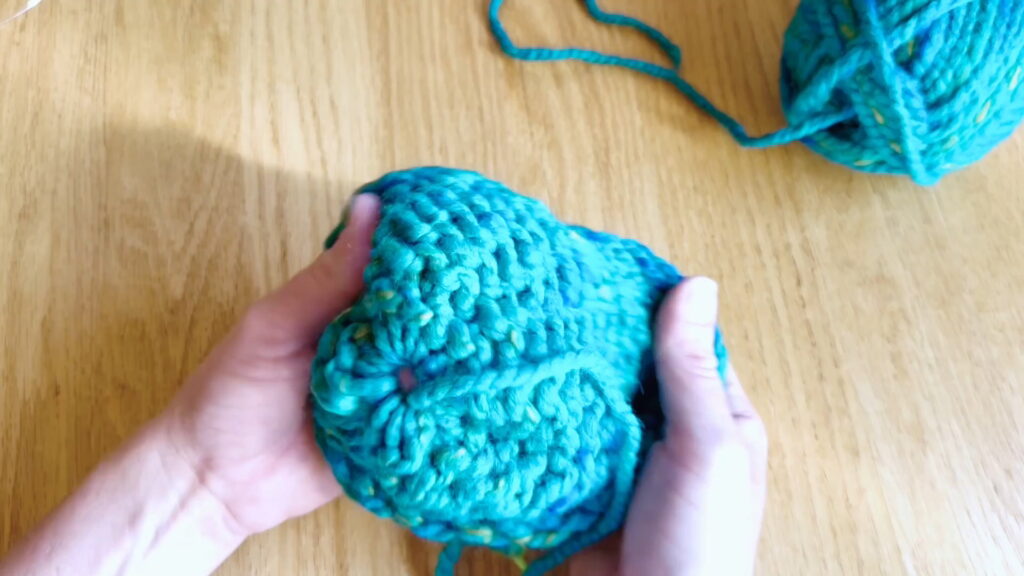
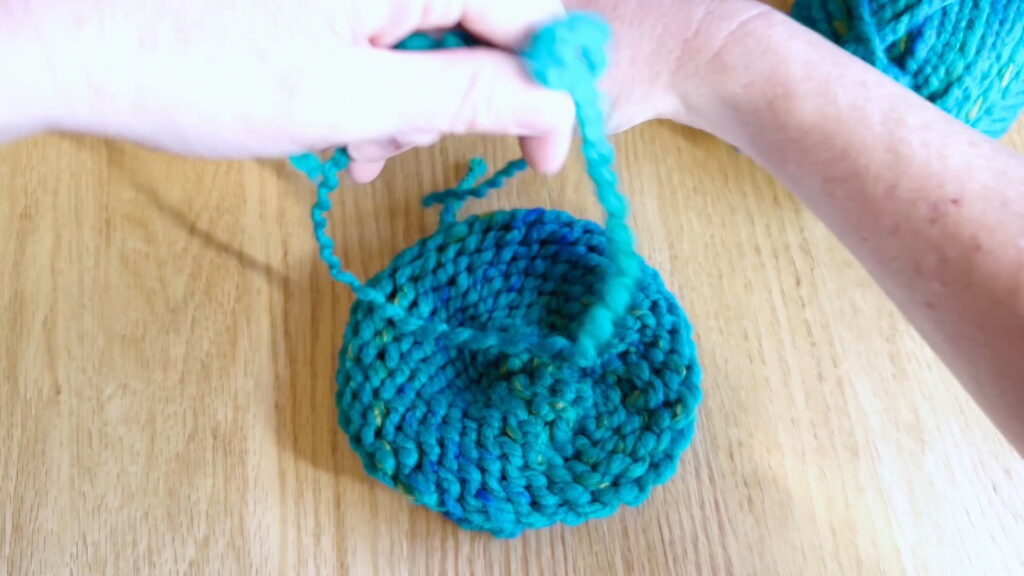
After you have finished drawing the yarn through all the remaining stitches, your hat will be off the knitting needles. You’re almost finished: you have just two loose ends to remove. We will weave them into the fabric one at a time using a darning needle.
How to Weave in Loose Ends: Hat Tops
Once you have taken all the stitches off the knitting needles, it is time to cut the yarn that connects the knitting project to the ball.
Weave in Loose Ends Step 1: Thread Yarn onto Darning Needle
Thread the loose end onto the darning needle by poking the end through the eye of the darning needle.
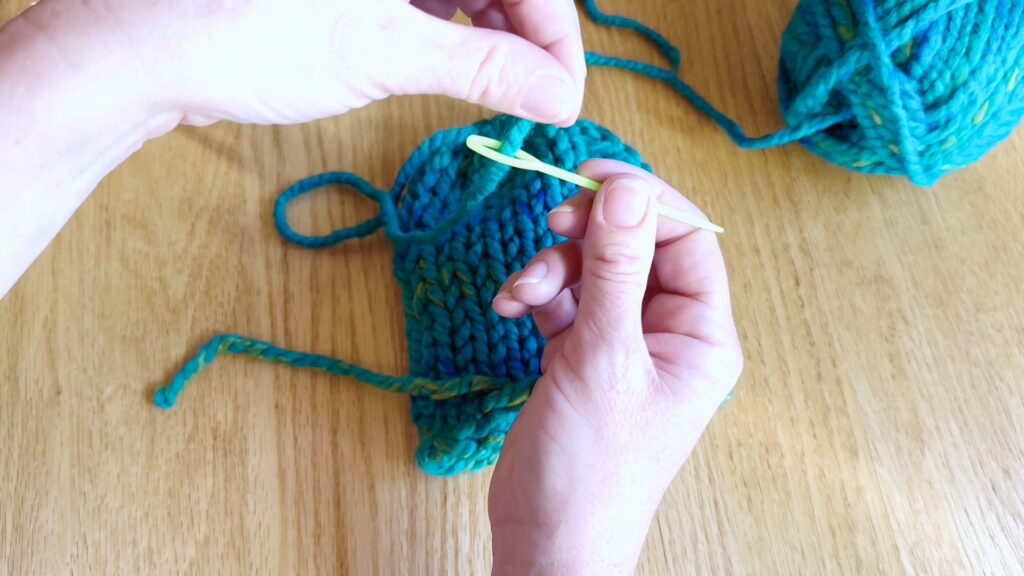
Weave in Loose Ends Step 2: Sew In
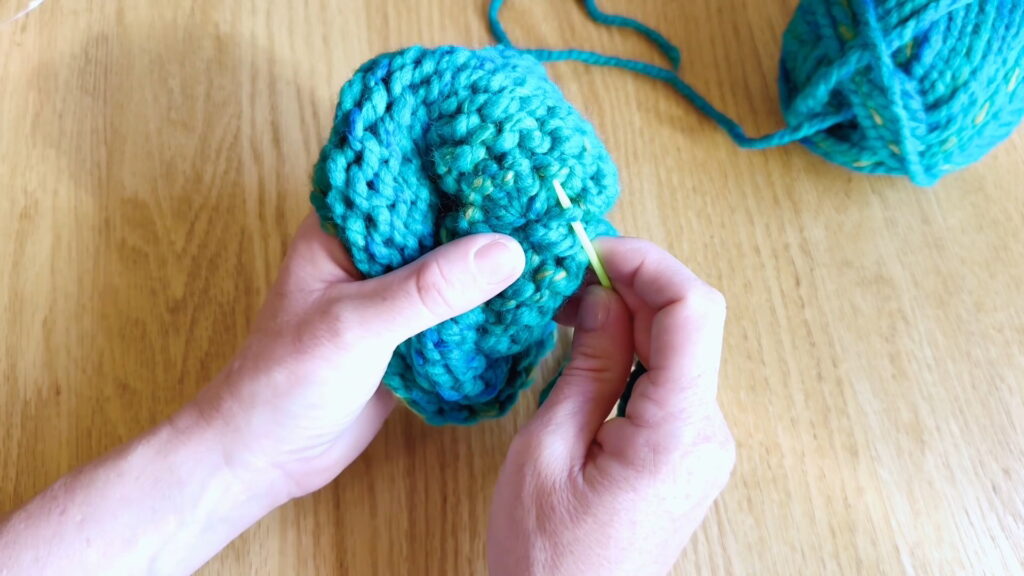
Point the darning needle down through the hole at the top of the hat.
Weave in Loose Ends Step 3: Turn Hat
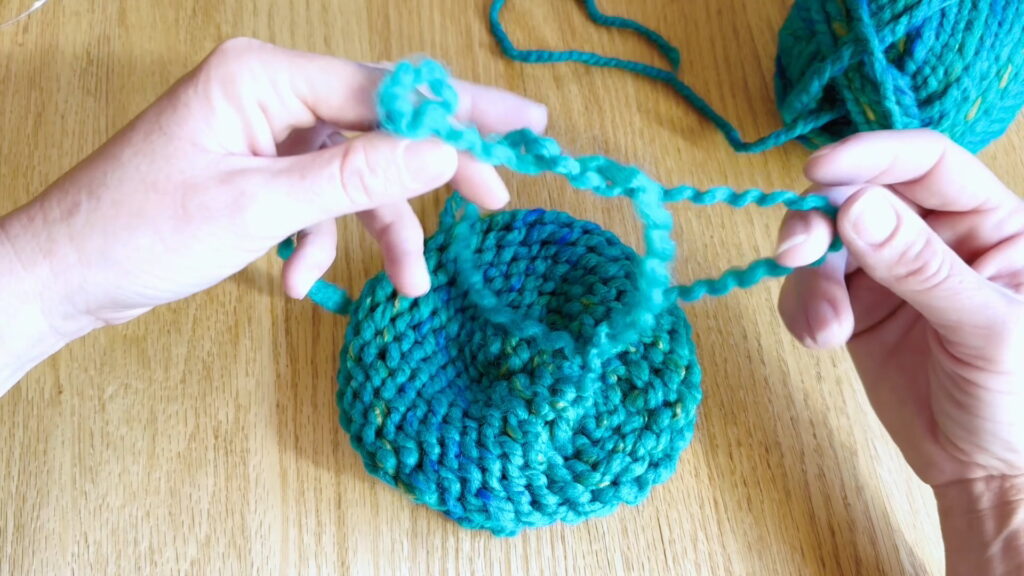
Turn the hat inside-out then bring the needle and yarn the rest of the way through the hole. Then, pull the tail tightly to close the hole.
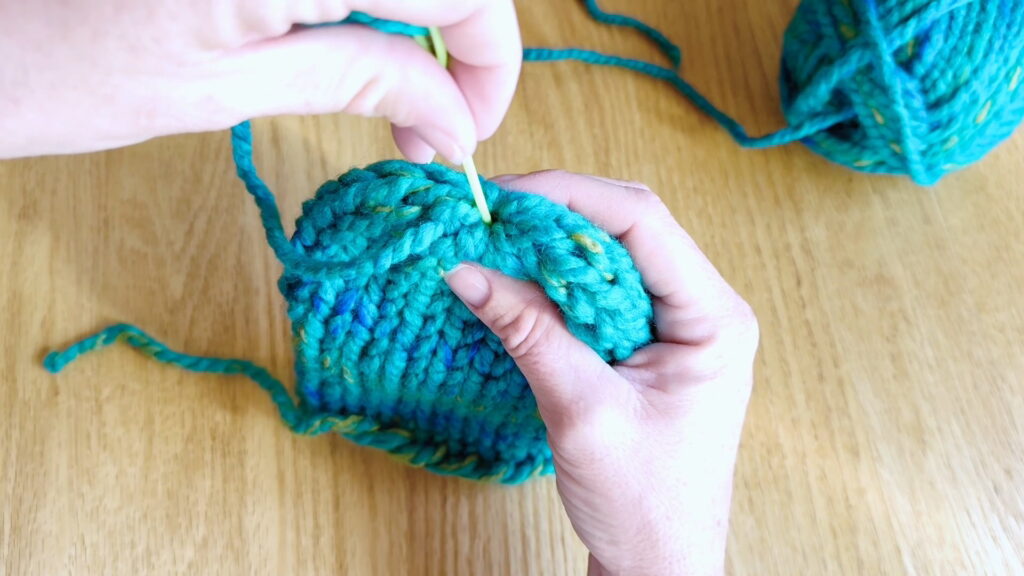
Weave in Loose Ends Step 4: Anchor
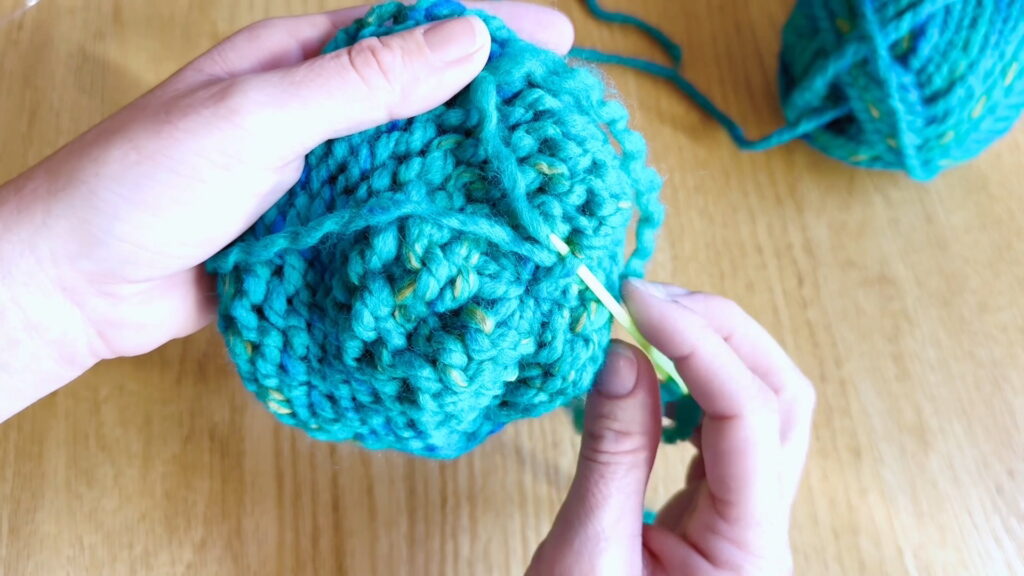
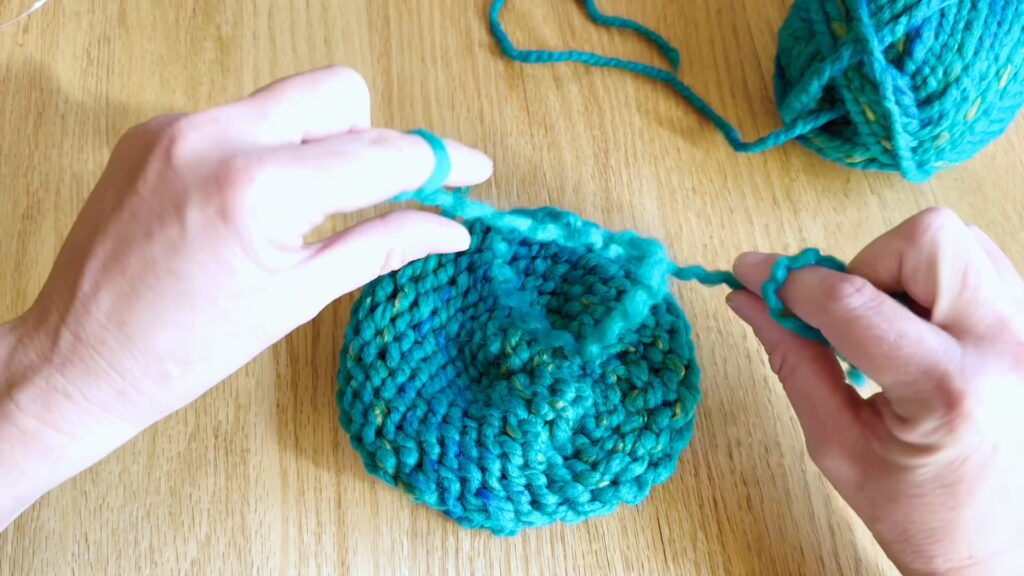
Choose a stitch near the hole at the top of the hat. (This will be the stitch you anchor the end onto.) Poke the darning needle under that stitch pointing away from the edge of the knitting project. Sew the yarn through.
Weave in Loose Ends Step 5: Split and Anchor
Split the yarn end in half, thread half the yarn onto the darning needle, and then sew that half of the yarn around the stitch you chose to anchor your yarn onto.
Next, we will tie two little knots to make sure the end of the yarn stays in place.
How to Tie Up Loose Ends: Hat Top
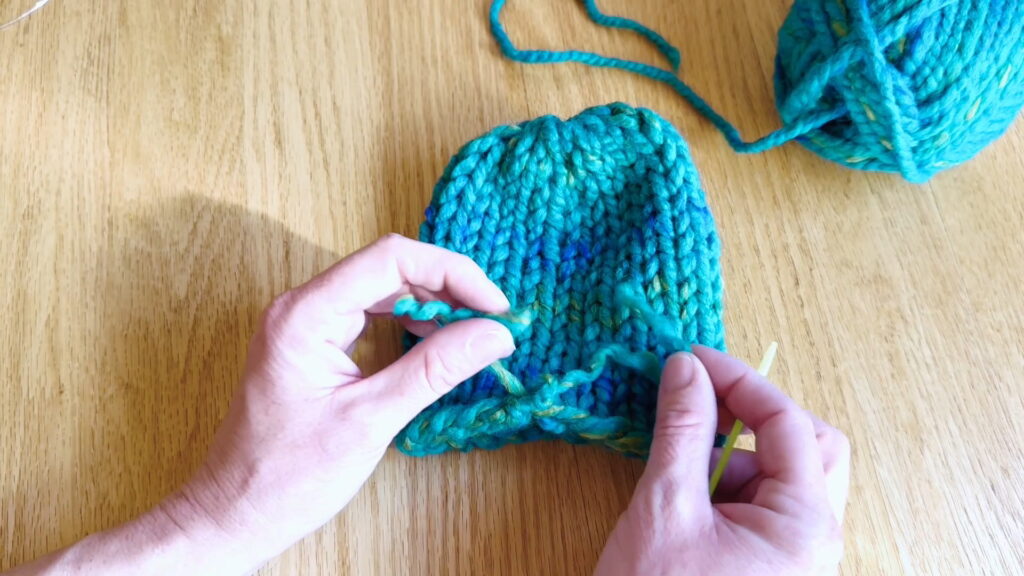
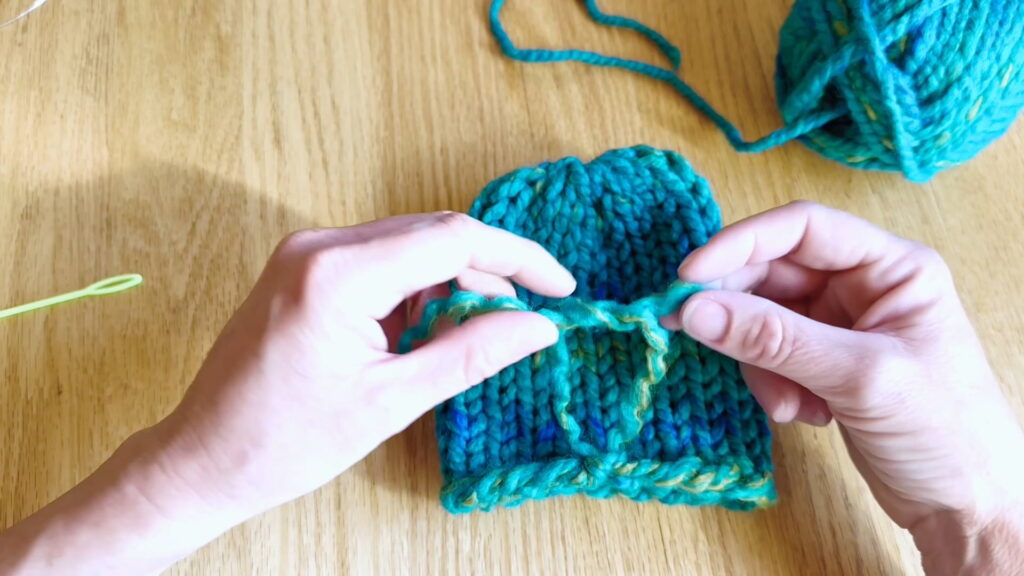
Tie Up Loose Ends Step 1: Lay Halves in Opposite Directions
Lay the two halves of the yarn end in opposite directions, one pointing to the left and one to the right.
Tie Up Loose Ends Step 2: Pick Up Yarn Halves
Pick up the two halves of the yarn with opposite hands (the right strand in the left hand and the left strand in the right hand).
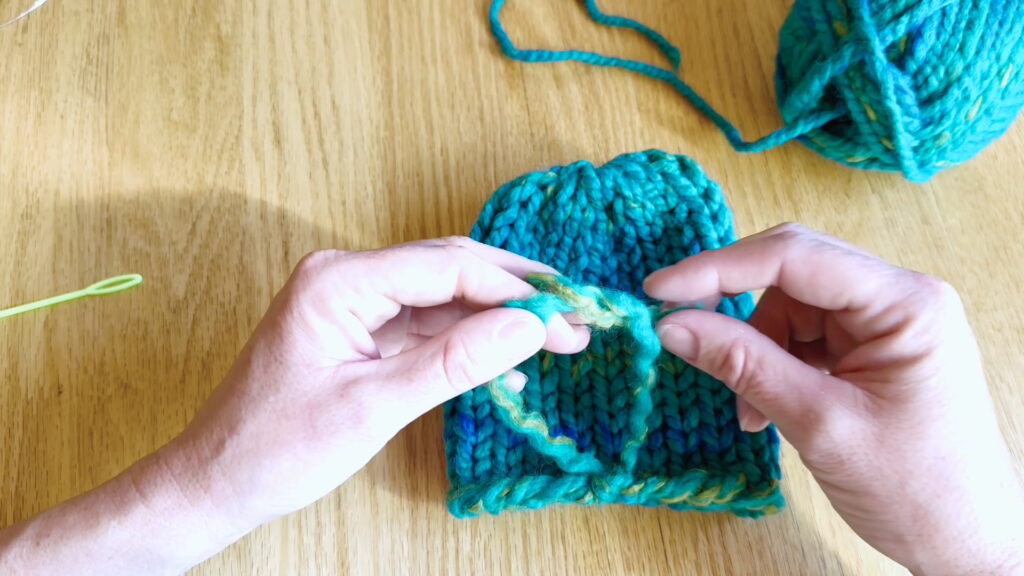
Tie Up Loose Ends Step 3: Tie Knot
Tie the two ends in a simple knot: Cross the strands to make a loop, then tuck one end through the loop, and pull it through. Tighten just to the surface of the knitting, but don’t pull too tightly.
Tie Up Loose Ends Step 4: Tie Second Knot
Tie the two ends in a simple knot: Cross the strands to make a loop, then tuck one end through the loop, and pull it through. Tighten just to the surface of the knitting, but don’t pull too tightly.
Tie Up Loose Ends Step 5: Pull Tight
Pull the second knot tightly. If it does not move, go to step six. If it slips when you pull, make one more knot (repeat steps one through three) before going to step six.
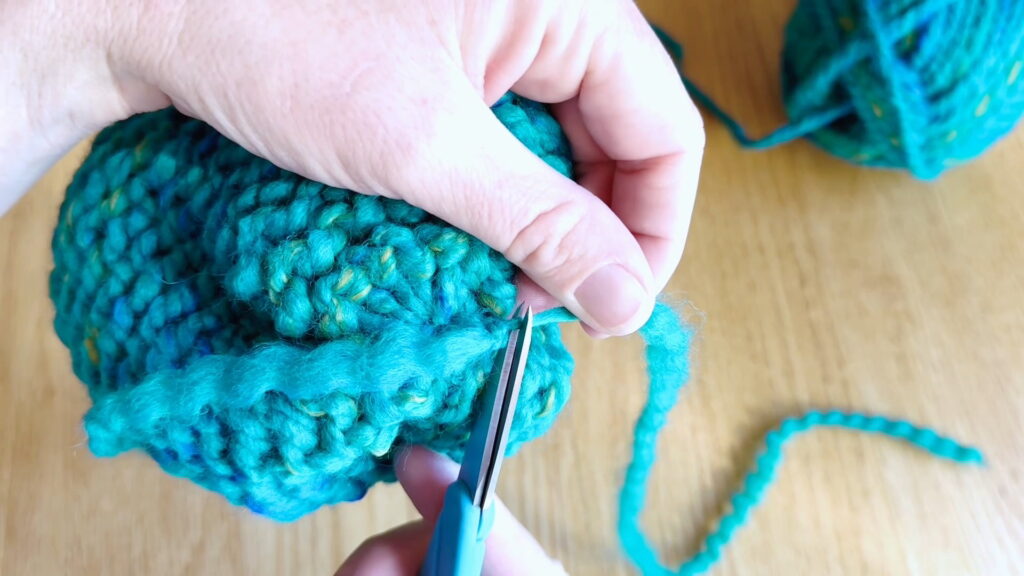
Tie Up Loose Ends Step 6: Cut Extra Yarn
Use your scissors to trim the two yarn halves near the knot.
Tie Up Loose Ends Step 7: Turn Hat
Turn your hat to bring right-side out again.
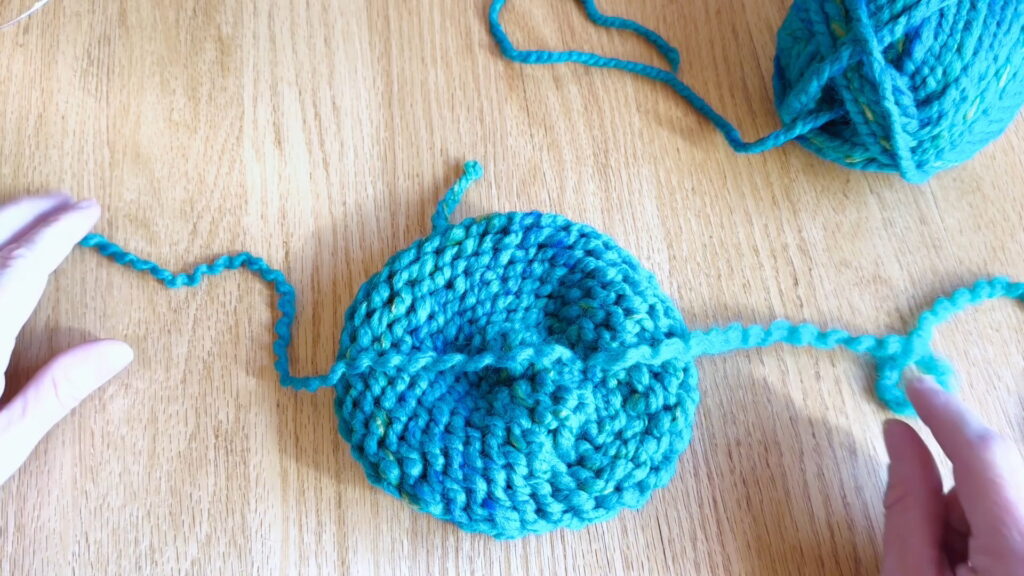
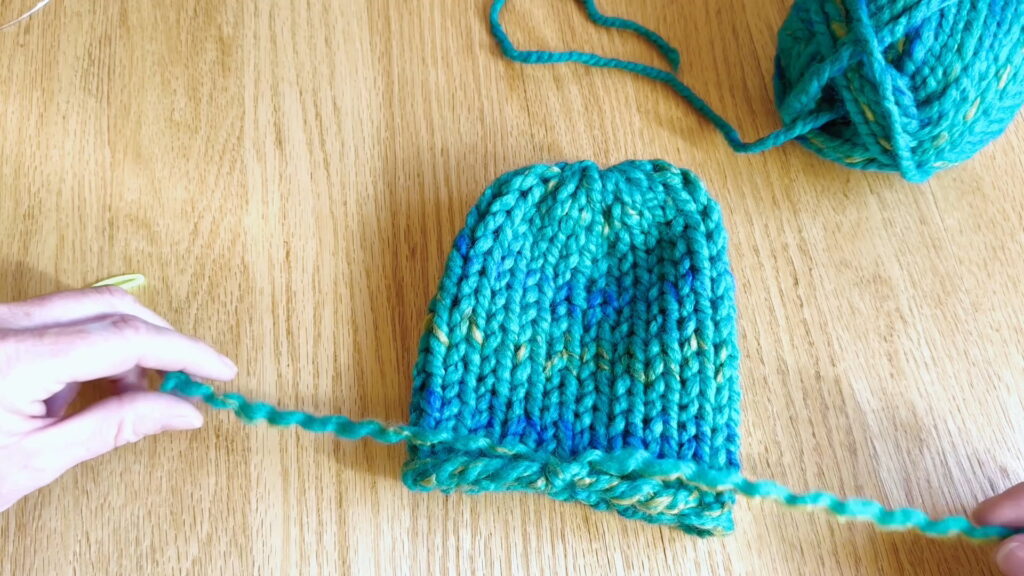
Now, you only have one loose end left before your hat is finished.
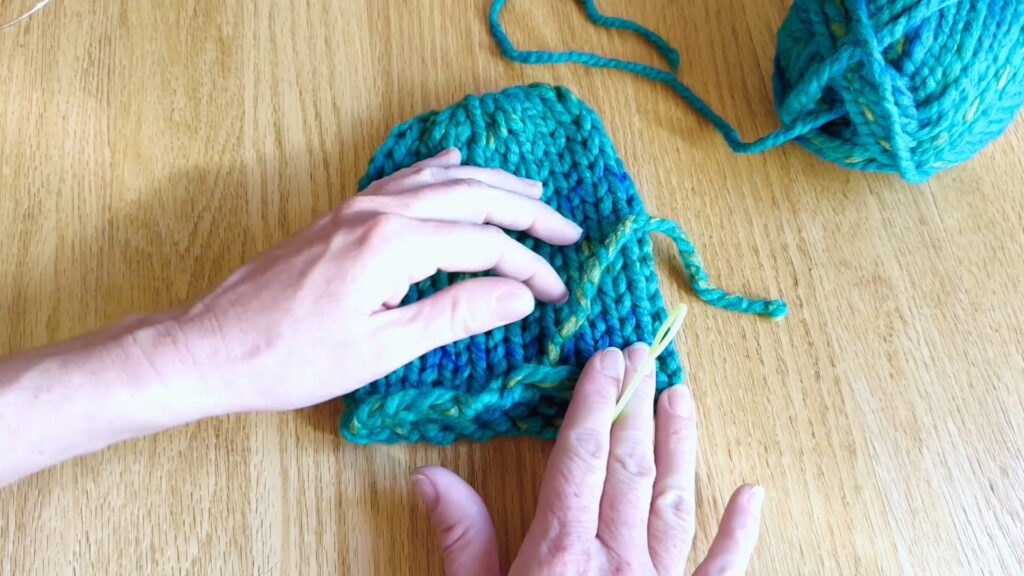
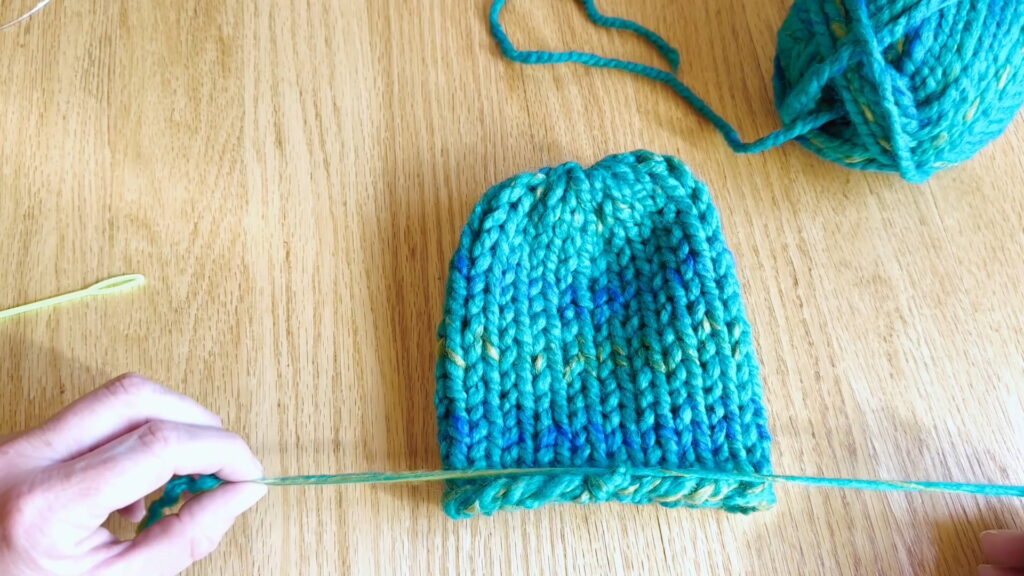
How to Weave in Loose Ends: Hat Bottom
Weave in Loose Ends Step 1: Thread Yarn onto Darning Needle
Thread a loose end onto the darning needle by poking the end through the eye of the darning needle.
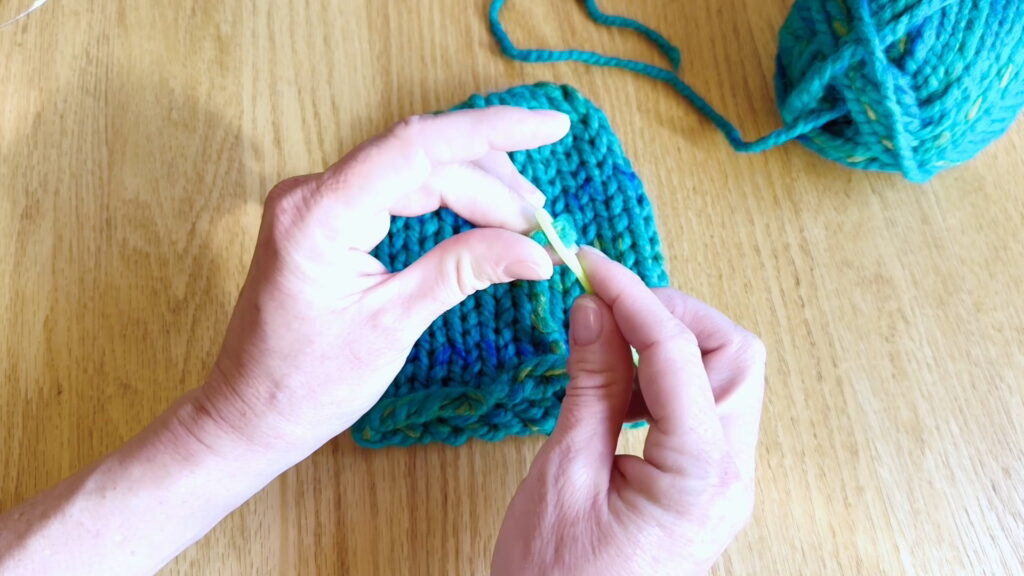
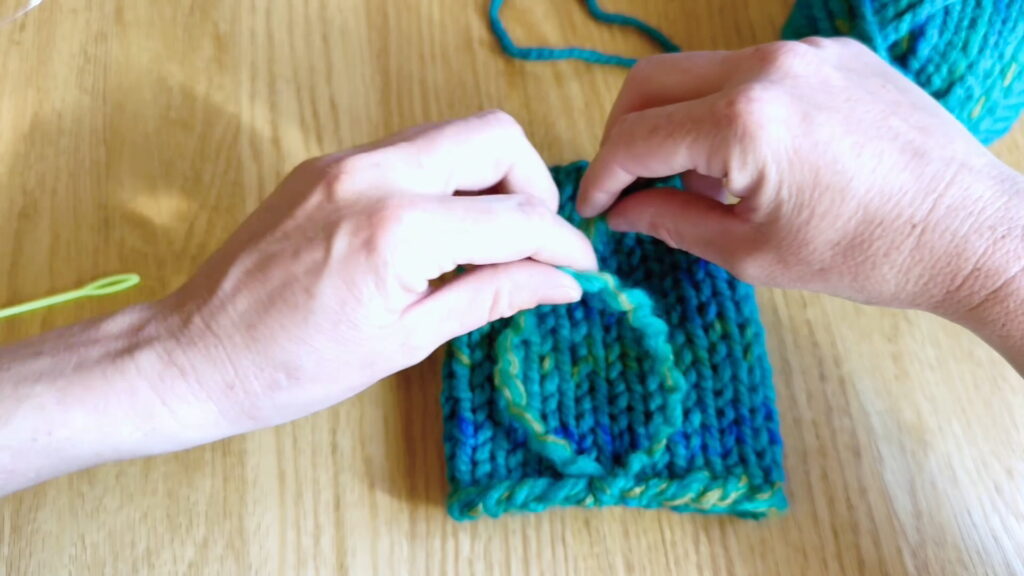
Weave in Loose Ends Step 2: Sew In
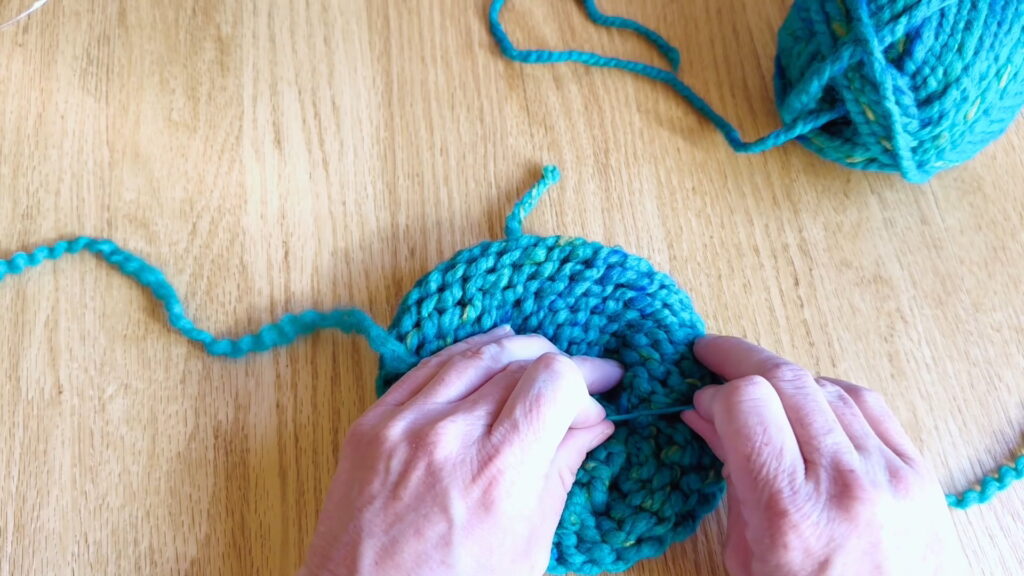
Choose a stitch near the loose end in the next row up. (This will be the stitch you anchor the end onto.) Poke the darning needle under that stitch pointing away from the edge of the knitting project. Sew the yarn through.

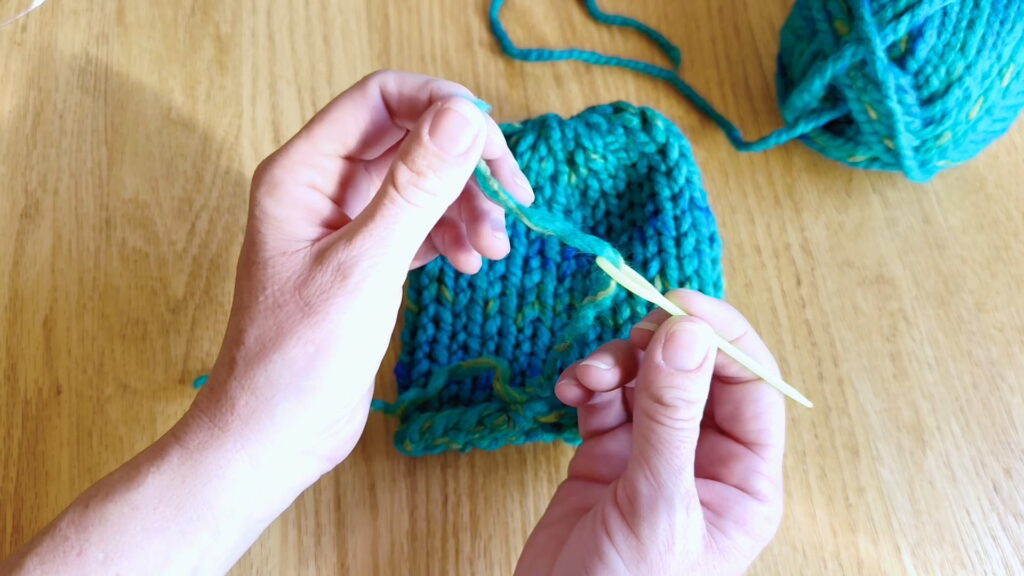
Weave in Loose Ends Step 3: Split Yarn
Take the yarn off the darning needle. Then, use the needle top to help you split the yarn end in half.
Weave in Loose Ends Step 4: Thread Half the Yarn
Thread half the yarn end through the eye of the darning needle.
Weave in Loose Ends Step 5: Anchor
Sew that half of the yarn around the stitch you chose to anchor your yarn onto. Next, we will tie two little knots to make sure the end of the yarn stays in place.

How to Tie Up Loose Ends: Hat Bottom
Tie Up Loose Ends Step 1: Lay Halves in Opposite Directions
Lay the two halves of the yarn end in opposite directions, one pointing to the left and one to the right.
Tie Up Loose Ends Step 2: Pick Up Yarn Halves
Pick up the two halves of the yarn with opposite hands (the right strand in the left hand and the left strand in the right hand).
Tie Up Loose Ends Step 3: Tie Knot
Tie the two ends in a simple knot: Cross the strands to make a loop, then tuck one end through the loop, and pull it through. Tighten just to the surface of the knitting, but don’t pull too tightly.
Tie Up Loose Ends Step 4: Tie Second Knot
Repeat steps one through three to tie a second knot.
Tie Up Loose Ends Step 5: Pull Tight
Pull the second knot tightly. If it does not move, go to step six. If it slips when you pull, make one more knot (repeat steps one through three) before going to step six.
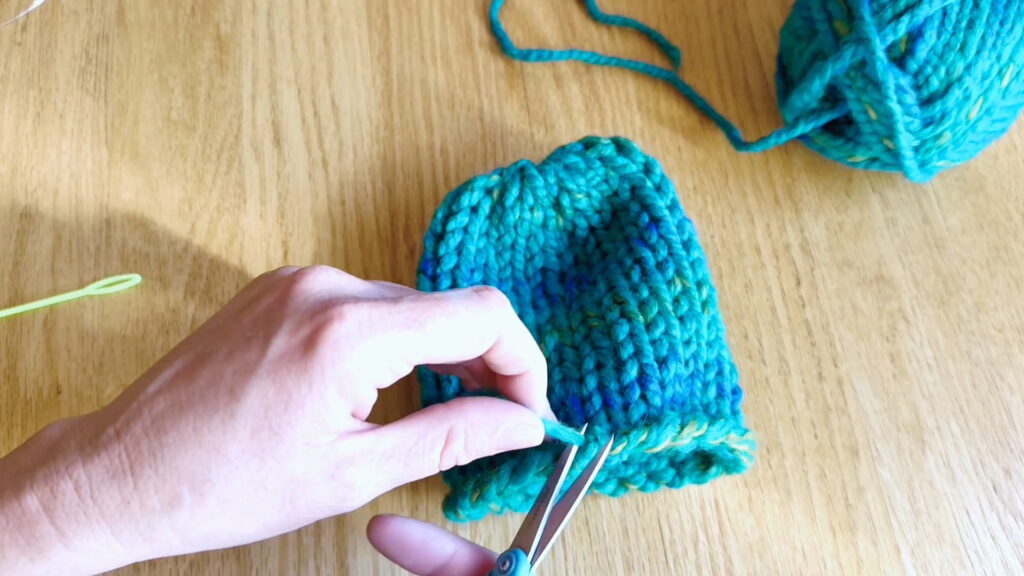
Tie Up Loose Ends Step 6: Cut Extra Yarn
Use your scissors to trim the two yarn halves near the knot.
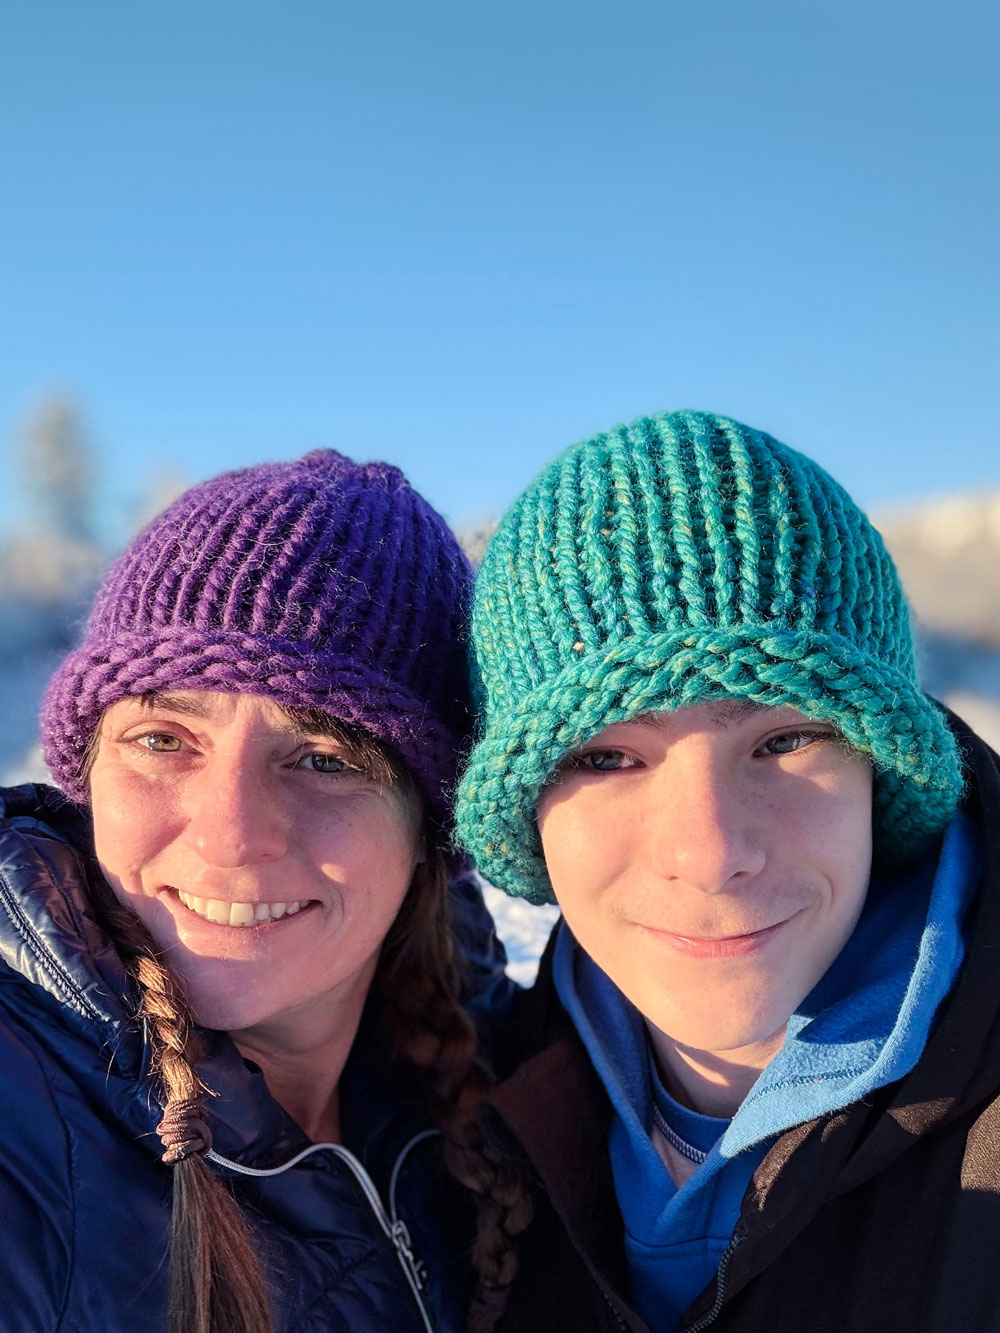
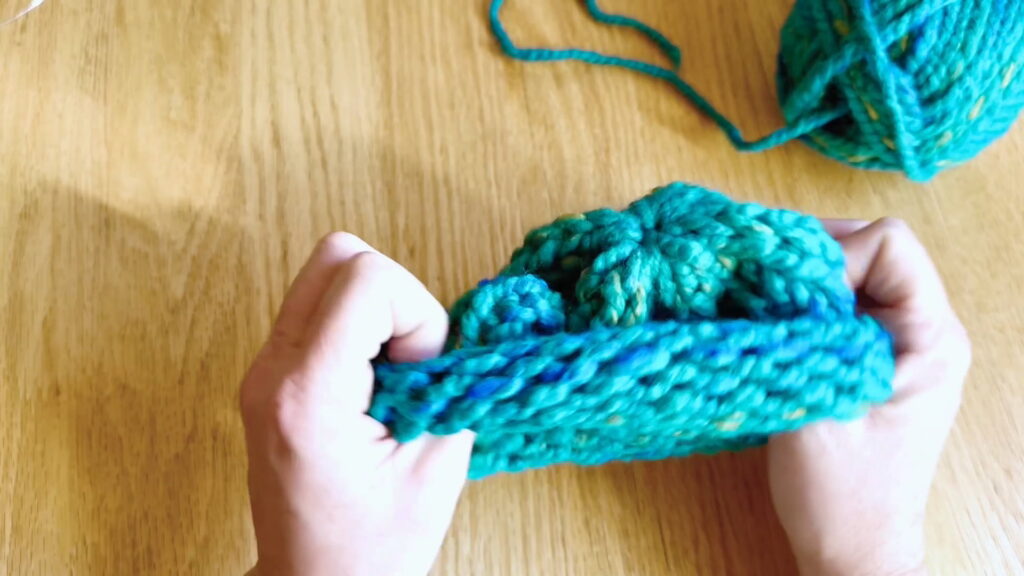
Stretch your hat gently into shape to even out your stitches and roll up the brim.
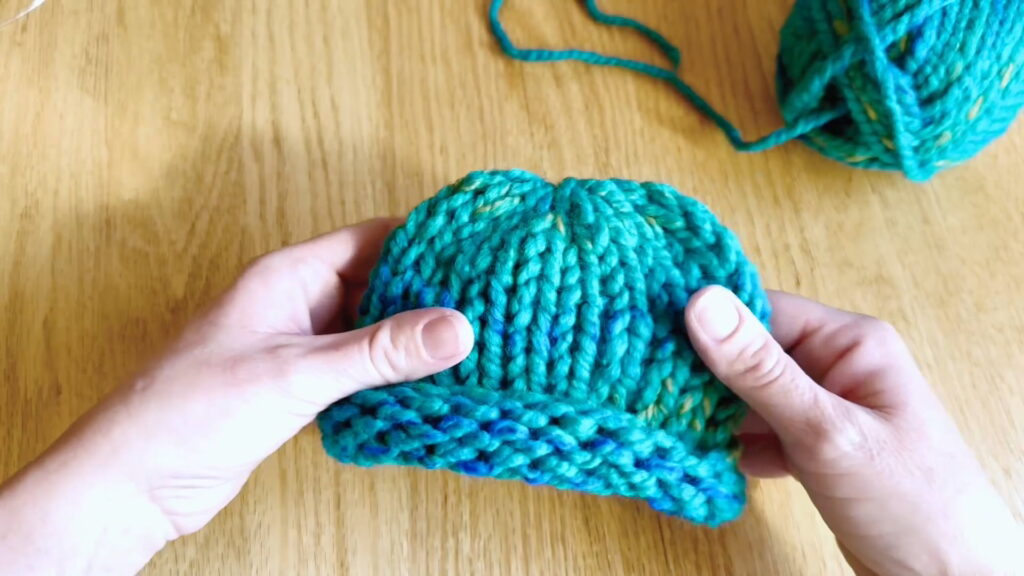
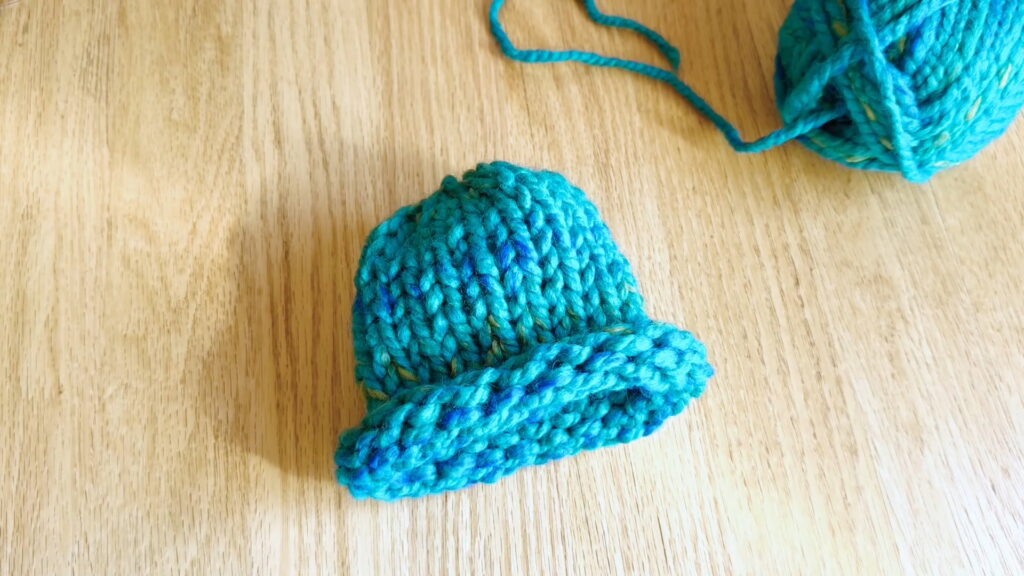
Now you have finished your very first hat and it is ready to wear. Be proud of yourself! You now understand flat and round knitting and you’re ready for the next project.
Your Next Project
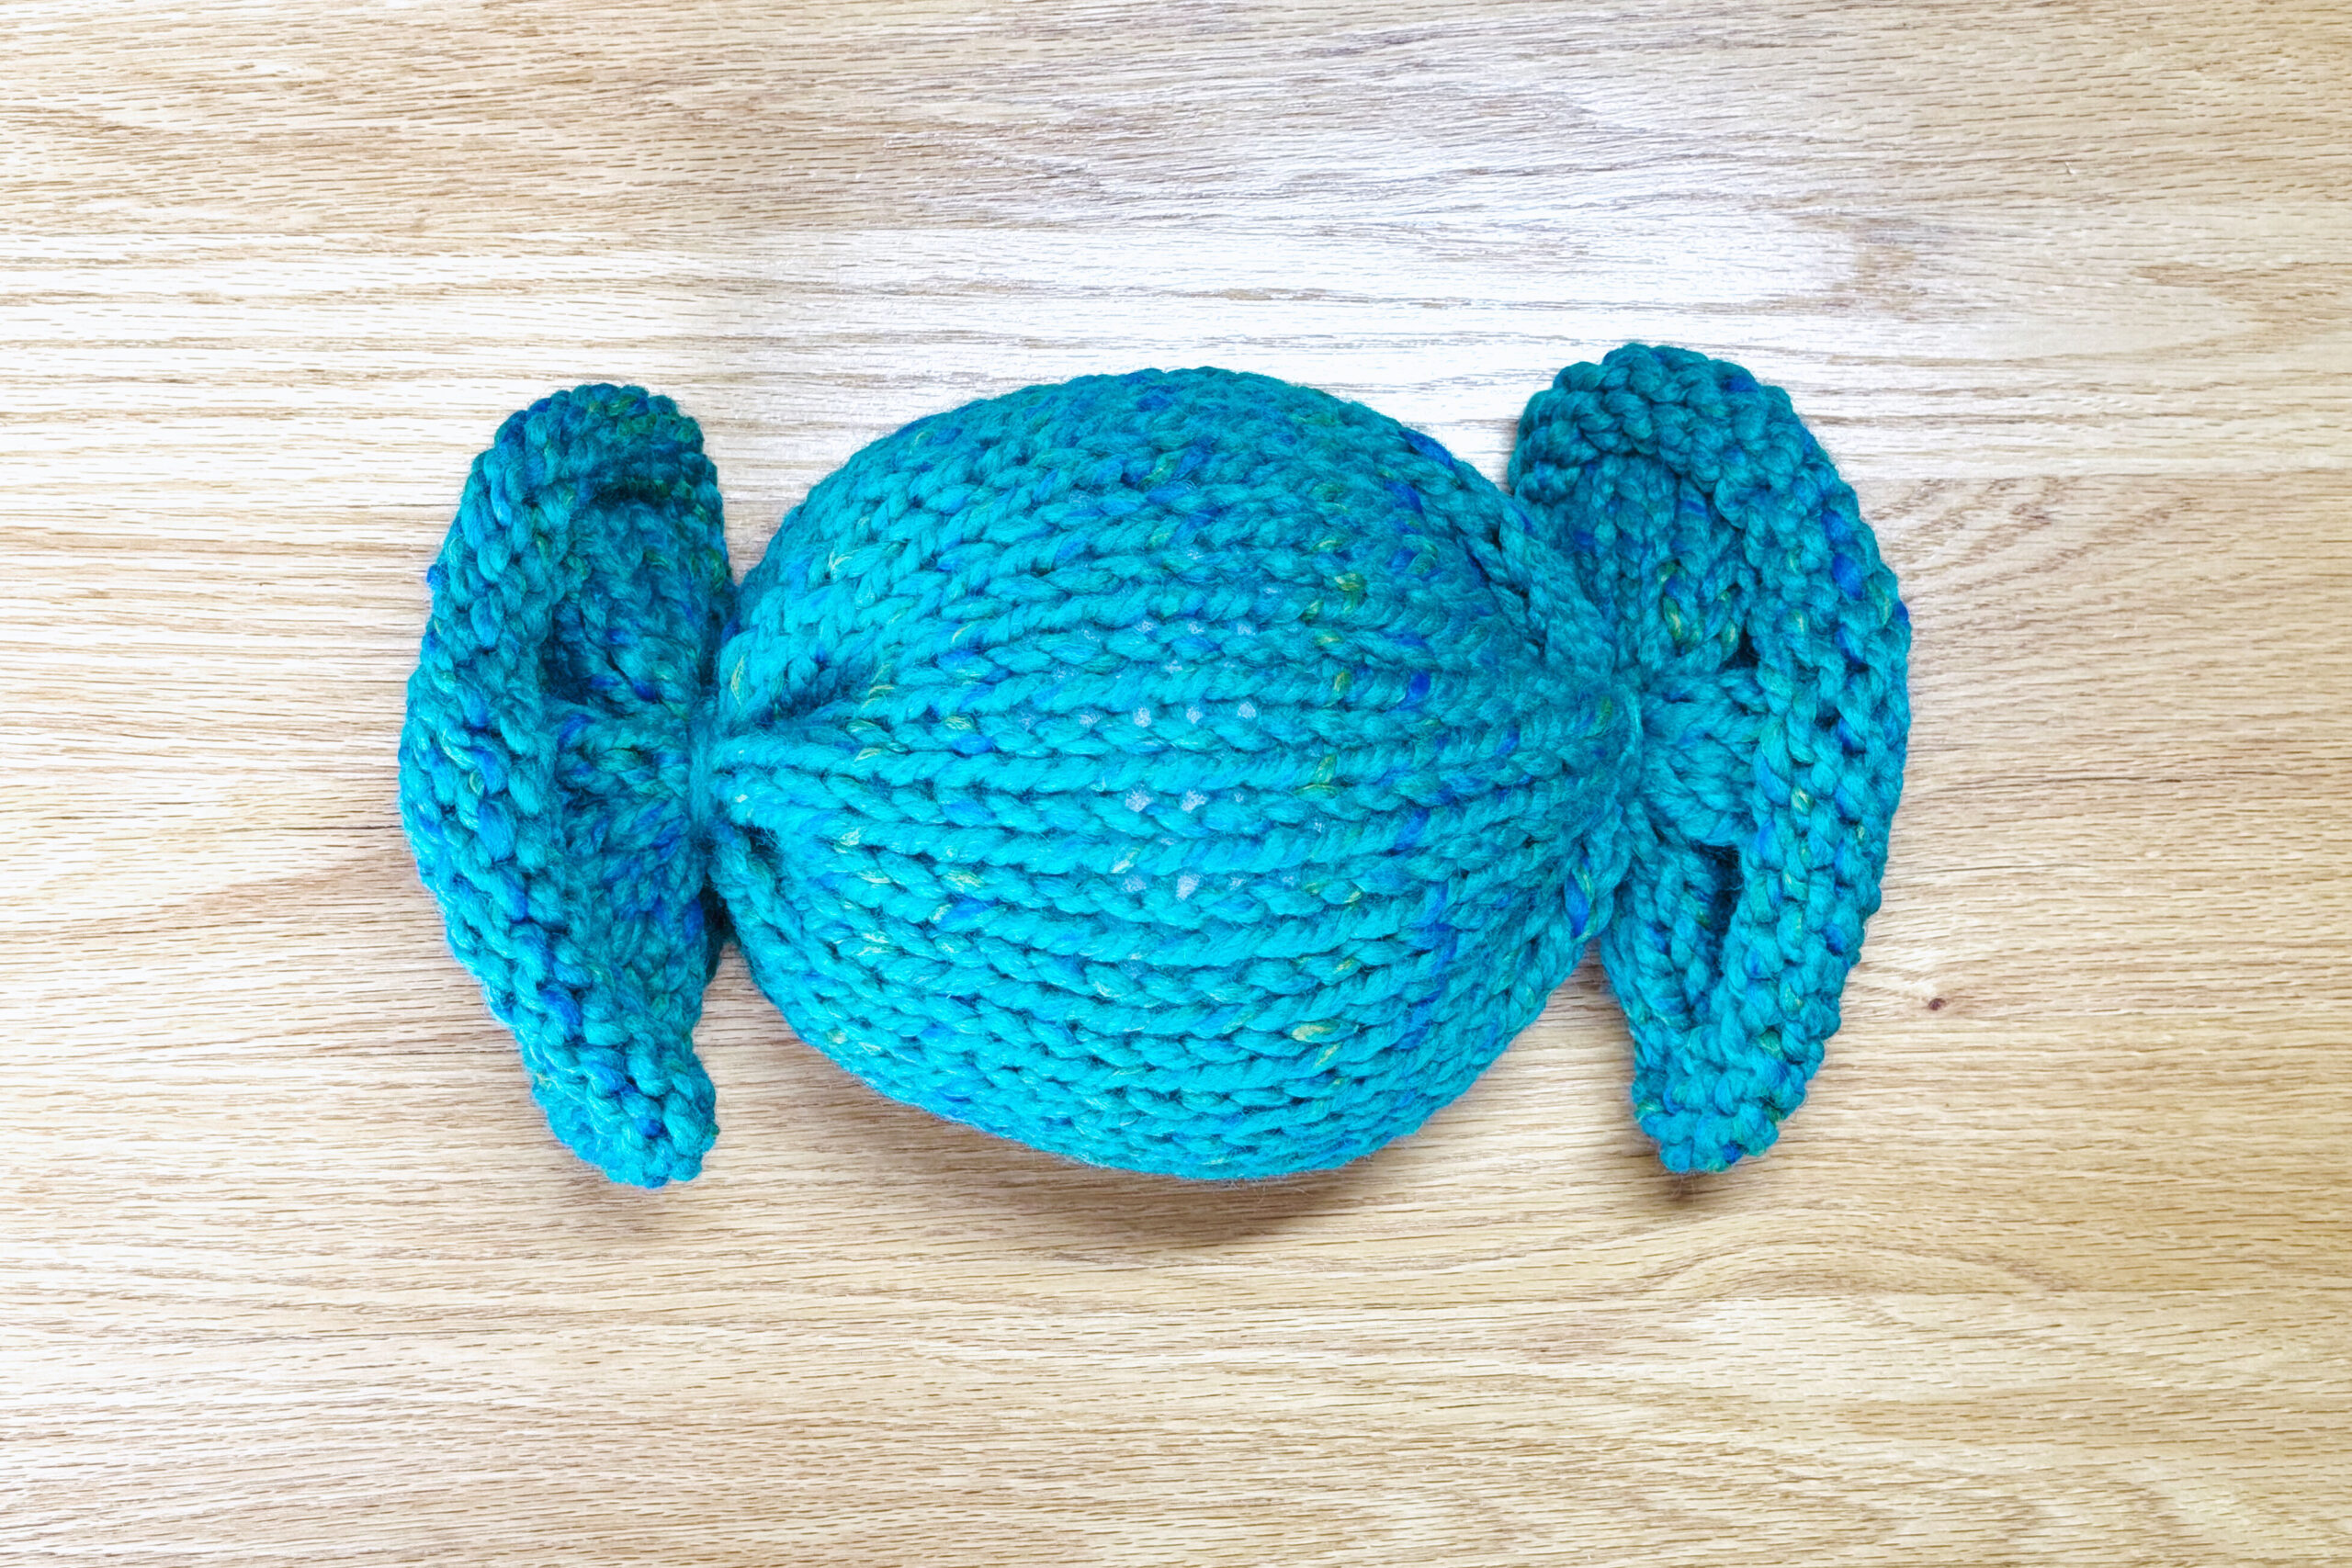
Using everything you’ve covered in the Kids’ Knitting Lessons so far, you can now make a coaster, placemat, scarf, and hat. Now it is time for a new challenge: your first knitted toy.
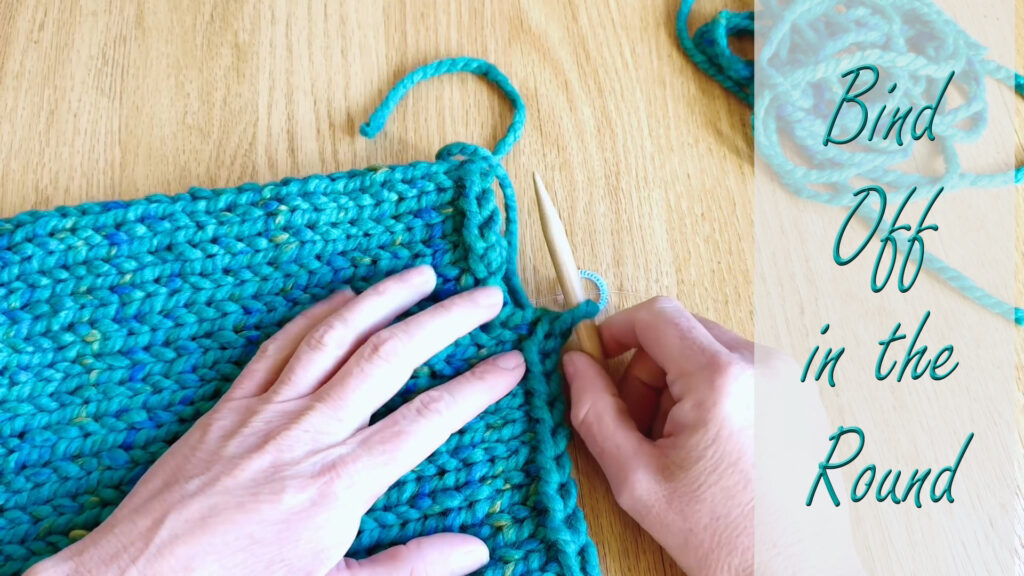
In the next lesson, you will learn how to make a candy pillow toy by binding off a project in the round. Move to the next lesson (Kids’ Lesson 11) to start learning to bind off in the round so you can make your own candy toy.
Up Next
Learn how to bind off in the round to finish your first knitted toy. Go to Kids’ Lesson 11 to continue.
Return to the Kids’ Knitting Guide.