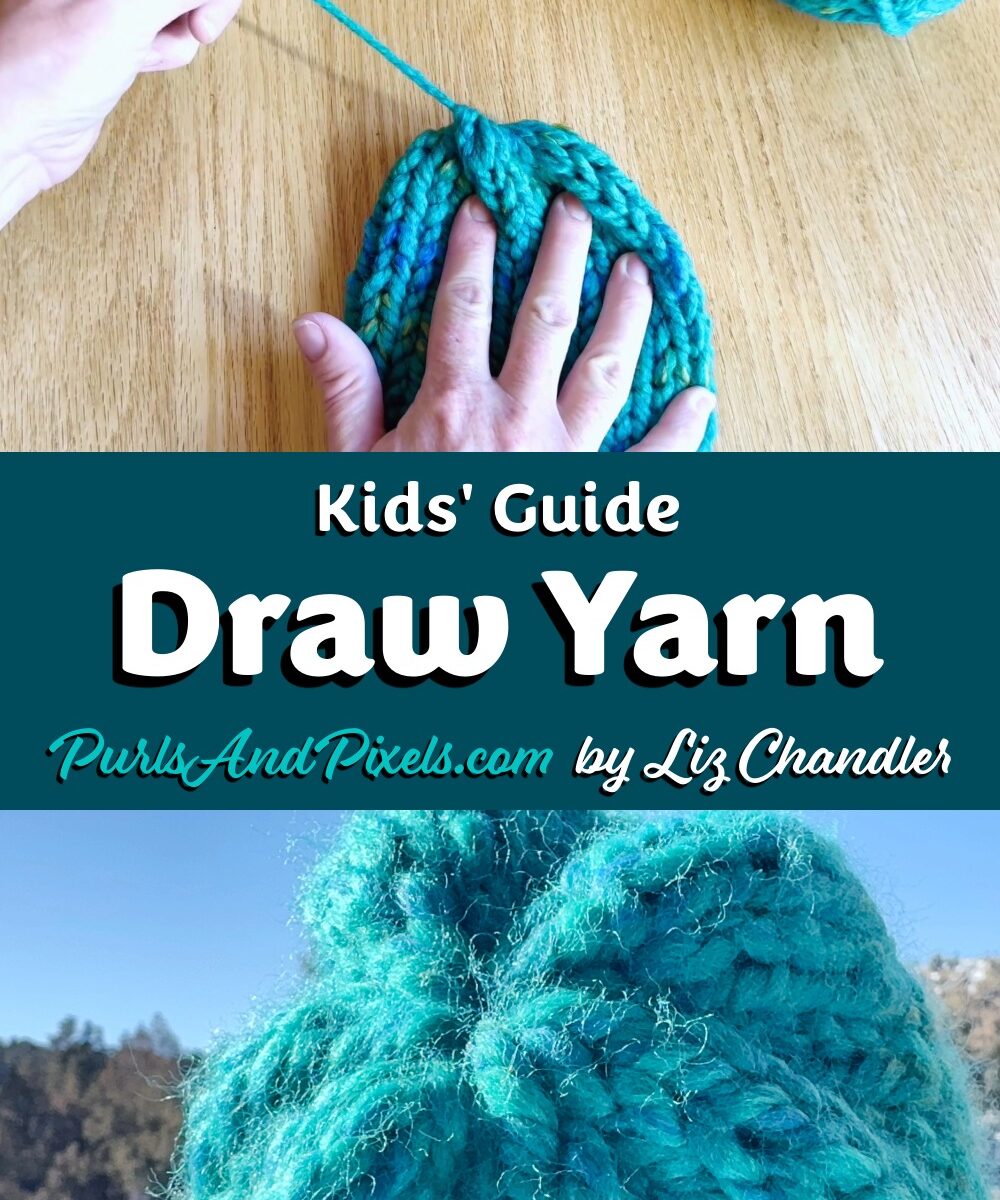
Lesson 9: Take a Circular Project Off the Needles to Make a Hat
Once you knit all your round rows, you will need to take the stitches off the knitting needles. For hats, you will “draw the yarn through the remaining stitches.” This brings the edge of the project together to form the rounded top of your hat.
Drawing the yarn through the remaining stitches is a way to take knit stitches off the circular needle to create a rounded edge. In this kids’ knitting lesson, you’ll learn how to draw yarn through the remaining stitches so you can make the top of your first knitted hat.
When your instructions tell you to “draw yarn through remaining stitches,” you are really being asked to take the stitches off the needles and string them onto the loose end. To do this, you will put your yarn tail on a darning needle. Then you can use the darning needle to slide stitches onto the yarn tail. Once you have moved all the stitches, you can pull the tail to tighten the end of your knitted tube together. This rounds off the top of the project.
Your Last Round
Below are both video and written tutorials to help you learn how to draw yarn through the remaining stitches. Working on the Kids’ Hat? You can check your pattern here.
Kids’ Video Guide: How to Draw Yarn Through Remaining Stitches
Kids’ Picture Guide: How to Draw Yarn Through Remaining Stitches
After you’ve finished your last round of knitting, you can follow the steps below to take the stitches off the needles.
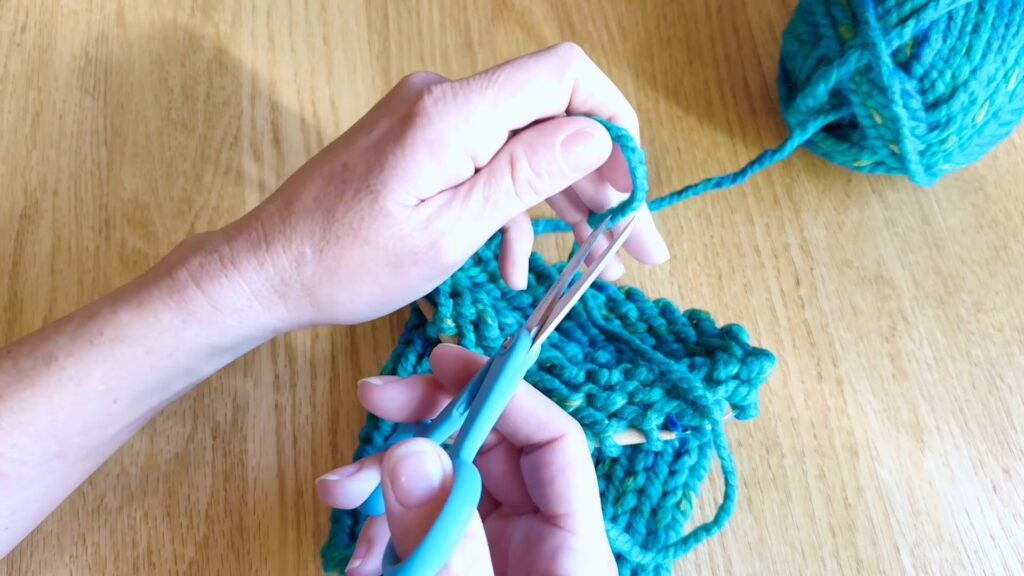
Step 1: Cut the Yarn
Set your work down, being careful not to let the last stitch fall off the needle. Measure about 10 inches of yarn away from the last stitch, then cut the yarn at that point. (You will use this long end later.)
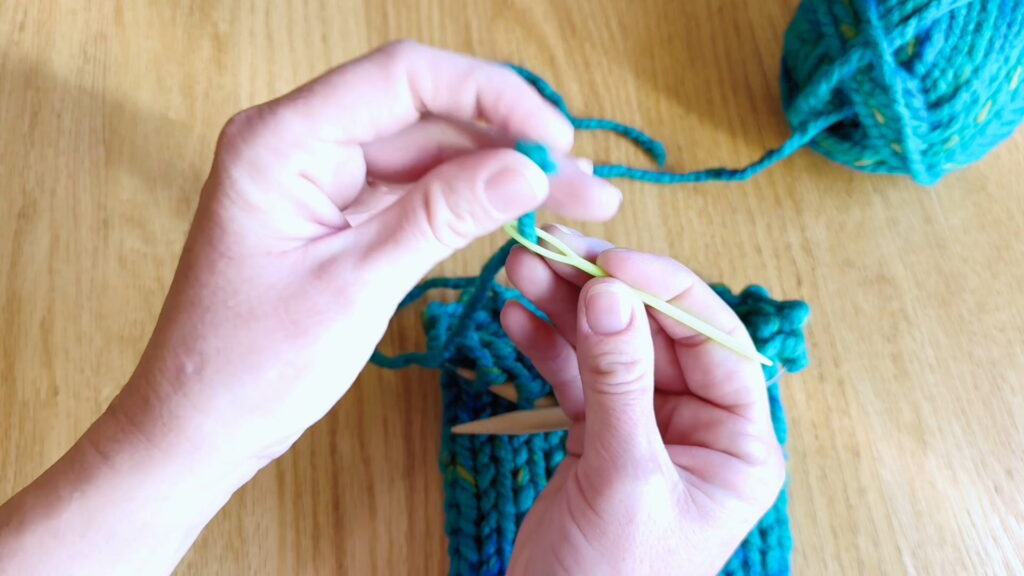
Step 2: Thread Yarn onto Darning Needle
Thread the loose end onto the darning needle by poking the end through the eye of the darning needle.
Step 3: Slide Stitch onto Darning Needle
Hold the darning needle in your right hand. Slip the first stitch off the left-hand knitting needle and onto the darning needle.
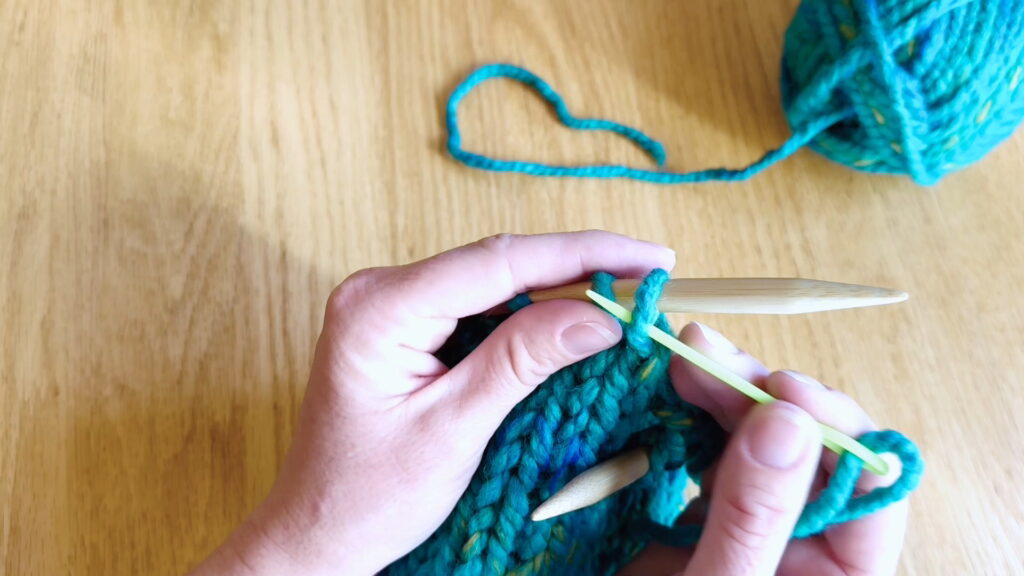
Step 4: Slide Stitch onto Yarn Tail
Slide the darning needle and yarn tail through the stitch.
Repeat steps one through four until all the stitches are on the yarn tail and no stitches are on the knitting needle.
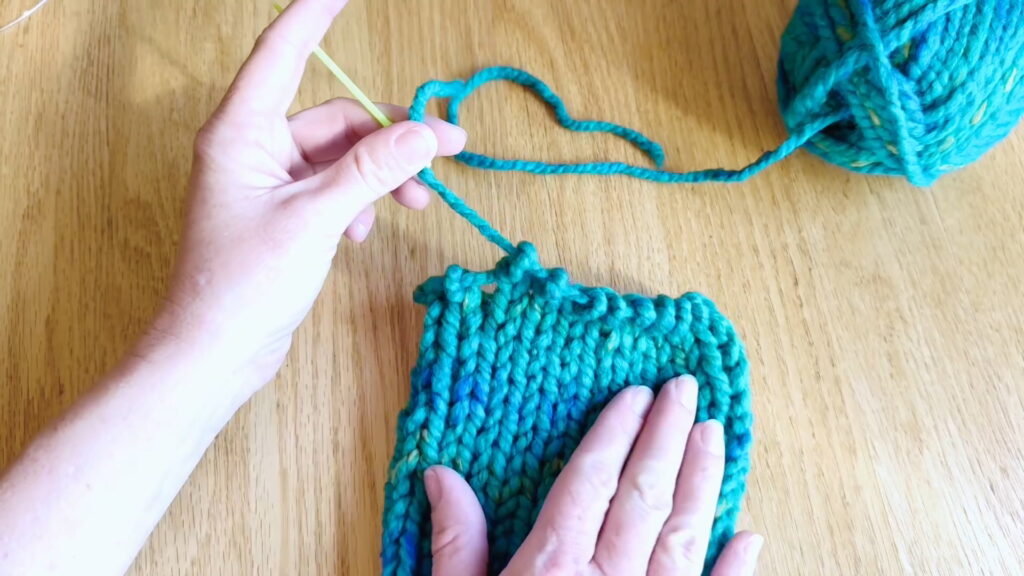
Step 5: Pull Tight
Pull the yarn tail to tighten the stitches together.
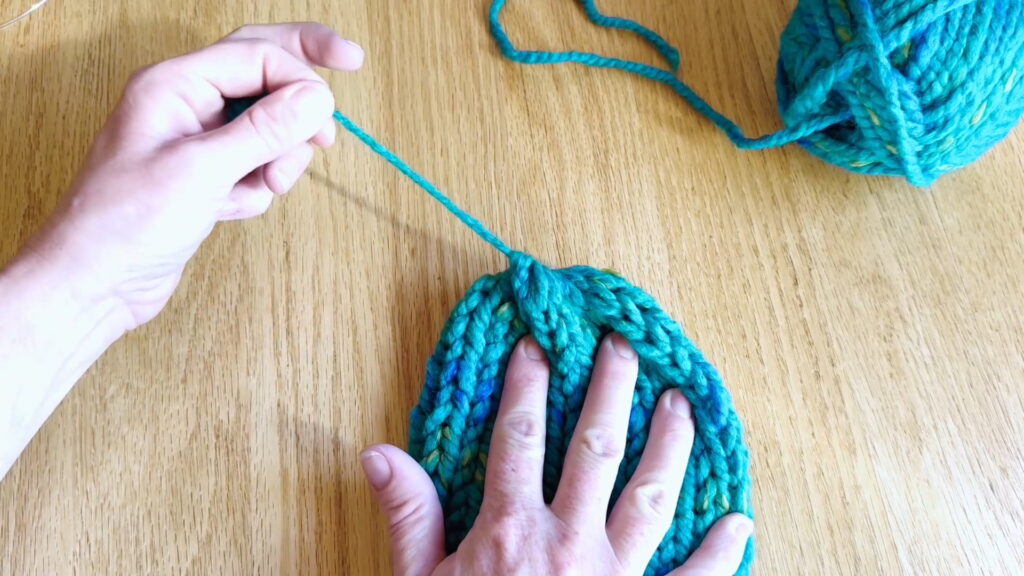
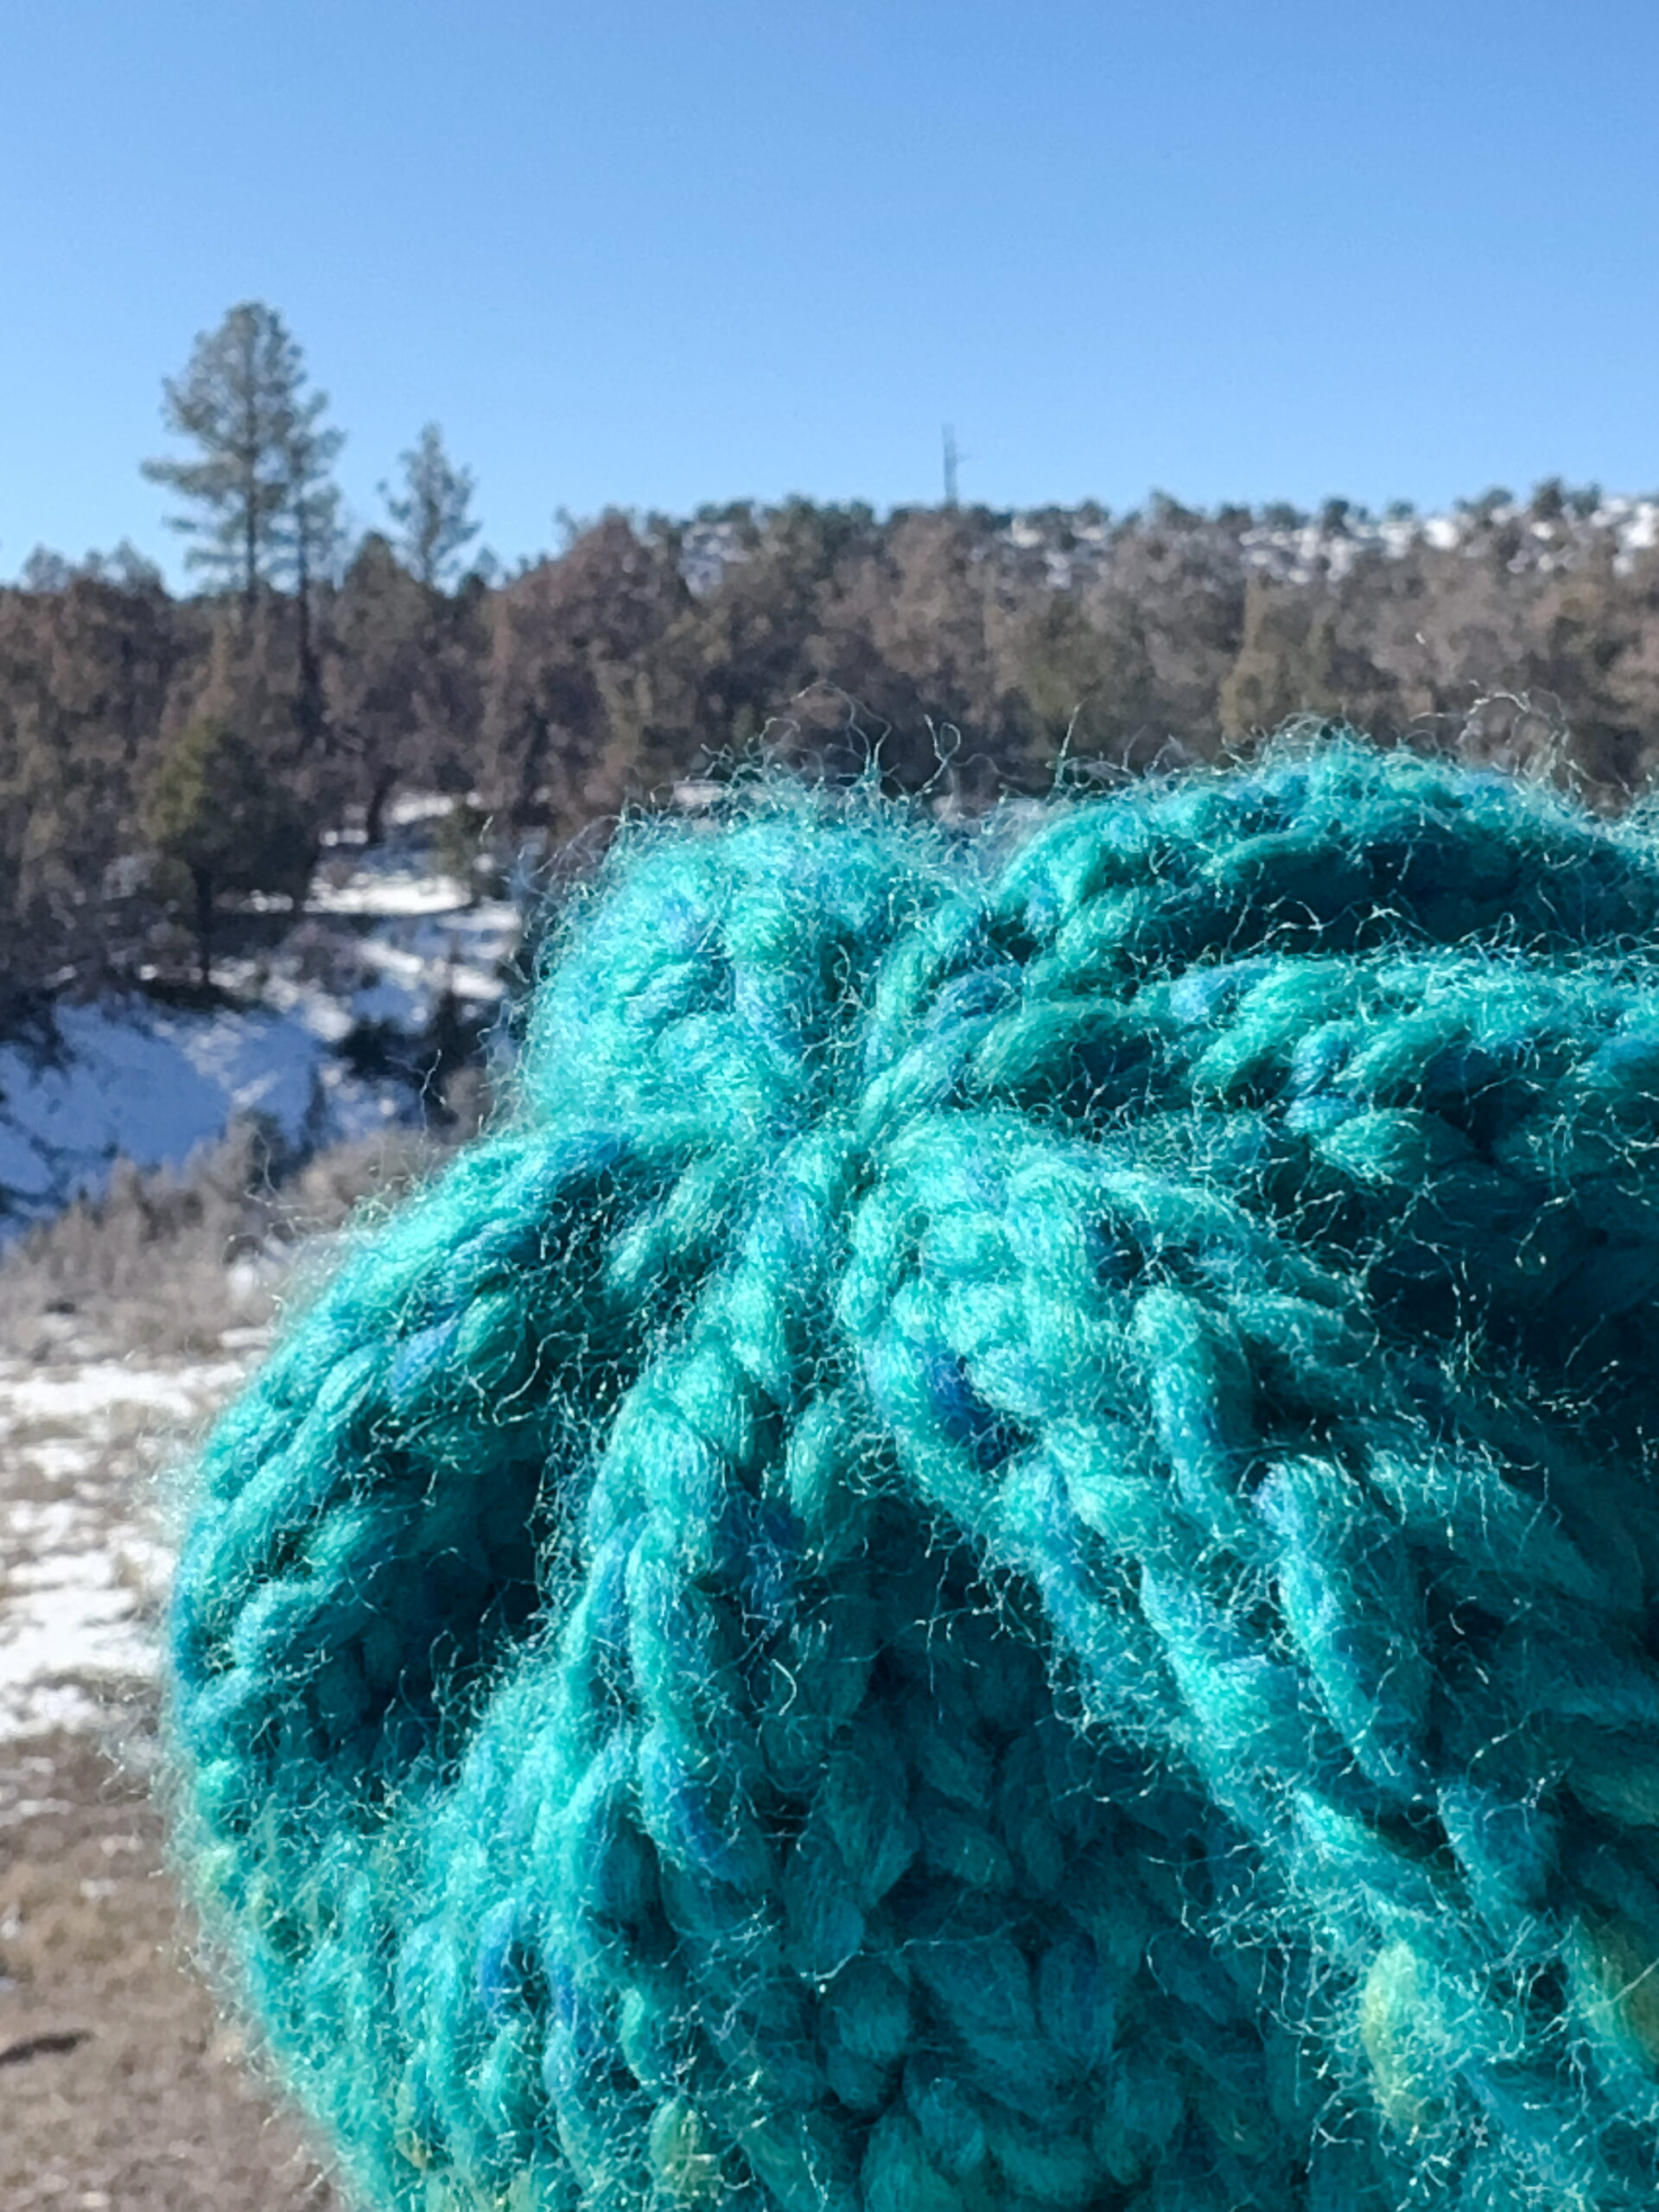
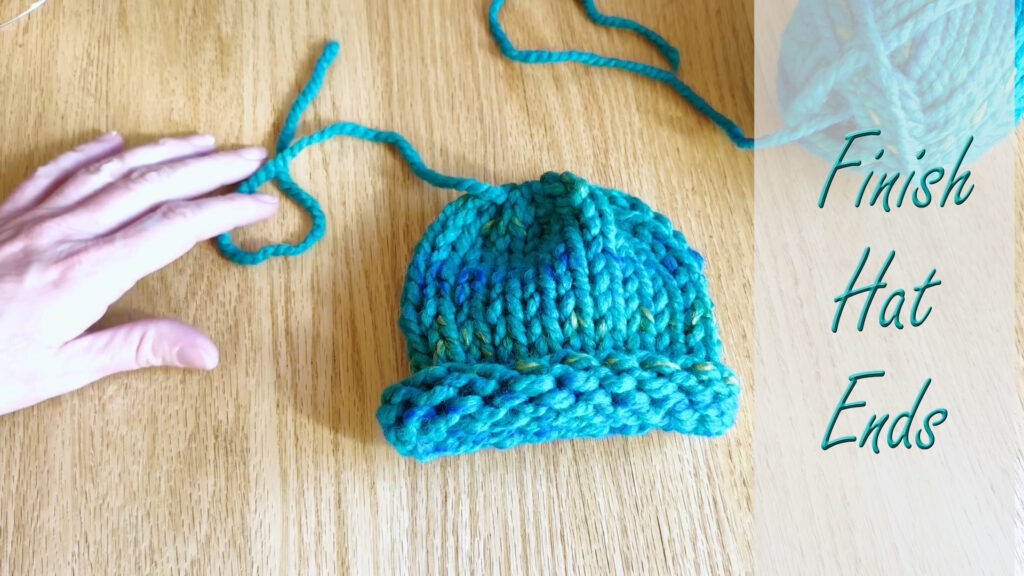
Now, the top of your hat is off the needles and you’ve made a rounded top that will fit snugly. All that is left to do is weave in the two loose ends and your hat will be finished!
Up Next
Tie up loose ends on hats. Go to Kids’ Lesson 10 to continue.
Return to the Kids’ Knitting Guide.