Lesson 7: Tie Up Loose Ends (On Flat Knits)
Weaving in loose ends is a way of tucking your ends into the knitted fabric before trimming the yarn so the ends do not show. In this kids’ knitting lesson, you will learn to weave in your loose ends so you can finish your first knitting project.
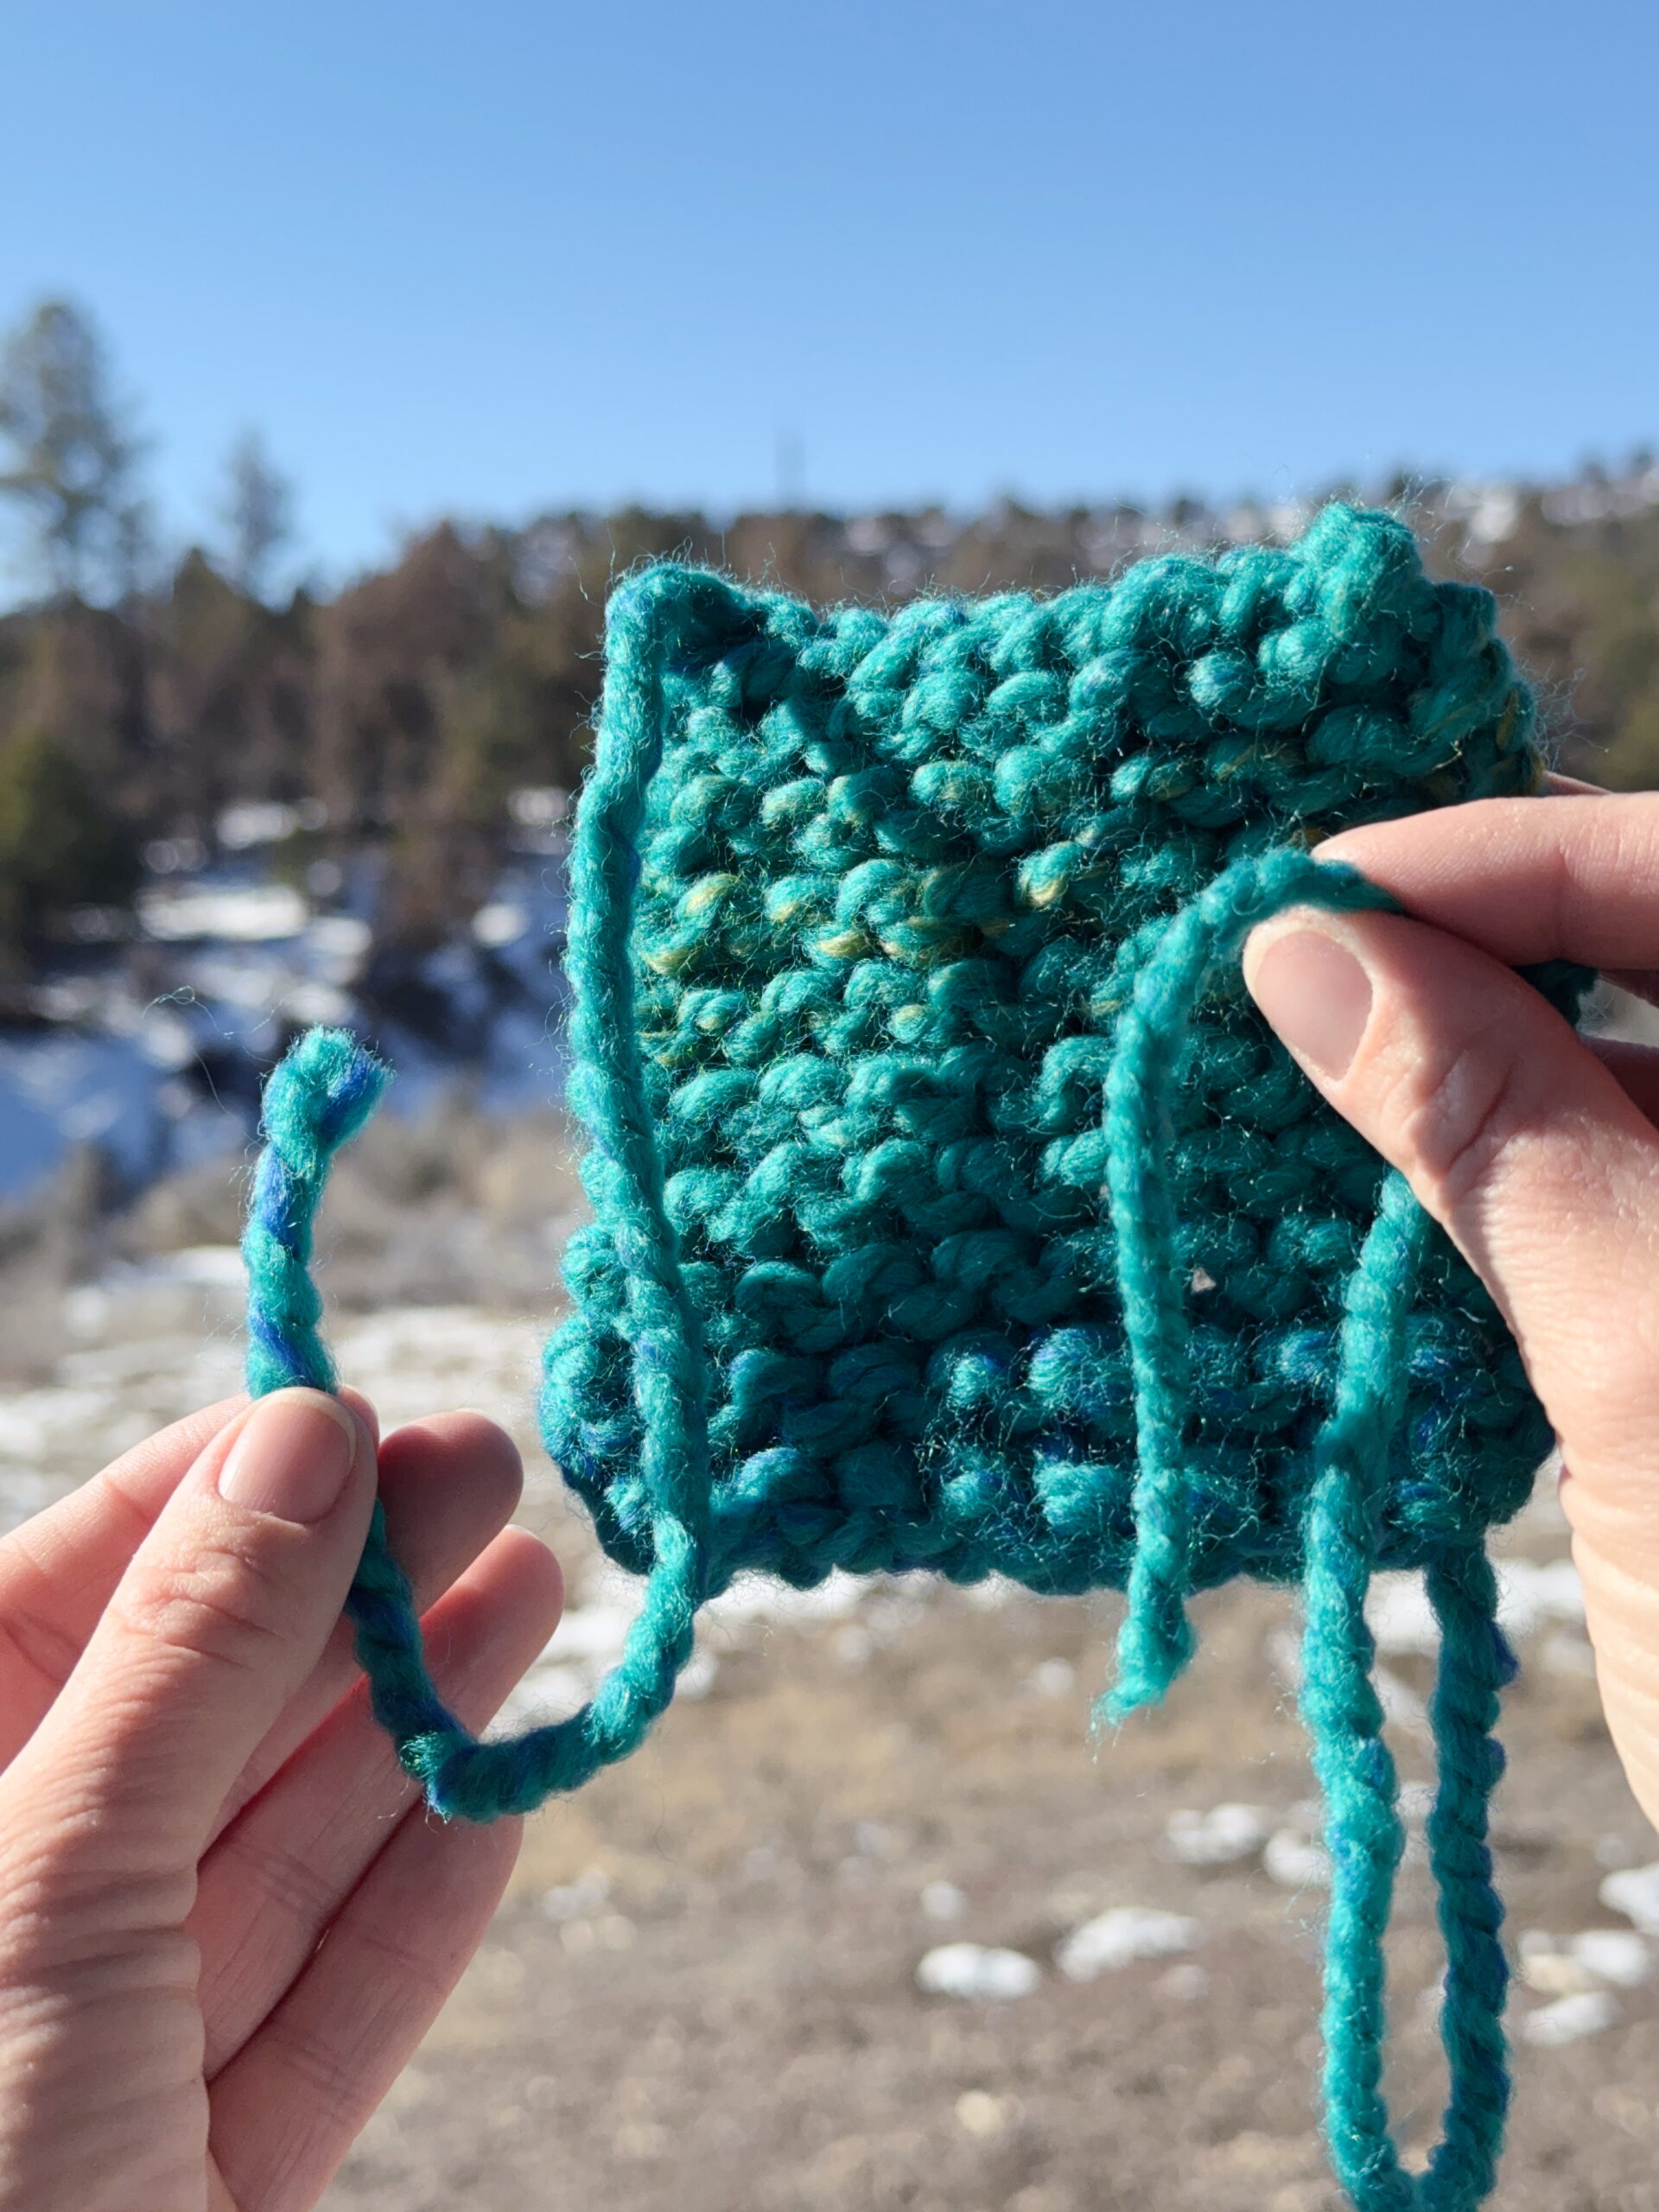
When you have finished following a knitting pattern, your project will almost always have extra strings. Knitters call these “loose ends” or “yarn tails.” At the end of a pattern, you will see an instruction that says, “weave in loose ends.”
Weaving in loose ends is the way knitters get rid of those extra strings without them looking messy or coming undone. There are different ways to weave in your loose ends, but all of them start with threading the loose end onto a darning needle. This lets you sew the ends into the fabric, where they’ll be hidden.
Here, we will match the design of the knitting when we sew the ends into the fabric. Then, we will anchor our ends to a knit stitch and tie a pair of small knots to lock the yarn in place before trimming the ends.
Your last step
Below are both video and written tutorials to help you learn how to weave in the loose ends. Working on the Beginner Coaster? You can check your pattern here.
Kids’ Video Guide: How to Weave in Loose Ends
Kids’ Picture Guide: How to Weave in Loose Ends
After you have finished binding off your project, you will have loose ends to remove. We will weave them into the fabric one at a time using a darning needle.
How to Weave in Loose Ends
Once you have taken all the stitches off the left hand needle, it is time to cut the yarn that connects the knitting project to the ball.
Weave in Loose Ends Step 1: Thread Yarn onto Darning Needle
Thread a loose end onto the darning needle by poking the end through the eye of the darning needle.
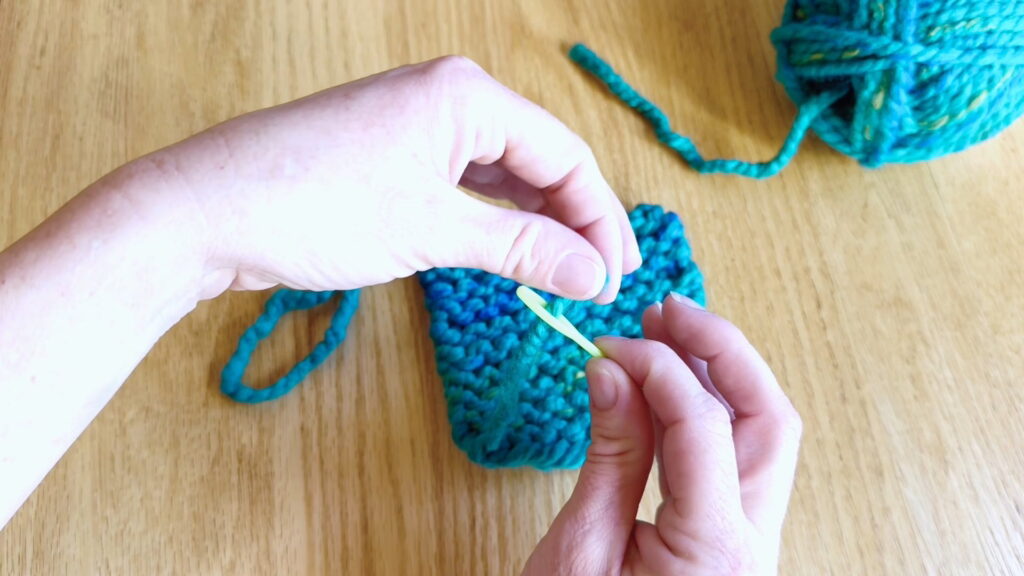
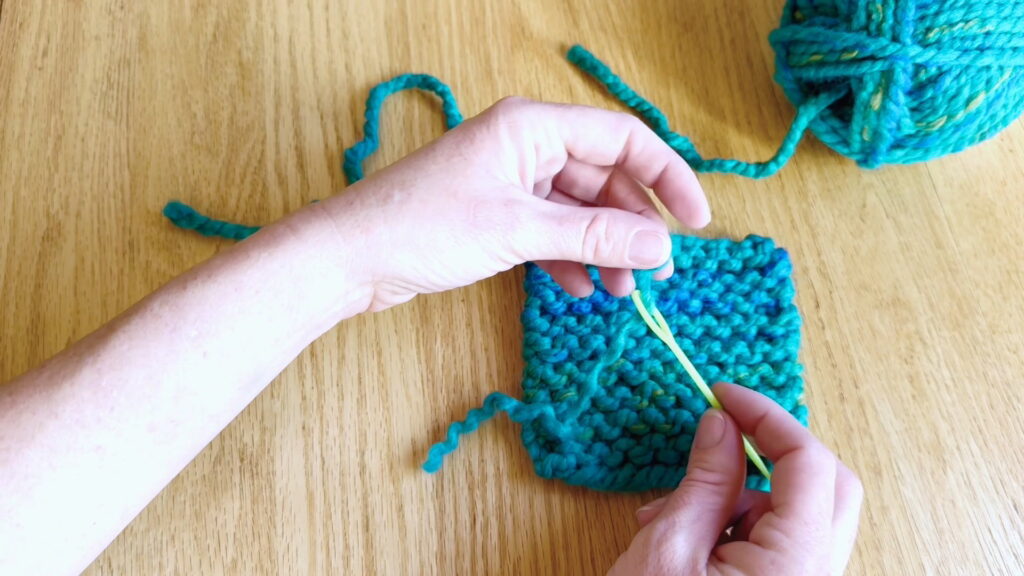
Weave in Loose Ends Step 2: Sew In
Choose a stitch near the loose end in the next row up. (This will be the stitch you anchor the end onto.) Poke the darning needle under that stitch pointing away from the edge of the knitting project. Sew the yarn through.
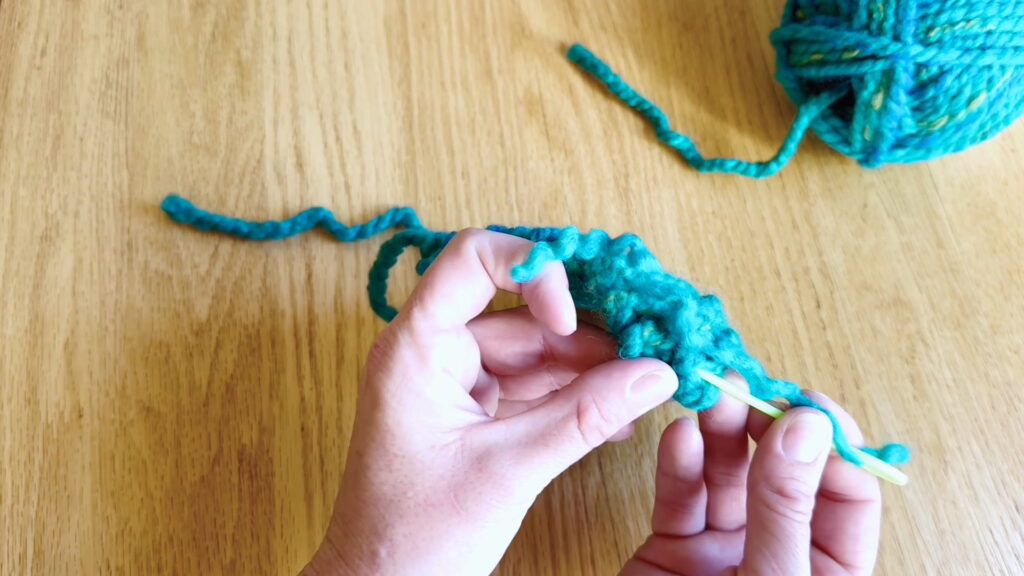
Weave in Loose Ends Step 3: Split Yarn
Take the yarn off the darning needle. Then, use the needle top to help you split the yarn end in half.

Weave in Loose Ends Step 4: Thread Half the Yarn
Thread half the yarn end through the eye of the darning needle.
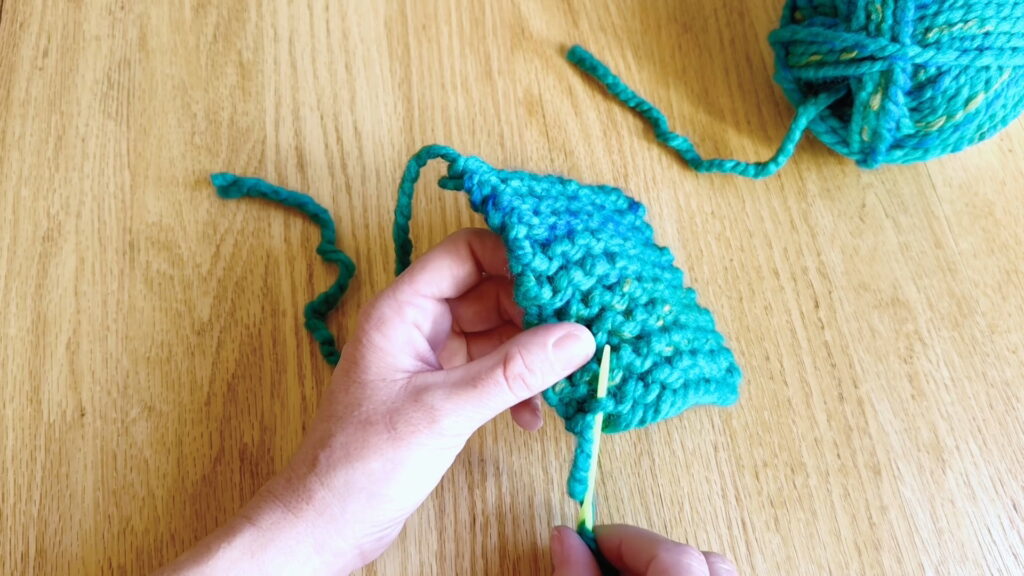
Weave in Loose Ends Step 5: Anchor
Sew that half of the yarn around the stitch you chose to anchor your yarn onto.
Next, we will tie two little knots to make sure the end of the yarn stays in place.
How to Tie Up Loose Ends
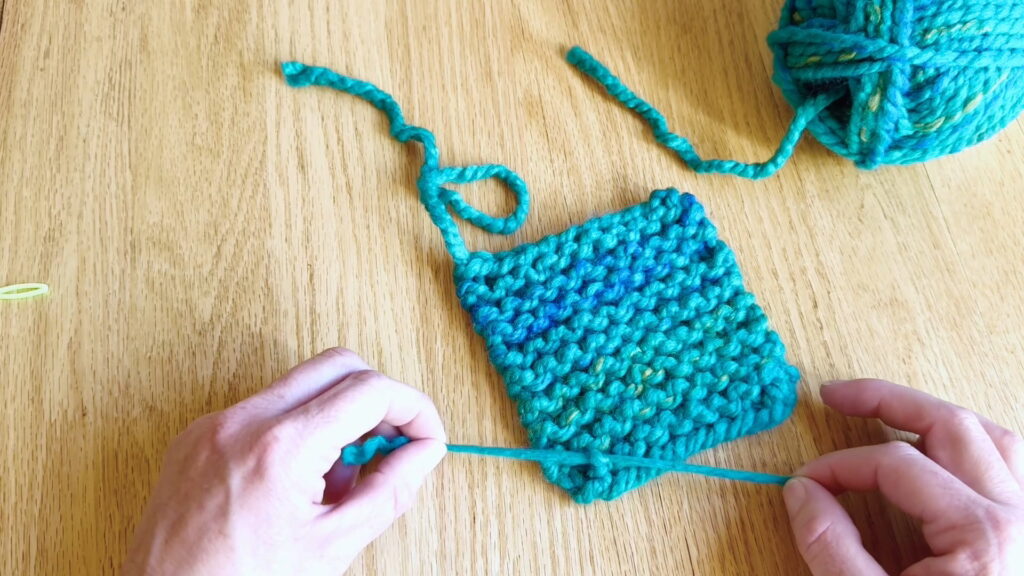
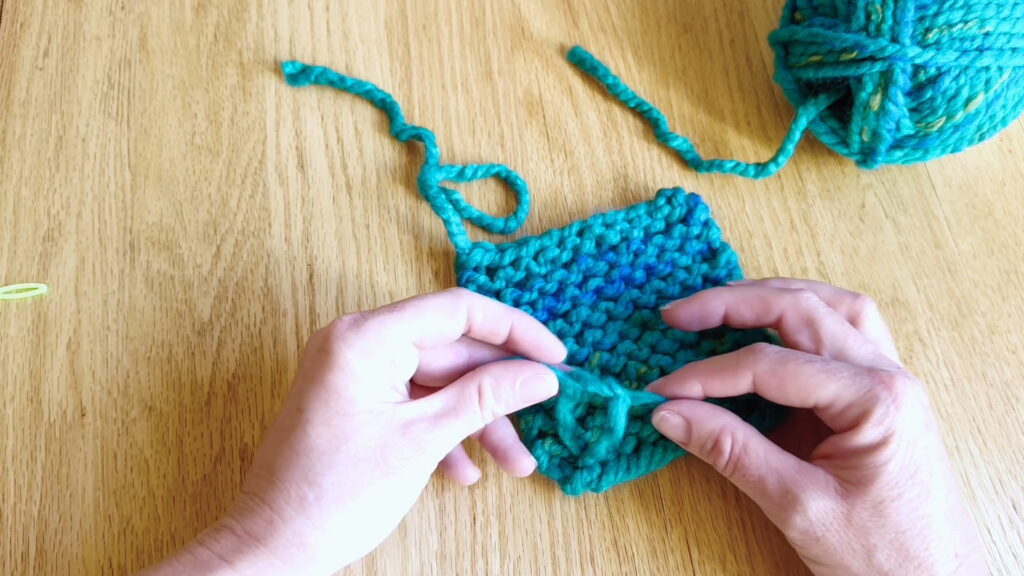
Tie Up Loose Ends Step 1: Lay Halves in Opposite Directions
Lay the two halves of the yarn end in opposite directions, one pointing to the left and one to the right.
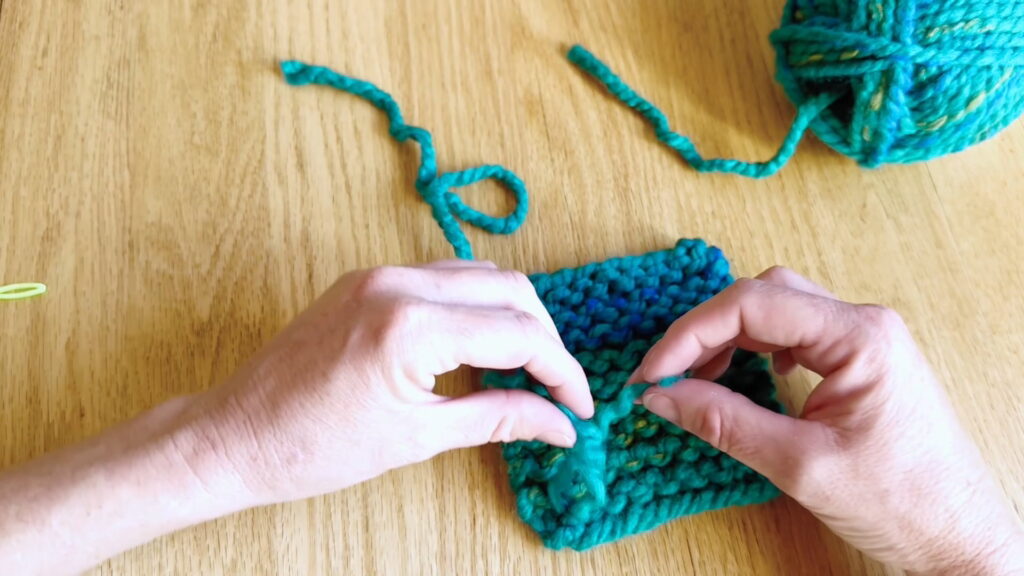
Tie Up Loose Ends Step 2: Pick Up Yarn Halves
Pick up the two halves of the yarn with opposite hands (the right strand in the left hand and the left strand in the right hand).

Tie Up Loose Ends Step 3: Tie Knot
Tie the two ends in a simple knot: Cross the strands to make a loop, then tuck one end through the loop, and pull it through. Tighten just to the surface of the knitting, but don’t pull too tightly.
Tie Up Loose Ends Step 4: Tie Second Knot
Repeat steps one through three to tie a second knot.
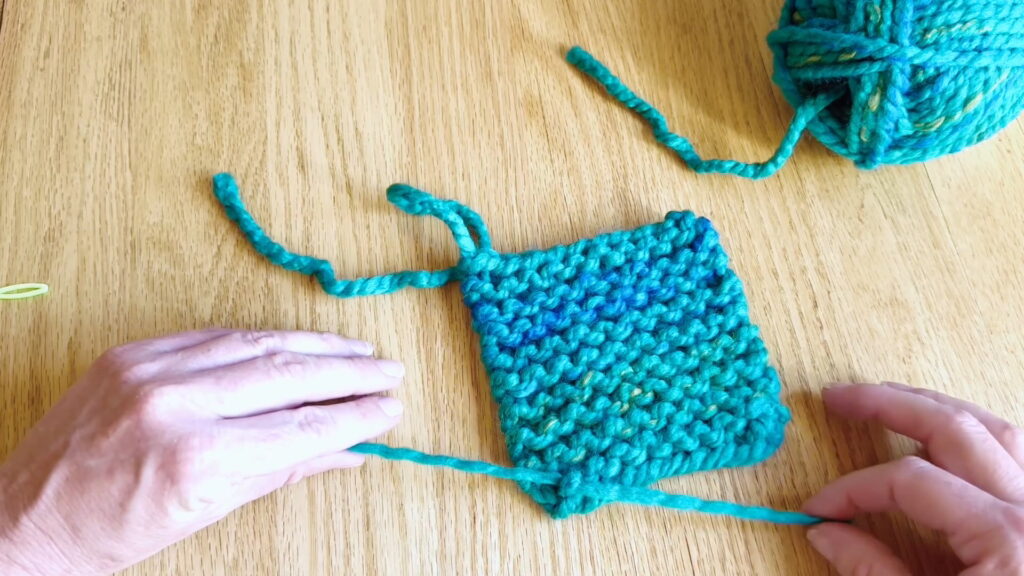
Tie Up Loose Ends Step 5: Pull Tight
Pull the second knot tightly. If it does not move, go to step six. If it slips when you pull, make one more knot (repeat steps one through three) before going to step six.
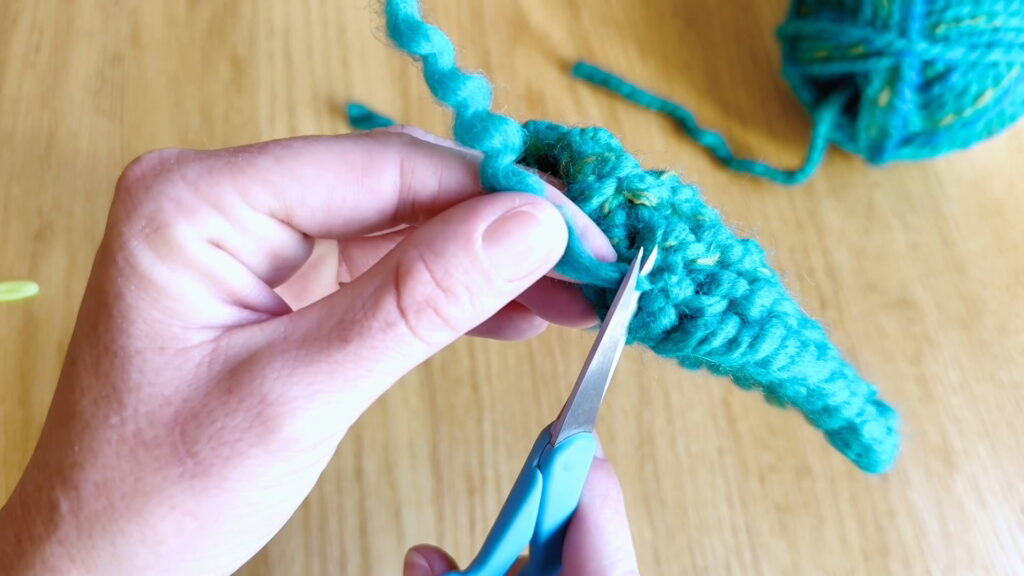
Tie Up Loose Ends Step 6: Cut Extra Yarn
Use your scissors to trim the two yarn halves near the knot.
Repeat the steps to weave in and tie up any other loose ends that are still hanging from your project. When your loose ends are all gone, stretch your project to shape it into a more even square.
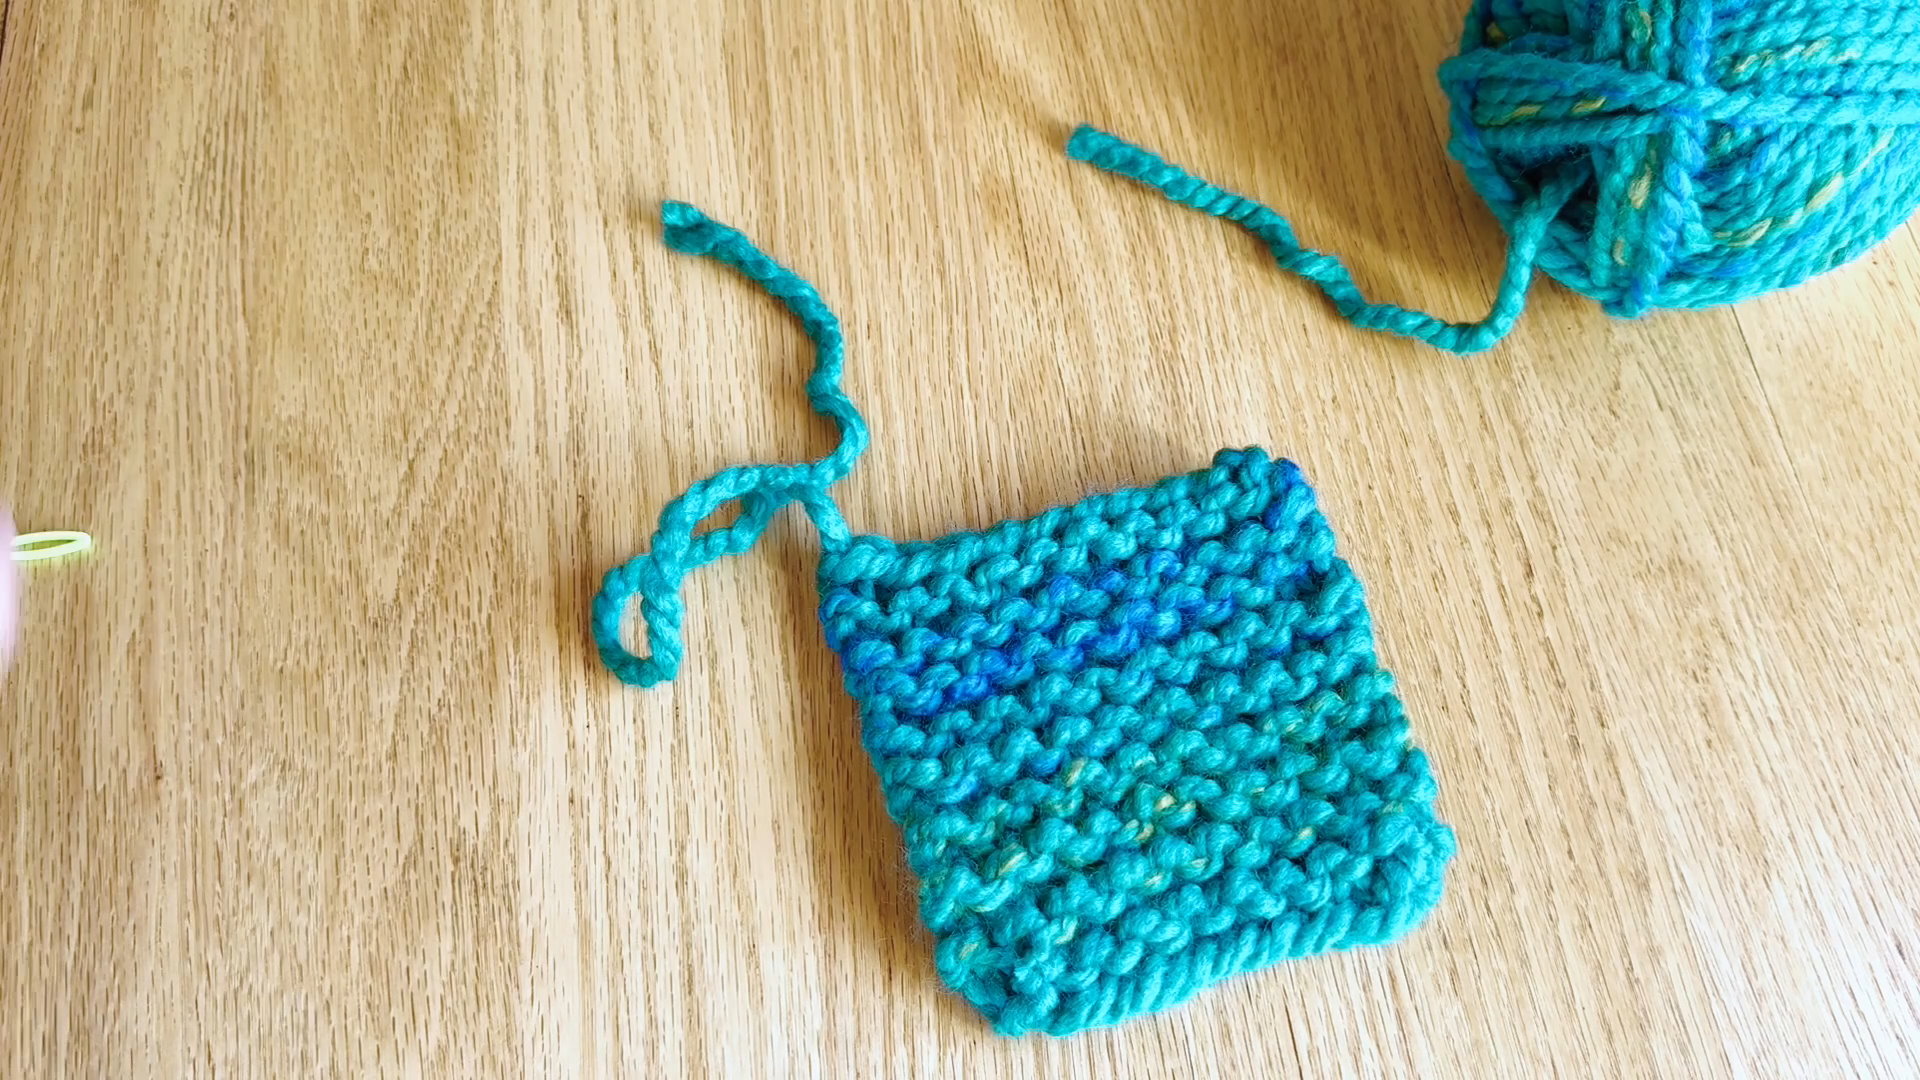
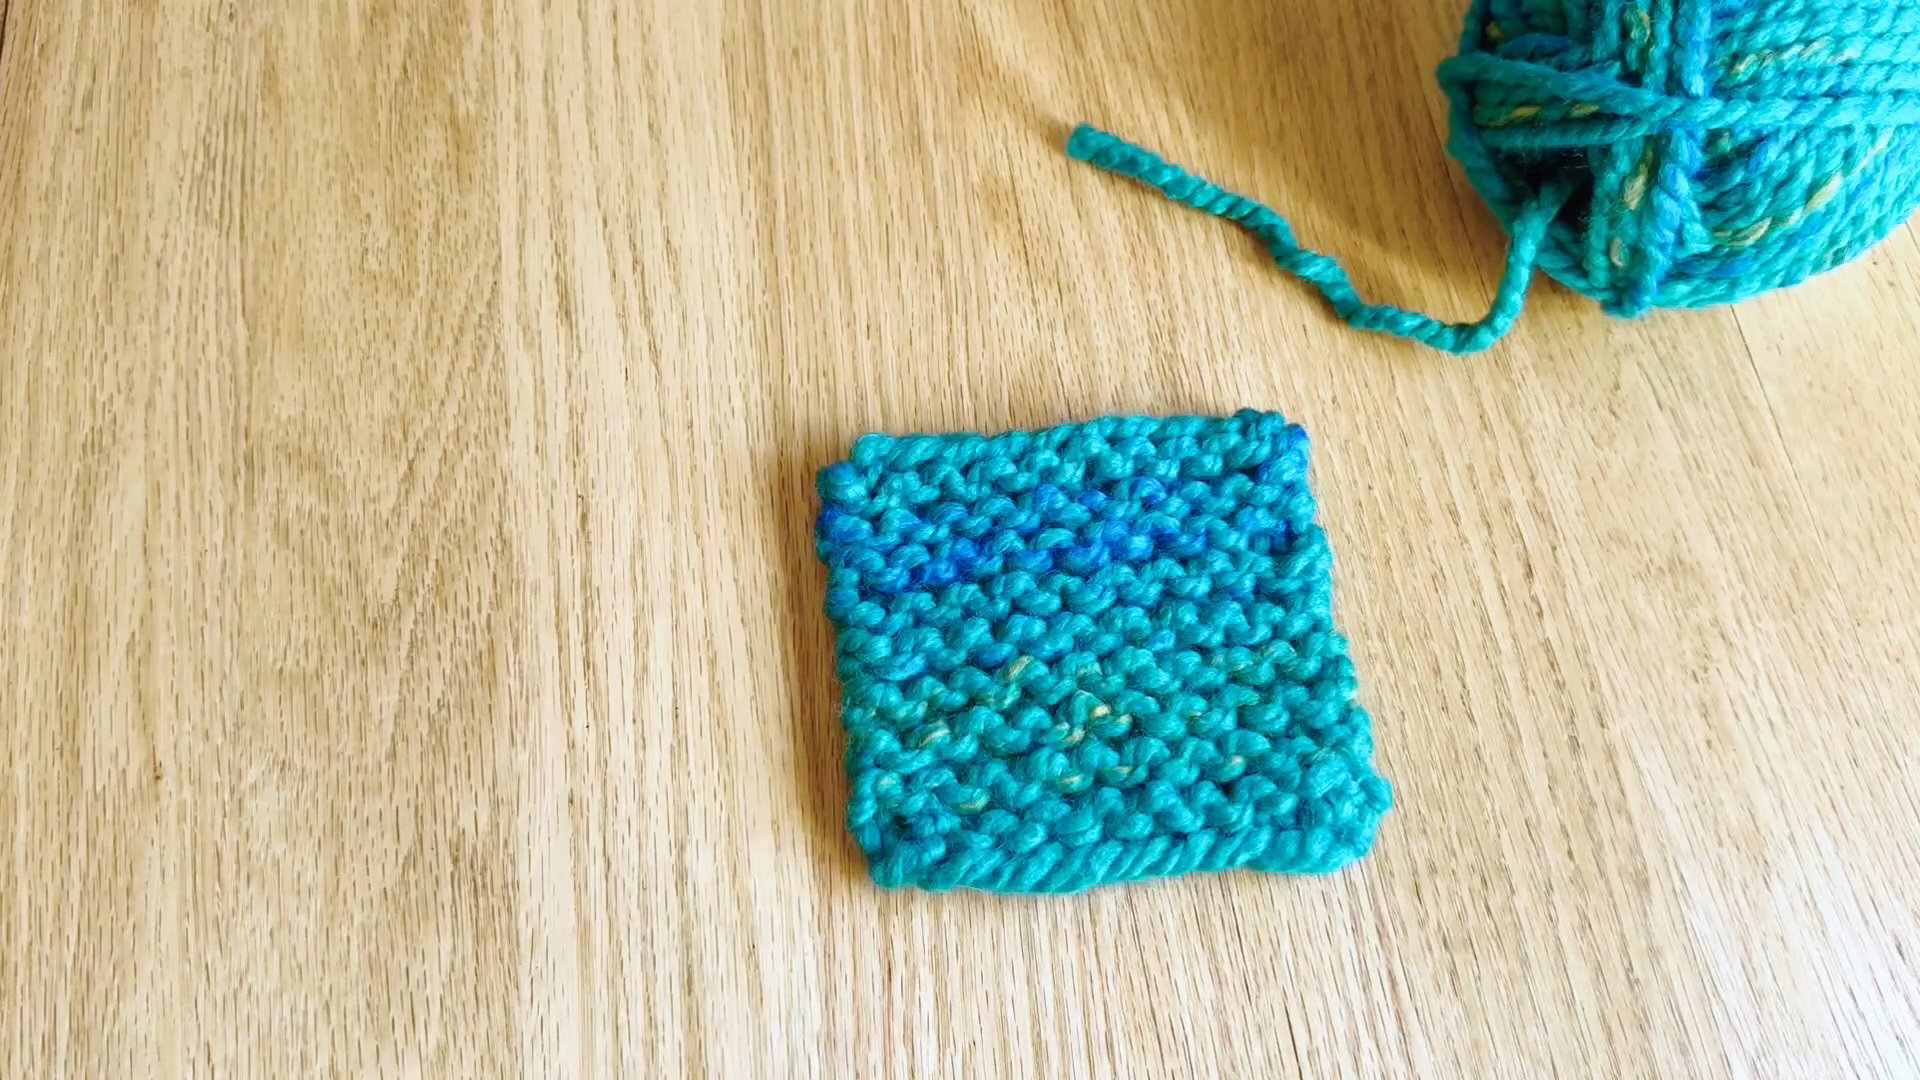
Great job! You finished your first knit coaster. If your coaster doesn’t look “perfect,” don’t worry: it is perfect. Every first project will have a few wobbly stitches. The more you practice, the more even your stitching will get.
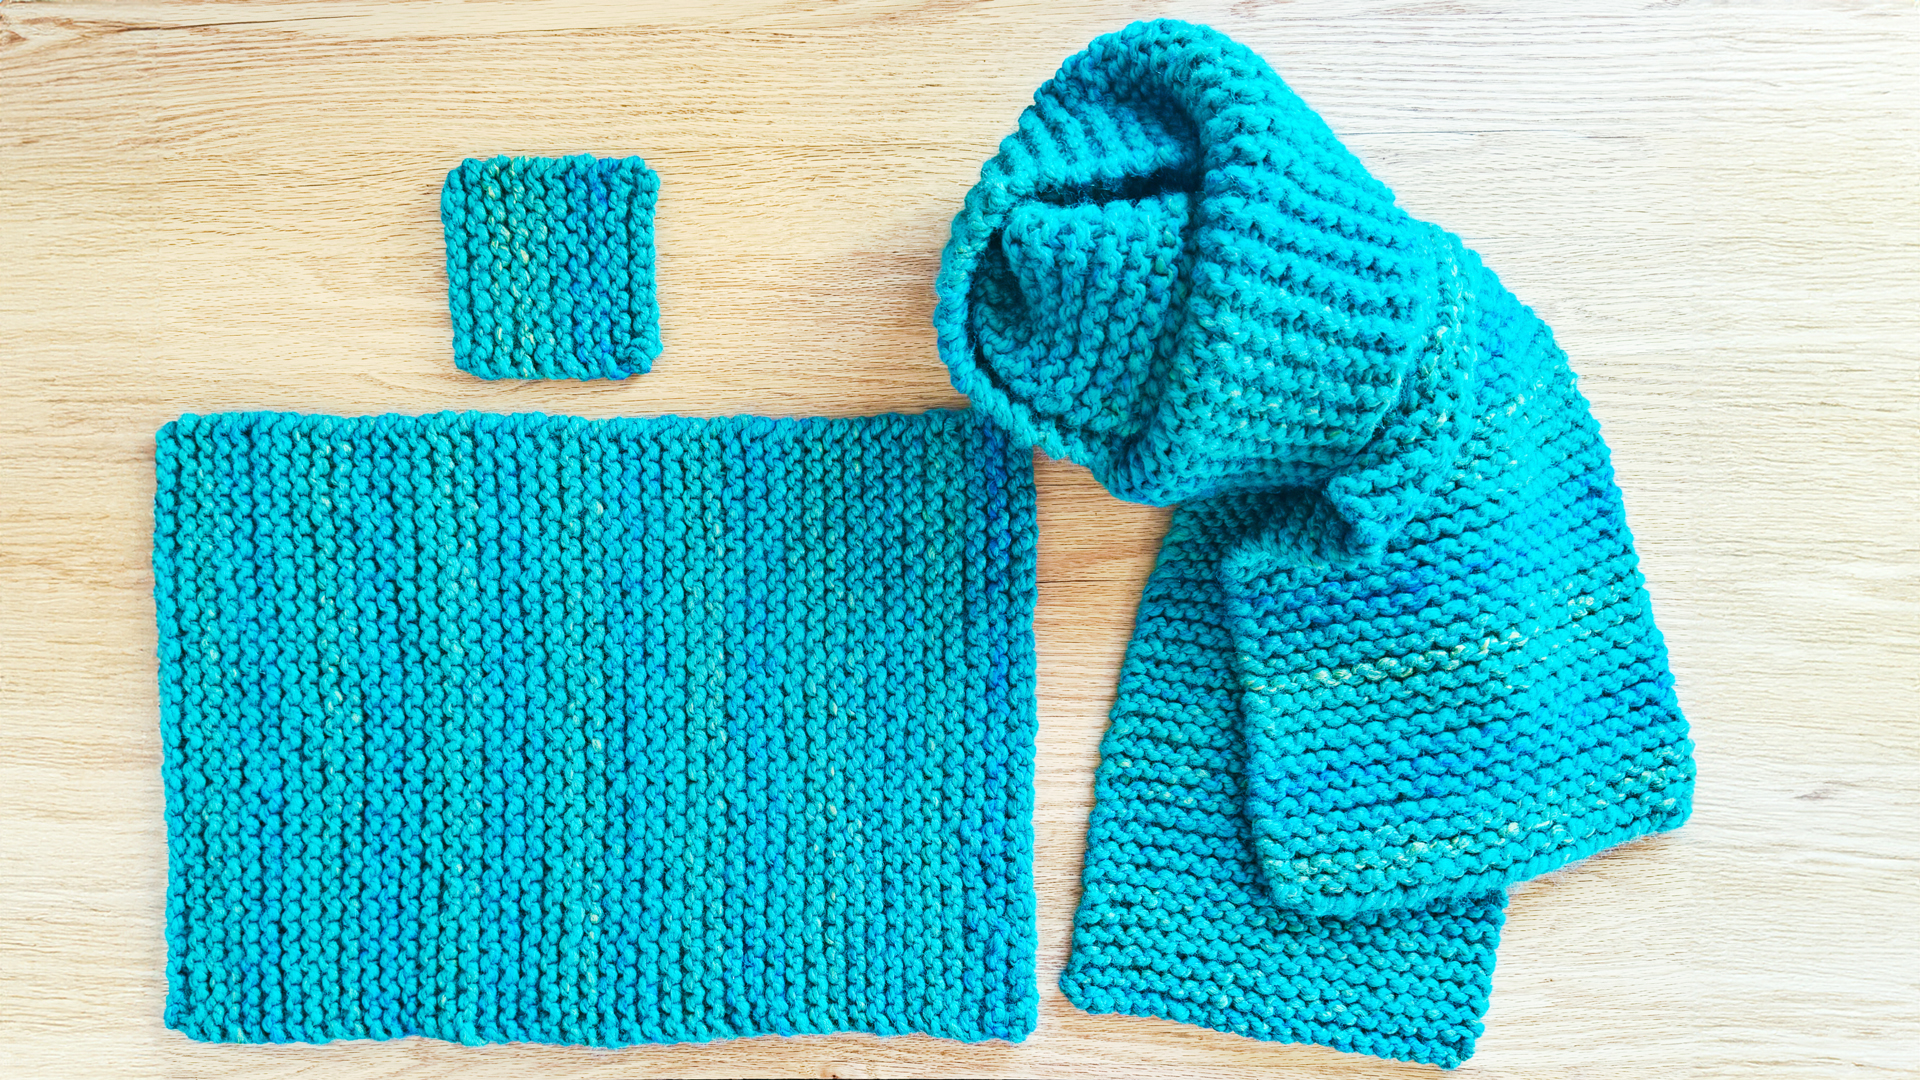
Your Next Project
Using everything you’ve covered in the Kids’ Knitting Lessons so far, you can now make a placemat and a scarf. These flat projects are made with the same skills as your coaster, but they’re just bigger. Making these next projects gives you a chance to practice your knit stitches. The more you practice, the better your stitches will look.
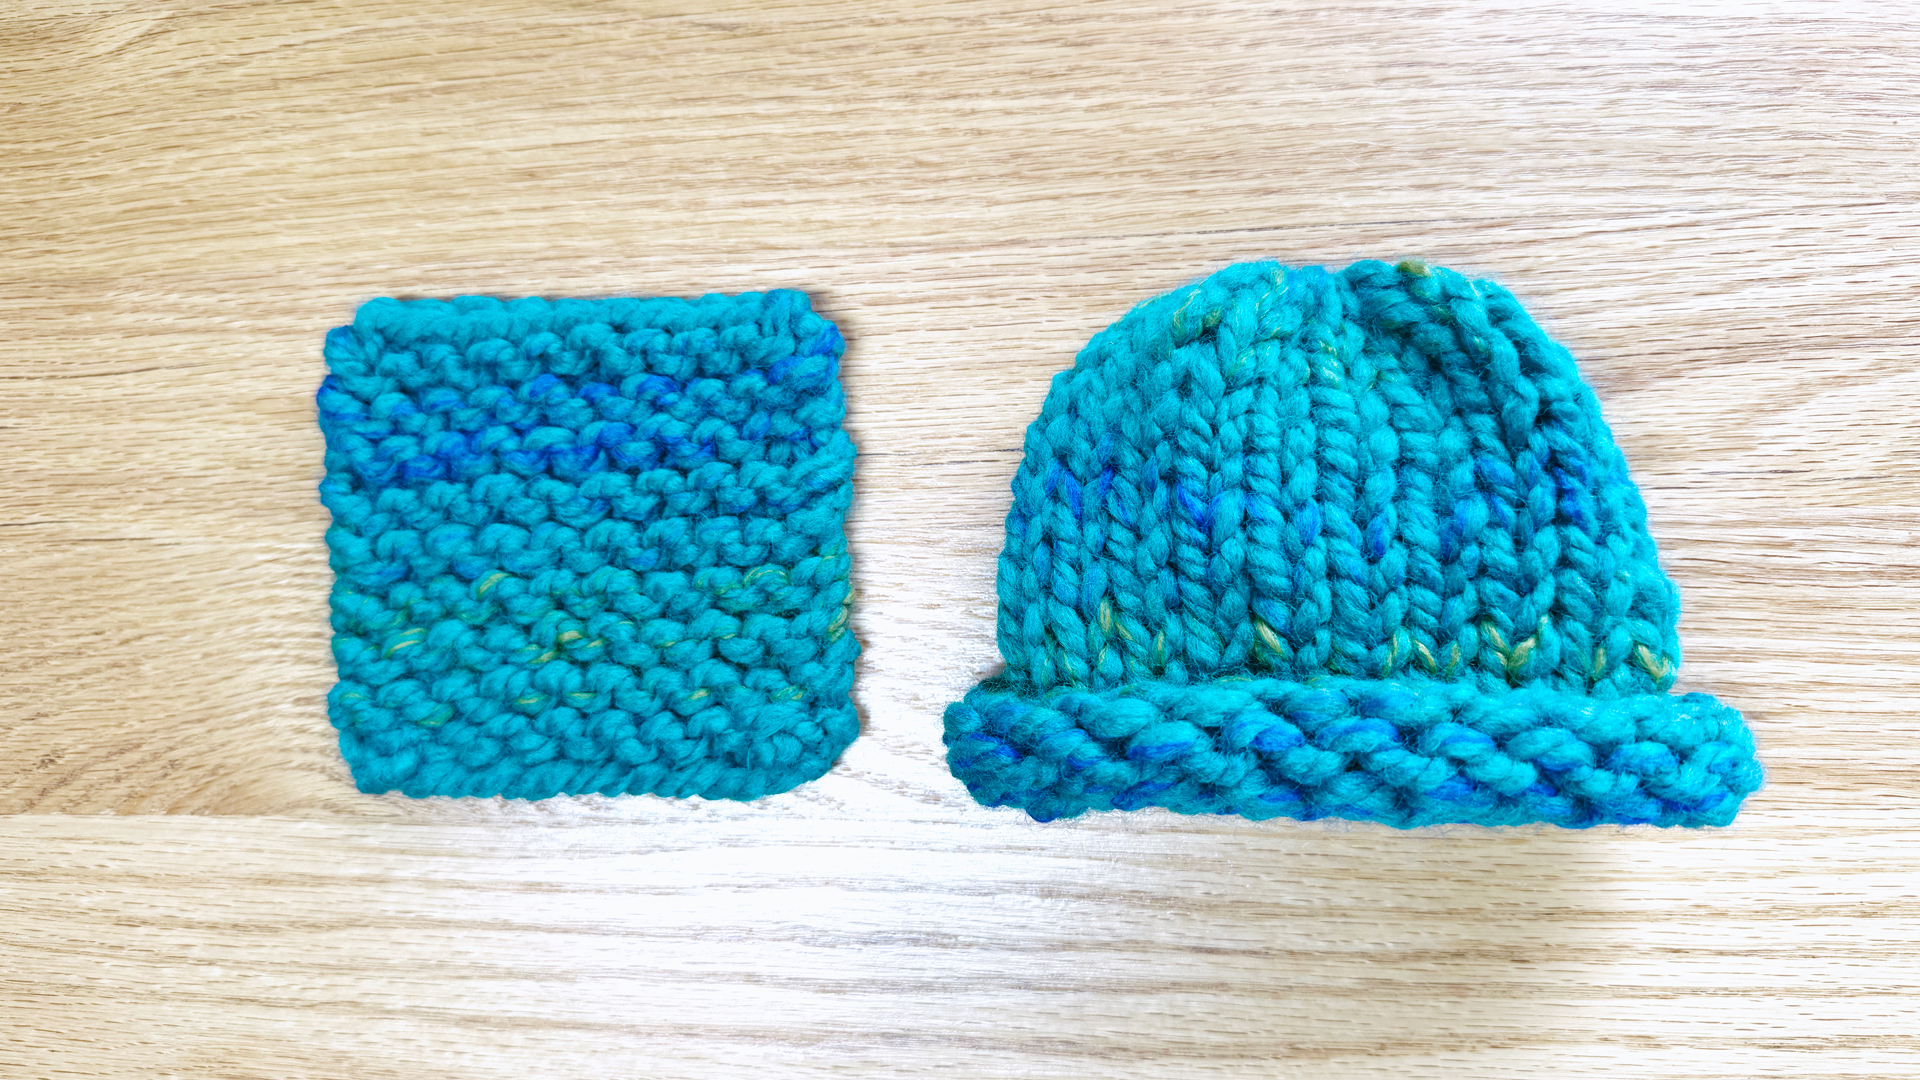
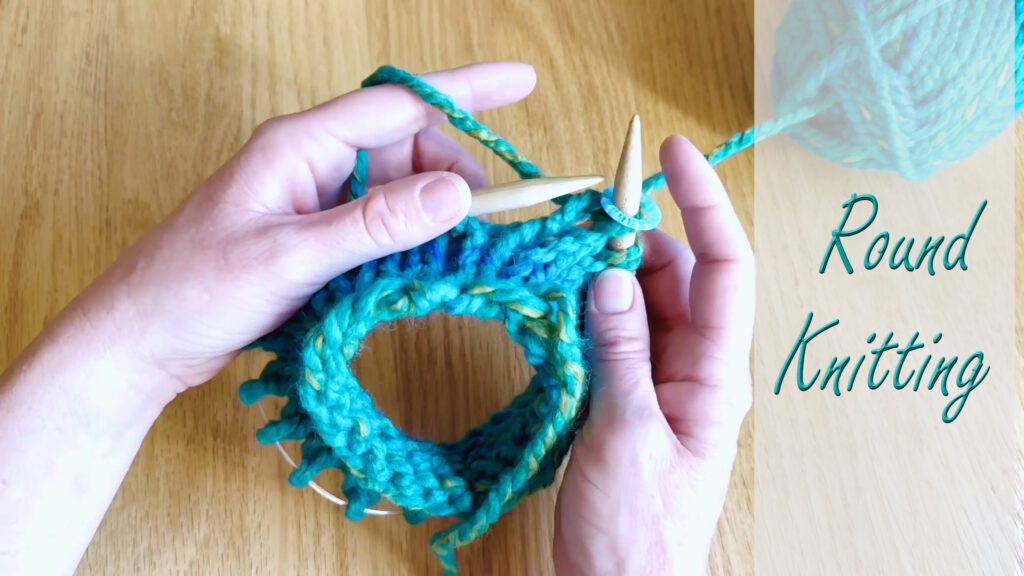
Or, if you are ready to learn the next skill, you can move straight from knitting your coaster to knitting your very first wearable hat! Move to the next lesson (Kids’ Lesson 8) to start learning to knit in a circle (“knit in the round”) to make a seamless hat that will keep you cozy and warm.
Up Next
Learn to knit in a circle and start your very first hat. Go to Kids’ Lesson 8 to continue. (Coming soon.)
Return to the Kids’ Knitting Guide.