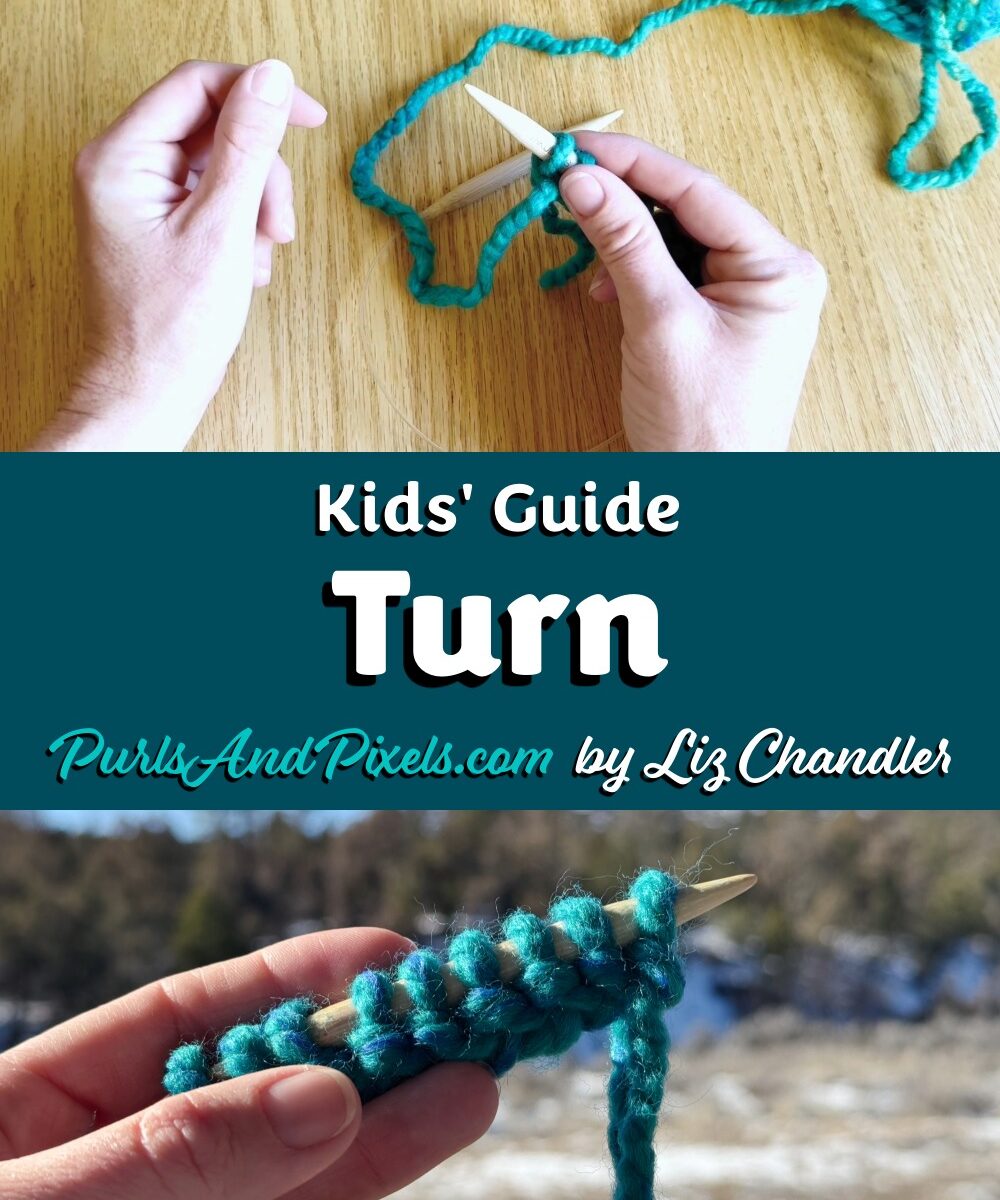
Now that you have cast on all your stitches, you are ready for the next step. Following our coaster pattern, we’ve now cast on all 10 stitches, and the pattern says: “Turn.” Turning your work after each row lets you knit a flat square or rectangle.
Turning your work in knitting means flipping your knitting over so you can make the next row in a flat project. In this kids’ knitting lesson, you’ll learn how to turn your work to keep going on your first project.
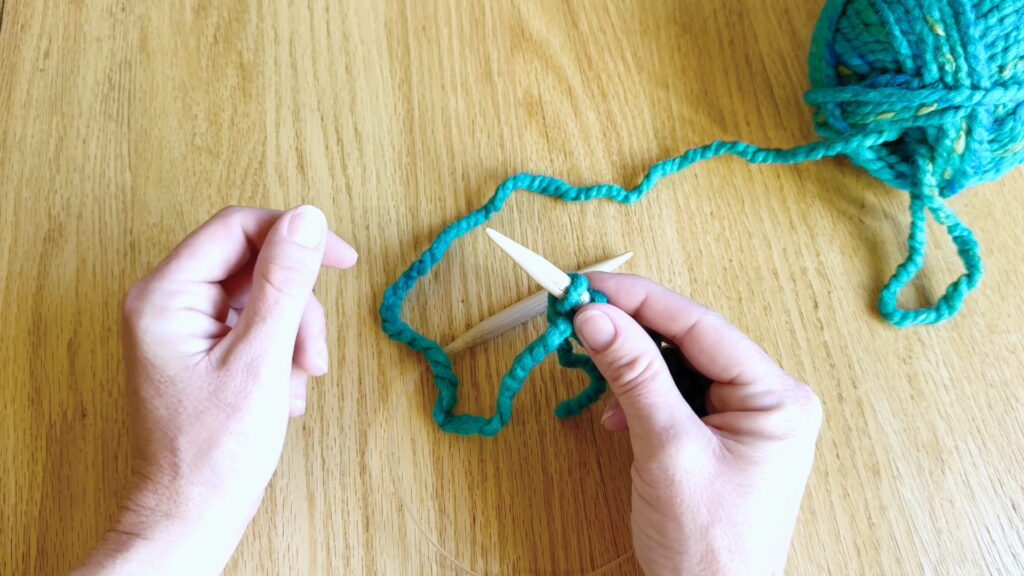
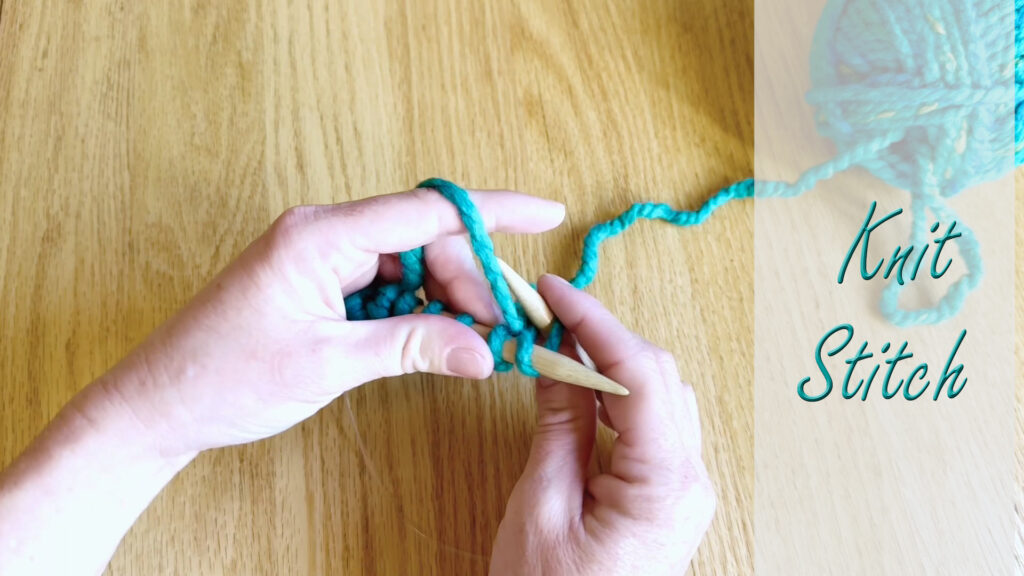
Turning your work is a simple hand switch. You’ll flip the knitting needle that is full of stitches from your right hand to your left hand, so the tip is facing right. This will set you up to make your first knit stitch and start knitting in flat rows.
Below are both video and written tutorials to help you learn how to turn your work. Working on the Beginner Coaster? You can check your pattern here.
Kids’ Video Guide: How to Turn Knitting
Kids’ Picture Guide: How to Turn Knitting
Step 1: From Right Hand
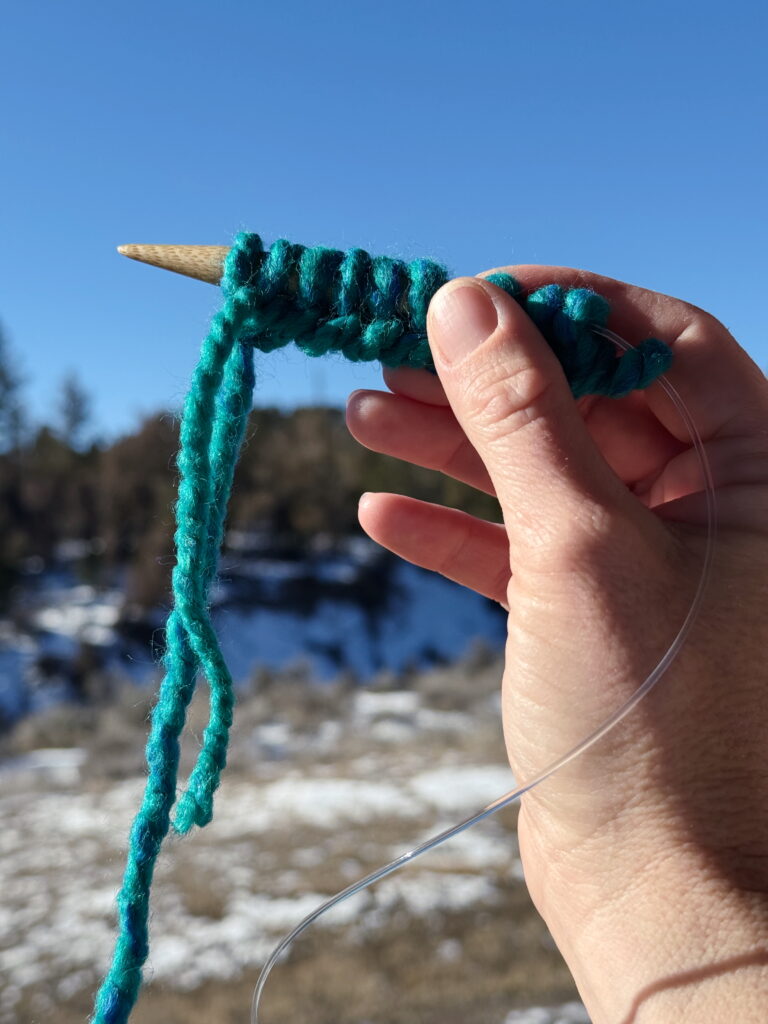
After you have cast on (or finished making a row), your stitches will be on the needle held in your right hand. The tip of the needle will be pointing toward the left.
Step 2: To Left Hand
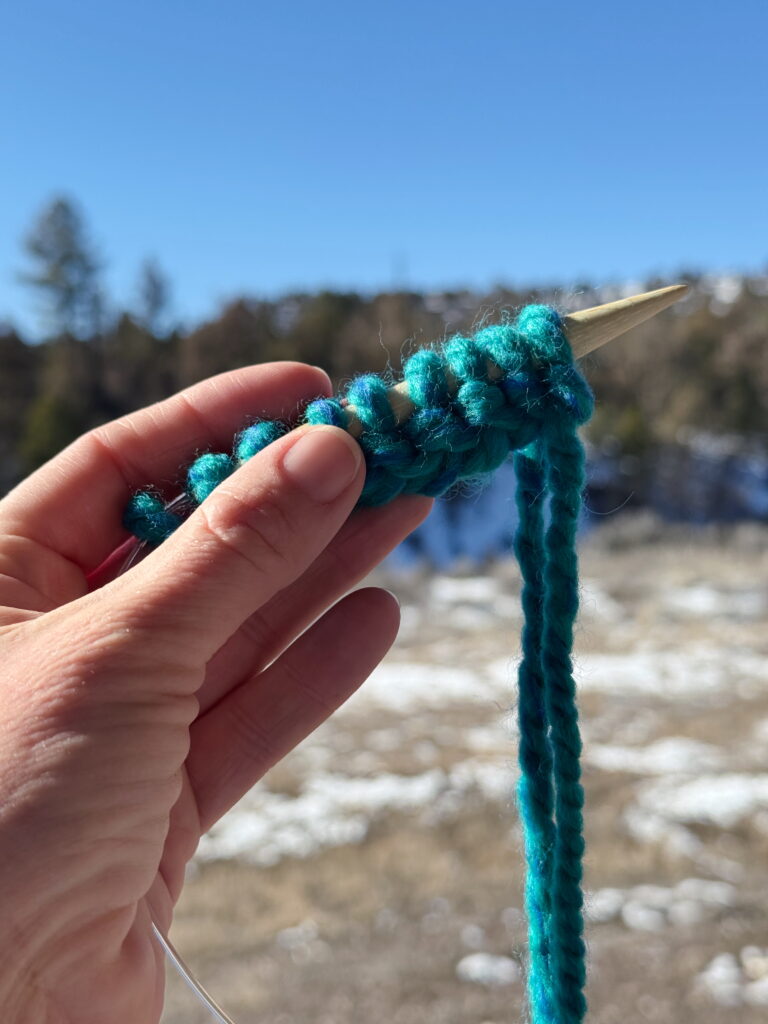
To turn your work, flip your knitting needle over, so the tip points toward the right, then place it in your left hand. Pick up the empty knitting needle with your right hand, making sure it points toward the left.
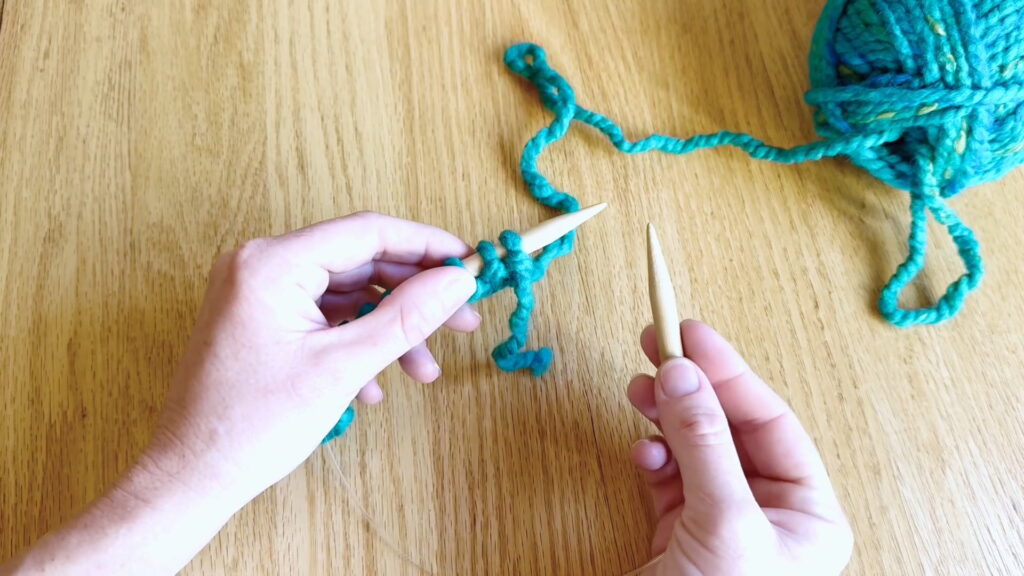
Once you are holding the needle with stitches in the left hand and the empty needle in the right hand, you will be set up to start making your first knit stitches.
Up Next
The knit stitch. Go to Kids’ Lesson 5 to continue.
Return to the Kids’ Knitting Guide.